Tools Required
| • | J 7872 Magnetic
Base Dial indicator |
Measurement Procedure

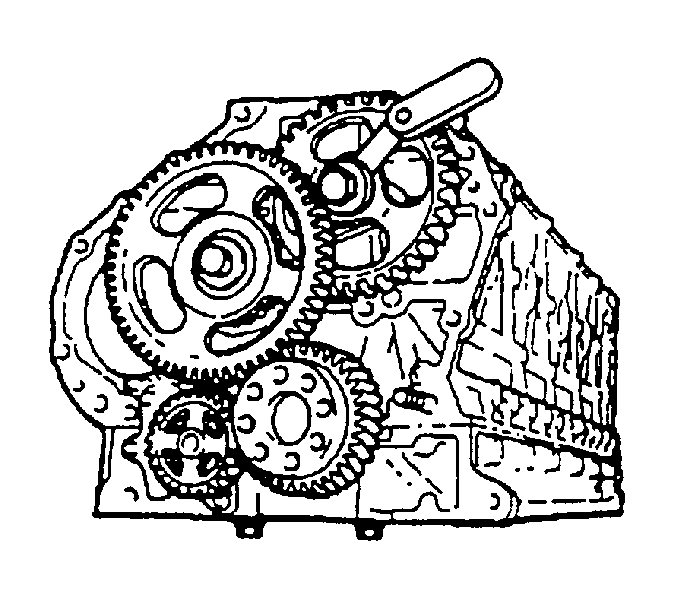
- Measure the idler gear
end play. If the measurement is greater than 0.2 mm (0.008 in),
the idler gear and/or the hub should be replaced.

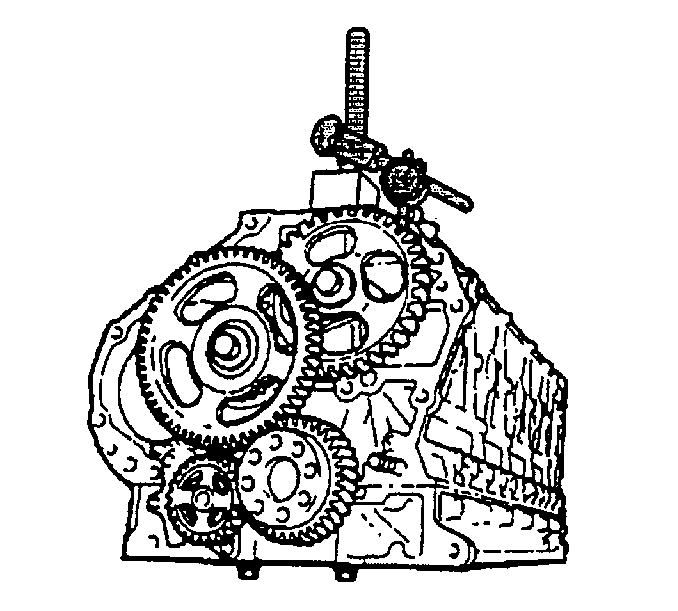
- Measure the idler gear
backlash using the following procedure:
| 2.1. | With the dial indicator J 7872
, rest the plunger on the teeth of the idler gear. |
| 2.2. | Zero the gauge and rock the idler gear back and forth to read
the gear backlash. If the reading is more than 0.3 mm (0.012 in),
replace the worn gear or gears. |
Inspection Procedure
- Inspect the gear teeth for chips or excessive wear.
- Inspect the gear bushing for scoring or damage.
- Inspect the hub for scoring or damage.
Measurement Procedure

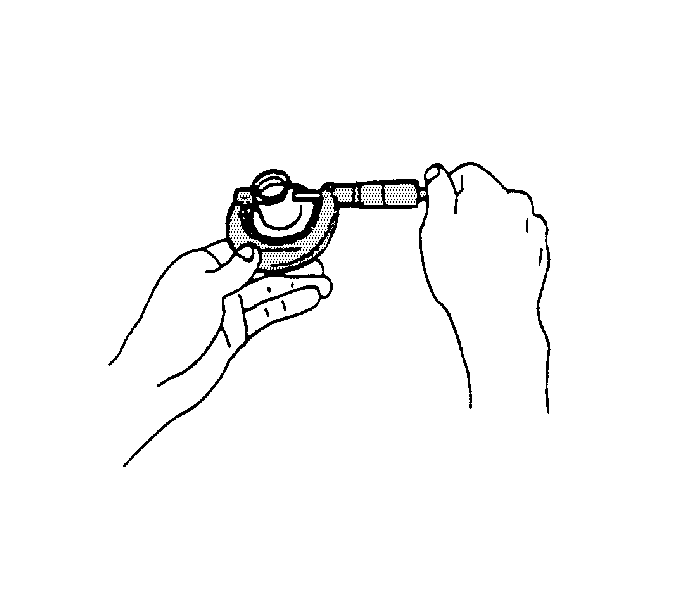
- Use the micrometer to
measure the idler gear hub.

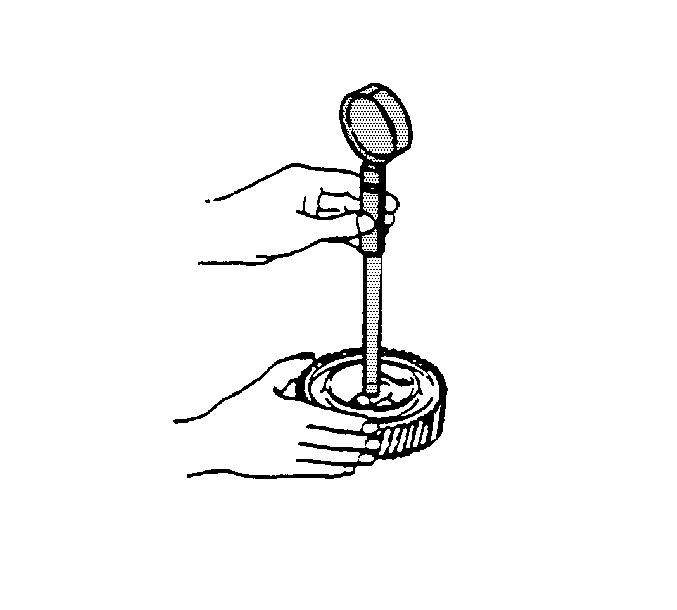
- Measure the idler gear
bushing inside diameter, using an inside diameter micrometer.
- Subtract the hub outside diameter from the idler gear bushing
inside diameter to obtain the hub to idler gear bushing clearance. If the
clearance is excessive, replace the hub or gear as required. The bushing is
not available separately.
| • | Production clearance is: 0.02-0.062 mm (0.00078-0.0024 in) |
| • | Service limit: 0.2 mm (0.0079 in) |
