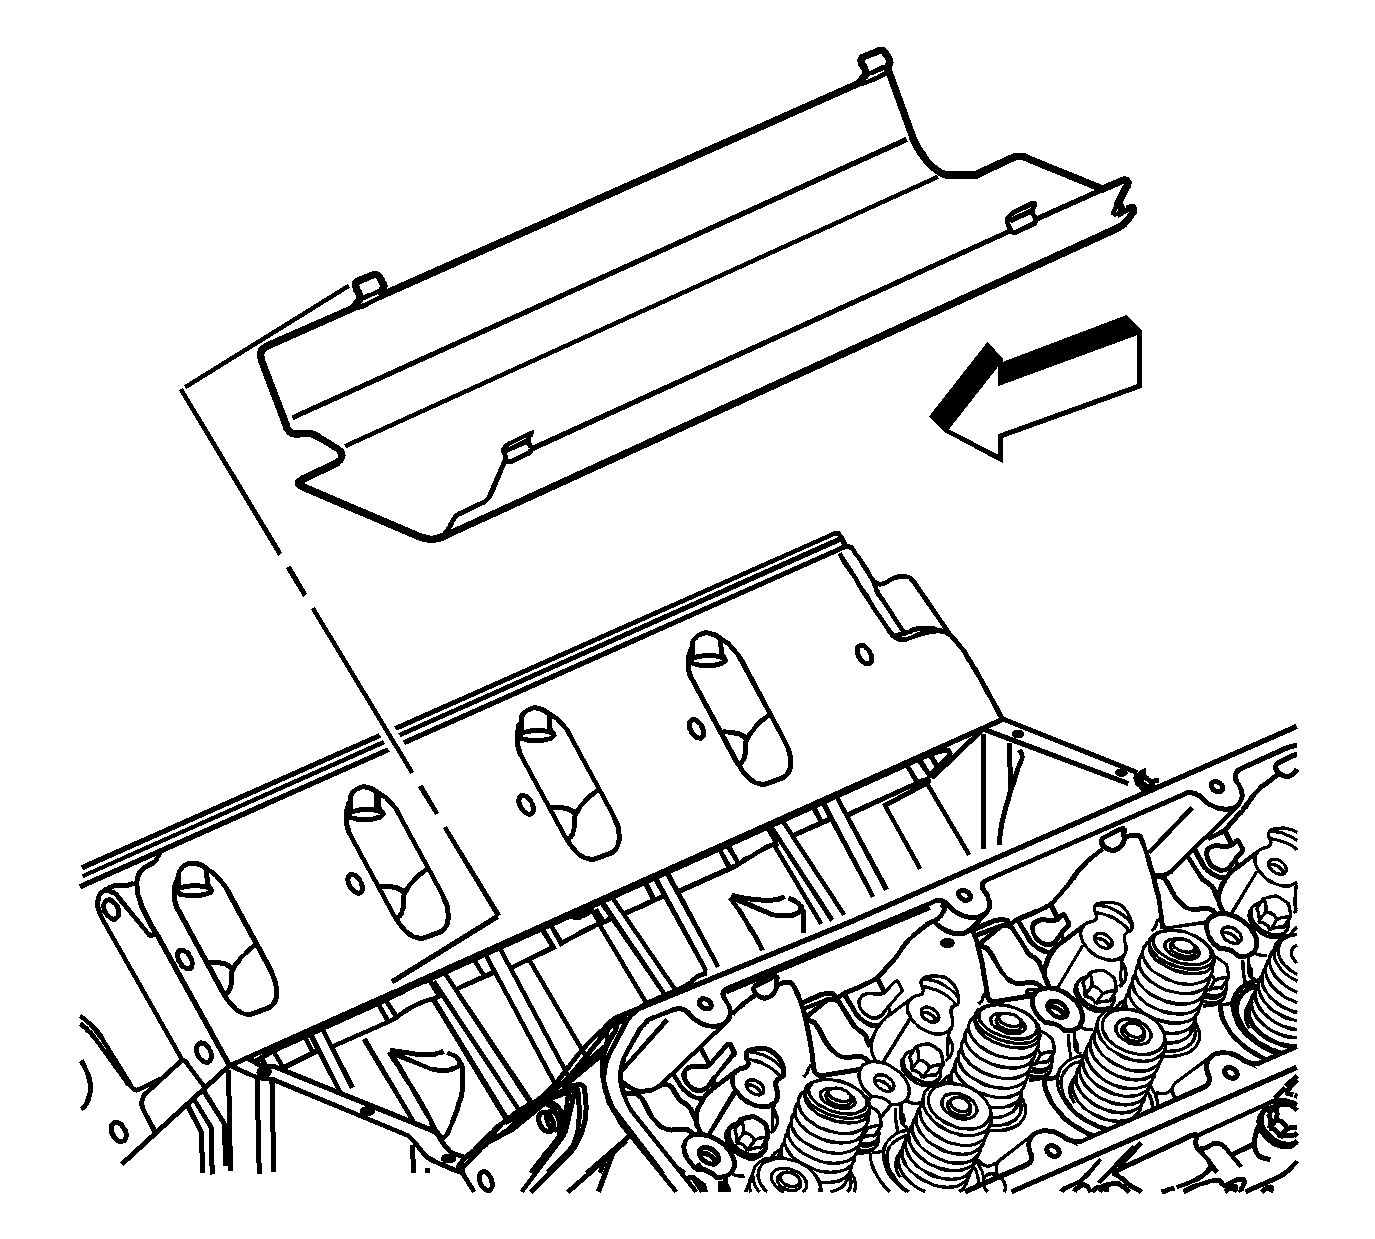
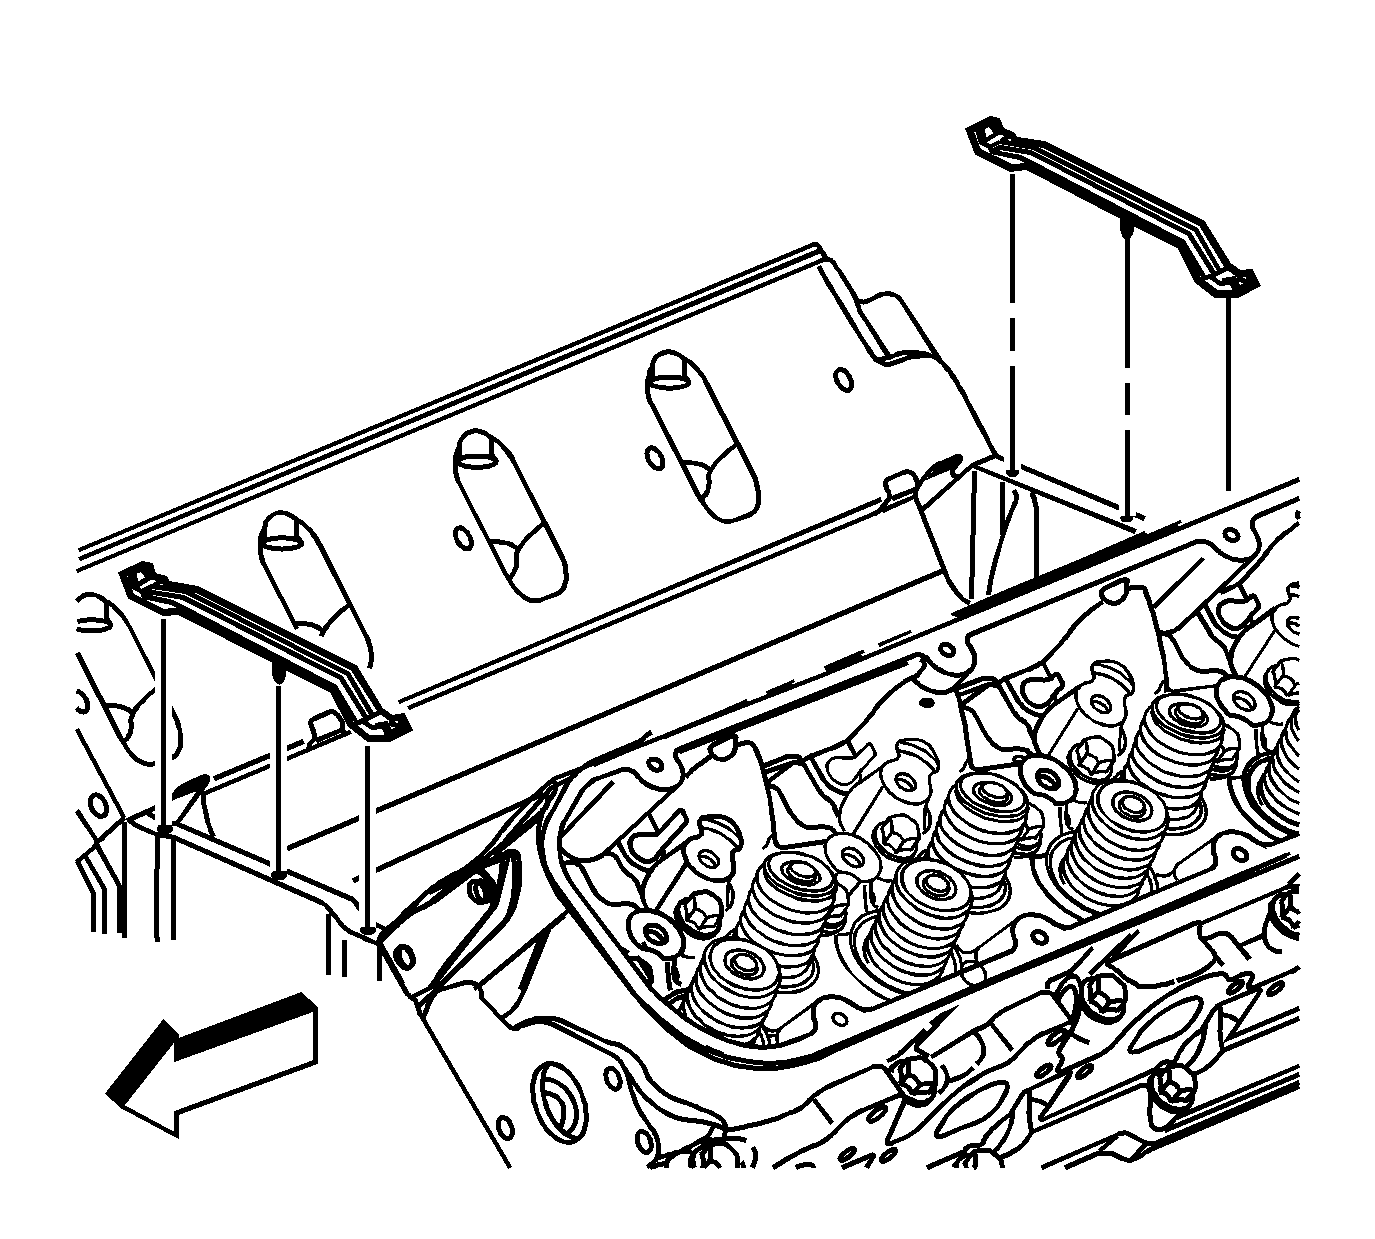
- Install the splash shield.
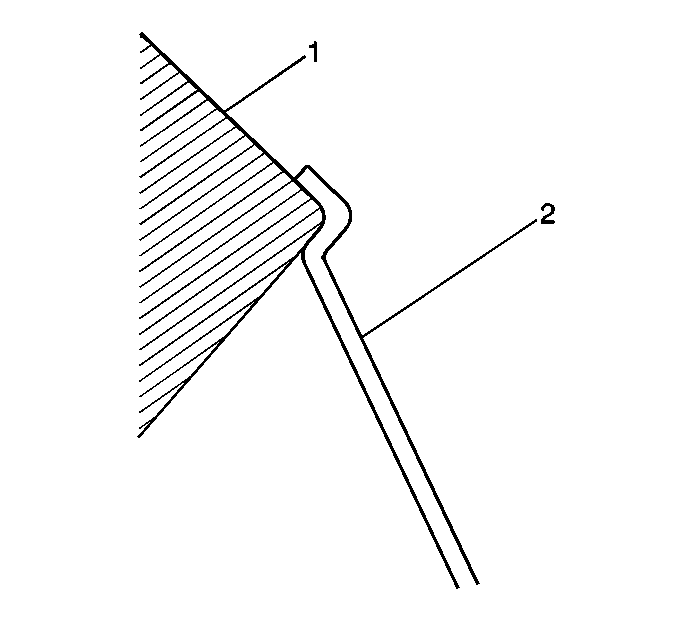
- Ensure the splash shield (2) snap fits between the cylinder heads (1).
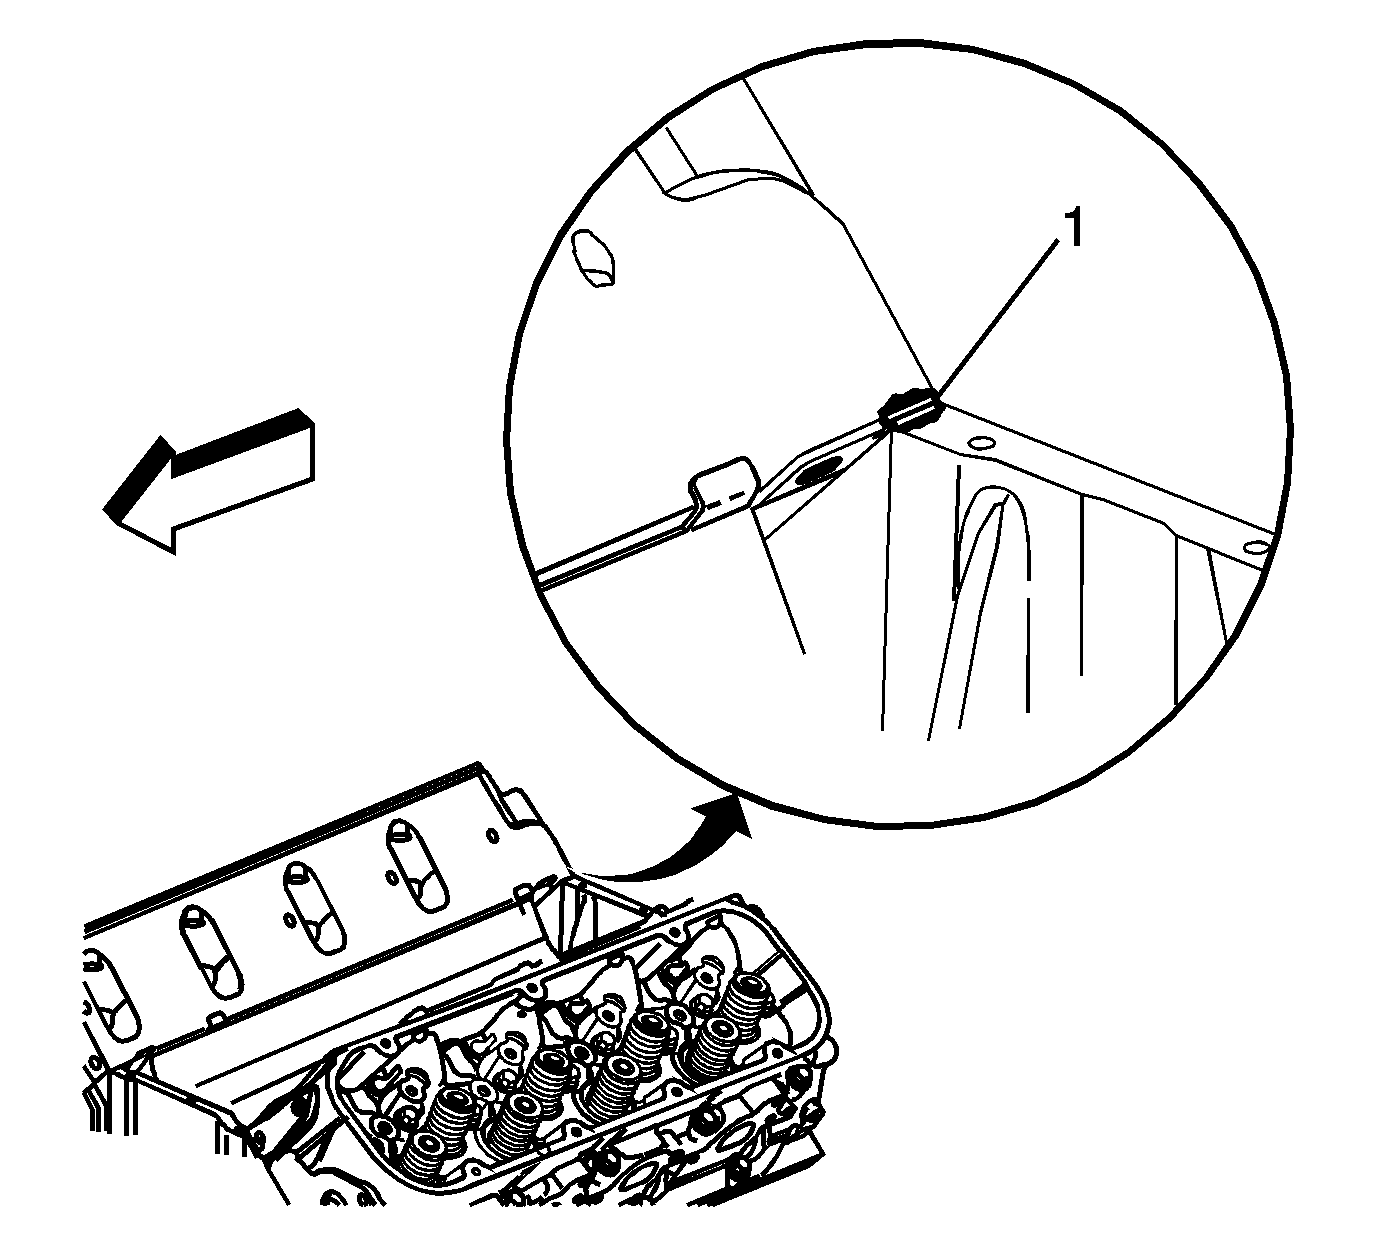
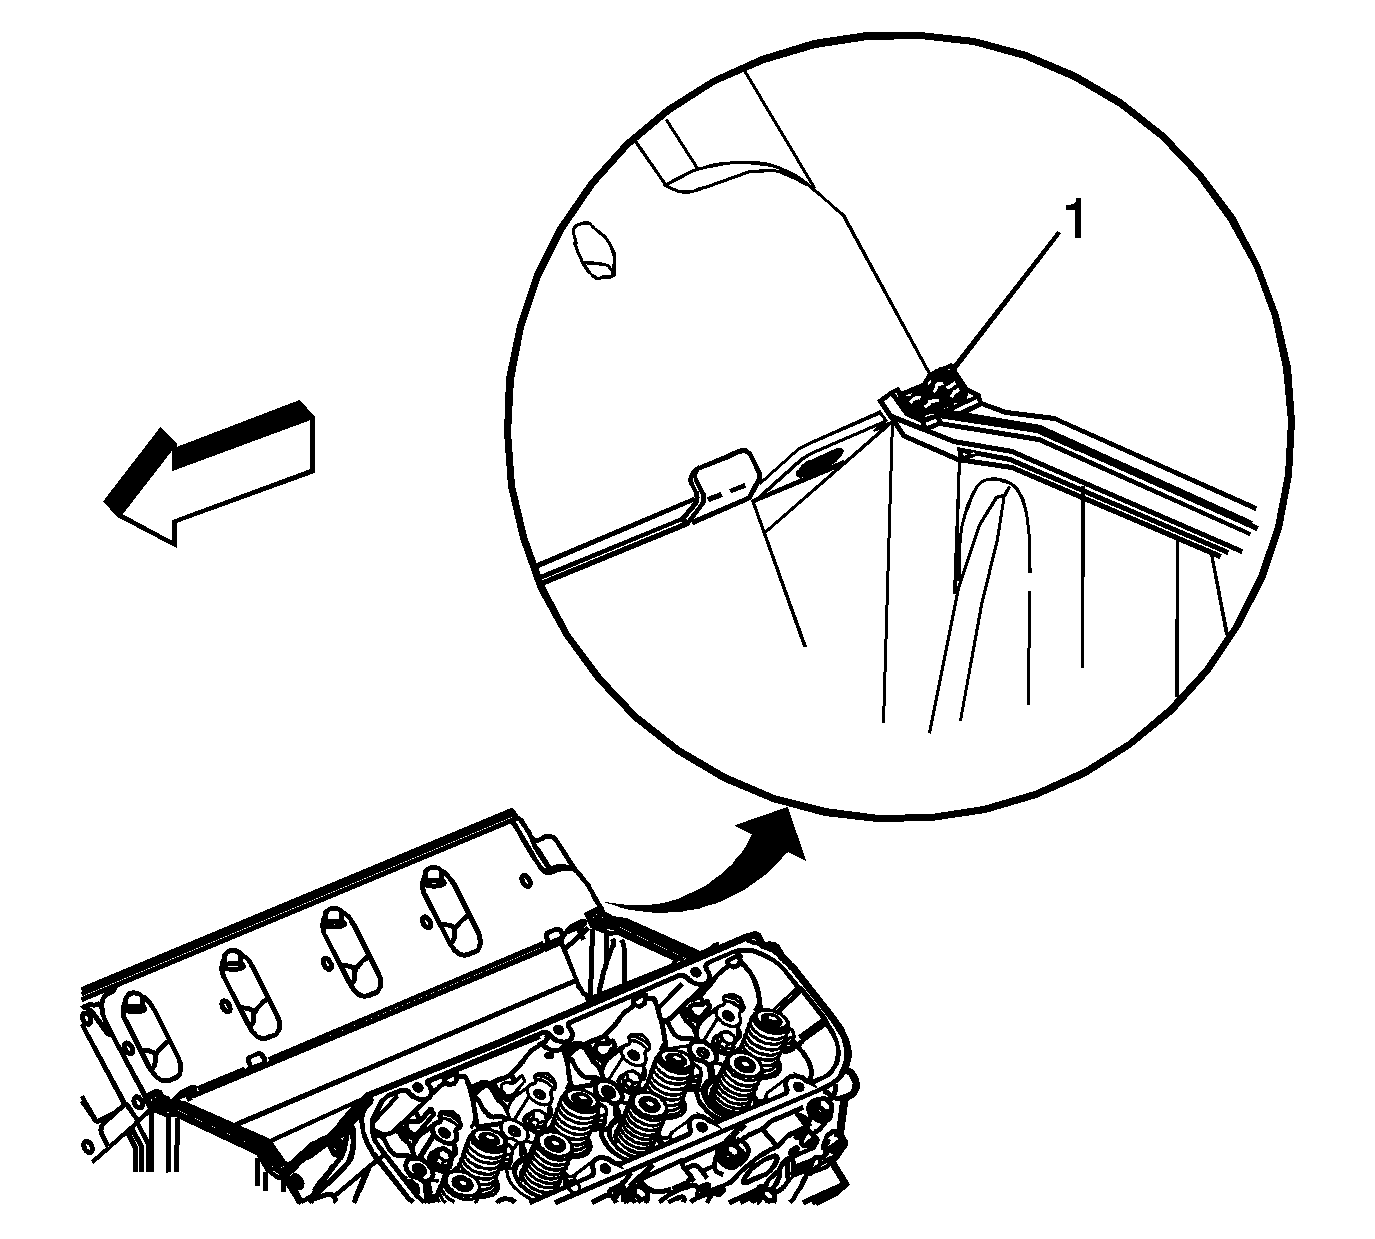
- Apply a 5 mm (0.2 in) bead of GM P/N 12346141 (Canadian P/N 10953433) sealer (1) to the 4 engine block/cylinder head location.
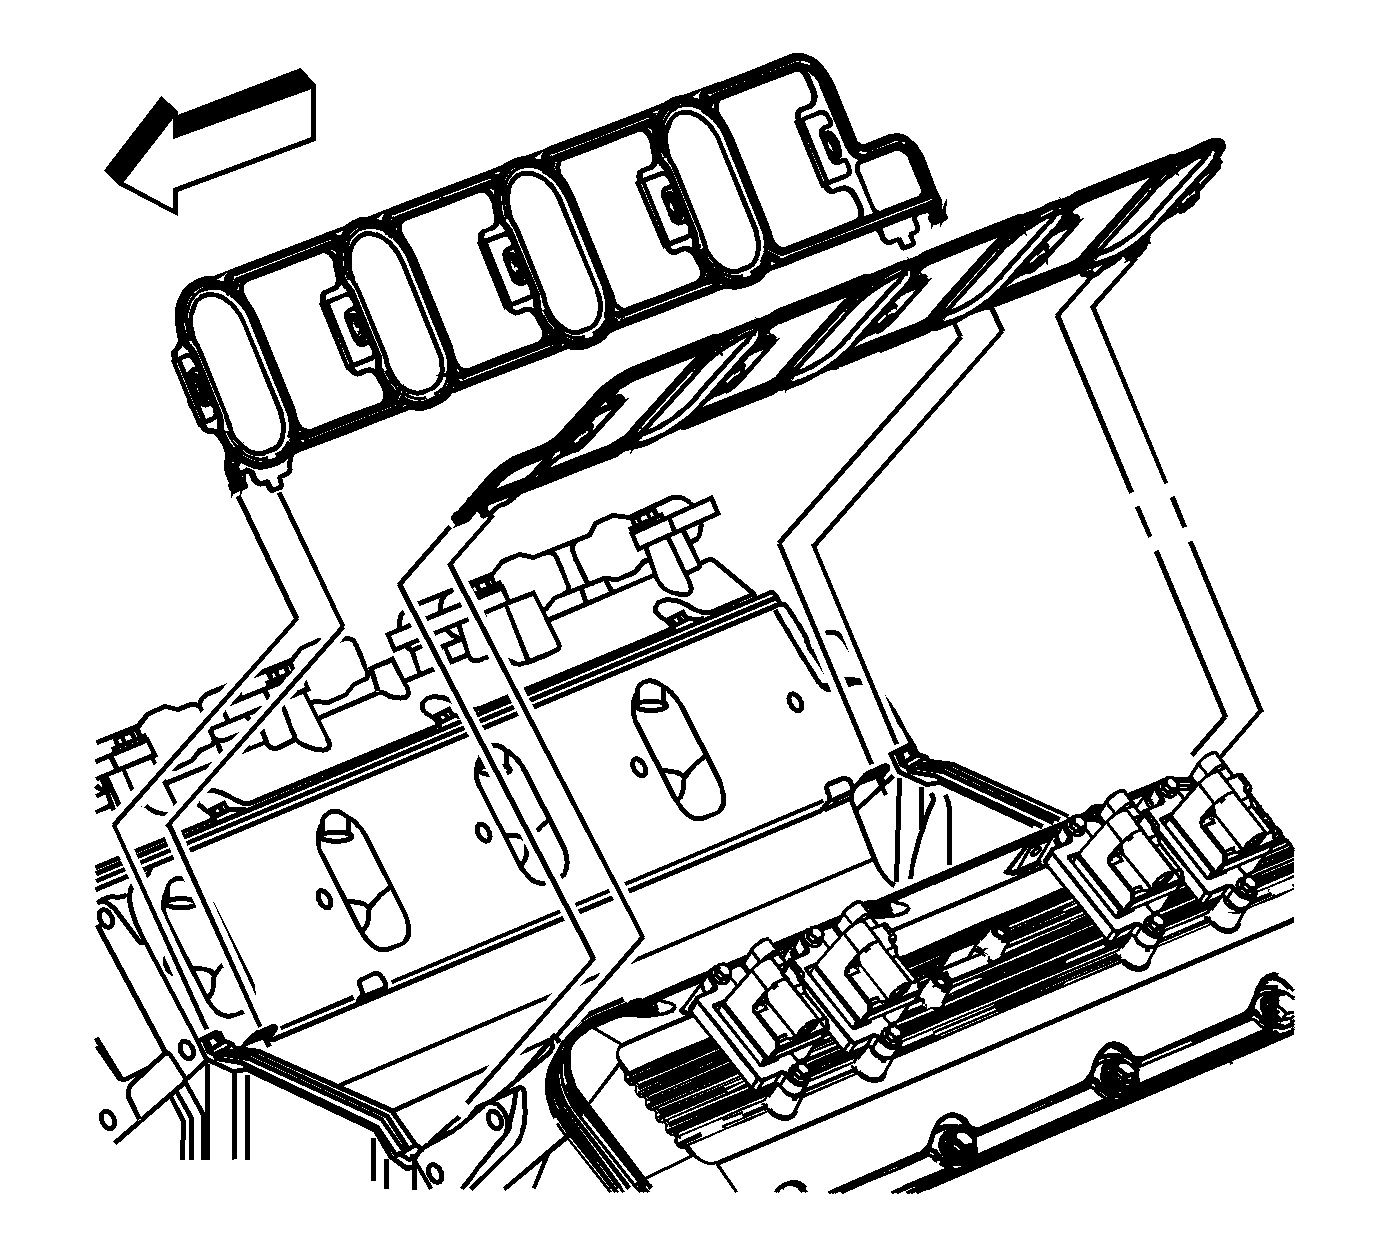
- Install the new intake manifold end seals.
- Apply a 5 mm (0.2 in) bead of GM P/N 12346141 (Canadian P/N 10953433) sealer (1) onto the end seals at the 4 engine block/cylinder head location.
- Install the new intake manifold side gaskets onto the cylinder heads.
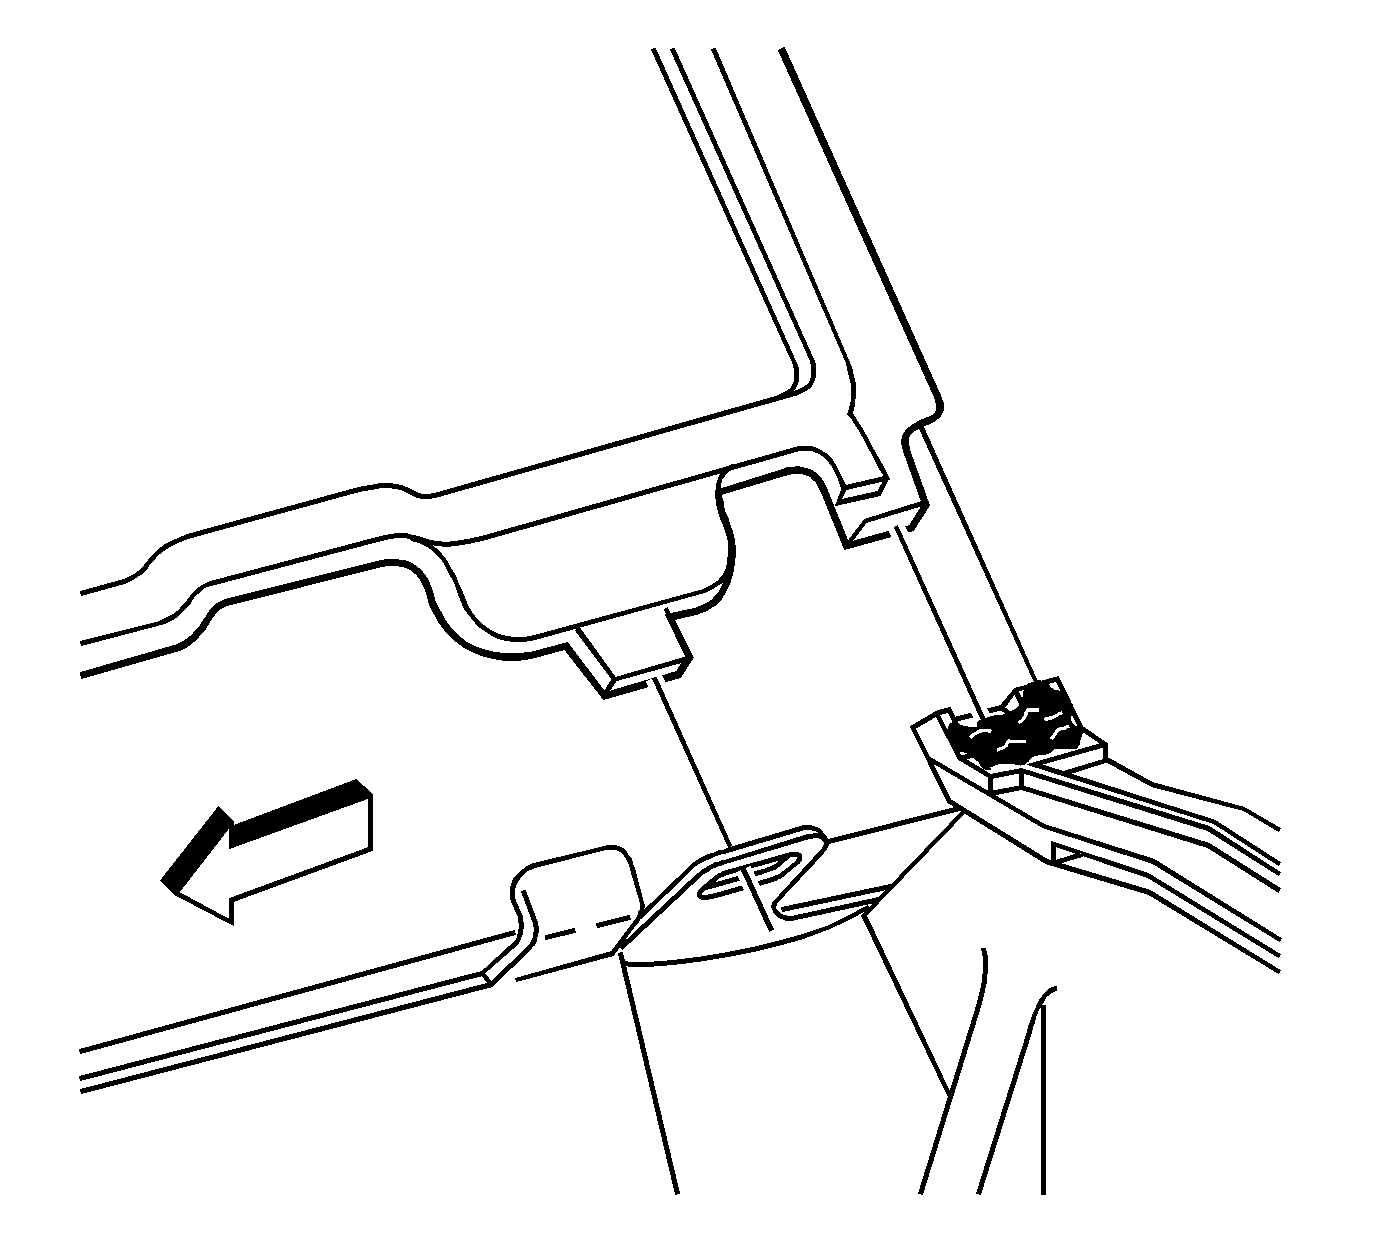
- Ensure the intake manifold gasket tabs align with the hole in the head gasket.
- Ensure the intake manifold gasket tabs align with the slot in the intake manifold end seals.
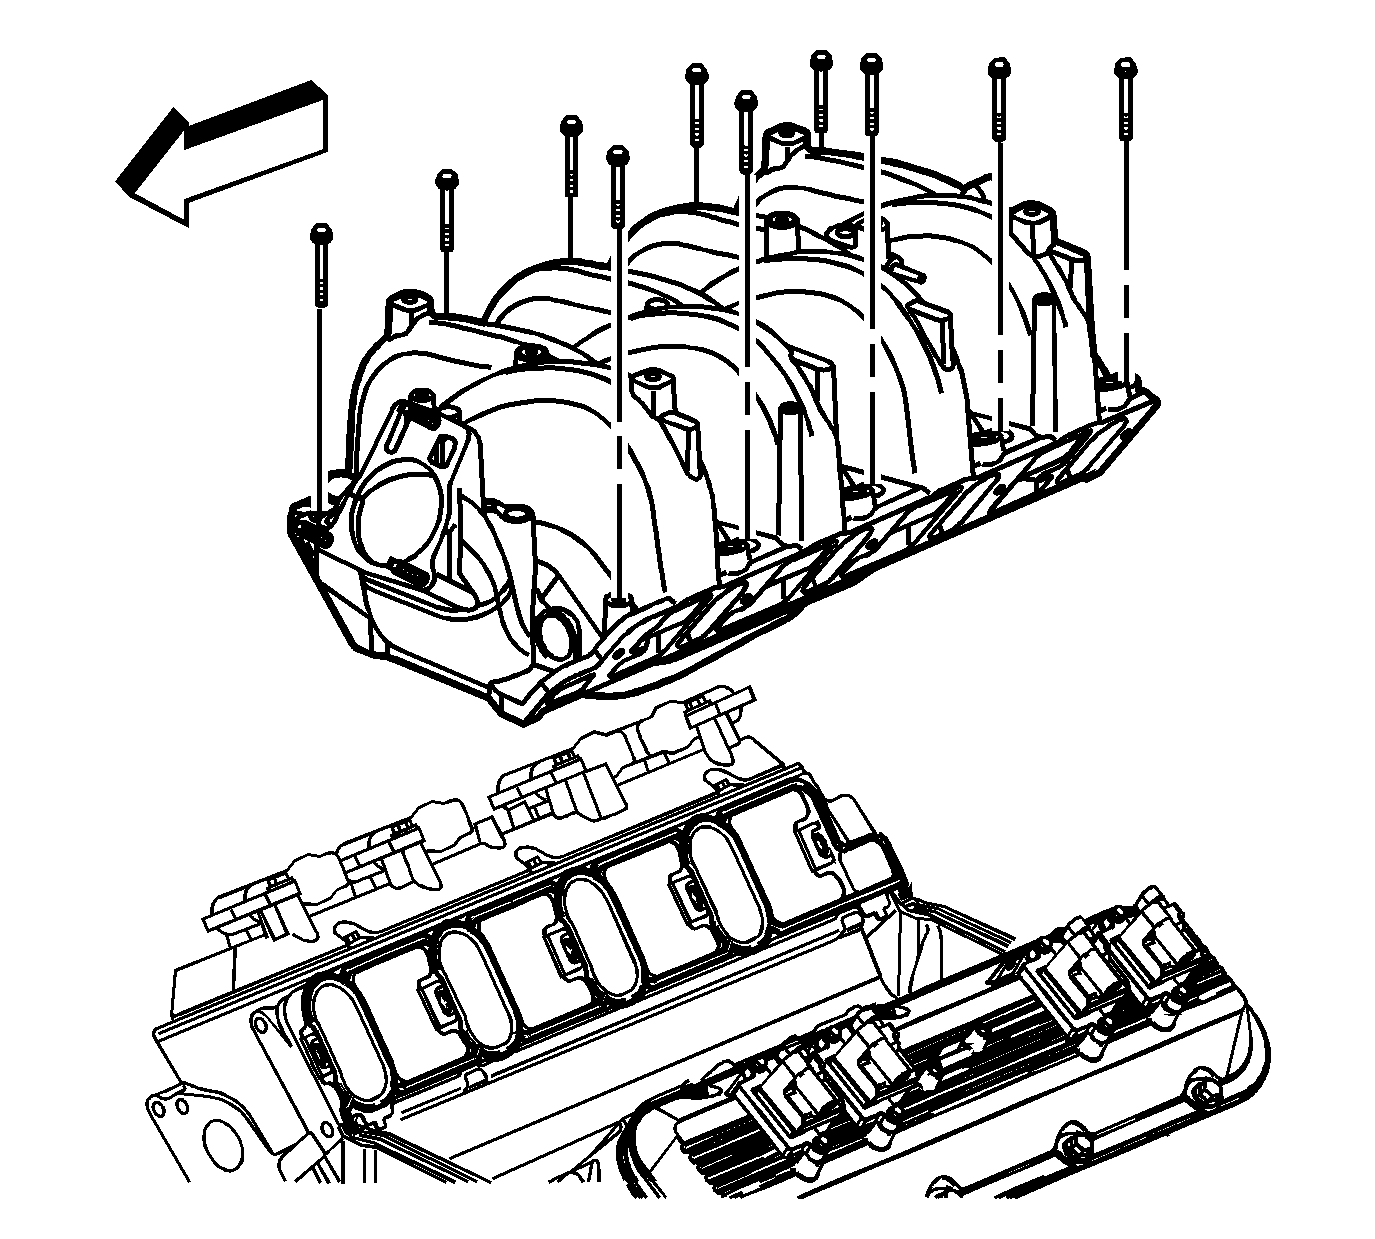
- Install the intake manifold onto the engine block.
- Install the NEW intake manifold bolts.
- Tighten the intake manifold bolts (1-10) in sequence, using 4 passes.
- Tighten the intake manifold bolts (1-10) in sequence to 5 N·m (44 lb in) on the first pass.
- Tighten the intake manifold bolts (1-10) in sequence to 8 N·m (71 lb in) on the second pass. Inspect the intake manifold joints for signs of intake manifold shifting and correct, as required.
- Tighten the intake manifold bolts (1-10) in sequence to 12 N·m (106 lb in) on the third pass.
- Tighten the intake manifold bolts (1-10) a final pass in sequence to 15 N·m (11 lb ft).
- Install the fuel injection fuel rail.
- Install the fuel injection fuel rail studs and/or bolts.
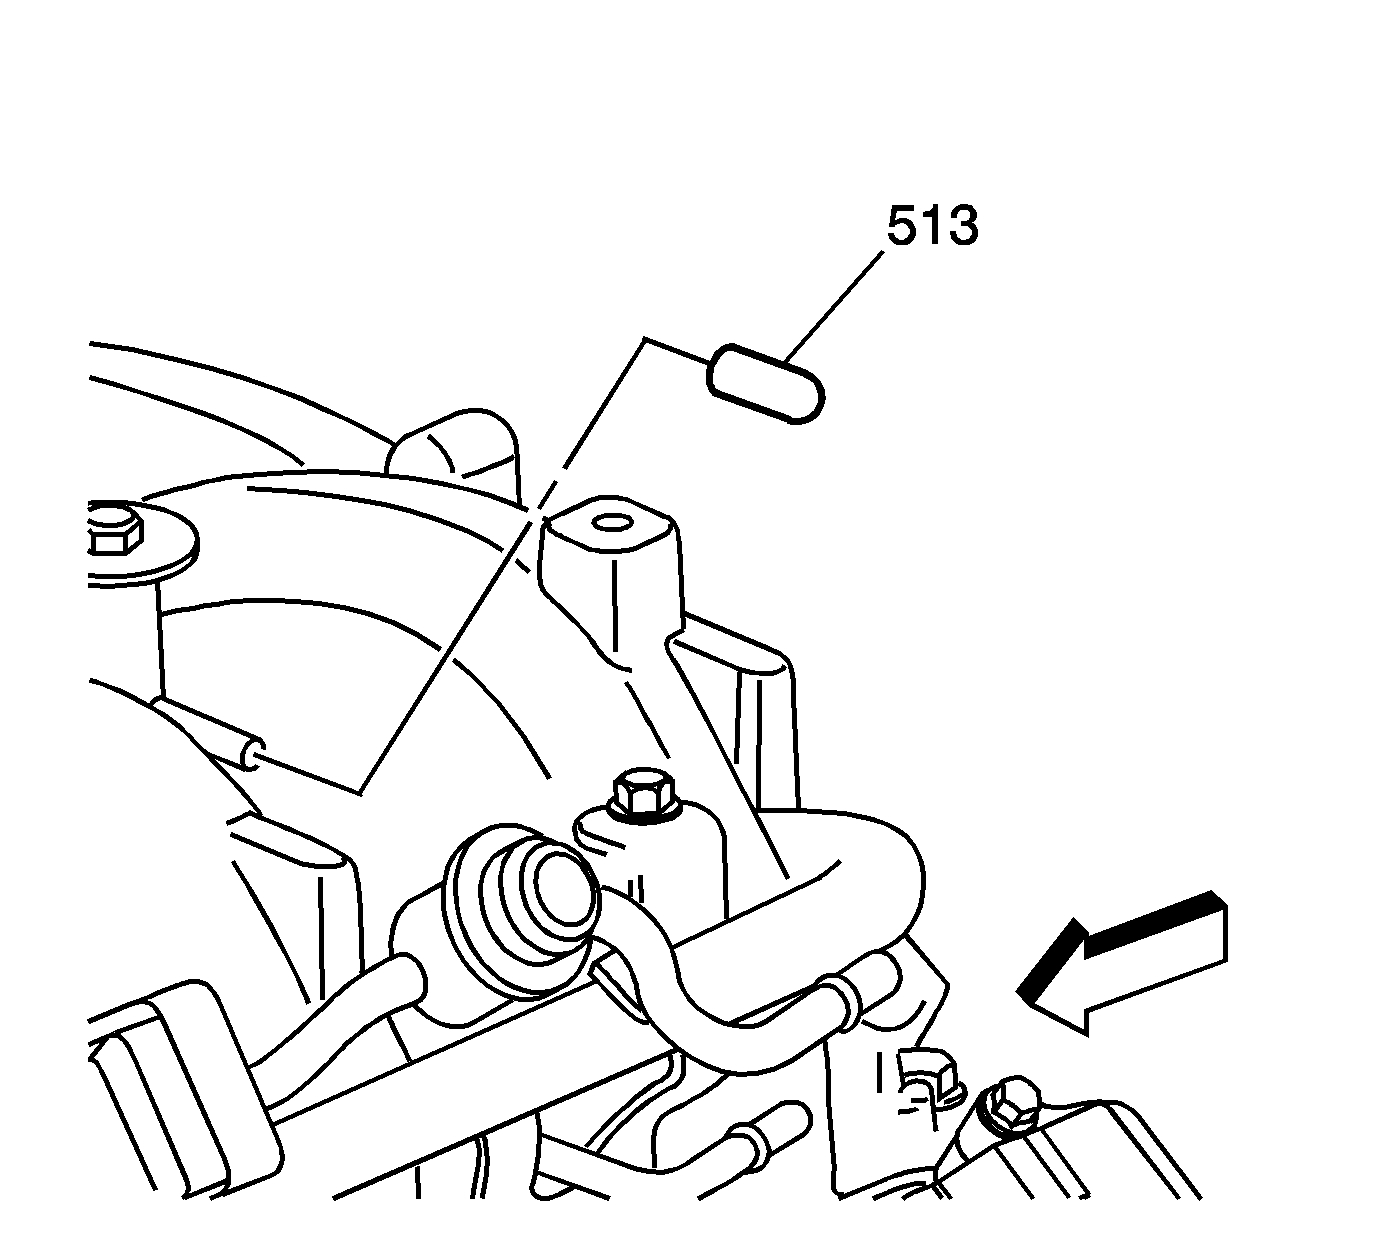
- Install the vacuum plug (513).
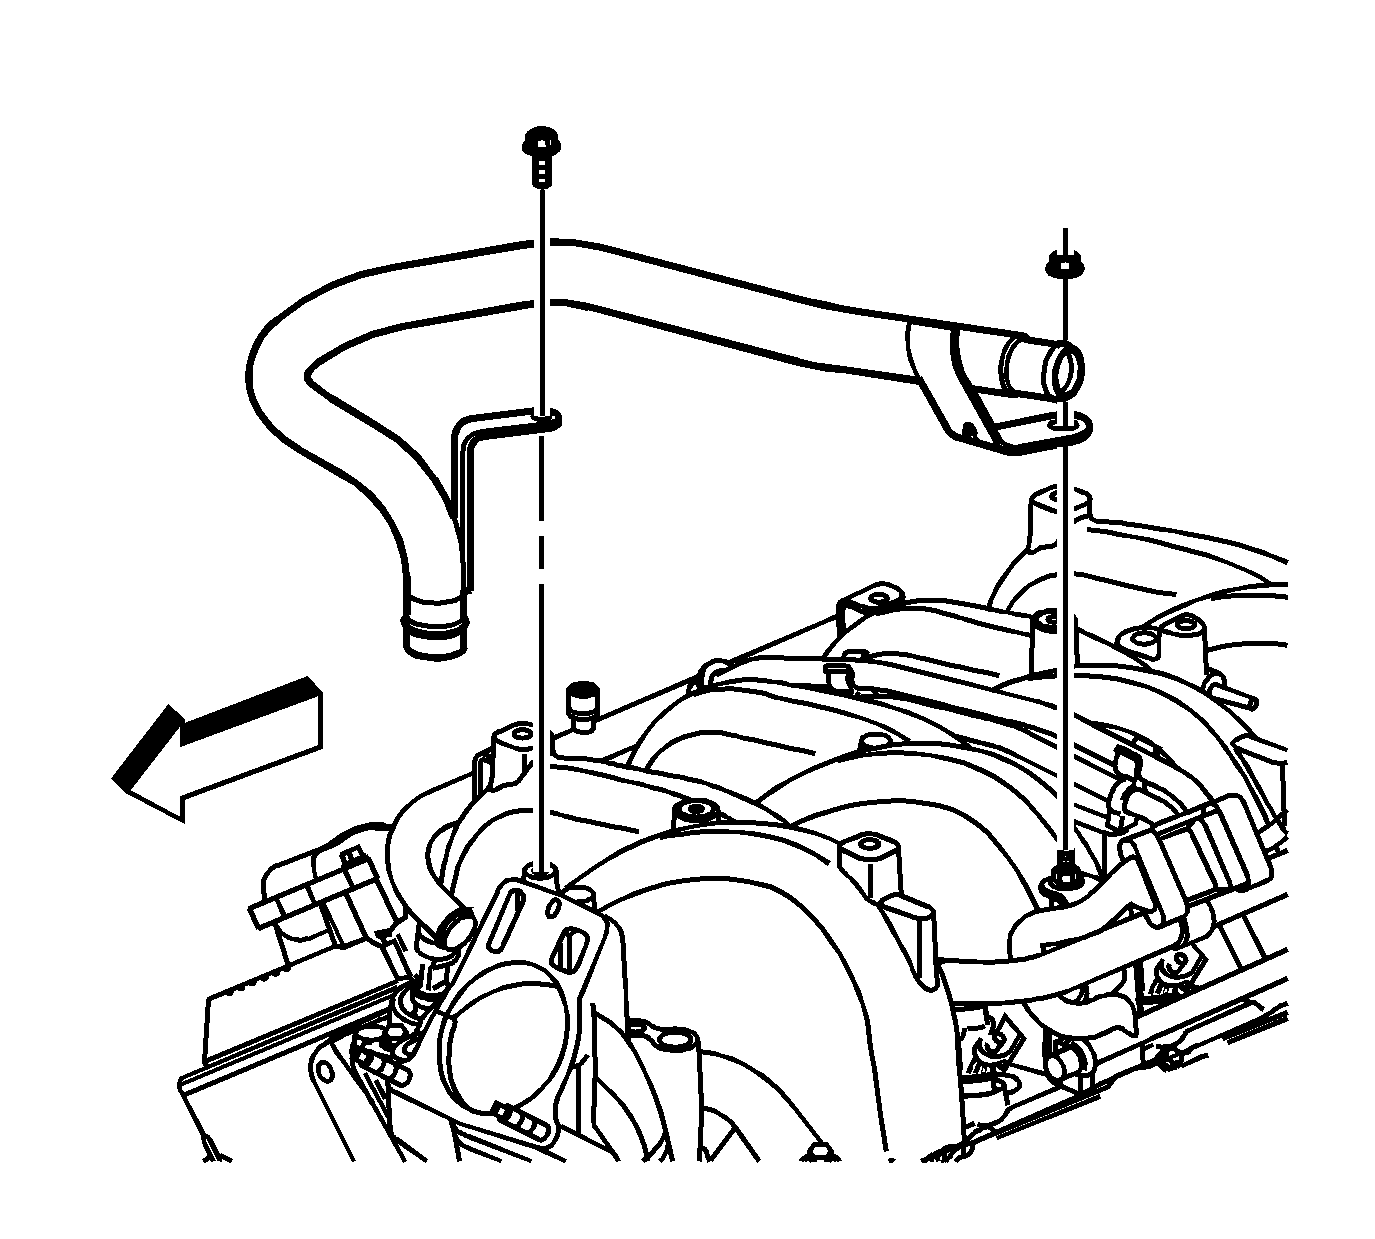
- Lubricate the O-ring seal of the oil fill tube with clean engine oil.
- Install the oil fill tube.
- Install the oil fill tube bolt and nut.
- Install the throttle body gasket (501) and throttle body (502).
- Install the throttle body nuts (503).
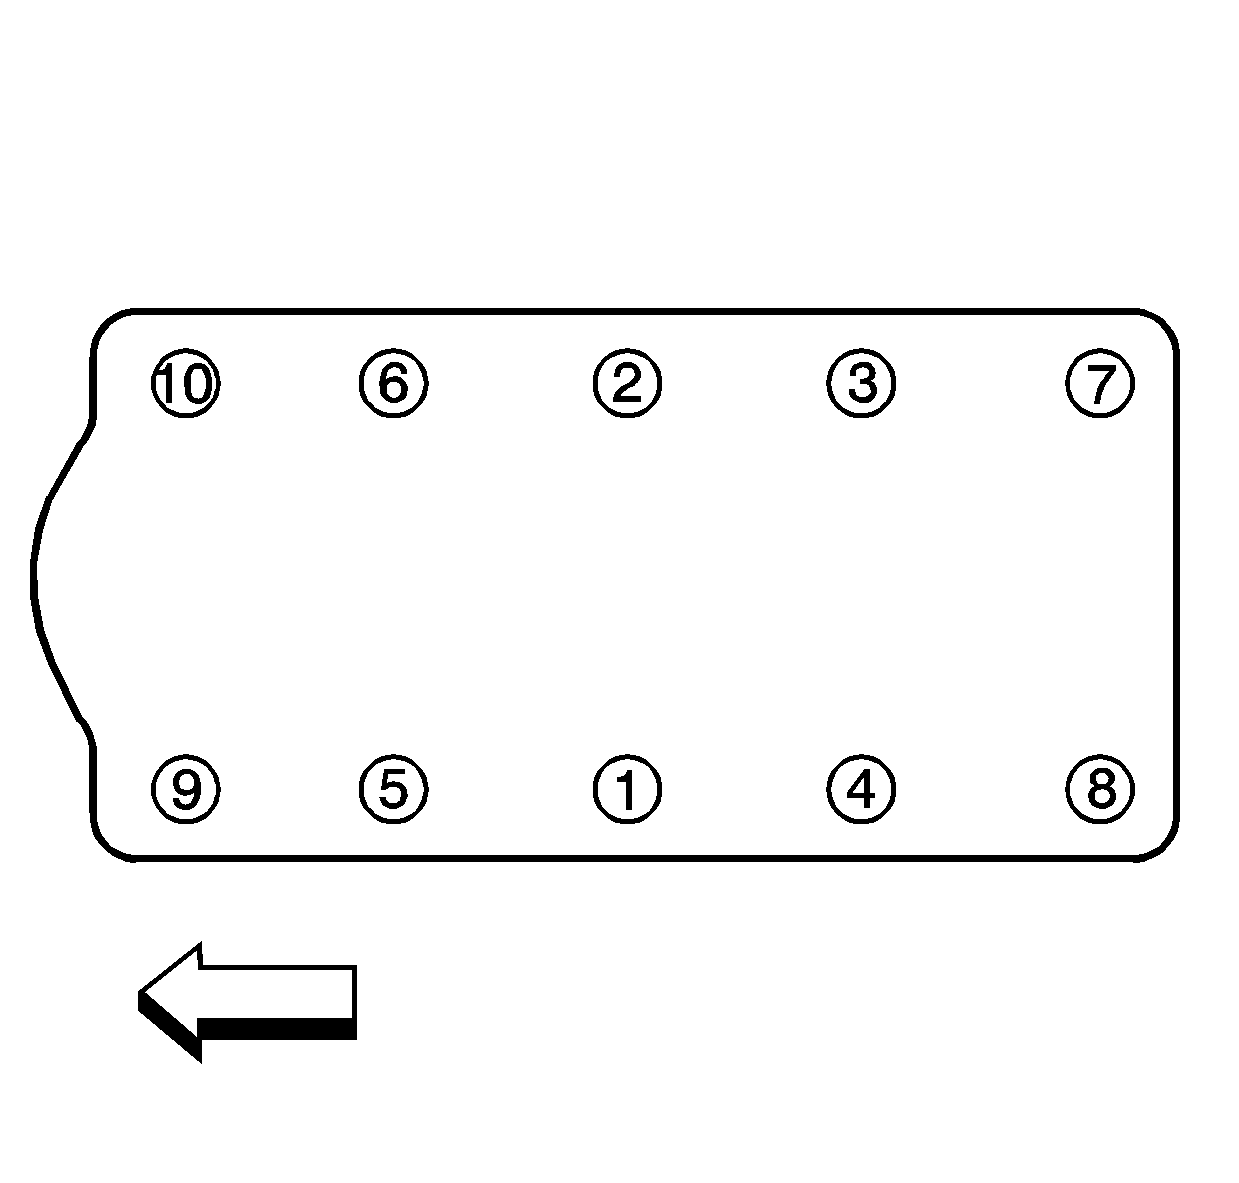
Notice: Ensure the intake manifold does not shift as the intake manifold bolts are tightened in the proper sequence. Failure to follow the entire intake manifold bolt tightening sequence exactly, may result in an oil leak and serious engine damage.
Important:
• The entire intake manifold tightening sequence must be promptly completed prior to the curing of the bolt threadlocking and intake manifold sealing materials. Failure to do so may result in false torque readings and ineffective bolt threadlocking. • DO NOT use the intake manifold bolts again during assembly.
Notice: Refer to Fastener Notice in the Preface section.
Tighten
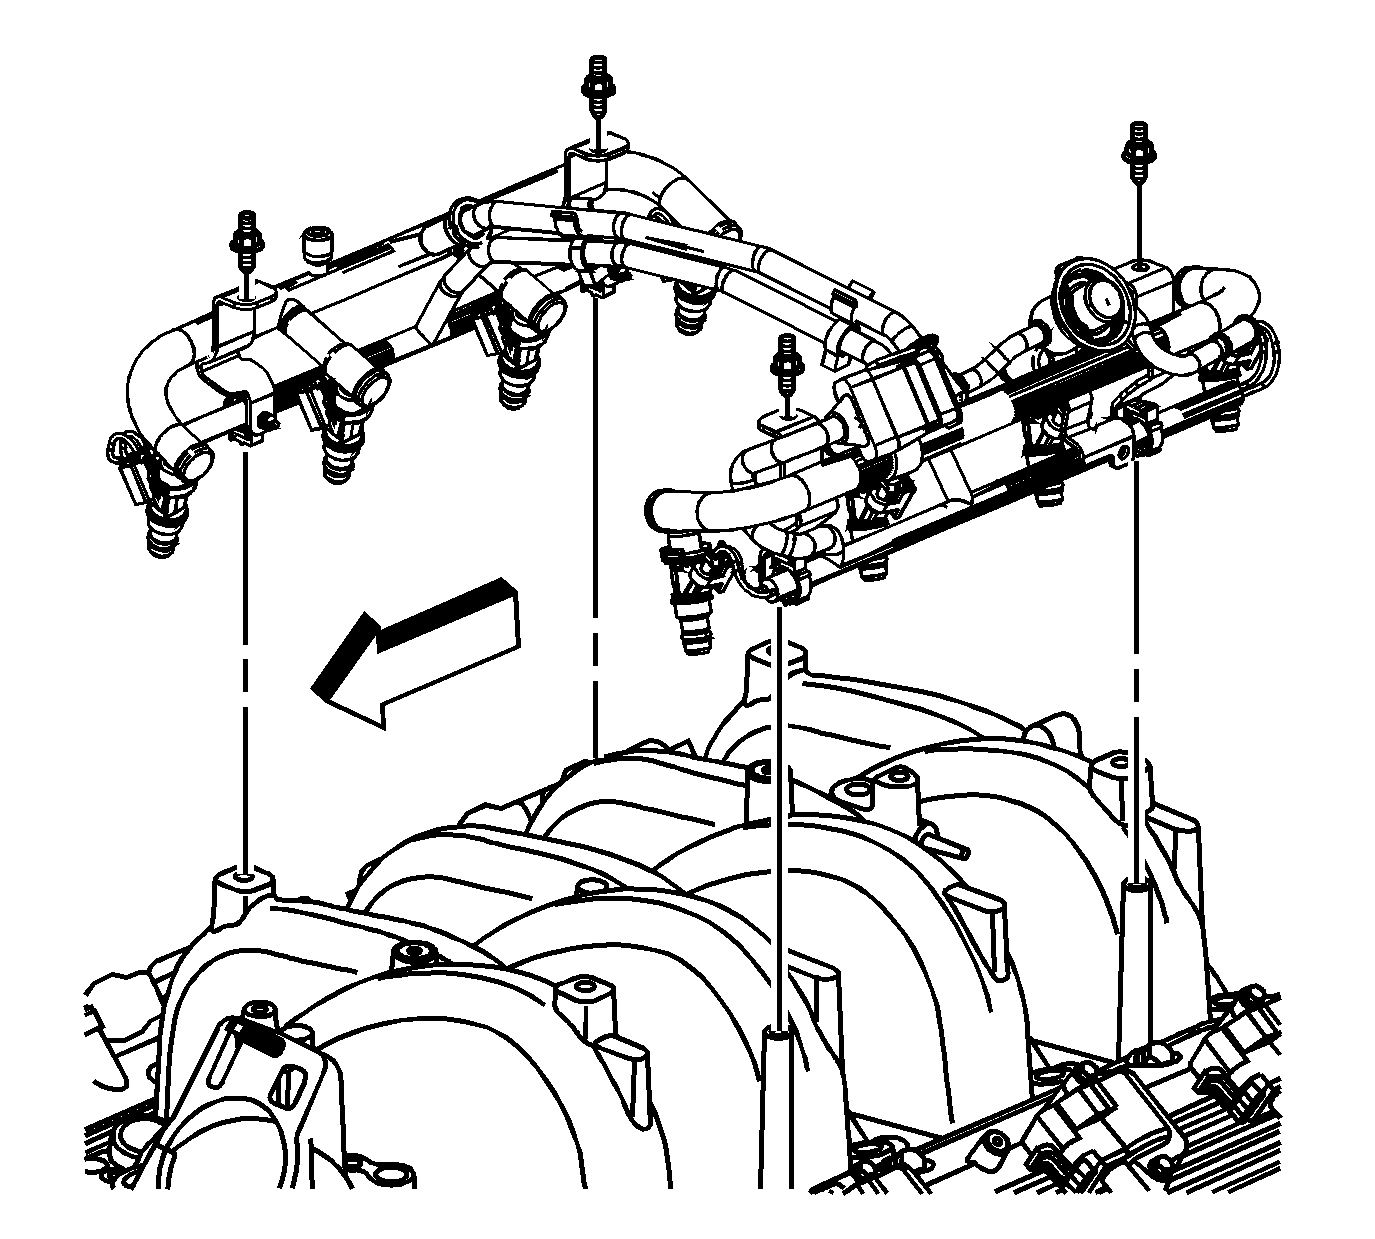
Important: Lubricate the injector O-ring seals with clean engine oil and install onto the spray tip end of each injector.
Tighten
Tighten the fuel injection fuel rail studs and/or bolts to 12 N·m (106 lb in).
Tighten
Tighten the oil fill tube bolt and nut to 12 N·m (106 lb in).

Tighten
Tighten the throttle body nuts to 10 N·m (89 lb in).
