For 1990-2009 cars only
Removal Procedure
- Disconnect the negative battery cables. Refer to Battery Negative Cable Disconnection and Connection
- Raise and suitably support the vehicle. Refer to Lifting and Jacking the Vehicle .
- Drain the engine oil from the crankcase.
- Remove the engine oil level switch.
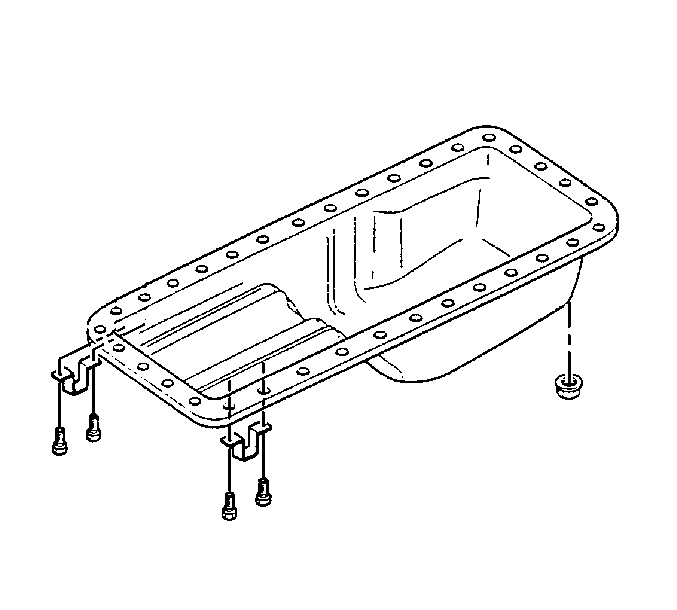
- Remove the bolts, nuts and fixing plate from the oil pan.
- Remove the oil pan.
- Clean sealant from the oil pan and the block and also clean sludge and dirt from the inside of the oil pan.

Important: All mating surfaces must be free of oil and dirt.
Installation Procedure
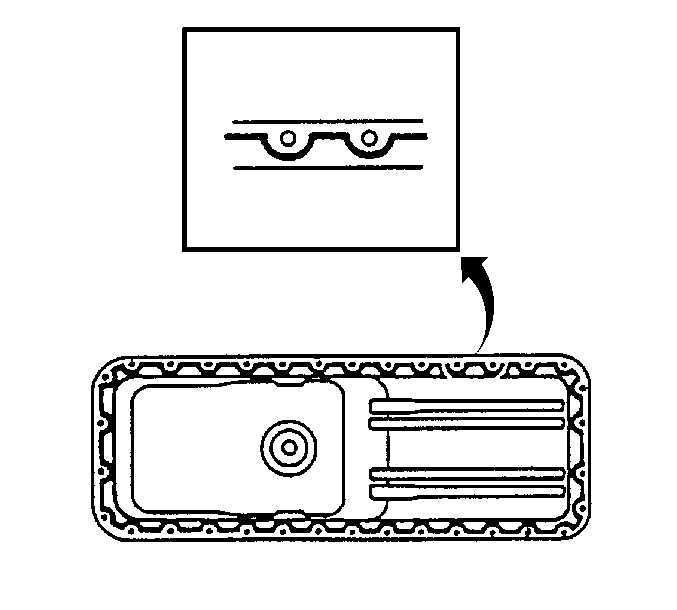
- Apply sealant to the oil pan.
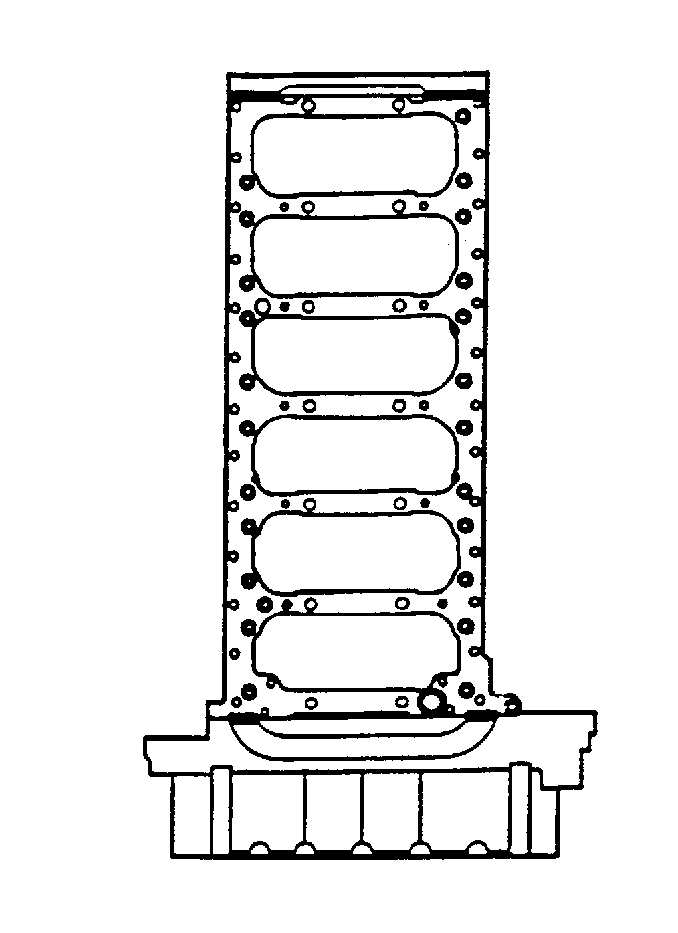
- Apply a bead of sealant approximately 2 mm (0.08 in) thick and approximately 3 mm (0.12 in) wide to the 4 corners of the cylinder block.
- Install the oil pan fixing plate, bolts and nuts.
- Install the oil level switch.
- Connect the negative battery cables. Refer to Battery Negative Cable Disconnection and Connection .
- Fill the crankcase with the proper grade and quantity of engine oil. Refer to Fluid and Lubricant Recommendations .
- Lower the vehicle.


Notice: Refer to Fastener Notice in the Preface section.
Tighten
Tighten the oil pan bolts to 24 N·m (17 lb ft).
