Cleaning Procedure
- Clean all parts with approved cleaning solvent.
- Use compressed air to blow dry the parts. Wear safety eye glasses and
gloves.
Inspection Procedure

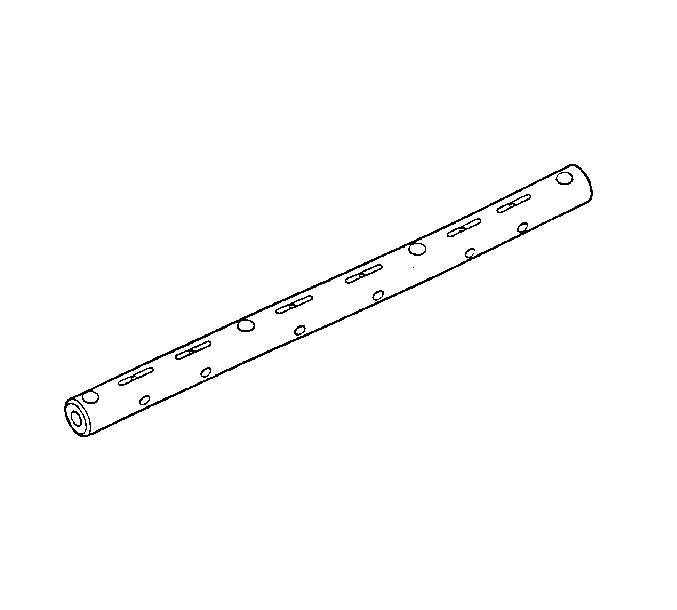
- Inspect the valve rocker arm shaft for scoring
or wear.
- Inspect the valve rocker arm inside diameter for scoring or wear.

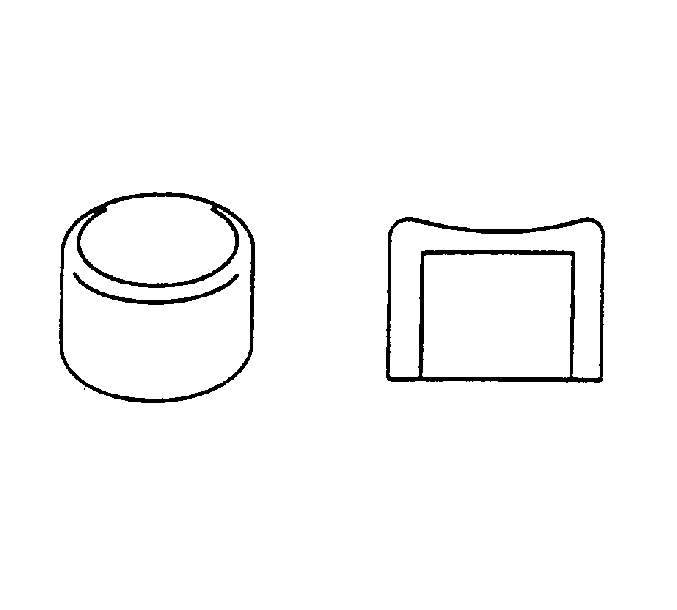
- Inspect the valve rocker arm and the valve bridge cap contact area for pitting
and excessive wear.
Measurement Procedure
- Measure the valve rocker arm inside diameter.
Specifications
| • | Production diameter is 22.010-22.035 mm (0.8665-0.8675
in) |
| • | Service limit: 22.15 mm (0.872 in) |
- Replace the part if the measurement is greater than the specification.
- Measure the valve rocker arm shaft.
Specifications
| • | Production diameter is 21.979-22.0 mm (0.8653-0.8661
in) |
| • | Service limit: 22.85 mm (0.8602 in) |
- Replace the part if the measurement is greater than the specification.
- Subtract the valve rocker arm shaft diameter, from the valve rocker arm
diameter, to obtain the valve rocker arm clearance.
Specifications
| • | Production clearance: 0.01-0.056 mm (0.0004-0.0022
in) |
| • | Service limit: 0.2 mm (0.0079 in). |
- Replace the part if the measurement is greater than the specification.
- Measure with a pocket scale (ruler) across the top of the valve cap. Measure
the distance from the bottom of the scale (ruler) to the bottom of the valve cap.
If the measurement is greater than 0.1 mm (0.004 in), replace the valve cap.


