Tools Required
| • | J 24385-C Axle Housing Spreader |
| • | J 25025 Guide Pins |
| • | J 34178 Spreader Gage Adapter |
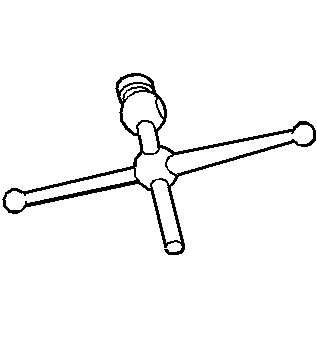
| • | J 8001 Dial Indicator Set |
Adjustment Procedure
- Install the inboard differential side bearing shims, if necessary. Refer to Differential Side Bearings Replacement .
- Install the differential assembly with the differential side bearings and the bearing cups into the axle housing.
- Install the original right side differential bearing shim.
- Move the differential assembly to the right and press the bearing cup against the shim.
- While holding the differential assembly against the right side differential bearing shim, insert the original left side differential side bearing shim.
- Once the left side shim thickness has been determined, remove the right side shim. Add 0.25 mm (0.010 in) of shim thickness to the right side shim.
- Remove the differential assembly.
- Remove the left side differential side bearing shim.
- Remove the right side differential side bearing shim.
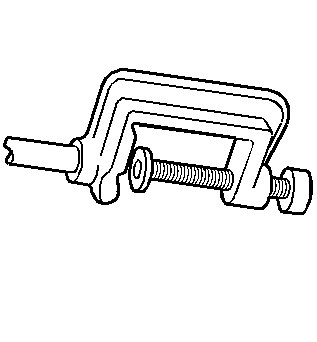
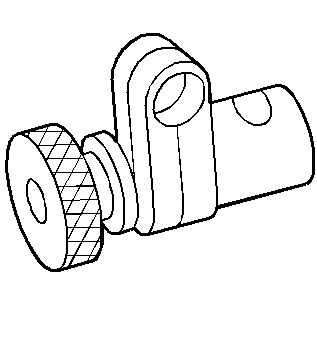
- Install the J 24385-C onto the axle housing.
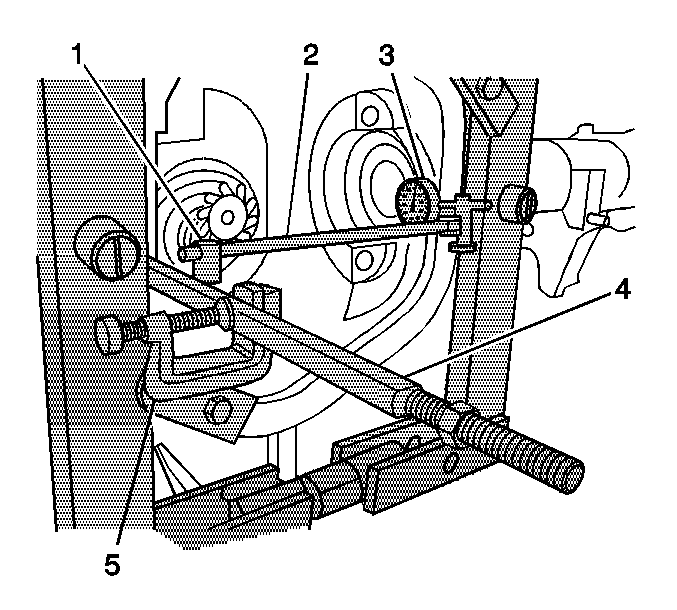
- Install the J 25025-B (4), the J 8001-1 and the J 8001-2 (5, 1), the J 34178 (2), and the J 8001-3 and the J 8001-4 (3) onto the axle housing as shown.
- Preload the dial of the J 8001-3 by pushing the J 8001-3 against the edge of the J 24385-C until the needle of the J 8001-3 has moved approximately 3/4 of a turn clockwise.
- Rotate the indicator housing to align the indicator needle of the J 8001-3 and the dial indicator face to ZERO.
- Spread the axle housing by turning the clevis screw of the J 24385-C clockwise while observing the J 8001 .
- Remove the J 25025-B , the J 8001-1 , the J 8001-2 , the J 34178 , the J 8001-3 and the J 8001-4 from the axle housing.
- Install the differential assembly.
- Install the left side differential side bearing shim.
- Install the right side differential side bearing shim.
- Remove the J 24385-C .
- Install the bearing caps.
- Install the bearing cap bolts.
- Adjust the backlash. Refer to Backlash Adjustment .
Important: This differential assembly uses a 0.75 mm (0.030 in) inboard shim on each side of the differential. The shim is located between the differential case and the differential side bearing. This shim must be installed between the differential case and the differential side bearing before the differential side bearing preload procedure can be done.
If the original shim is not available, place a 5.08 mm (0.200 in) shim into the right side differential side bearing bore between the differential bearing cup and the differential bearing bore.
There should be a slight amount of backlash between the ring gear and the drive pinion. If not, install progressively larger or smaller shims as necessary until a slight amount of backlash can be felt.
If the original left side shim will not fit or can be easily installed, adjust the thickness as necessary until a slight amount of resistance can be felt between the differential side bearing cup and differential bearing bore when inserting and removing the shim.
This additional amount will set the differential side bearing preload and the initial backlash.
Notice: Do not spread the axle housing more than 0.38 mm (0.015 inch). Overspreading the housing may result in component damage.
Spread the housing just enough to install the differential assembly and the differential side bearing shims.
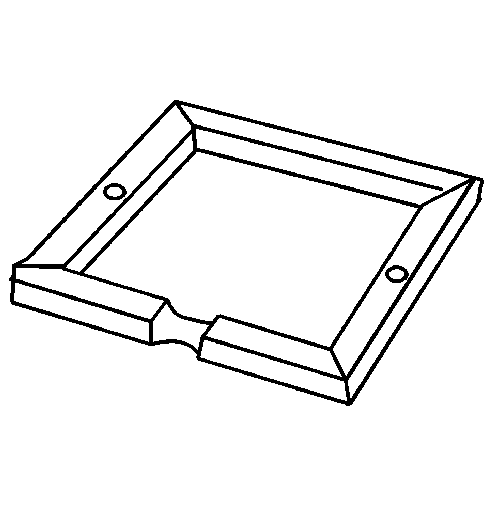
Important: Corresponding letters are stamped on the bearing caps and axle housing. The bearing caps must be reassembled in the same position as removed.
Notice: Use the correct fastener in the correct location. Replacement fasteners must be the correct part number for that application. Fasteners requiring replacement or fasteners requiring the use of thread locking compound or sealant are identified in the service procedure. Do not use paints, lubricants, or corrosion inhibitors on fasteners or fastener joint surfaces unless specified. These coatings affect fastener torque and joint clamping force and may damage the fastener. Use the correct tightening sequence and specifications when installing fasteners in order to avoid damage to parts and systems.
Tighten
Tighten the bearing cap bolts to 115 N·m (85 lb ft).
