Tools Required
| • | J 24402-A
Glass Sealant, Cold Knife, Remover |
| • | Urethane Adhesive Kit GM P/N 12346392 or Equivalent |
| • | Isopropyl Alcohol or Equivalent |
| • | Cartridge-type Caulking Gun |
| • | Commercial-type Utility Knife |
Removal Procedure
Caution: If a window is cracked but still intact, crisscross the window with
masking tape in order to reduce the risk of damage or personal injury.
Important: Before cutting out a window, apply a double layer of masking tape around the perimeter of the painted surfaces and interior trim.
- Remove the window lower garnish molding, if equipped. Refer to
Rear Window Garnish Molding Replacement
.
Caution: If broken glass falls into the defroster outlets, it can be blown into
the passenger compartment and cause personal injury.
- Cover to protect the following parts from broken glass:
| • | Defroster outlets and A/C outlets |
- Pull upward on the seat bottom of the passenger 60/40 seat.
- Set the assist rod into position.
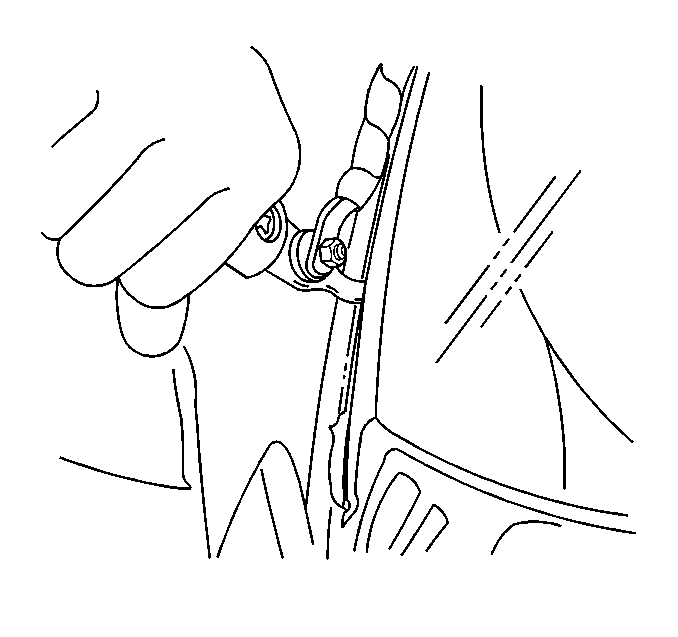
- Remove the 4 bolts that hold the passenger seat back to the seat base.
- Fold the back of the seat down.
- Fold the center seat down.
- Fold the left side seat back downward, and slide the seat fully forward.
Caution: Refer to Glass and Sheet Metal Handling Caution in the Preface section.

Important: Keep the cutting edge of the tool against the window.
- This will allow the urethane adhesive to be separated from the window.
| • | Leave a base of urethane on the pinch-weld flange. |
| • | The only suitable lubrication is clear water. |
- Open the sliding window, if equipped.

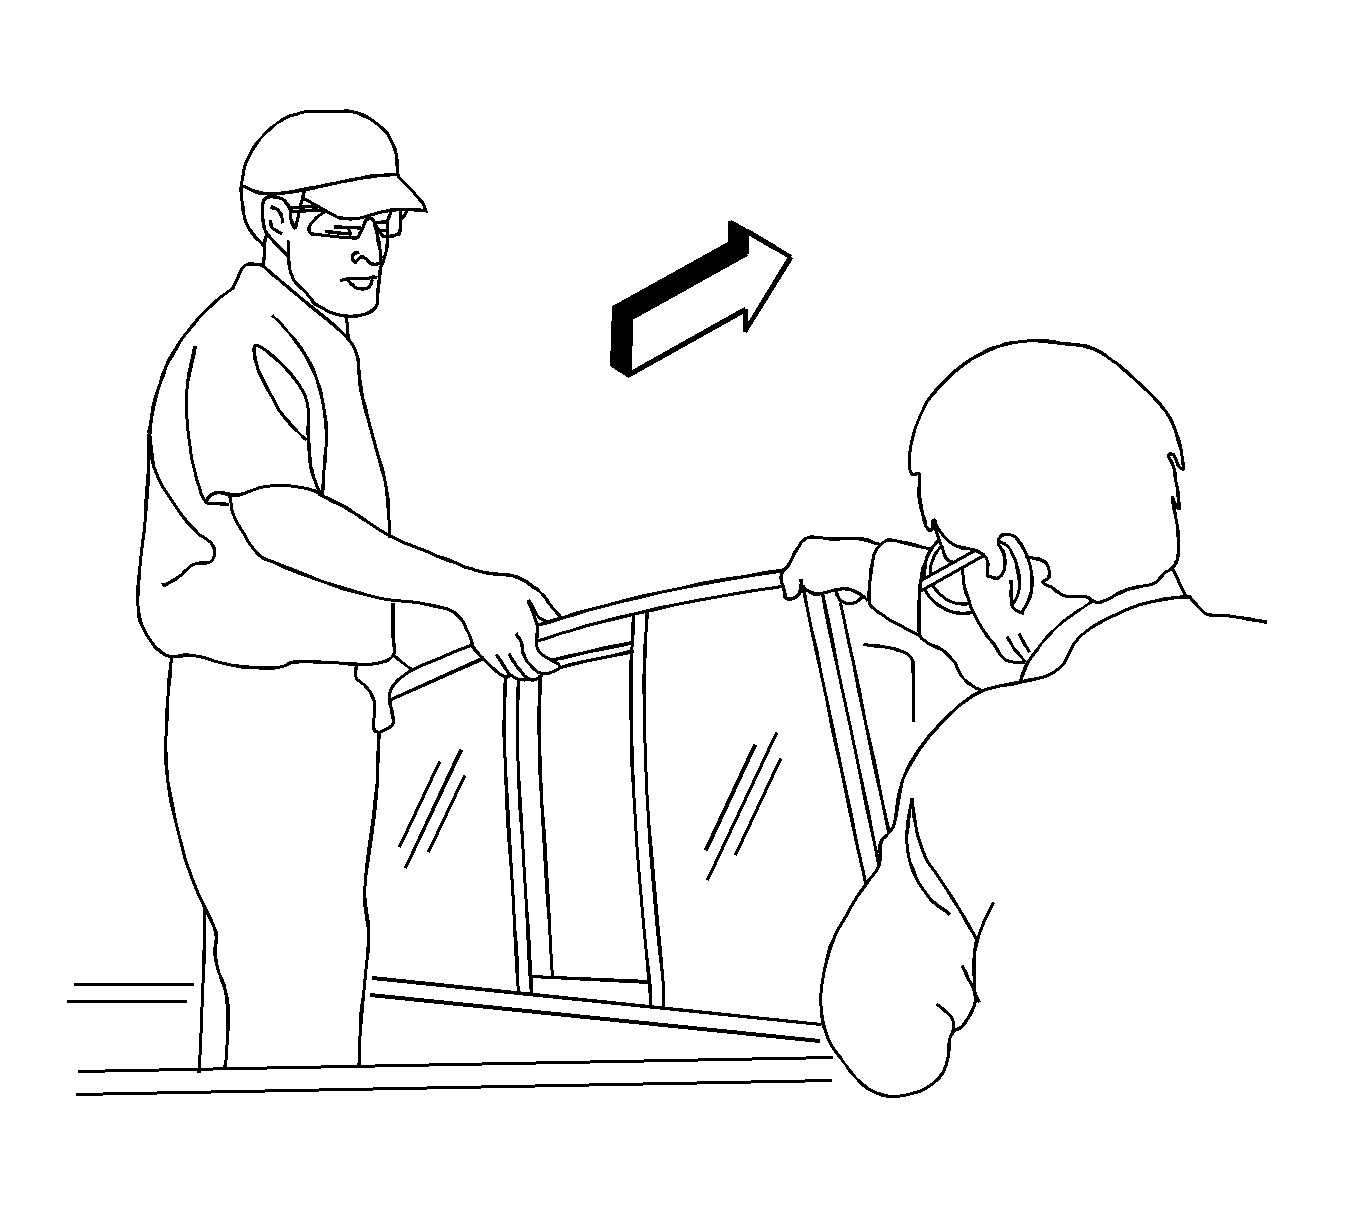
- With the aid of an assistant, remove the window from the opening.
Installation Procedure

Important: When installing rear windows, install from the inside of the vehicle.
- With the aid of an assistant, install the rear window into the opening.
- Install the window lower garnish molding, if equipped. Refer to
Rear Window Garnish Molding Replacement
.
Notice: Refer to Fastener Notice in the Preface section.
- Install the 4 bolts that hold the passenger seat back to the seat base.
Tighten
Tighten the bolts to 18 N·m (13 lb ft).
- Remove the assist rod.
- Lower the seat bottom of the passenger 60/40 seat.
- Raise the rear seat backs to their upright position.
- Remove the double layer of masking tape around the perimeter of the painted surfaces and interior trim.


