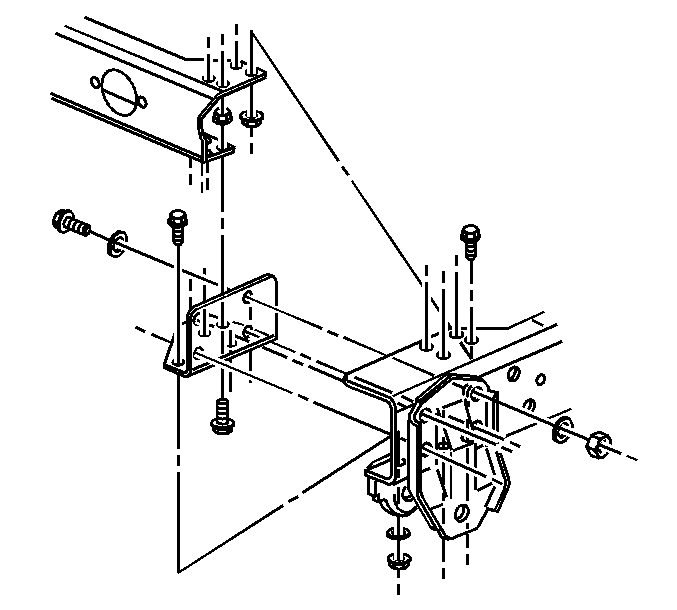
For 1990-2009 cars only
Removal Procedure
- Remove the cooling layer. Refer to Cooling Layer Removal.
- Remove the wires and the cables.
- Remove any other lines that are connected to the crossmember.
- Remove the brackets and the valves that may be attached to crossmember.
- Support the crossmember and the front spring hangers.
- Remove the crossmember.

Remove the bolts that are holding the crossmember to the frame rails.
Installation Procedure
- Position and support the crossmember in the frame rails.
- Apply a medium strength threadlocker, GM P/N 12345382 (Canadian P/N 10953489) to the threads of the bolts.
- Connect the crossmember to the frame rails with the bolts, the washers, and the nuts.
- Remove the supports for the crossmember and the front spring hangers.
- Install the brackets and the valves.
- Install any other lines that were previously removed.
- Install the wires and the cables.
- Install the cooling layer. Refer to Cooling Layer Installation.
Caution: Refer to Fastener Caution in the Preface section.

Tighten
Tighten the bolts to 100 N·m (74 lb ft).
