For 1990-2009 cars only
Air Compressor Replacement RPO L18
Tools Required
J 42971 Quick Disconnect Tool
Removal Procedure
- Apply the parking brake.
- Block the wheels.
- Drain all of the air reservoirs. Refer to Air Brake Reservoir Draining .
- Drain the engine coolant to below the level of the air compressor. Refer to Cooling System Draining and Filling .
- Remove the power steering line and bracket as needed.
- Remove the air compressor belt.
- Remove the air compressor discharge pipe at the air compressor, using a J 42971 .
- Remove the air compressor governor line at the air compressor.
- Remove the air compressor water inlet hose at the air compressor using a J 42971 .
- Remove the air compressor water outlet hose at the air compressor using a J 42971 .
- Remove the air compressor oil inlet hose at the air compressor, using a J 42971 .
- Remove the air compressor oil outlet hose at the air compressor, using a J 42971 .
- Remove the air compressor front bracket.
- Remove the air compressor using the following procedure:
- Clean the exterior of the air compressor with the engine degreaser GM P/N 1050436 (Canadian P/N 992878) or the equivalent.
- Dry the air compressor immediately with compressed air.
- Inspect the air compressor belt. Replace the air compressor belt, if needed.
- Inspect all of the brackets for wear or damage. Replace the brackets, if needed.
- Inspect all of the hoses for damage or leaking. Replace the hoses, if damaged or leaking.
- Inspect the air compressor pulley for damage. Replace the air compressor pulley if damage is detected.
- Inspect the air compressor for cracks or damage. Replace the air compressor, if needed.
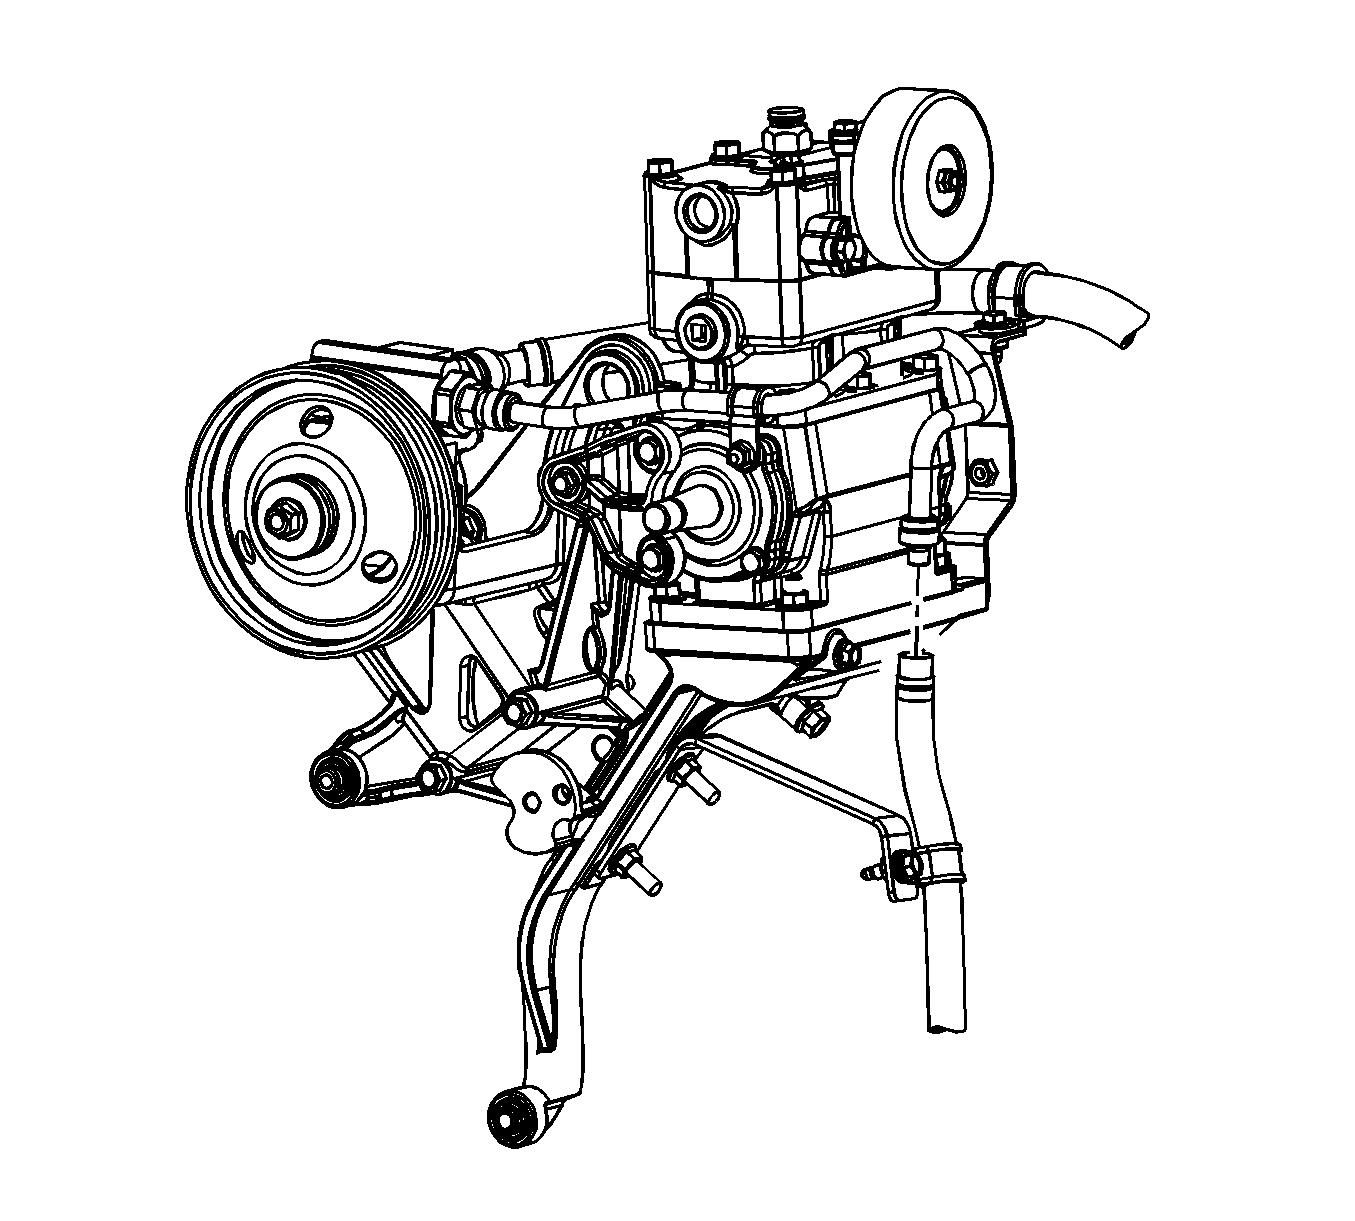
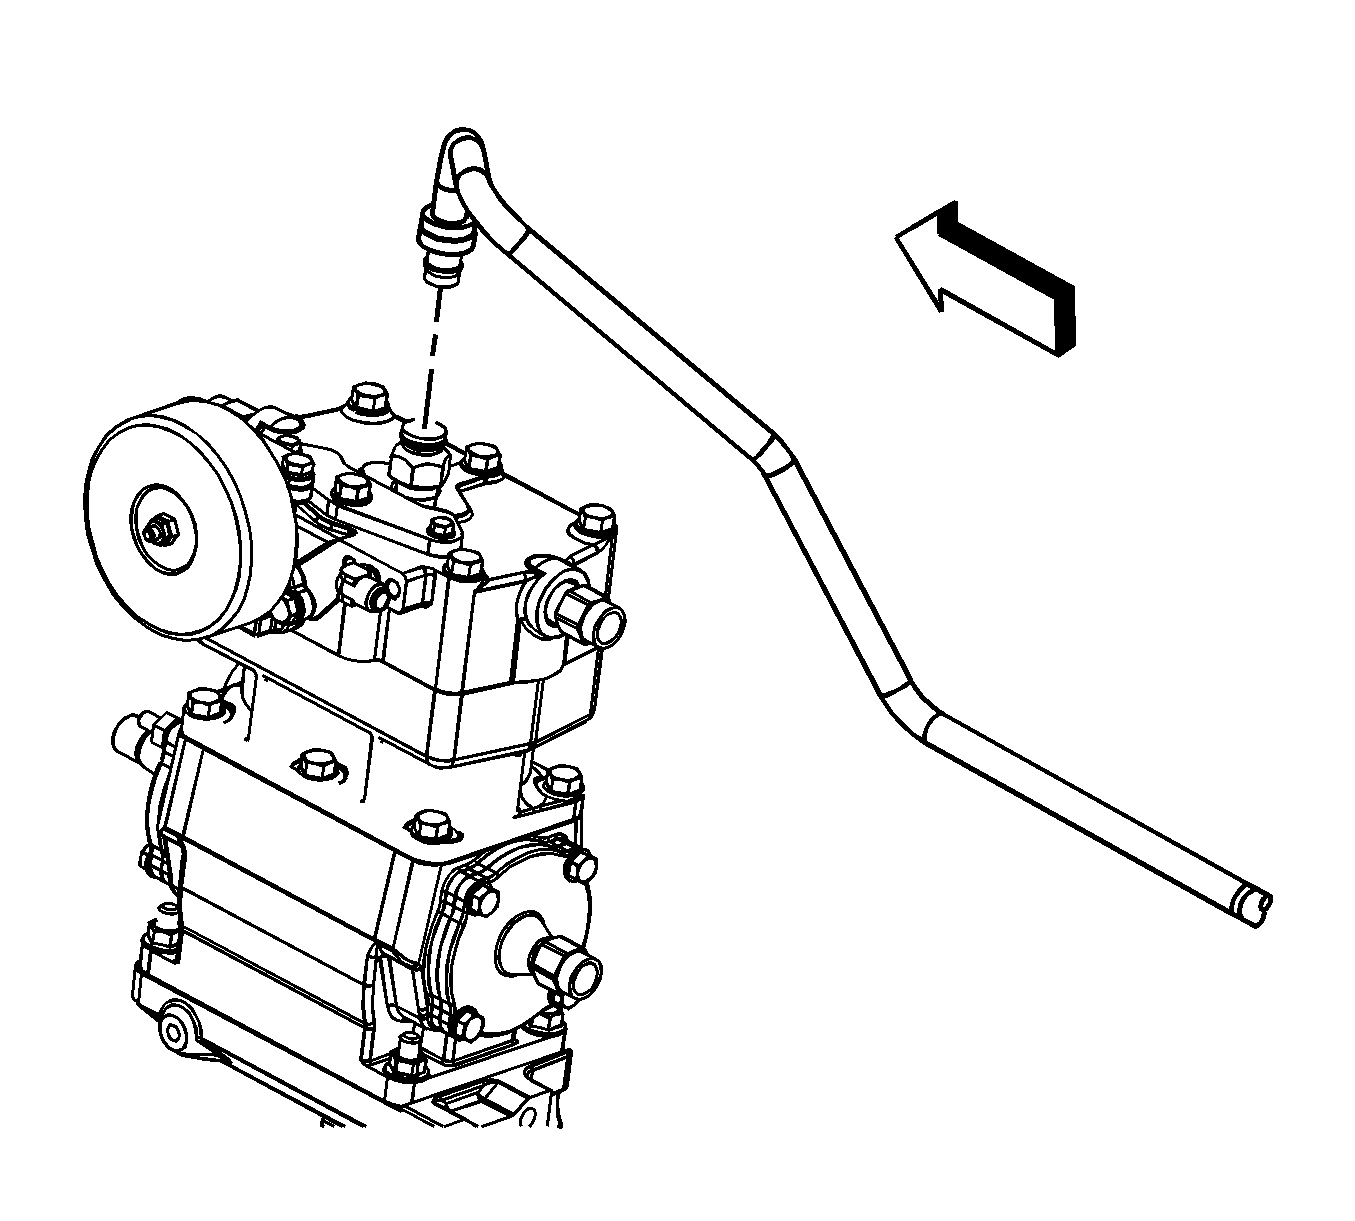
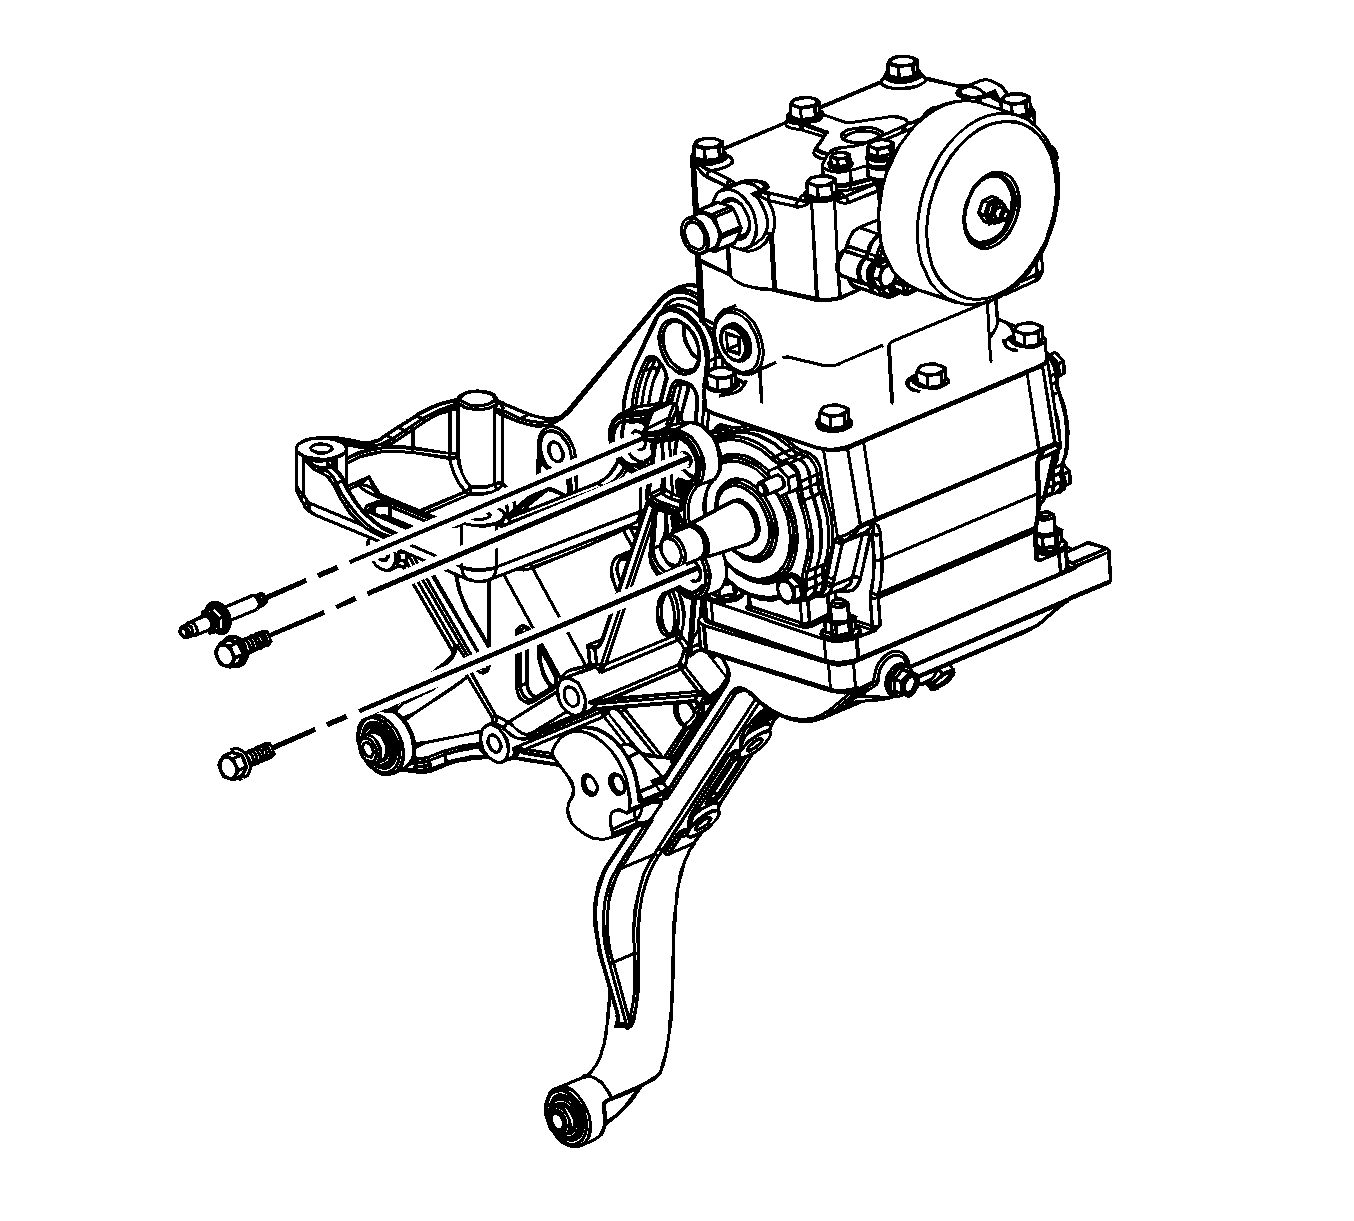
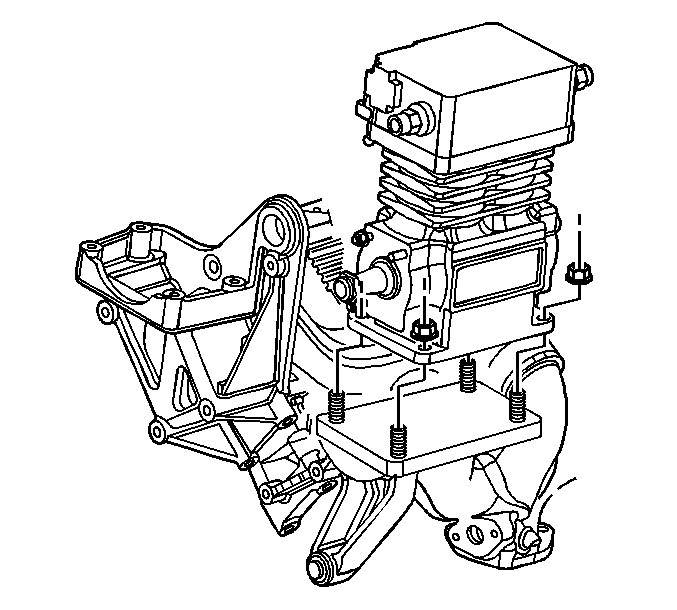
| 14.1. | Support the air compressor. |
| 14.2. | Remove the air compressor nuts and washers. |
| 14.3. | Lift the air compressor from the air compressor support bracket. |
Installation Procedure
- Install a new air compressor gasket.
- Install the air compressor by loosely installing the air compressor to the air compressor bracket with the air compressor bracket nuts and washers.
- Install the air compressor front bracket.
- Install the air compressor water outlet hose at the air compressor.
- Install the air compressor water inlet hose at the air compressor.
- Install the governor air line at the air compressor.
- Install the air compressor belt.
- Install the air compressor discharge front pipe at the air compressor.
- Install the air compressor oil outlet hose at the air compressor.
- Install the air compressor oil inlet hose at the air compressor.
- Install the power steering lines and brackets as needed.
- Fill the engine cooling system. Refer to Cooling System Draining and Filling .
- Check the engine oil level fill as necessary.
- Inspect for air leaks. Refer to Air Brake System Testing .
- Inspect for the proper brake operation.
- Remove the wheel blocks.

Notice: Refer to Fastener Notice in the Preface section.
Tighten
Tighten the nuts to 60 N·m (44 lb ft).

Tighten
Tighten the bolt to 25 N·m (18 lb ft).


Air Compressor Replacement RPO LG4, LF8
Tools Required
J 42971 Quick Disconnect Tool
Removal Procedure
- Apply the parking brake.
- Block the wheels.
- Drain all of the air reservoirs. Refer to Air Brake Reservoir Draining .
- Drain the engine coolant to below the level of the air compressor. Refer to Cooling System Draining and Filling .
- Remove the air compressor discharge pipe at the air compressor, using a J 42971 .
- Remove the air compressor governor line at the air compressor.
- Remove the power steering pump. Refer to Power Steering Pump Replacement .
- Remove the air compressor inlet hose at the air compressor using a J 42971 .
- Remove the air compressor water inlet hose at the air compressor using a J 42971 .
- Remove the air compressor water outlet hose at the air compressor using a J 42971 .
- Remove the air compressor oil inlet hose at the air compressor.
- Remove the air compressor using the following procedure:
- Remove and discard the used air compressor gasket.
- Clean the exterior of the air compressor with the engine degreaser GM P/N 1050436 (Canadian P/N 992878) or the equivalent.
- Dry the air compressor immediately with compressed air.
- Inspect all of the hoses for damage or leaking. Replace the hoses, if damaged or leaking.
- Inspect the air compressor for cracks or damage. Replace the air compressor, if needed.
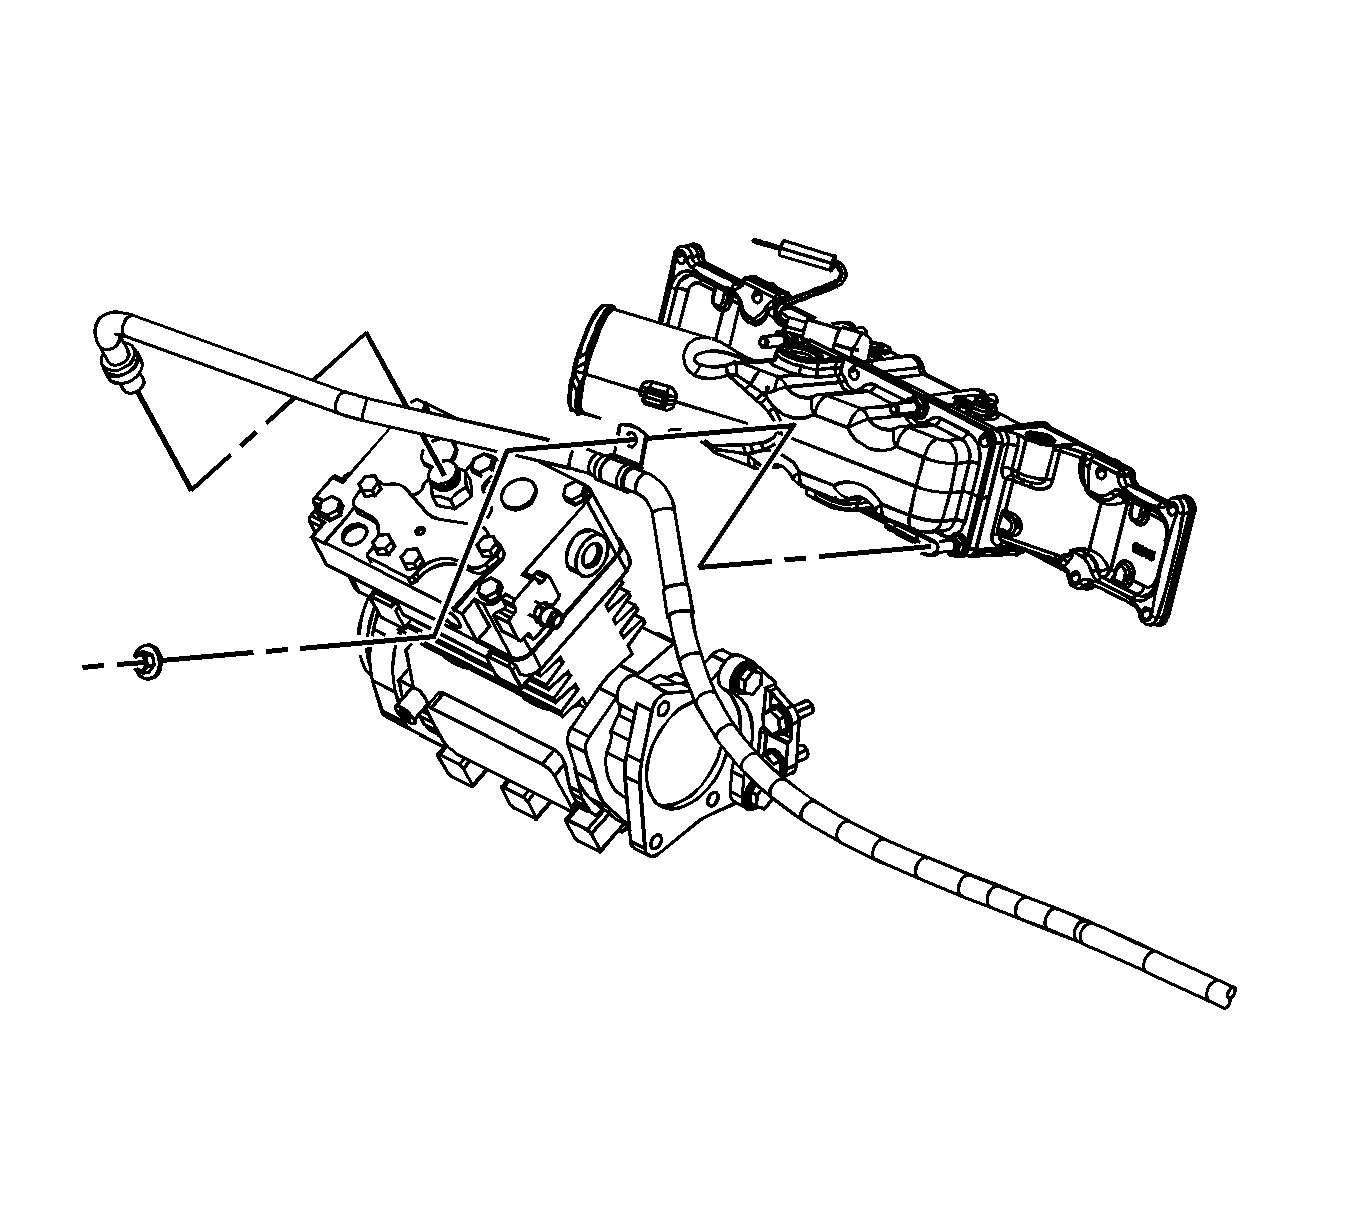
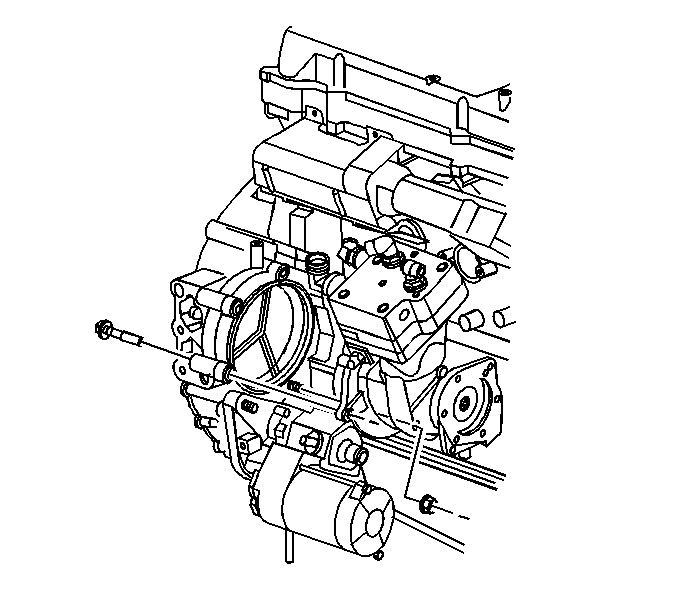
| 12.1. | Support the air compressor. |
| 12.2. | Remove the air compressor bolts. |
| 12.3. | Remove the air compressor. |
Installation Procedure
- Install a new compressor O-ring at the front of the compressor. Apply lubricant to the O-ring using GM P/N 9985007 or equivalent.
- Install the air compressor.
- Install the air compressor oil inlet hose at the air compressor.
- Install the air compressor water outlet hose at the air compressor.
- Install the air compressor water inlet hose at the air compressor.
- Install the air compressor air inlet hose at the air compressor.
- Install the air compressor discharge front pipe and governor line at the air compressor.
- Fill the engine cooling system. Refer to Cooling System Draining and Filling .
- Fill the engine oil as needed.
- Inspect for air leaks. Refer to Air Brake System Testing .
- Inspect for the proper brake operation.
- Remove the wheel blocks.
Notice: Refer to Fastener Notice in the Preface section.

Tighten
Tighten the air compressor bolts to 60 N·m (44 lb ft).

