For 1990-2009 cars only
Removal Procedure
- Drain the fuel from the tank. Refer to Fuel Tank Draining .
- If equipped with an air tank, loosen the air tank clamp nuts and position the air tank to gain access to the fuel tank supports.
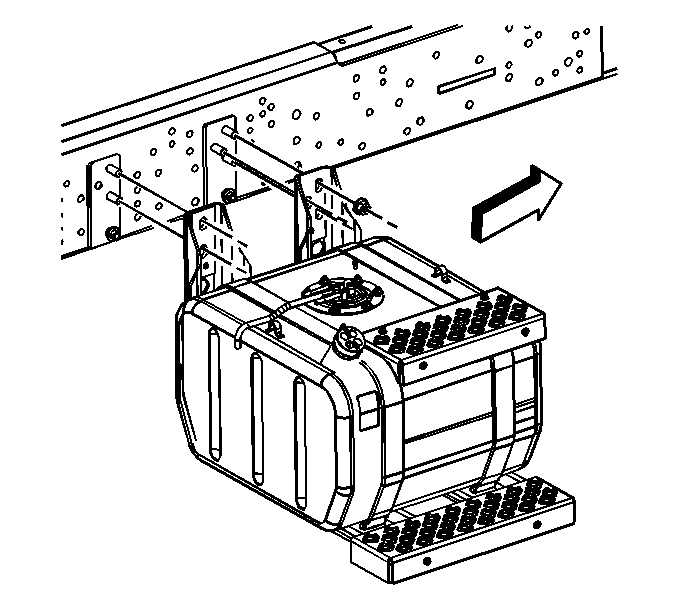
- Support the fuel tank .
- Remove the fuel tank support nuts .
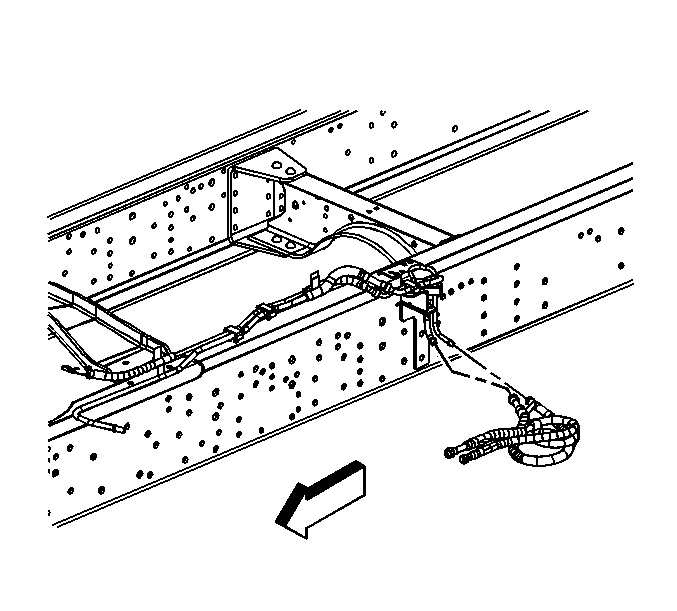
- Lower the fuel tank enough to disconnect the fuel lines and electrical connector.
- Disconnect the fuel and evaporative emission (EVAP) lines. Refer to Metal Collar Quick Connect Fitting Service .
- Disconnect the fuel sender assembly electrical connector.
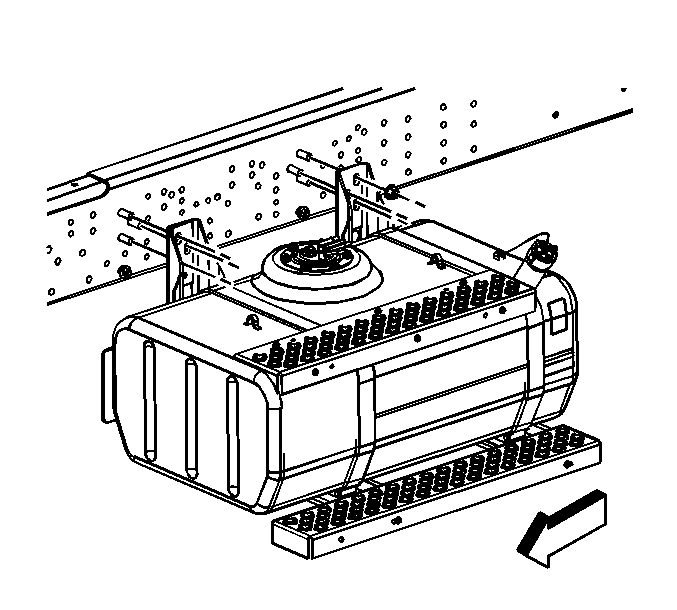
- Remove the fuel tank with the fuel tank supports from the frame rail.
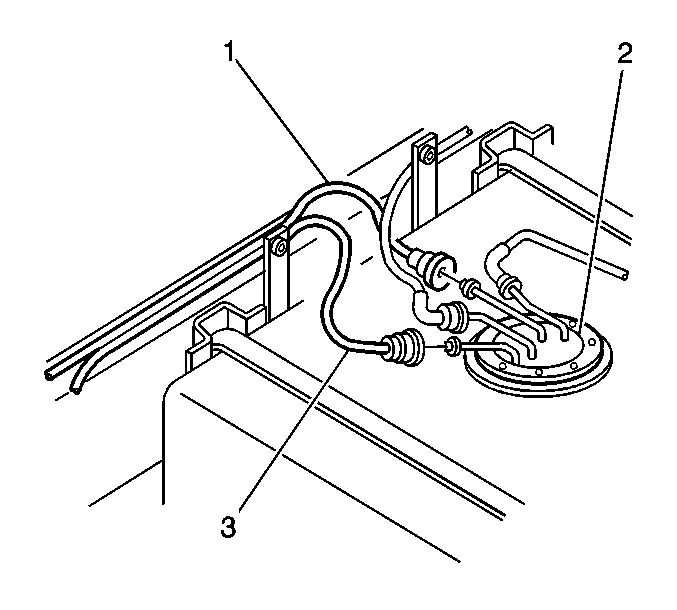
- Remove the fuel feed and return the line coils (1, 3) from the sending unit (2). Refer to Metal Collar Quick Connect Fitting Service .
- Remove the fuel sender assembly if replacing or servicing the tank. Refer to Fuel Sender Assembly Replacement .
- Remove the fuel tank steps. Refer to Step Replacement .
- Remove the nuts, washers, and both fuel tank straps and supports from the fuel tank.
- Remove the nut and the fuel sender assembly ground lead from the fuel tank. Note the position of ground lead for installation.
- Remove the fuel cap chain retainer and fuel cap if the fuel tank is being replaced.
- Purge the tank if the tank is being serviced. Refer to Fuel System Cleaning .


Important: The fuel lines are not designed to uncoil and flex to provide added ease of removal. It may be necessary to remove the tape around the fuel line coil to gain more access.

Installation Procedure
- Install the fuel sender assembly if replacing or servicing the tank. Refer to Fuel Sender Assembly Replacement .
- Install the fuel tank ground lead.
- Install the fuel feed and return the line coils (1, 3) from the sending unit (2). Refer to Metal Collar Quick Connect Fitting Service .
- Install the fuel tank chain to the fuel tank with the retainer, if removed.
- Install the fuel tank onto the fuel tank supports with the strap to the fuel tank supports.
- Install the fuel tank strap nuts and the washers .
- Reconnect the fuel sender assembly electrical connector.
- Install the fuel feed, fuel return , and EVAP lines to the fuel sender assembly . Refer to Metal Collar Quick Connect Fitting Service .
- If fuel line tape was removed, tape the fuel line coil.
- Install the fuel tank supports to the frame with 2 anchor plates and 6 nuts.
- Slide the fuel tank into position and support the fuel tank.
- Install the fuel tank steps. Refer to Step Replacement .
- If equipped with an air tank, reposition the air tank and tighten the air tank clamp nuts.
- Refill the fuel tank.
- Inspect for leaks.
Notice: Refer to Fastener Notice in the Preface section.
Tighten
Tighten the nut to 9 N·m (7 lb ft).
Tighten
Tighten the nuts to 25 N·m (18 lb ft).


Tighten
Tighten nuts to 175 N·m (129 lb ft).
Tighten
Tighten the primary air brake supply reservoir support strap nuts to 13 N·m (115 lb in).
