Special Tools
| • | J 24420-C Harmonic Balancer Puller |
| • | J 42845 Crankshaft Balancer Installer |
| • | J 42847 Flywheel Holding Tool |
Removal Procedure
- Remove cooling layer. Refer to Cooling Layer Removal.
- Remove the drive belt. Refer to Drive Belt Replacement.
- Remove the starter motor. Refer to Starter Motor Replacement.
- Install the J 42847 to the starter bolt holes.
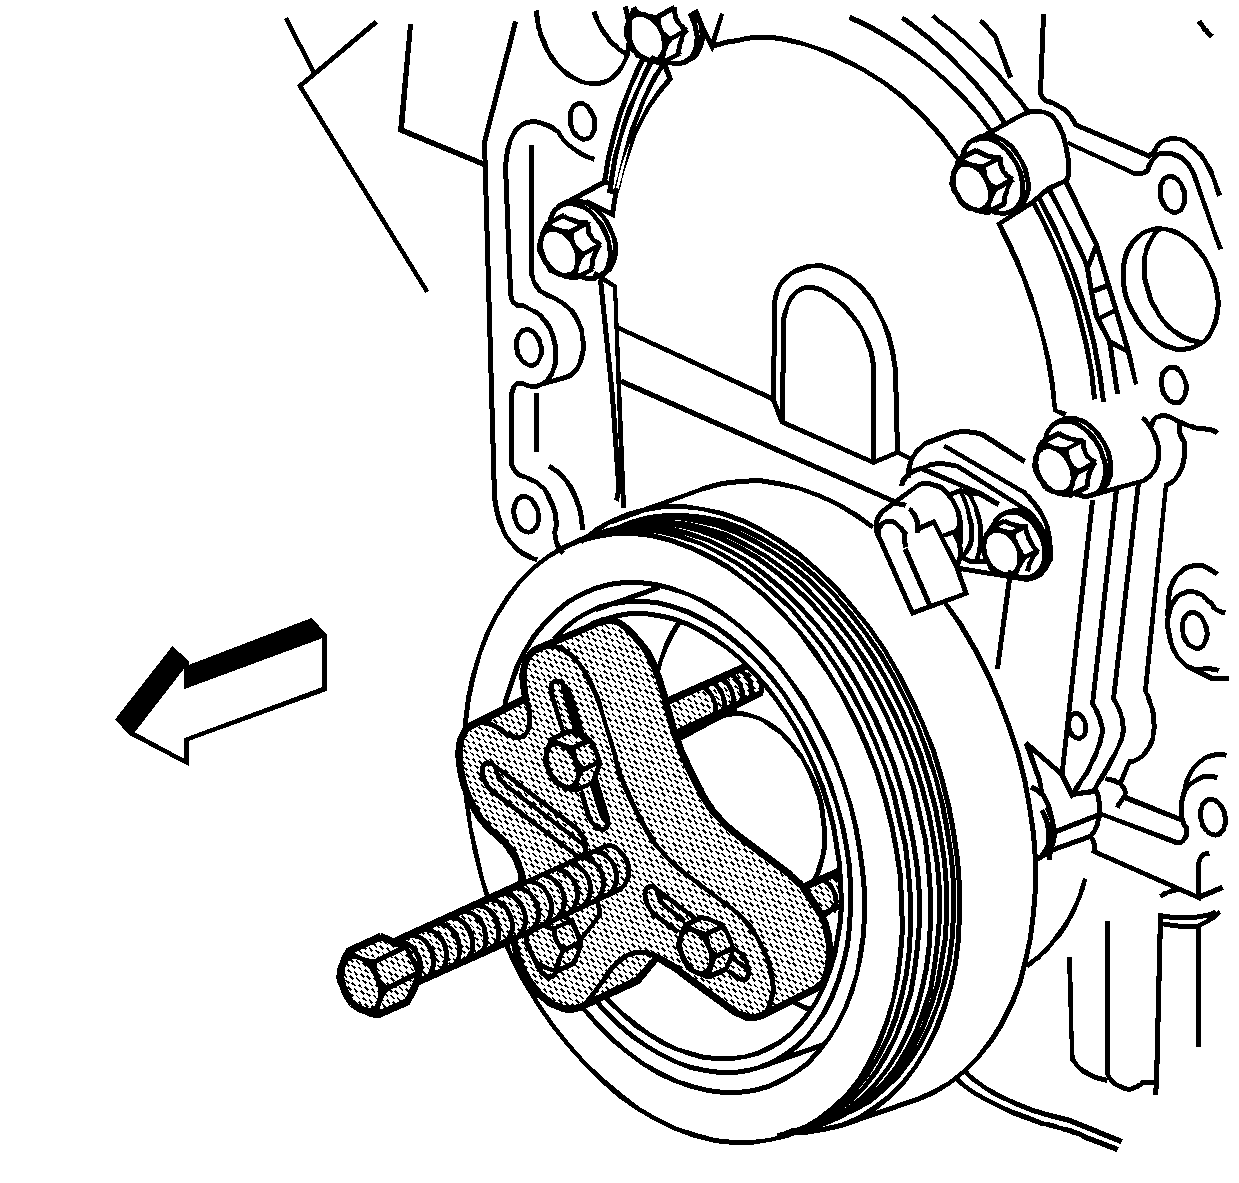
- Install the J 24420-C or equivalent onto the crankshaft balancer.
- Tighten the center screw of the J 24420-C until the crankshaft balancer is clear of the crankshaft nose.
- Remove the crankshaft balancer.
- Clean and inspect the crankshaft balancer.

Caution: Refer to Fastener Caution in the Preface section.
Note: Ensure the teeth of the flywheel holding tool engage the engine flywheel teeth.
Tighten
Tighten the
J 42847 bolts to 50 N·m (37 lb ft).

Installation Procedure
Note:
• The balancer should be positioned onto the end of the crankshaft as straight as possible prior to tool installation. • Apply grease or clean engine oil to the inside of the crankshaft balancer or the end of the crankshaft, to prevent galling during assembly.
- Install the balancer onto the end of the crankshaft.
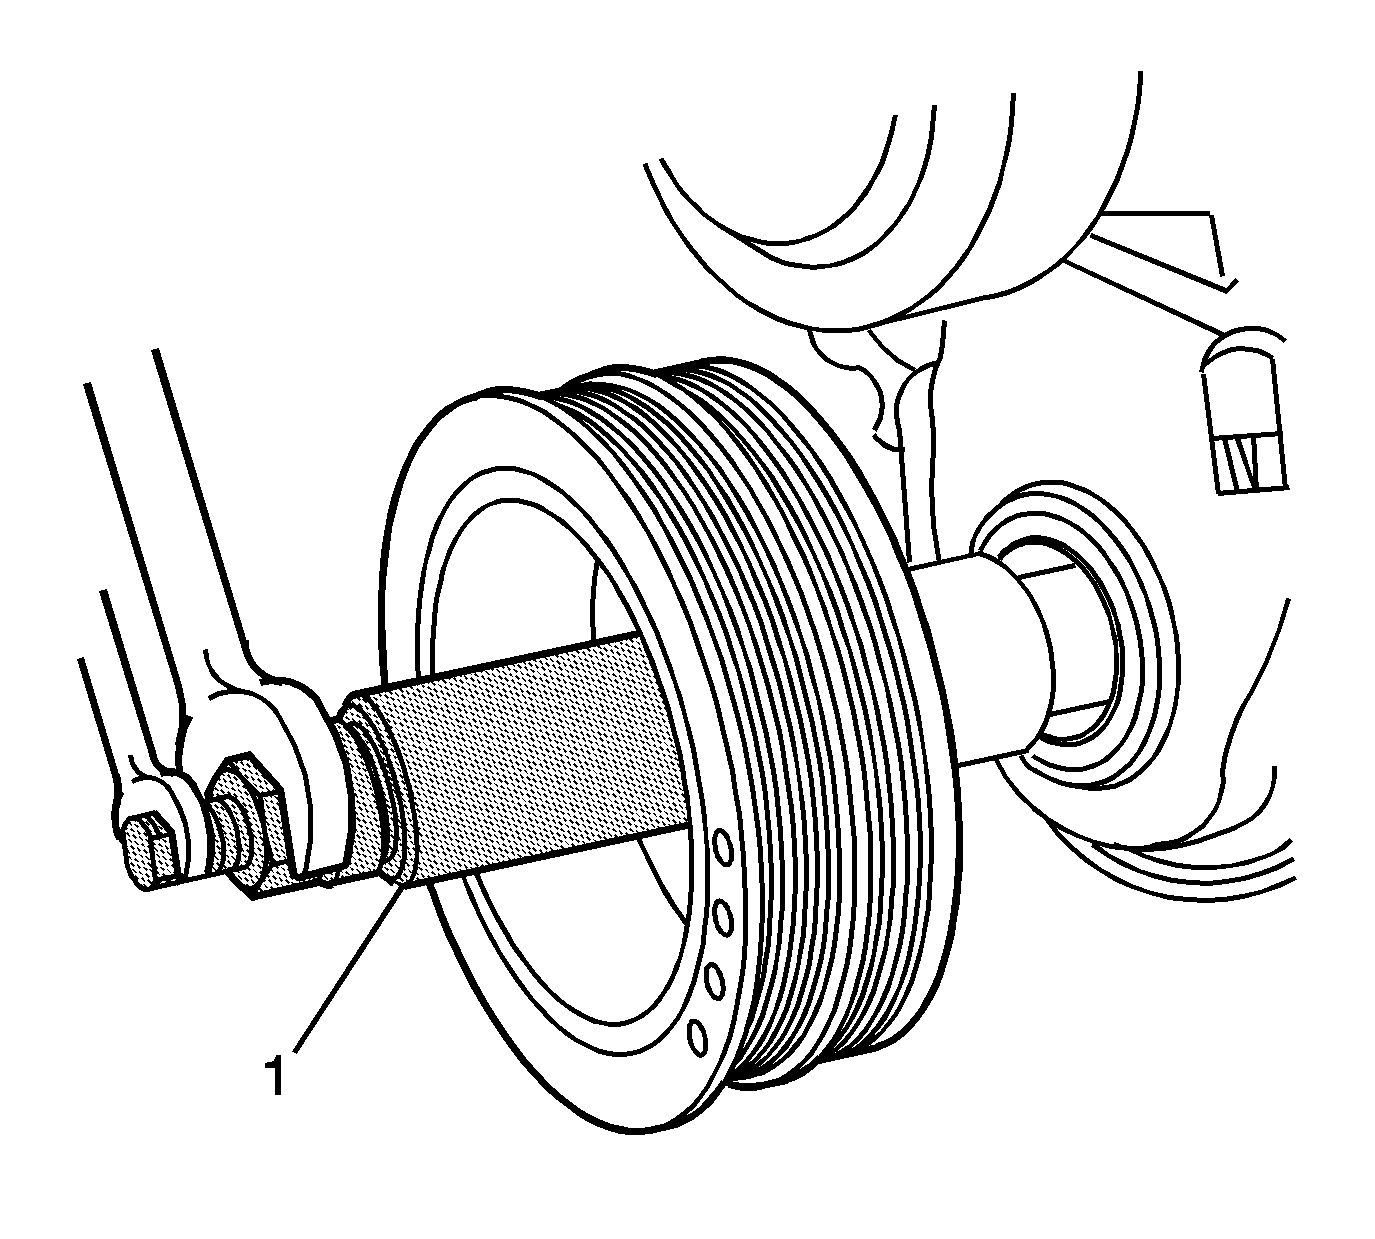
- Install J 42845 (1) to the crankshaft balancer.
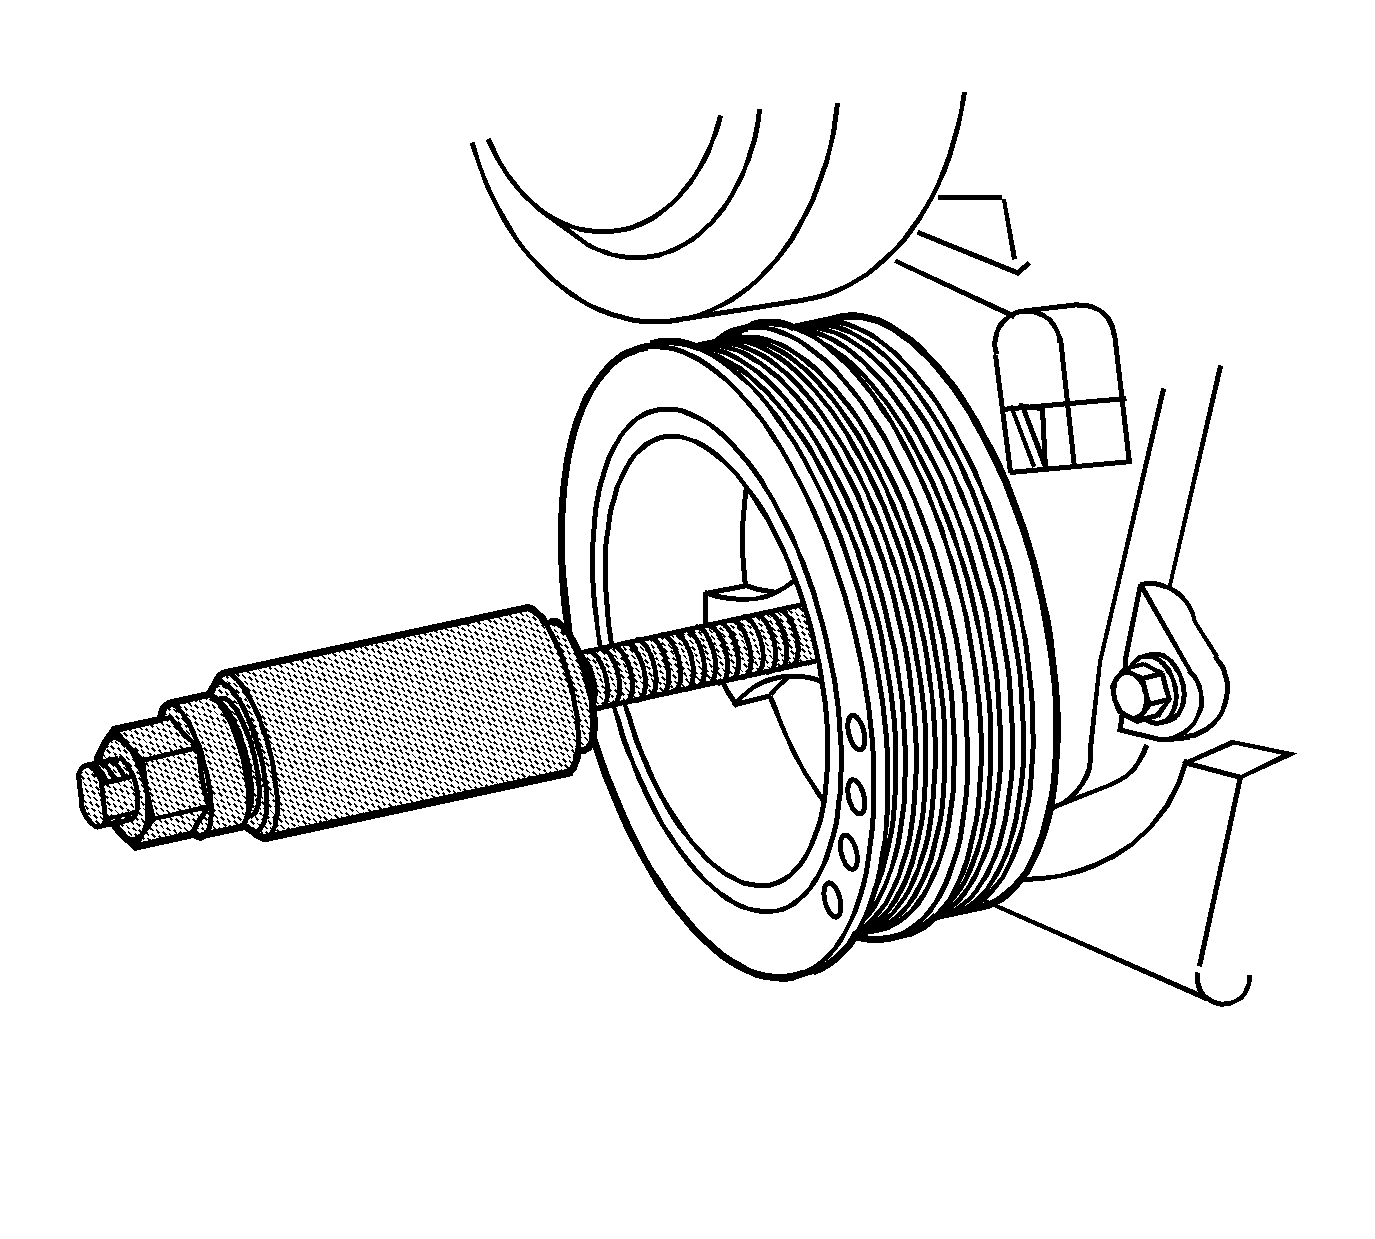
- Using J 42845 install the balancer.
- Tighten the J 42845 until the crankshaft balancer is completely seated against the crankshaft sprocket.
- Remove the J 42845 from the crankshaft.
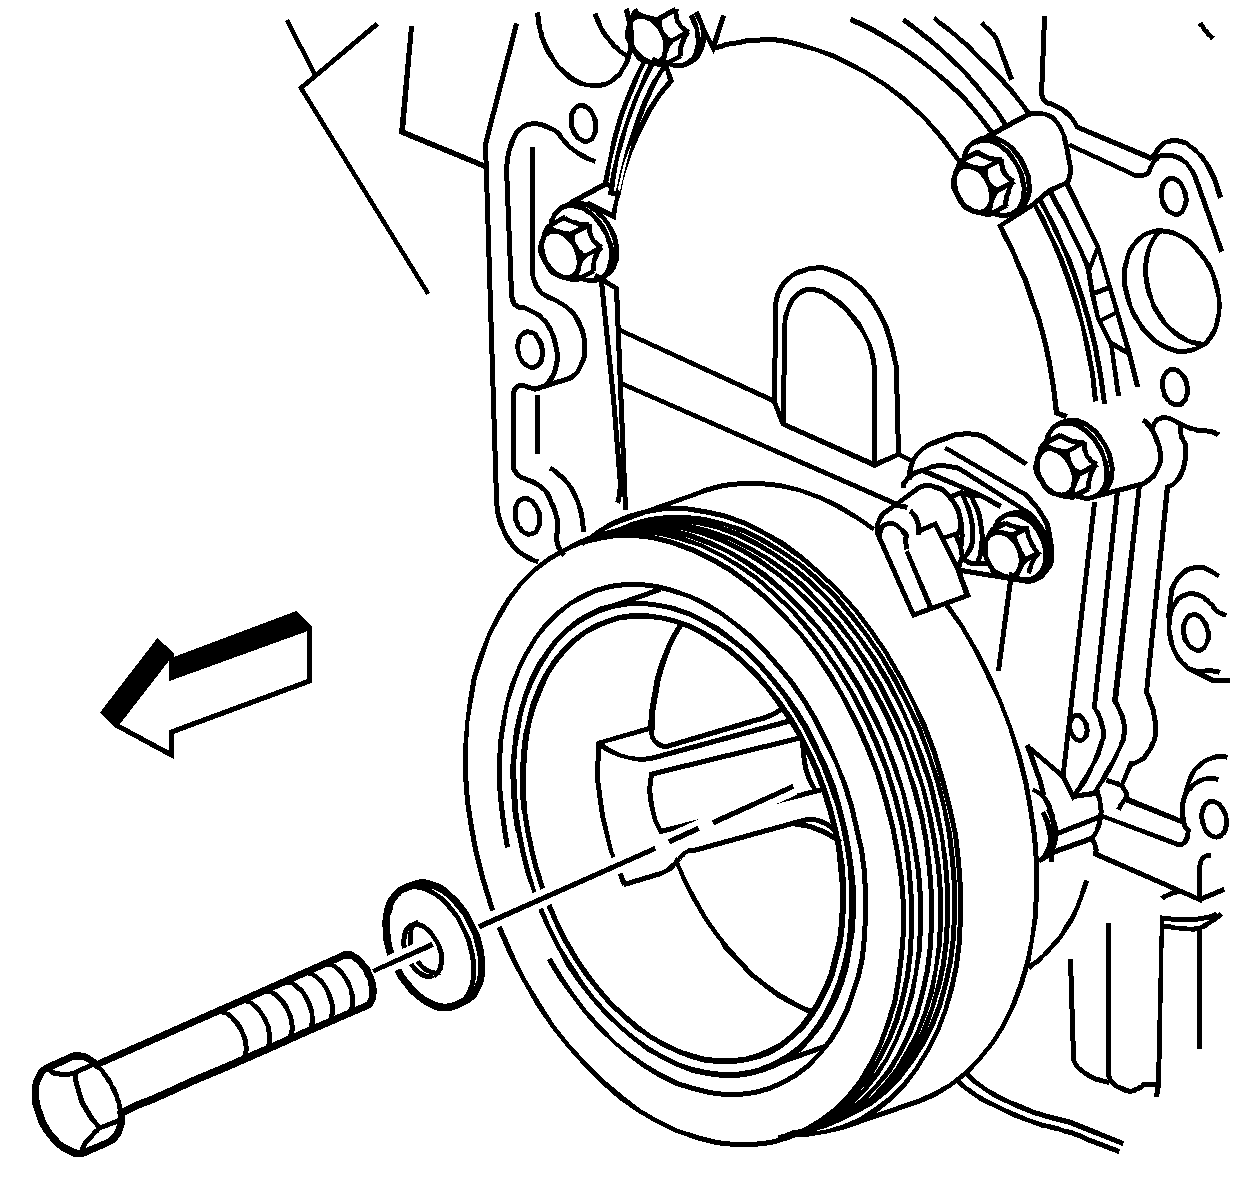
- Install the crankshaft washer and bolt.
- Remove the J 42847 .
- Install the starter motor. Refer to Starter Motor Replacement.
- Install the drive belt. Refer to Drive Belt Replacement.
- Install the cooling layer. Refer to Cooling Layer Installation.

Note: Apply the lubricant that comes with J 42845 each time the tool is used. Failure to lubricate J 42845 may prevent the balancer from installing completely.

Caution: Refer to Fastener Caution in the Preface section.

Tighten
Tighten the crankshaft balancer bolt to 225 N·m (189 lb ft).
