For 1990-2009 cars only
Removal Procedure
Warning: Refer to Brake Dust Warning in the Preface section.
Caution: A new brake drum must have the protective coating removed from the friction surface before being placed in service. Use denatured alcohol or an equivalent approved brake cleaner, and wipe the surface clean with clean cloths. Do not use gasoline, kerosene or other oil base solvents that can leave an oily residue. This residue is damaging to brake linings and is flammable.
- Raise and support the vehicle. Refer to Lifting and Jacking the Vehicle.
- Remove the tires and the wheel assembly. Refer to Tire and Wheel Removal and Installation.
- Cage the rear air brake chamber. Refer to Caging the Rear Air Brake Chamber.
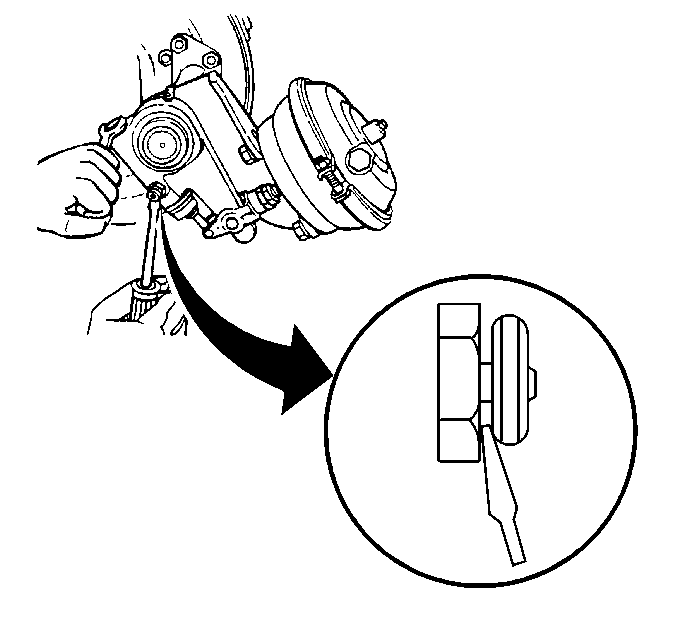
- Release the air brake automatic slack adjuster fully in order to retract the shoes then the air drum will clear the brake linings.
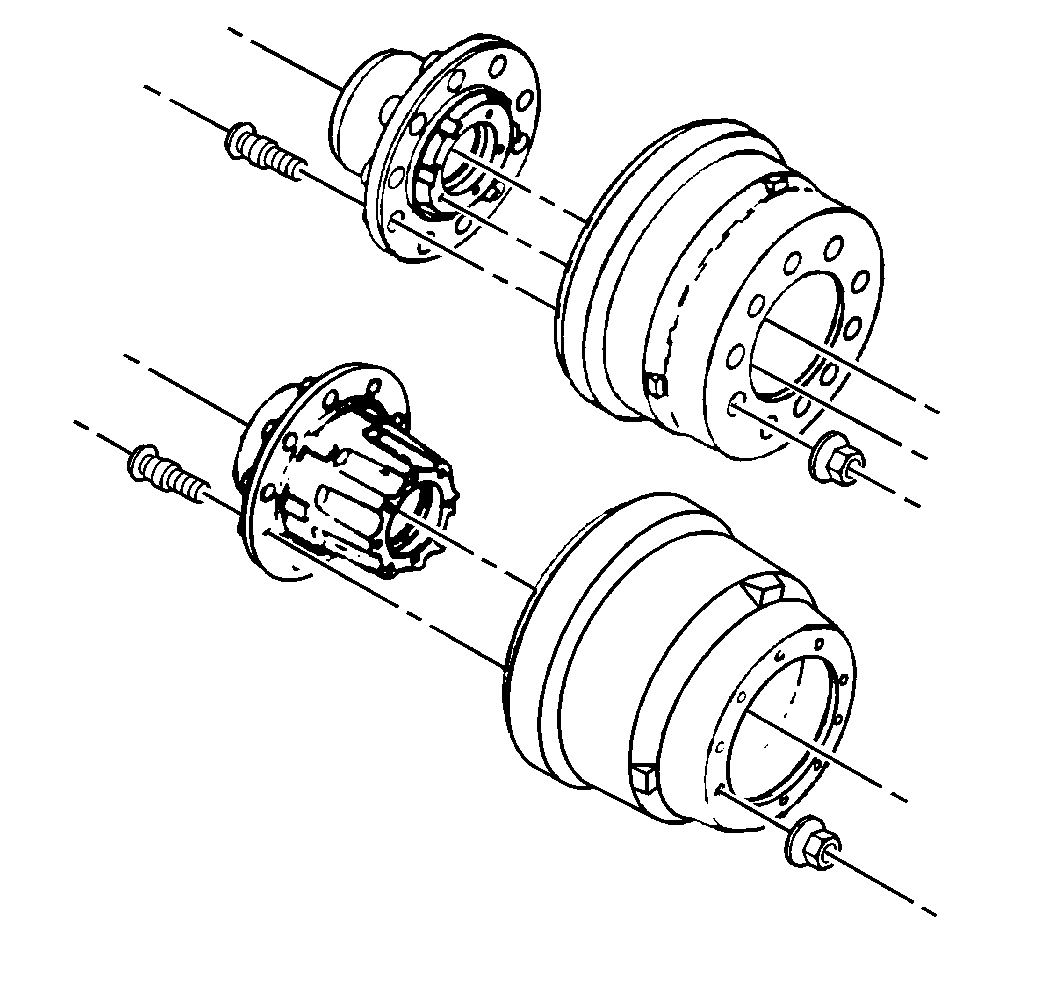
- Slide the air drum from the hub, outboard mounted.
- Clean the air drum using denatured alcohol or an equivalent.
- Inspect the air drum. Refer to Brake Drum Inspection.

| 4.1. | Disengage the pawl with a screwdriver. |
| 4.2. | Turn the air brake automatic slack adjuster adjusting nut until the brakes shoes are fully retracted. |
| 4.3. | Release the pawl in order to snap the pawl into engagement after the brake shoes have retracted. |

Installation Procedure
- Slide the air drum onto the hub, outboard mounted.
- Adjust the wheel bearings if needed. Refer to Wheel Bearing Adjustment.
- Install the tire and the wheel assembly. Refer to Tire and Wheel Removal and Installation.
- Adjust the brakes. Refer to Air Drum Brake Adjustment.
- Remove the supports.
- Lower the vehicle. Refer to Lifting and Jacking the Vehicle.
- Check the brakes for the proper operation.

