Headlamp Assembly or Headlamp Bulb Replacement Avalanche
Removal Procedure
Caution: Halogen bulbs contain gas under pressure. Handling a bulb improperly
could cause it to shatter into flying glass fragments. To help avoid personal
injury:
• Turn off the lamp switch and allow the bulb to cool before changing
the bulb. • Leave the lamp switch OFF until the bulb change is complete. • Always wear eye protection when changing a halogen bulb. • Handle the bulb only by its base. Avoid touching the glass. • Keep dirt and moisture off the bulb. • Properly dispose of the used bulb. • Keep halogen bulbs out of the reach of children.
Notice: Avoid touching the bulb or letting the bulb come in contact with anything damp. Oil from your skin or moisture on the bulb can cause the bulb to explode when the bulb is turned on. If either comes in contact with the bulb, clean the bulb with alcohol or a suitable degreaser and wipe the bulb dry.
- Open the hood.
- Remove the park/turn signal lamp assembly. Refer to Parking and Turn Signal Lamp Replacement .
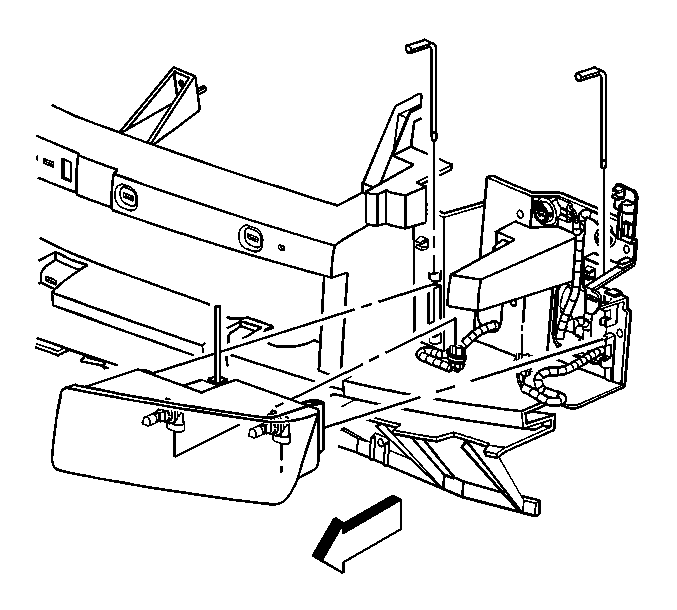
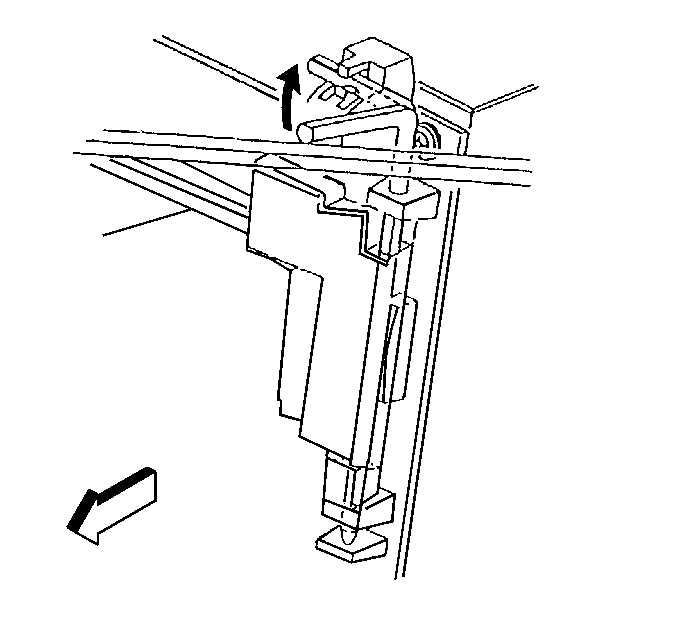
- Remove the headlamp retainer pins.
- Pull out the headlamp assembly in order to access the electrical connector.
- Disconnect the electrical connector.
- Remove the bulb from the headlamp assembly by twisting the bulb counterclockwise.
Installation Procedure
- Install the new bulb to the headlamp assembly by twisting the bulb clockwise in order to lock in place.
- Connect the electrical connector to the bulb.
- Install the headlamp assembly.
- Install the headlamp retainer pins.
- Rotate and lock the pins in place.
- Install the park/turn signal lamp assembly. Refer to Parking and Turn Signal Lamp Replacement .
- Inspect the operation.

Important:
• Replace a high beam bulb with another high beam bulb. The high
beam bulb has a red gasket. • Replace a low beam bulb with another low beam bulb. The low beam
bulb has a gray tip and a yellow gasket at the base.
Headlamp Assembly or Headlamp Bulb Replacement Except Avalanche
Removal Procedure
Caution: Refer to Halogen Bulb Caution in the Preface section.
Notice: Refer to Avoid Touching the Bulb Notice in the Preface section.
- Open the hood.
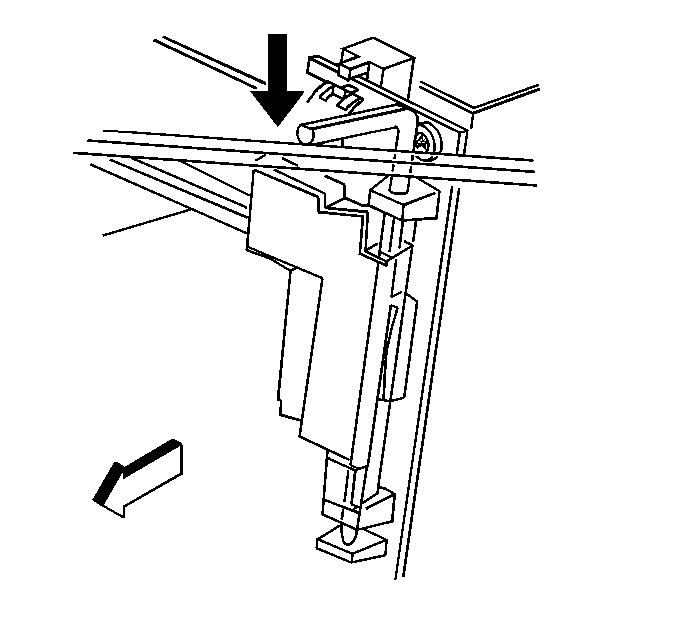
- Rotate the headlamp retainer pins outward.
- Remove the headlamp retainer pins.
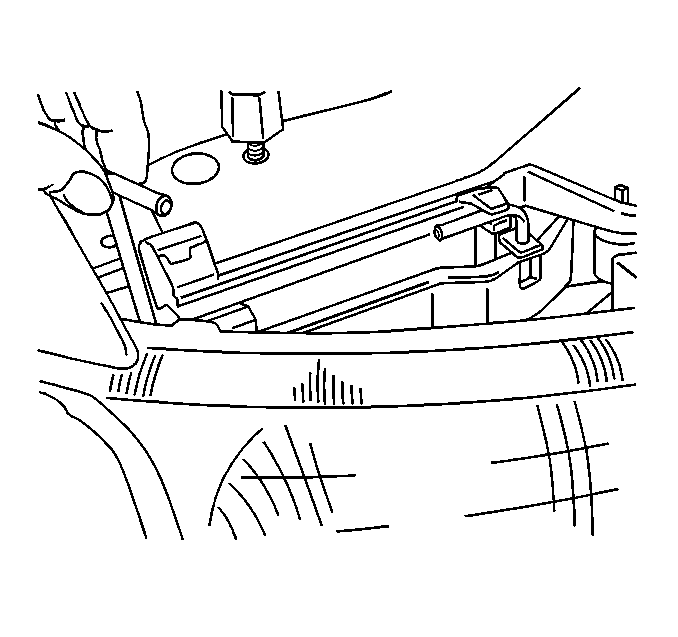
- Pull out the headlamp assembly in order to access the electrical connector.
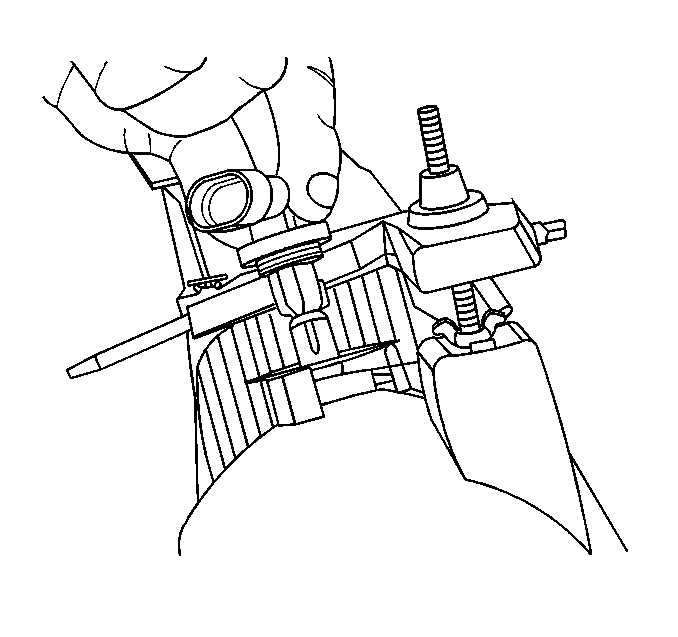
- Disconnect the electrical connector.
- Remove the bulb from the headlamp assembly by twisting the bulb counterclockwise.
Installation Procedure
- Install the new bulb to the headlamp assembly by twisting the bulb clockwise in order to lock in place.
- Connect the electrical connector to the bulb.
- Install the headlamp assembly.
- Install the headlamp retainer pins.
- Rotate inward and lock the pins in place.
- Inspect the operation.

Important:
• Replace a high beam bulb with another high beam bulb. The high beam bulb
has a red gasket. • Replace a low beam bulb with another low beam bulb. The low beam bulb
has a gray tip and a yellow gasket at the base.

Headlamp Assembly or Headlamp Bulb Replacement Cadillac
Removal Procedure
Caution: Halogen bulbs contain gas under pressure. Handling a bulb improperly
could cause it to shatter into flying glass fragments. To help avoid personal
injury:
• Turn off the lamp switch and allow the bulb to cool before changing
the bulb. • Leave the lamp switch OFF until the bulb change is complete. • Always wear eye protection when changing a halogen bulb. • Handle the bulb only by its base. Avoid touching the glass. • Keep dirt and moisture off the bulb. • Properly dispose of the used bulb. • Keep halogen bulbs out of the reach of children.
Notice: Avoid touching the bulb or letting the bulb come in contact with anything damp. Oil from your skin or moisture on the bulb can cause the bulb to explode when the bulb is turned on. If either comes in contact with the bulb, clean the bulb with alcohol or a suitable degreaser and wipe the bulb dry.
- Remove the front grille. Refer to Grille Replacement in Exterior Trim.
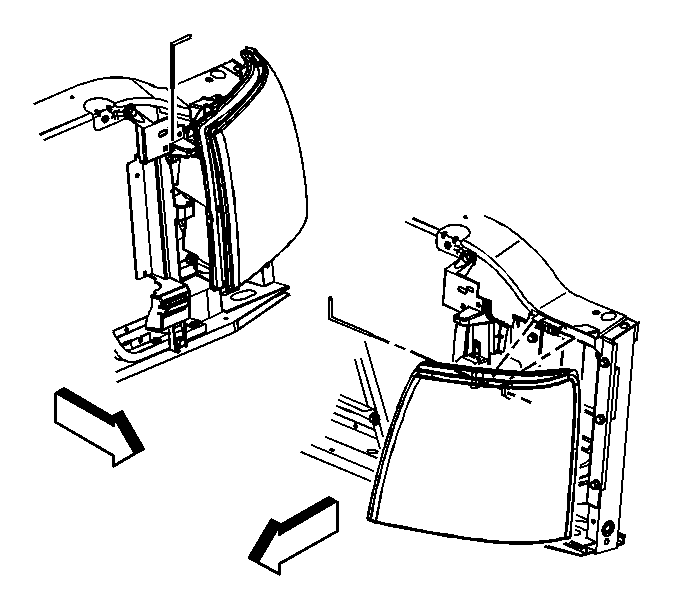
- Remove the headlamp retainer pins.
- Pull out the headlamp assembly in order to access the electrical connector.
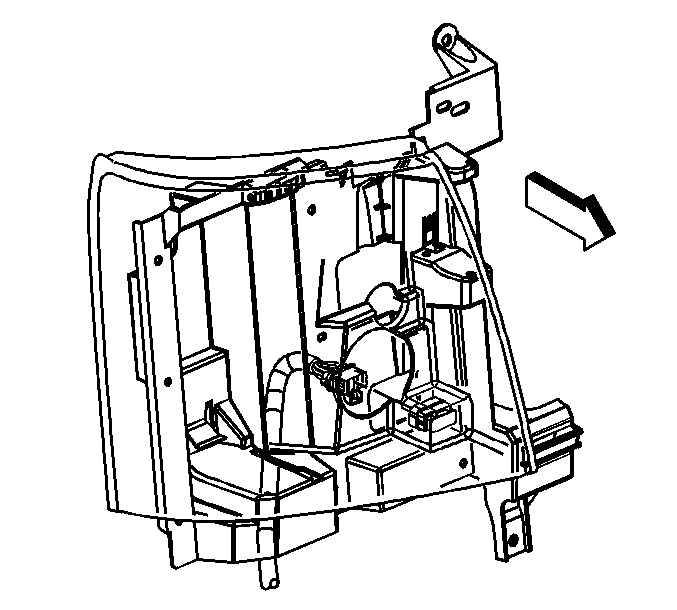
- Disconnect the electrical connector.
- Remove the rubber cup to gain access the headlamp bulbs.
- Remove the bulbs.
Installation Procedure
- Install the bulbs.
- Install the rubber cup.
- Connect the electrical connector to the lamp assembly.
- Install the lamp assembly to the vehicle.
- Install the headlamp assembly retainer pins.
- Install the front grille. Refer to Grille Replacement in Exterior Trim.
Important:
• Replace a high beam bulb with another high beam bulb. The high
beam bulb has a red gasket. • Replace a low beam bulb with another low beam bulb. The low beam
bulb has a gray tip and a yellow gasket at the base.


Headlamp Assembly or Headlamp Bulb Replacement HID
Removal Procedure
Caution: The high intensity discharge system produces high voltage and current.
To reduce the risk of severe shocks and burns:
• Never open the high intensity discharge system ballast or the
arc tube assembly starter. • Never probe between the high intensity discharge system ballast
output connector and the arc tube assembly.
Notice: When removing or replacing the arc tube, the arc tube must not contact the side of the headlamp housing or the bulb shield. Damage to the arc tube may result.
- Remove the front grille. Refer to Grille Replacement in Exterior Trim.
- Remove the headlamp retainer pins.
- Pull out the headlamp assembly in order to access the electrical connector.
- Disconnect the electrical connector.
- Remove the rubber cups to gain access to the headlamp bulbs.
- Remove the bulbs.


Installation Procedure
- Install the bulbs.
- Install the rubber cups.
- Connect the electrical connector to the lamp assembly.
- Install the lamp assembly to the vehicle.
- Install the headlamp assembly retainer pins.
- Install the front grille. Refer to Grille Replacement in Exterior Trim.


