Removal Procedure
- Remove the front filler bolts.

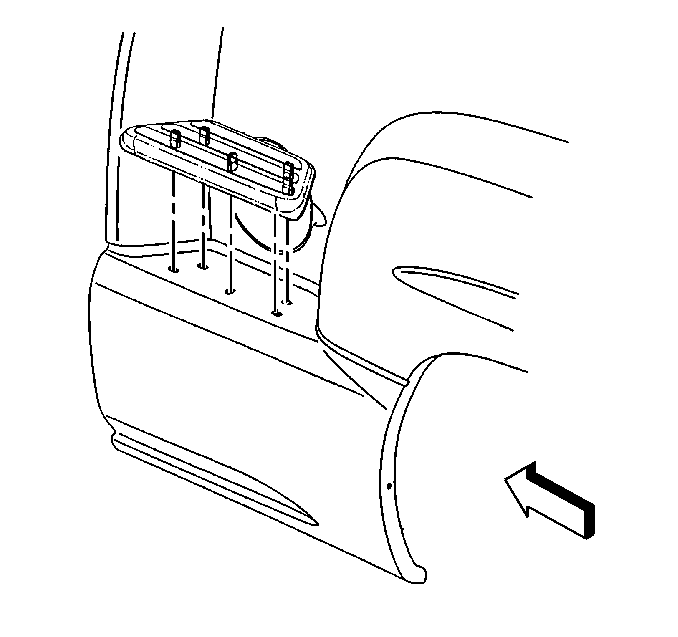
- Remove the step pad.
- Remove the lower fender brace rod bolts.
- Remove the fender step bolts.
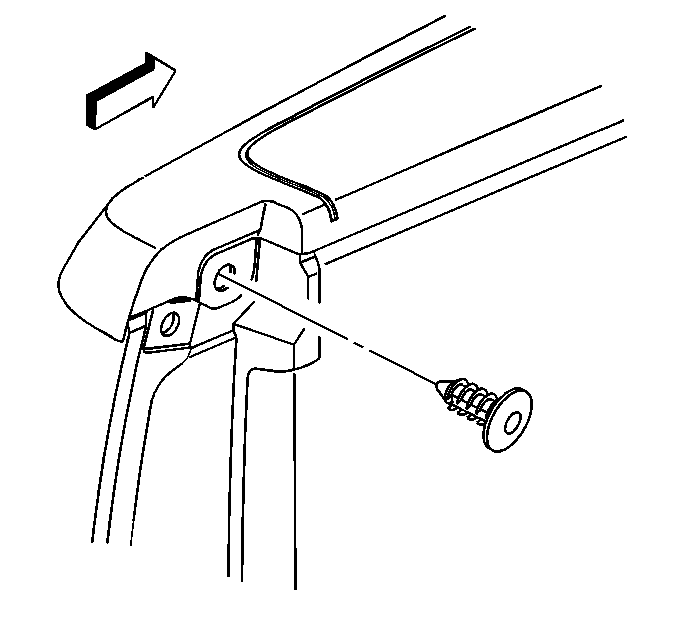
- Remove the fender molding push-pins.
- Remove the tail lamp assembly. Refer to
Tail/Turn Signal Lamp Replacement
in Lighting Systems.
- Remove the fender to rear pillar retaining bolts through the tail
lamp opening.

- Remove the rear retaining
screws.
- Remove the top fender molding push-pin retainer.

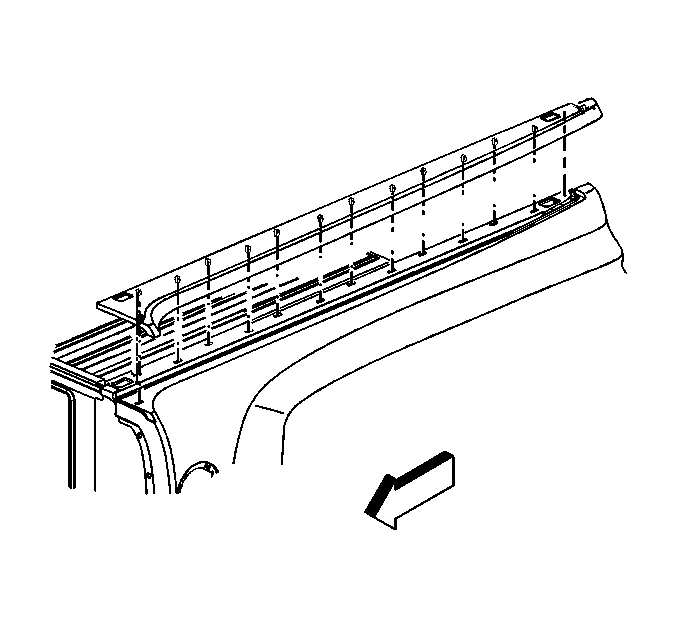
- Remove the top fender
molding.
- Use the following procedure in order to remove the fender from
the vehicle:
| 11.1. | Lift the fender up 90 degrees. |
| 11.2. | Slide the fender outward. |
Installation Procedure
- Use the following procedure in order to install the fender to
the vehicle:
| 1.1. | Position the locating notch in the fender to the vehicle. |
| 1.2. | Rotate the fender up 90 degrees. |
| 1.3. | Slide the fender under the retainers. |
| 1.4. | Rotate the fender down 90 degrees into the body position. |
- Install the rear retaining screws.

- Install the fender to
the rear pillar retaining bolts through the tail lamp opening.
- Install the tail lamp assembly. Refer to
Tail/Turn Signal Lamp Replacement
in Lighting Systems.
- Install the fender step bolts.

- Install the step pad.
- Install the front filler bolts.
- Install the lower fender brace rods bolts.

- Install the top fender
molding.
- Install the top molding rear push-pin retainer.


