For 1990-2009 cars only
Control Assembly Replacement - Auxiliary Rear Overhead Control A/C Only
Removal Procedure
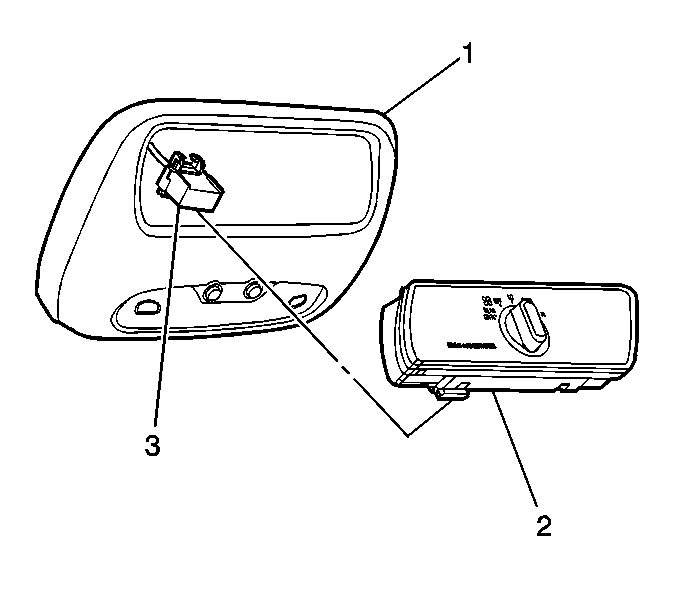
- Separate the front of the console (1) from the headliner.
- Remove the control assembly (2) by releasing the tabs at the rear of the control.
- Disconnect the electrical connector (3).

Installation Procedure
- Connect the electrical connector (3).
- Install the control assembly (2) to the console.
- Install the console (1) to the headliner.

Control Assembly Replacement - Auxiliary Front Overhead Control Heat and A/C
Removal Procedure
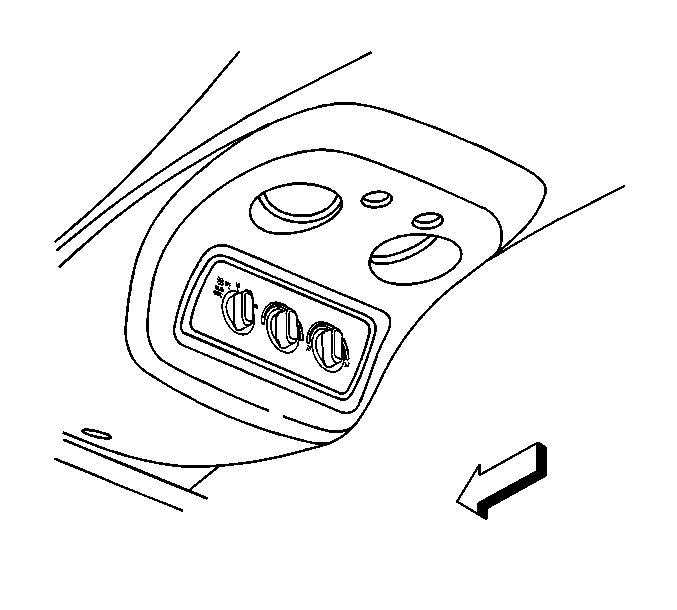
- Remove the console roof screw.
- Support the console (1) and remove the console from the headliner.
- Disconnect the electrical connectors (3).
- Remove the console (1) from the vehicle.
- Remove the control assembly (2) from the console (1).

Installation Procedure
- Install the control assembly (2) to the console (1).
- Connect the electrical connectors (3).
- Install the console (1) to the headliner.
- Install the console roof screw.

Control Assembly Replacement - Auxiliary Rear Overhead Control Heat and A/C
Removal Procedure
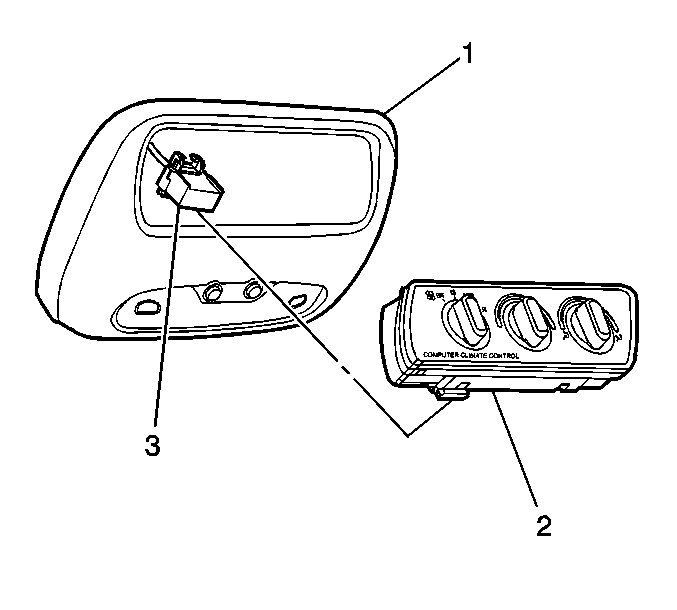
- Separate the front of the console (1) from the headliner.
- Remove the control assembly (2) by releasing the tabs at the rear of the control.
- Disconnect the electrical connector (3).

Installation Procedure
- Connect the electrical connector (3).
- Install the control assembly (2) to the console (1).
- Install the console (1) to the headliner.

Control Assembly Replacement - Auxiliary Front Overhead Control A/C Only
Removal Procedure
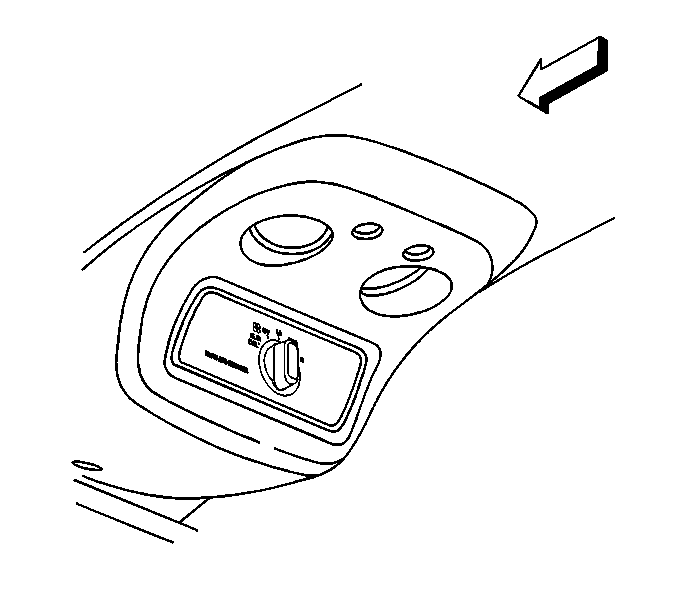
- Remove the console roof screw.
- Support the console and remove the console from the headliner.
- Disconnect the electrical connectors (2).
- Remove the console from the vehicle.
- Remove the control assembly (1) from the console.

Installation Procedure
- Install the control assembly (1) to the console.
- Connect the electrical connectors (2).
- Install the console to the headliner.
- Install the console roof screw.

