Bench Seat Third Row
If your vehicle has a full bench seat, the seatback can be folded, and the entire seat can be tilted, or removed from the vehicle.
Folding the Seatback
To fold the seatback, do the following:

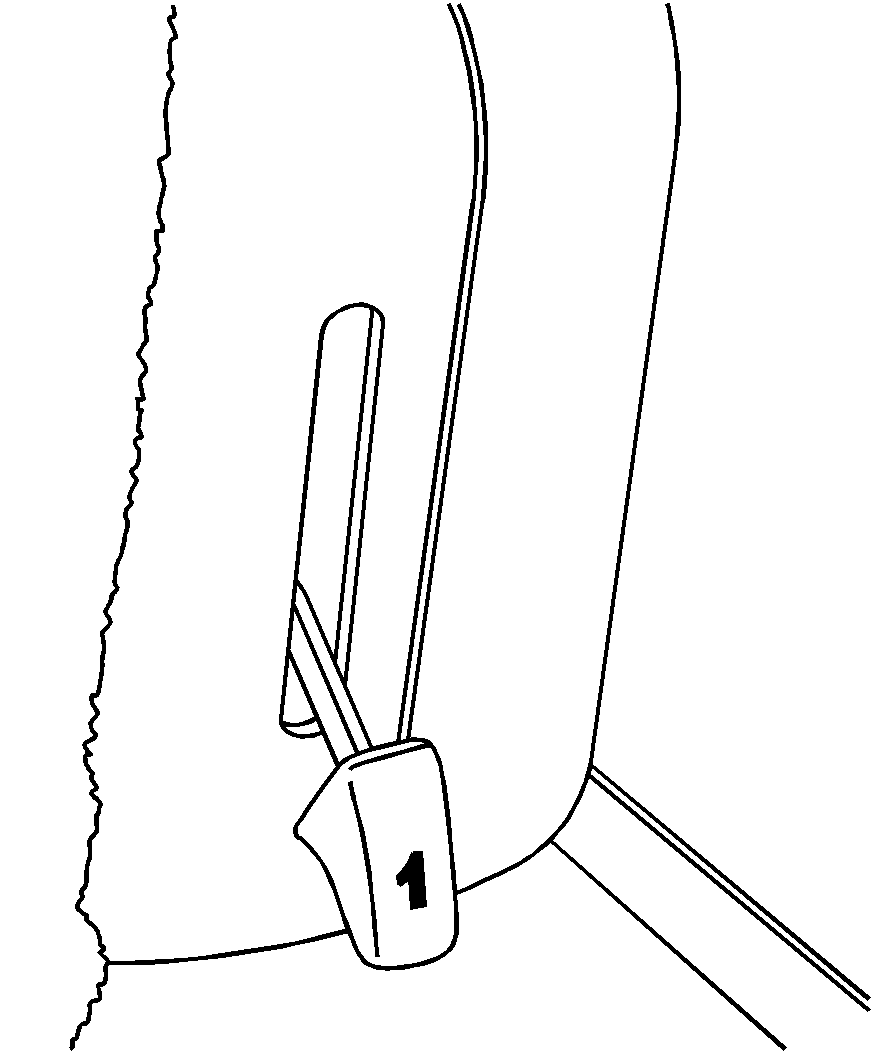
Pull up on the release lever labeled 1, located on the rear of the seatback, and push the seatback forward.
Unfolding the Seatback
To return the seat to an upright position, do the following:
- Pull up on the release lever labeled 1, located on the rear of the seatback. Then pull up on the seatback until it locks into the upright position.
- Push and pull on the seatback to make sure that it is locked.
Caution: If either seatback is not locked, it could move forward in a sudden stop or crash. That could cause injury to the person sitting there. Always push and pull on the seatbacks to be sure they are locked.
Tilting the Bench Seat
The seat can be tilted forward to provide additional cargo space.
To tilt the seat, do the following:
- Open the liftgate to access the controls for the seat and enter the rear cargo area of the vehicle.
- Make sure the head restraints are completely lowered.
- Fold the seatback forward using the instructions listed under "Folding the Seatback" previously. You will not be able to unlatch the seat from the floor unless the seatback is folded down.
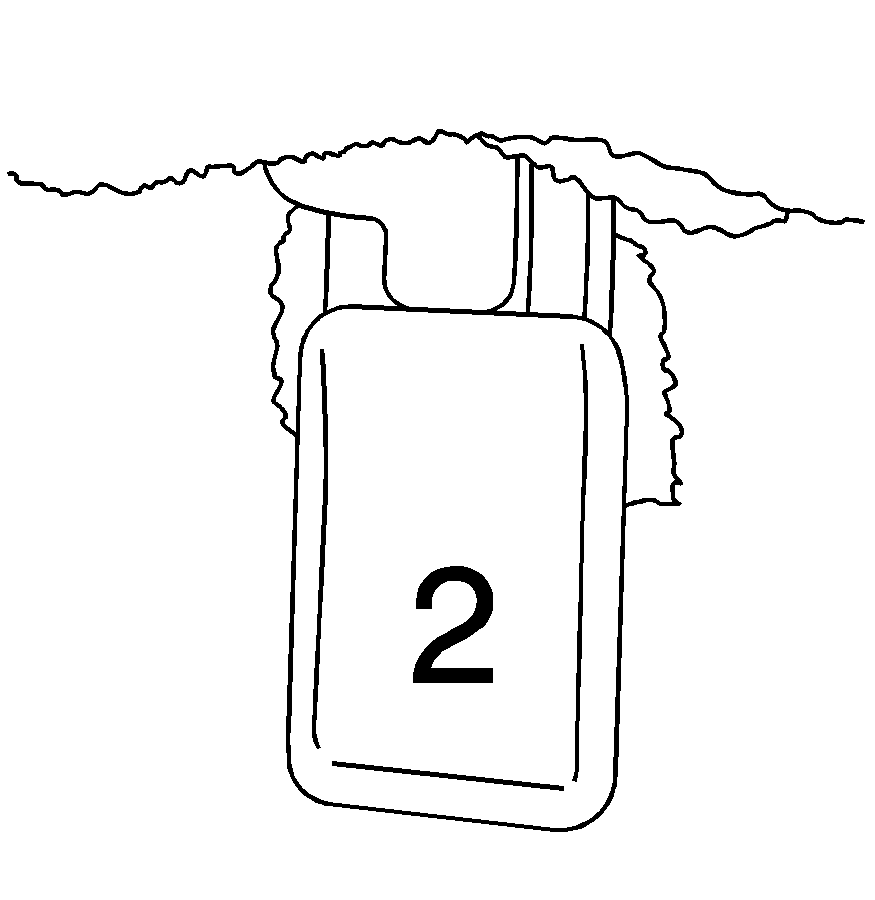
- Unlatch the seat from the floor by pulling up on the lever labeled 2, located next to the carrying handle at the rear of the seat.
- Lift the rear of the seat up from the floor and push it forward.
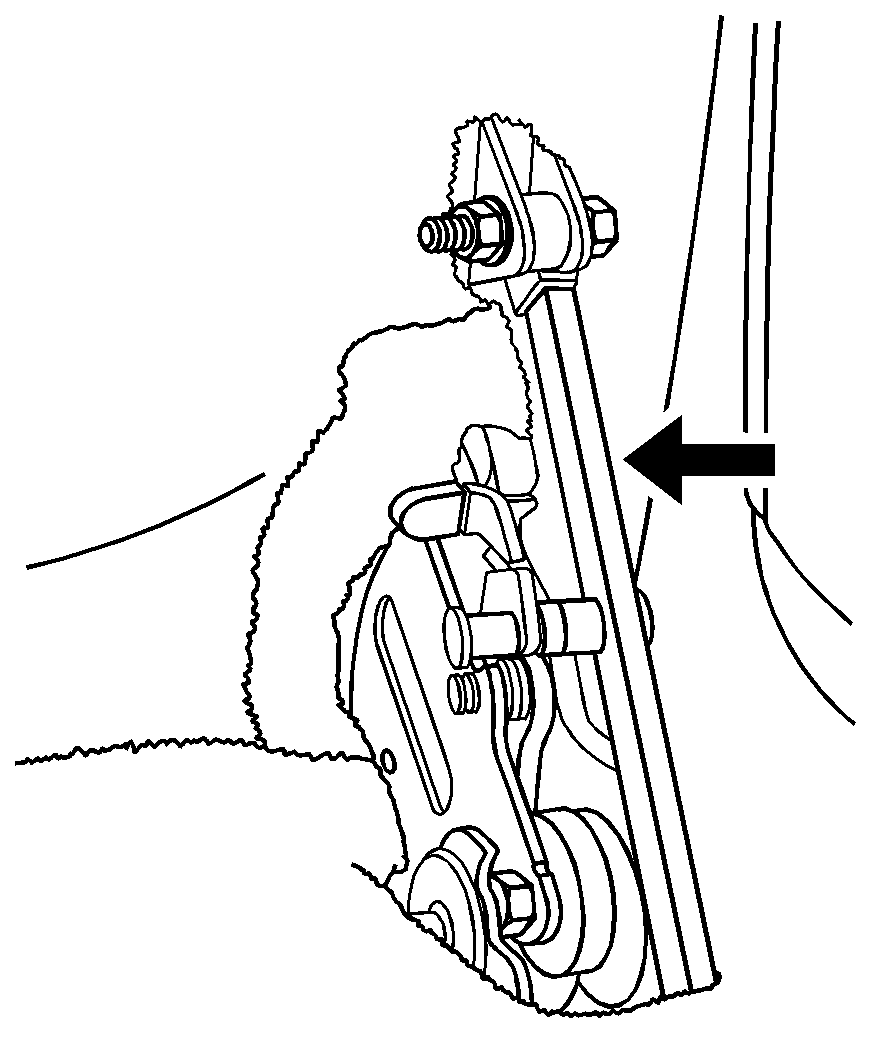
- While holding the seat forward, pull the support rod out from the retainer clip and flip it down until it latches into place.

Caution: If the support rod is not properly engaged, the folded third row seat could come loose in a sudden stop or crash. That could cause injury to people and damage to your vehicle. Always be sure the support rod is properly engaged when the third row seat is folded forward.

The seat will now remain in the upright position. Place the seat in this position only when necessary for additional cargo space.
Returning the Bench Seat from a Tilted Position
To return the seat to the normal seating position, do the following:
- Open the liftgate to access the controls for the seat and enter the rear of the vehicle.
- Place the support rod back into the storage position.
- Pull the seat toward you and push firmly down until the seat latches in the floor.
- Lift up on the seat to make sure it is locked in place.
- Pull up on the release lever labeled 1, located on the rear of the seatback, and then pull up on the seatback until it locks into the upright position.
- Push and pull on the seatback to make sure it is locked.
- Raise the head restraint.

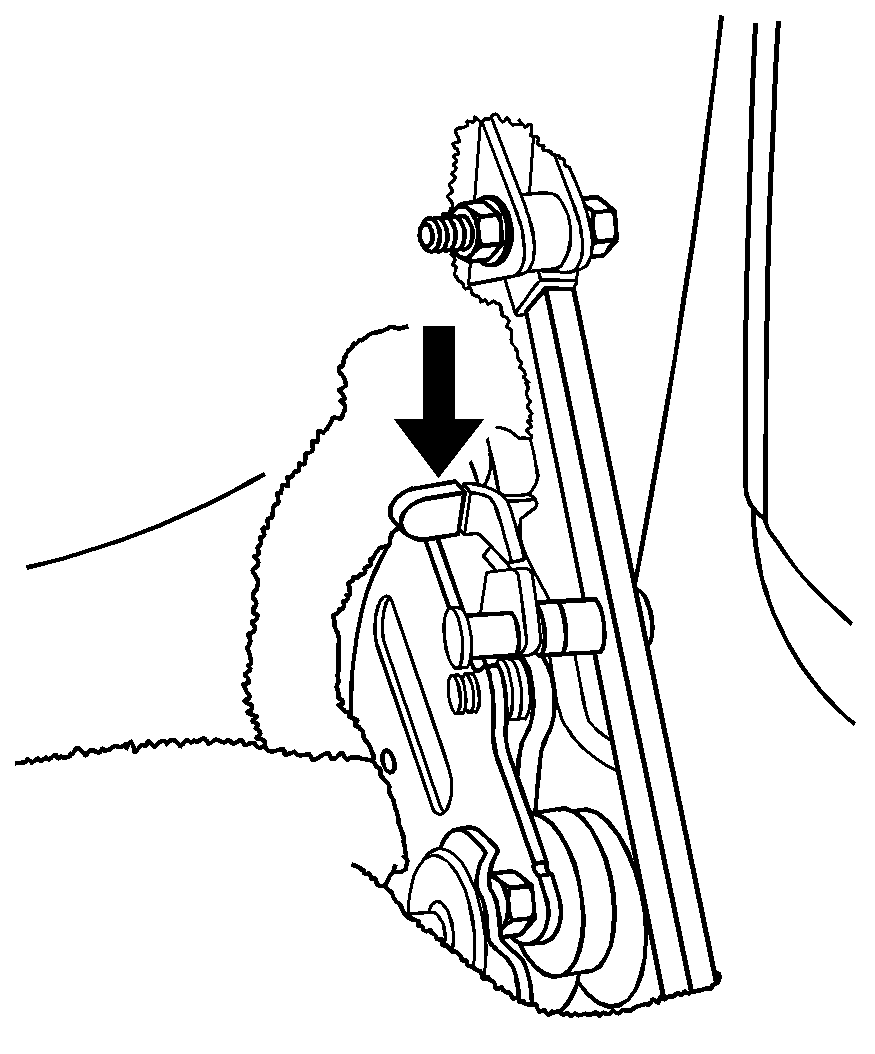
Pull the lever on the support rod bracket until it unlatches from the seat bracket.
Caution: If either seatback is not locked, it could move forward in a sudden stop or crash. That could cause injury to the person sitting there. Always push and pull on the seatbacks to be sure they are locked.
Removing the Bench Seat
To remove the seat, do the following:
- Open the liftgate to access the controls for the seat and enter the rear of the vehicle.
- Fold the seatback forward using the instructions listed under "Folding the Seatback" previously. The seat cannot be removed unless the seatback is folded.
- Pull up on the release lever labeled 2, located at the rear of the seat, to unlatch the rear of the seat from the floor.
- Lift the rear of the seat up from the floor.
- Squeeze the release lever, located on the rear of the seat in the lower center, to release the seat from the floor while pulling the seat out.
- While holding the rear of the seat up, roll the seat out of the vehicle.

Installing the Bench Seat
Caution: A safety belt that is improperly routed, not properly attached, or twisted will not provide the protection needed in a crash. The person wearing the belt could be seriously injured. After raising the rear seatback, always check to be sure that the safety belts are properly routed and attached, and are not twisted.
To install the seat, do the following:
- Open the liftgate to access the rear of the vehicle.
- While holding the rear of the seat up, slide the front wheels into the slots on the floor. The front latches should lock into place. If the latches do not lock, try tilting the rear of the seat upward.
- Once the latches are engaged, let the seat drop into place.
- Push and pull on the seat to make sure it is locked into place. The seatback cannot be raised to the upright position unless the seat is secured to the floor.
- Release the lever labeled 1, located on the rear of the seat, and pull the seatback up to return it to the upright position.
- Push and pull on the seatback to make sure it is locked.
Caution: A seat that is not locked into place properly can move around in a collision or sudden stop. People in the vehicle could be injured. Be sure to lock the seat into place properly when installing it.
Caution: If either seatback is not locked, it could move forward in a sudden stop or crash. That could cause injury to the person sitting there. Always push and pull on the seatbacks to be sure they are locked.
