Tools Required
| • | J 35525-A Holding Fixture |
| • | J 3289-20 Holding Fixture Base |
- Inspect the seal rings for damage. If any seal rings are damaged, cut, or do not rotate freely in their groove, check the ring groove for debris, burrs, or damage.
- Inspect the thrust washer surfaces. The thrust washer and thrust bearing surfaces may appear to be polished. This is a normal condition and is not considered to be damage.
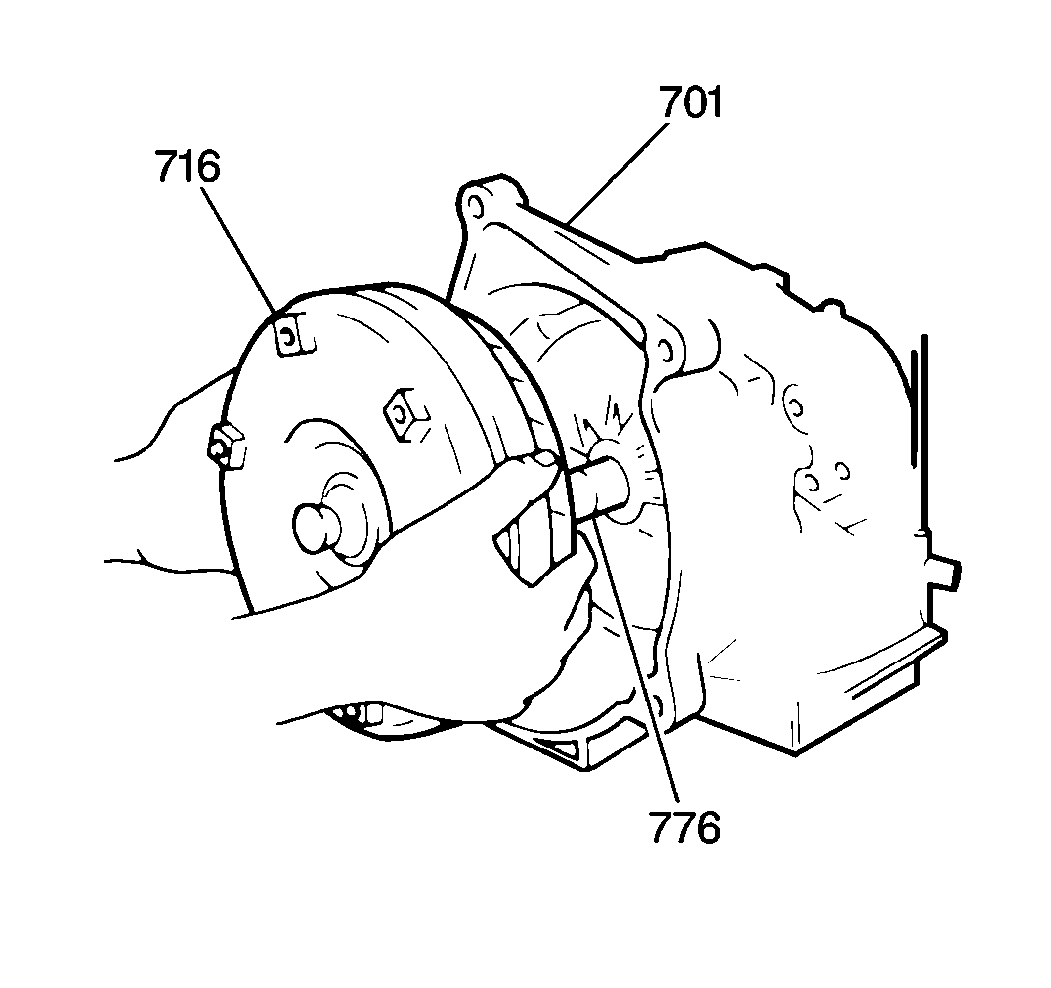
- Remove the torque converter assembly (716) from the transaxle case housing (701).
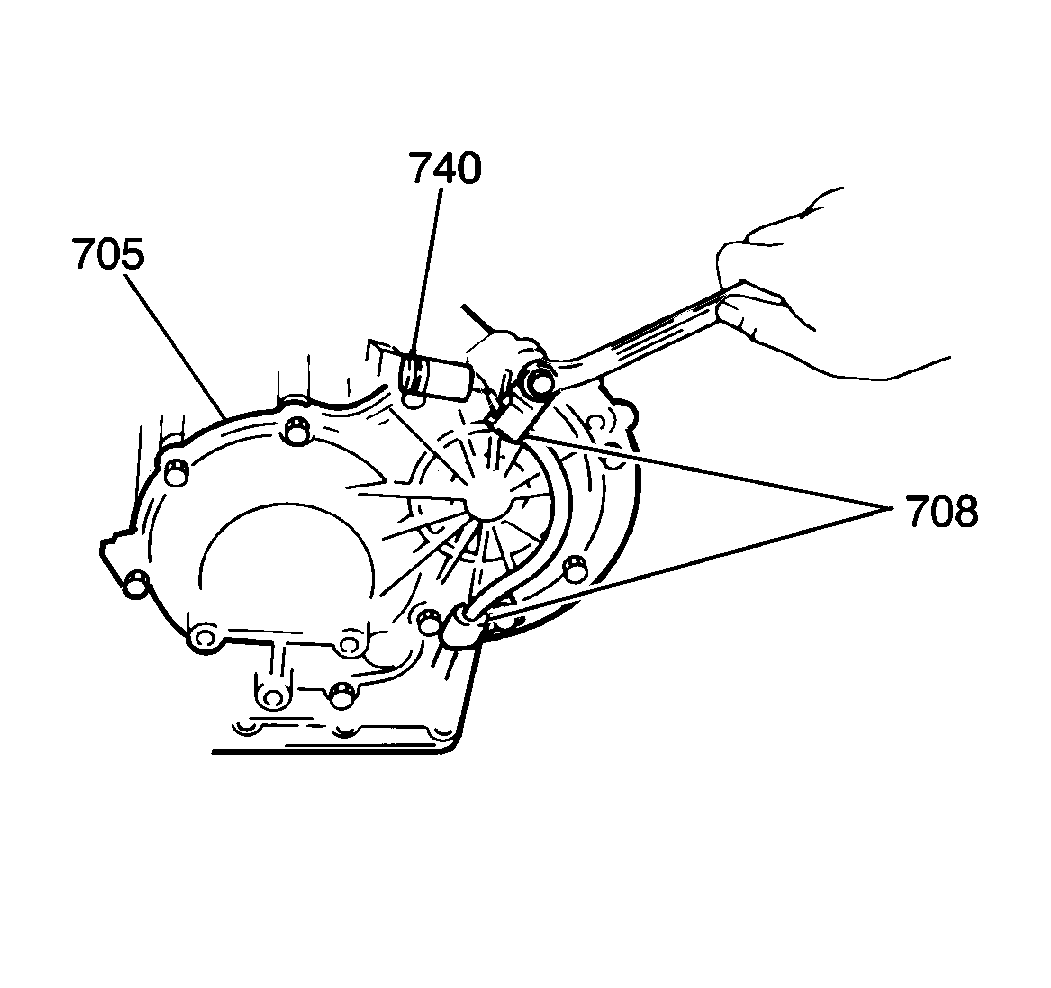
- Remove the five bolts from the rear case cover (705). Remove the two brackets (708) from the solenoid wiring harness (740).
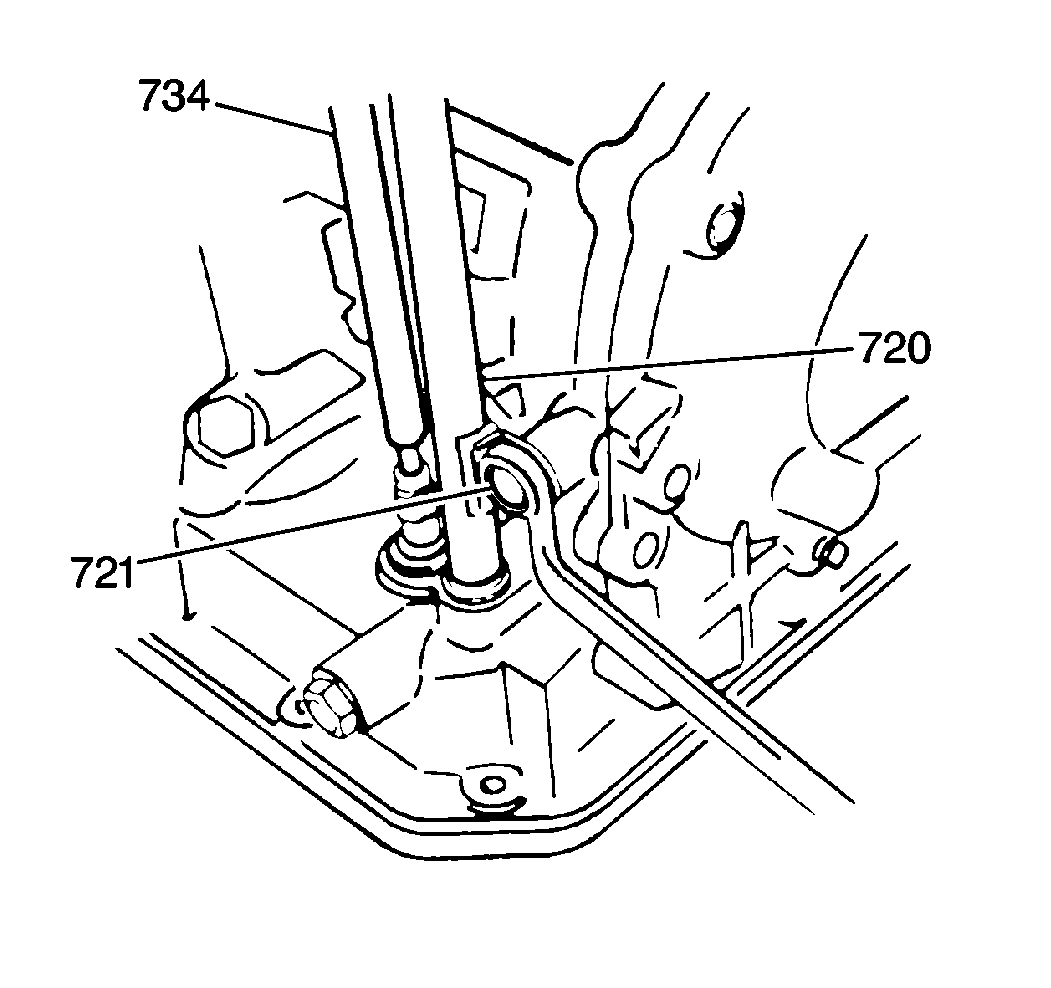
- Disconnect the filler tube bracket bolt (721) and remove the fluid level indicator and the fluid filler tube (720).
- Drain the transaxle fluid.
Notice: Before you overhaul the transaxle, clean the exterior thoroughly in order to protect its inner components against dust and dirt. Keep the transaxle in an upright position with the fluid pan on the bottom until all of the fluid has been drained from the transaxle. If you turn the transaxle on its side or over before the fluid stops draining, clutch material or other foreign matter may contaminant the fluid passages of the valve body and case. Failure to follow this precaution may result in unnecessary valve body overhaul.

Notice: Do not use air powered tools in order to disassemble or assemble any vehicle component. Bolt torques are vital to diagnosis. You can detect bolt torques only when using hand tools. Improper bolt torques can contribute to vehicle repair problems.


