Tools Required

- Inspect the torque converter (716) and replace the torque converter
if any of the following conditions exist:
| • | Evidence of damage to the pump assembly |
| • | Metal particles found after flushing the cooler and cooler pipes |
| • | External leaks in the hub weld area |
| • | Damage to the converter pilot cup (717), or poor fitting into
the crankshaft |
| • | Scoring or damage to the converter hub |
| • | Internal damage to the stator |
| • | Contamination from engine coolant |
| • | An odor or a discoloration in the fluid |
| • | No evidence of metal or clutch material |
| • | Damaged converter bolt threads. Refer to Thread Damage Repair
in Engine Mechanical |
Important: We do not recommend flushing the torque converter. Drain out as much
fluid as possible before installation.
- Install the torque converter onto the input shaft. Use caution not to
damage the fluid pump body fluid seal.
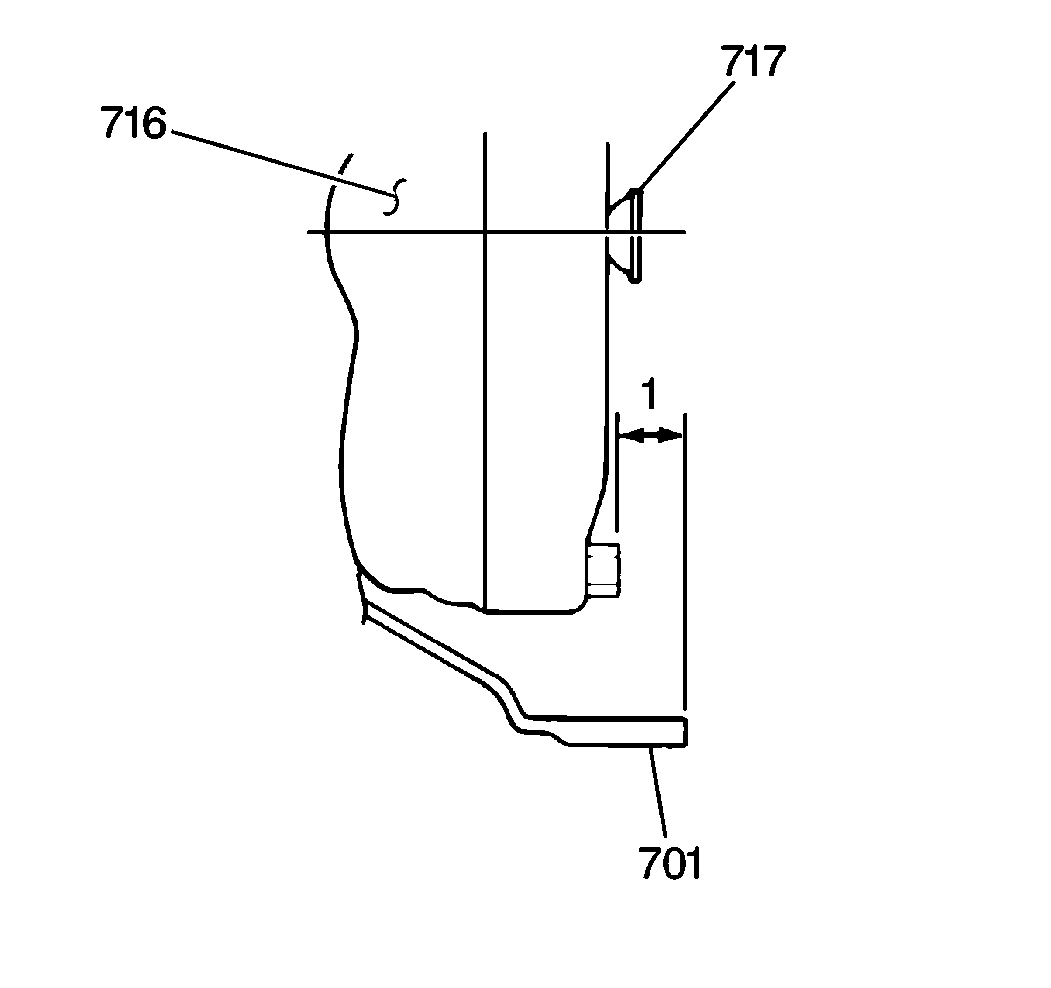
- Measure the distance between the outer edge of the transaxle case
housing (701) and the torque converter flange nut. This distance is indicated
in the illustration by the number 1. Place a straightedge across the transaxle
case housing and measure the distance using a J 26900-5
. The distance should be more than 21.4 mm (0.85 in).
If the distance is less than specified, remove the torque converter and reinstall
correctly.
- Inspect the torque converter for smooth rotation.
- Apply grease to the converter pilot cup (717) prior to installation.

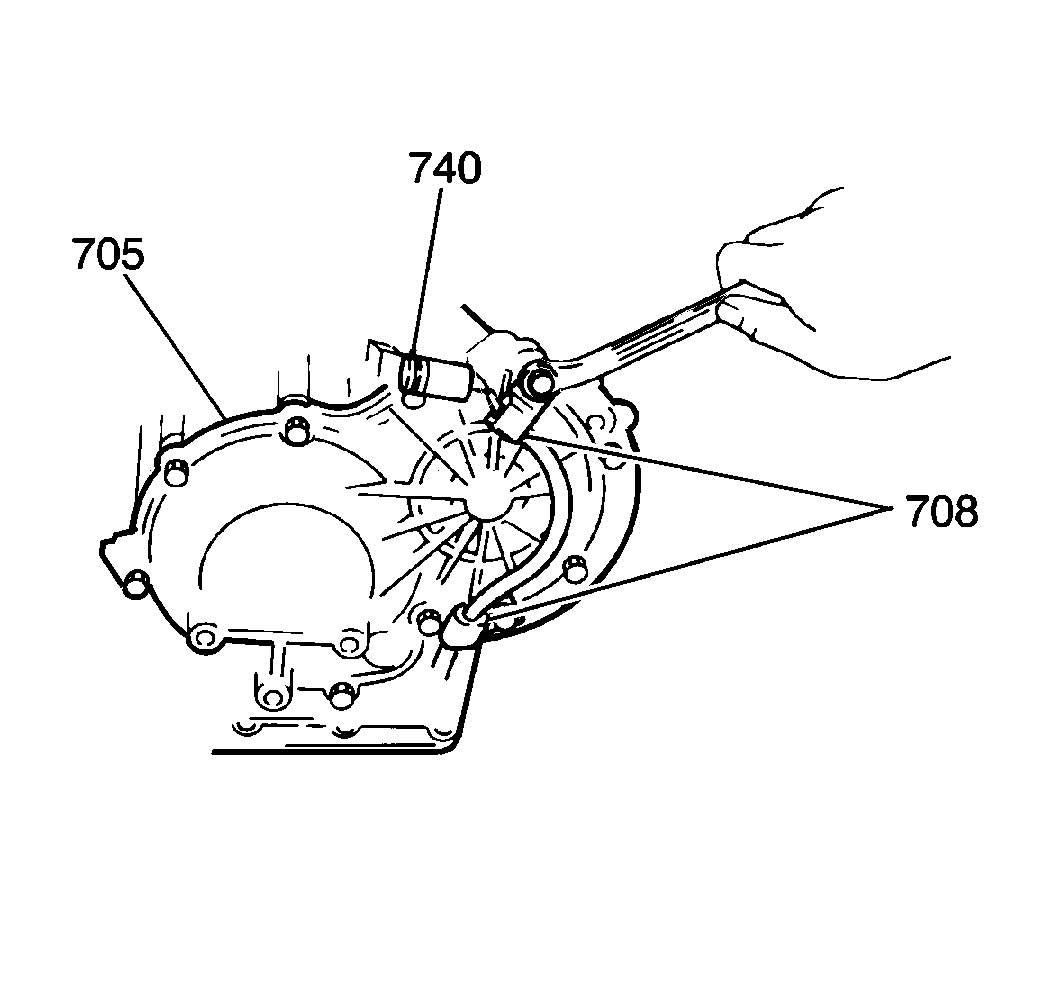
- Install the remaining
bolts and nuts to the rear case cover (705) using the two solenoid wiring
harness brackets (708).
Tighten
Tighten the rear case cover bolts to 23 N·m (17 lb ft).


