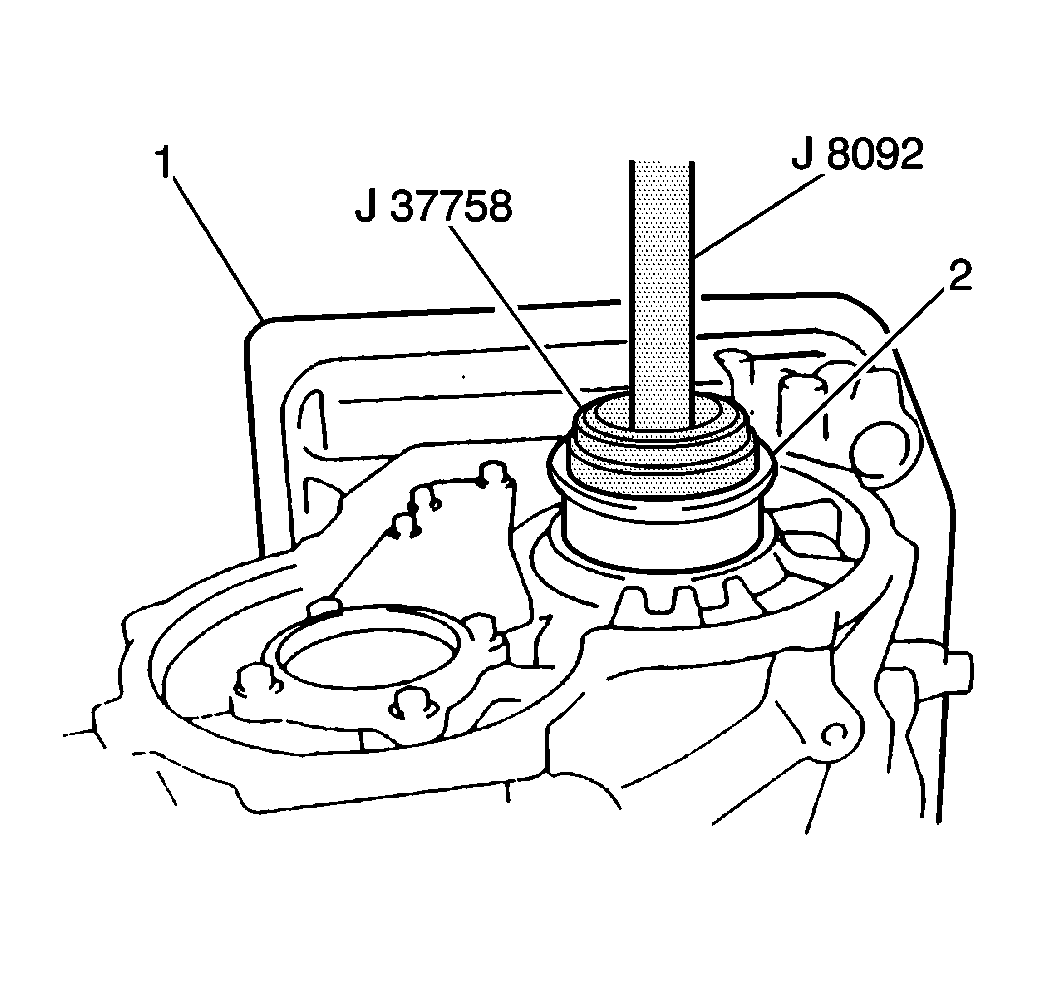
- Install the countershaft
drive gear outer race (2) into the transaxle case (1) using a J 37758
with a J 8092
and a hydraulic press.
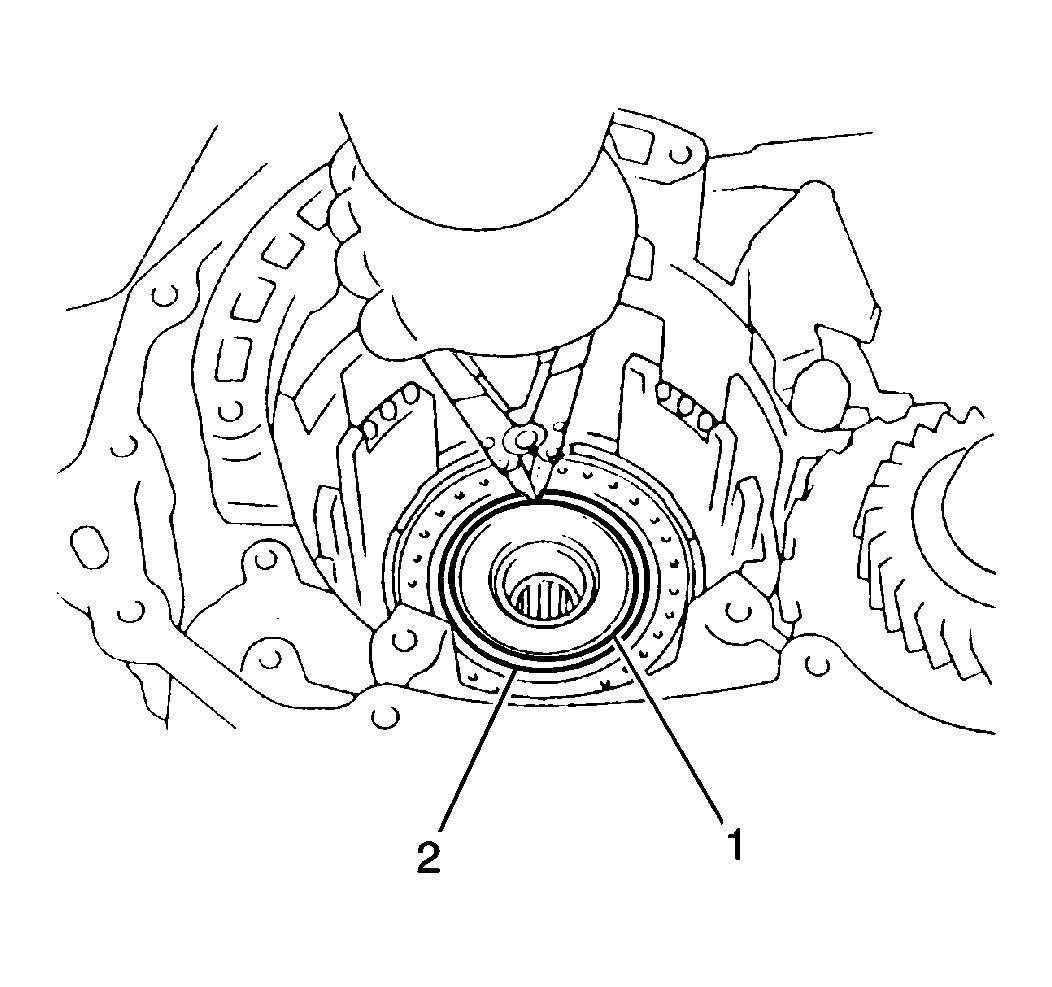
- Install the countershaft
drive gear outer race snap ring (1) onto the countershaft drive gear outer
race (2).
- Install the new crush sleeve onto the countershaft drive gear.
- Apply J 36850
to
the countershaft drive gear and outer bearings.
- Install the countershaft drive gear into the transaxle case using
a J 35552
with a J 8092
and a hydraulic press.
- Install the countershaft drive gear inner bearing into the countershaft
drive gear outer race.
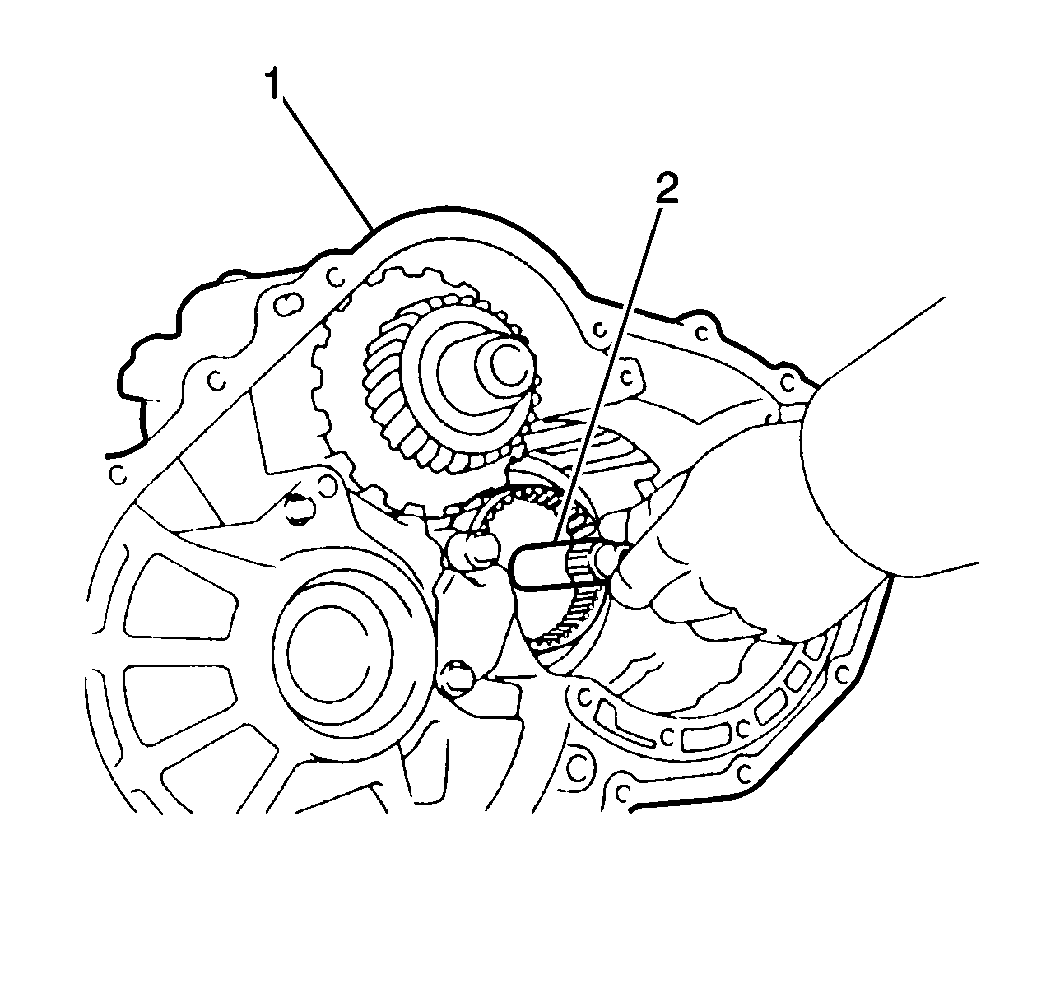
- Install the intermediate
shaft (2) into the transaxle case (1) and into the countershaft drive gear.
- Install a J 8614-01
onto the countershaft driven gear stationary during intermediate shaft
locknut installation.
Notice: Use the correct fastener in the correct location. Replacement fasteners
must be the correct part number for that application. Fasteners requiring
replacement or fasteners requiring the use of thread locking compound or sealant
are identified in the service procedure. Do not use paints, lubricants, or
corrosion inhibitors on fasteners or fastener joint surfaces unless specified.
These coatings affect fastener torque and joint clamping force and may damage
the fastener. Use the correct tightening sequence and specifications when
installing fasteners in order to avoid damage to parts and systems.
- Install the intermediate shaft locknut onto the intermediate shaft
using a J 34826
.
Tighten
Tighten the intermediate shaft locknut to 177 N·m (131 lb ft).
- Remove the J 8614-01
from the countershaft driven gear.
- Stake the intermediate shaft locknut.
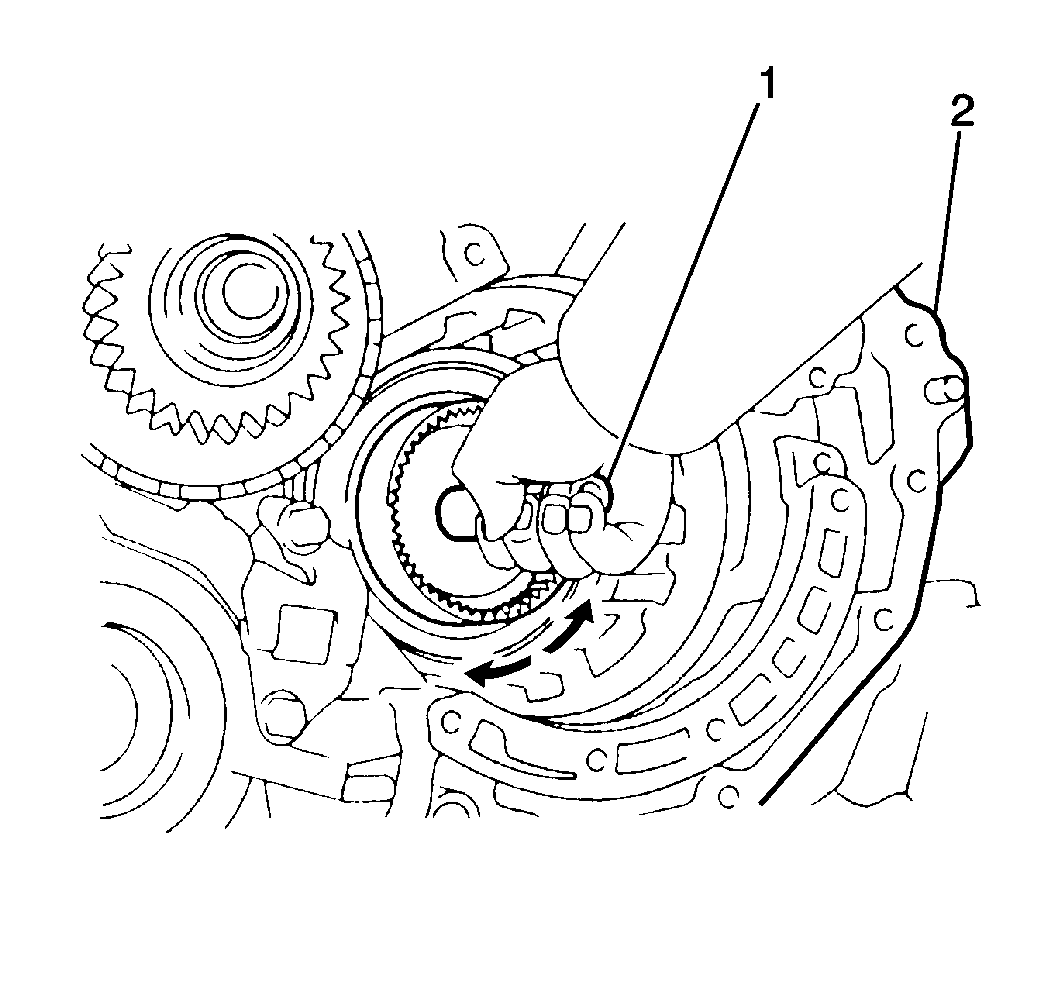
- Inspect the intermediate
shaft (1) for smooth rotation.
- If the intermediate shaft does not rotate smoothly, remove the
countershaft drive gear bearings and inspect for excessive wear or damage.
- Clean the sealant from the rear case cover mating surfaces on
the rear case cover and transaxle case (2).
- Apply the RTV silicone sealer GM P/N 1052917, or equivalent,
to the rear case cover mating surface.
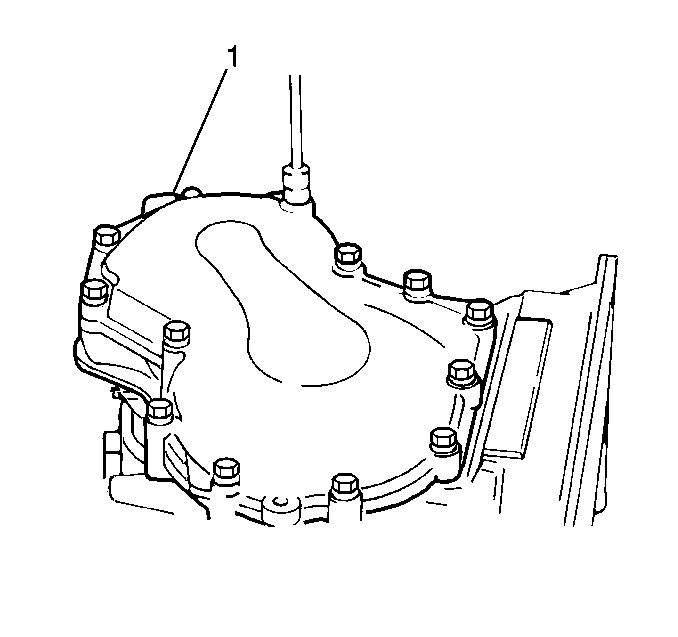
Important: Eleven of the 13 rear case cover bolts are 25 mm (0.984 in)
in length. The two remaining bolts are 32 mm (1.259 in) in
length. Verify that the two longer bolts are installed in their correct
position.
- Install the rear case cover (1) to the transaxle case. Secure the assembly
with thirteen bolts.
Tighten
Tighten the rear case bolts to 10 N·m (89 lb in).


