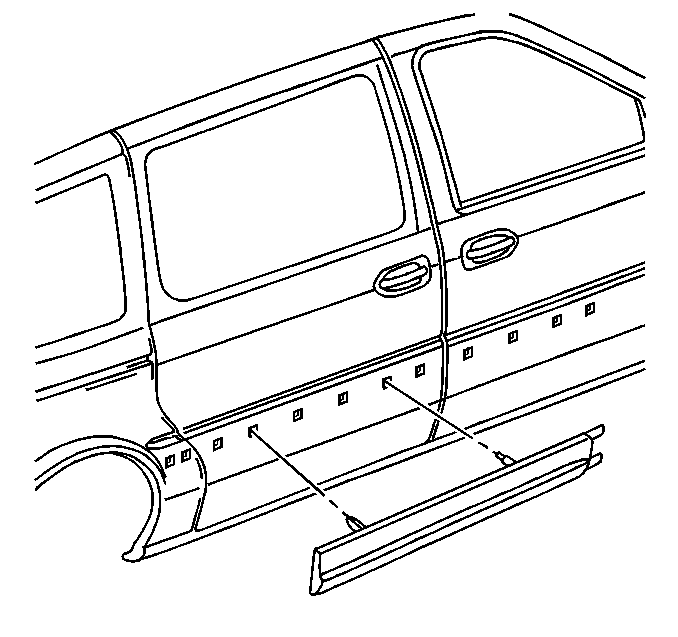
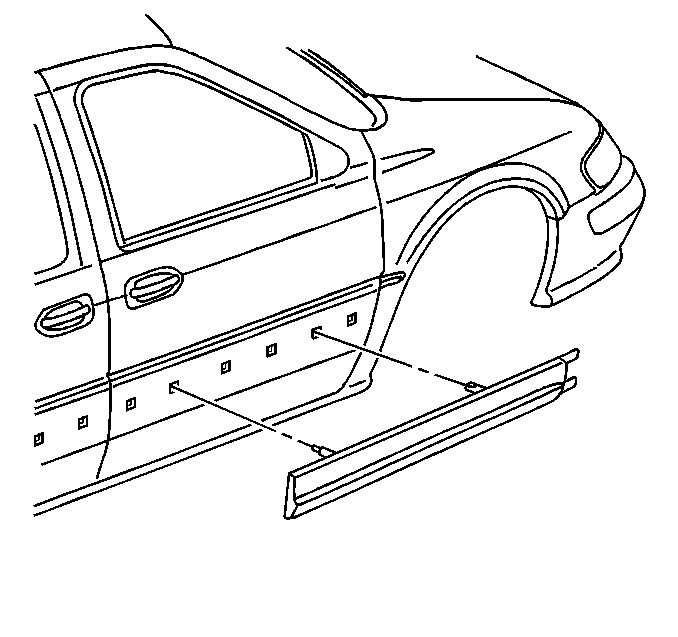
For 1990-2009 cars only
Body Side Door Molding Replacement Model
Removal Procedure
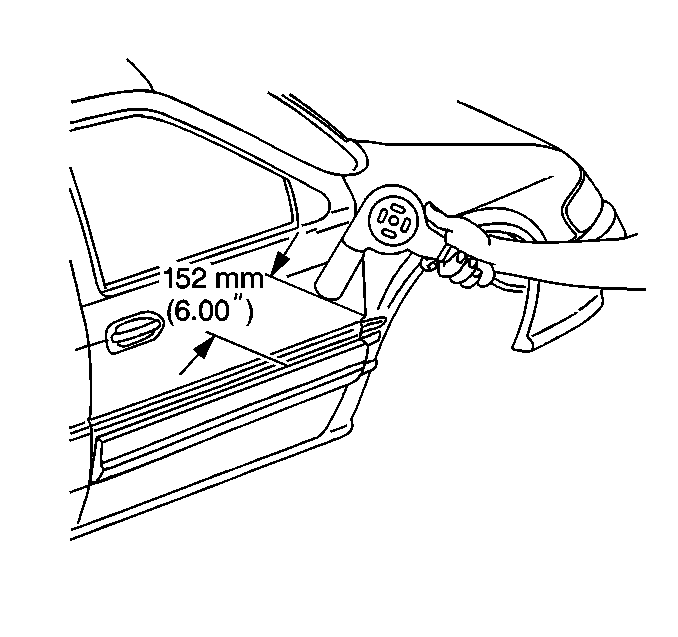
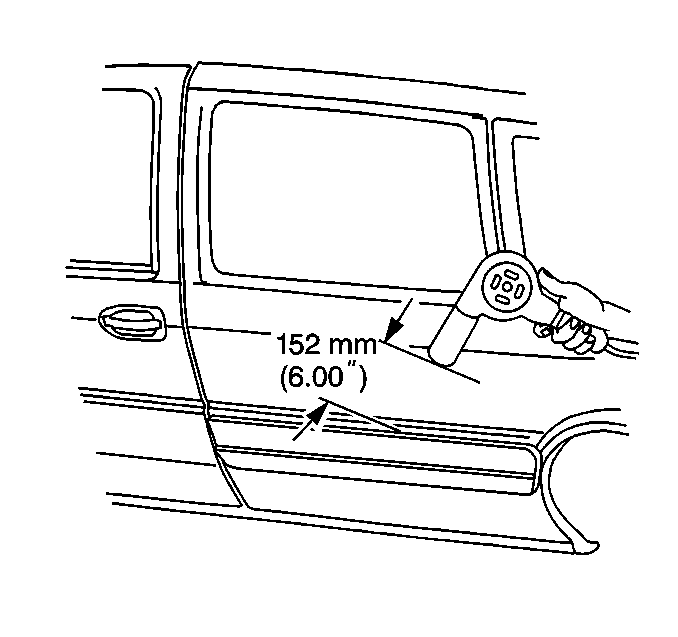
- Using a circular motion use a heat gun xx mm (x in) in order to heat the body side molding.
- Use a flat-bladed tool in order to remove the molding from the surface.
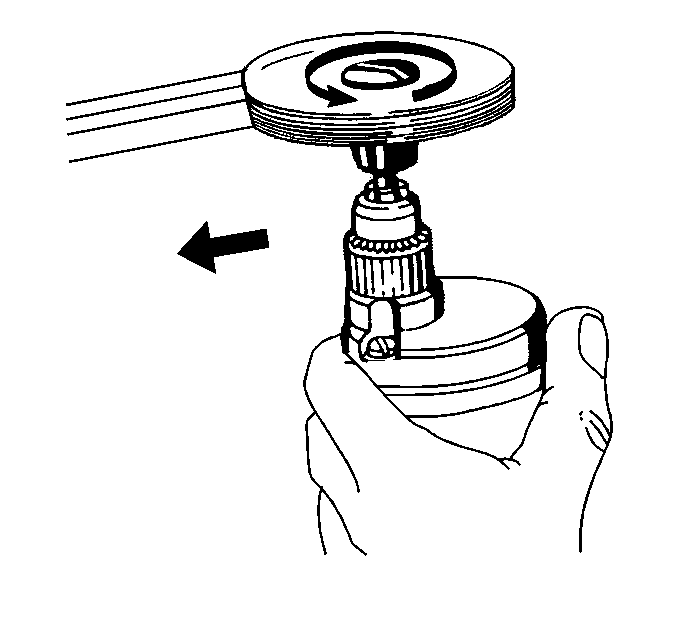
- To remove all of the adhesive from the body panel and the back of the molding use a 3M Scotch-Brite® molding adhesive remover disk, 3M P/N 07501 or the equivalent.
- Wash the affected panel area with soap and water and wipe dry.
- Use Varnish Makers and Painters (VM&P) naphtha in order to remove all the traces of adhesive from the body panel and the back of the molding.
Installation Procedure
- Use a heat lamp or heat gun at 32°C (90°F) in order to install the warm body panel.
- Partially remove the backing from the front end of the molding.
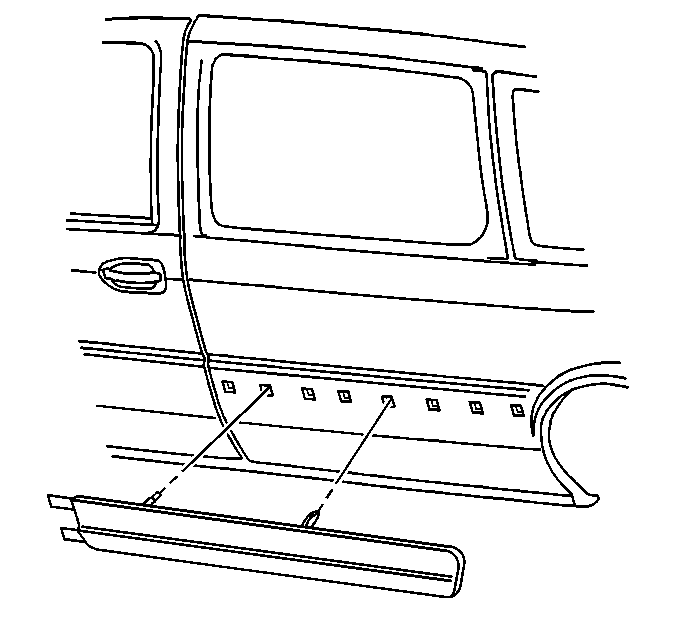
- Position the molding to the body panel.
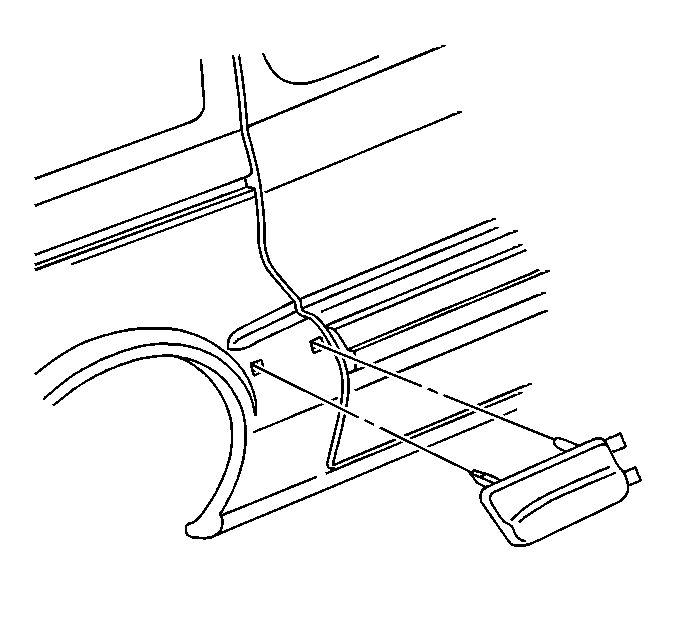
- Align the locating pins into the holes in the body panel, starting with the front hole.
- Press the molding to the body panel while continuing to remove the backing.
- Hand roll the molding to the body panel in order to ensure proper adhesion.
Important: DO NOT touch or allow any dirt or foreign material to touch the exposed adhesive tape.
