Liftgate Replacement for Generic Unit Repair 2001
Removal Procedure
- Remove the liftgate garnish molding. Refer to [ADD LINK] in Interior Trim.
- Remove the electrical harness and the conduit assembly for the power lock actuator and the wiper washer motor. [CHECK VEHICLE SPECIFIC ATTACHMENTS
- Release the retainer clips in order to remove the struts from the lower ball stud.
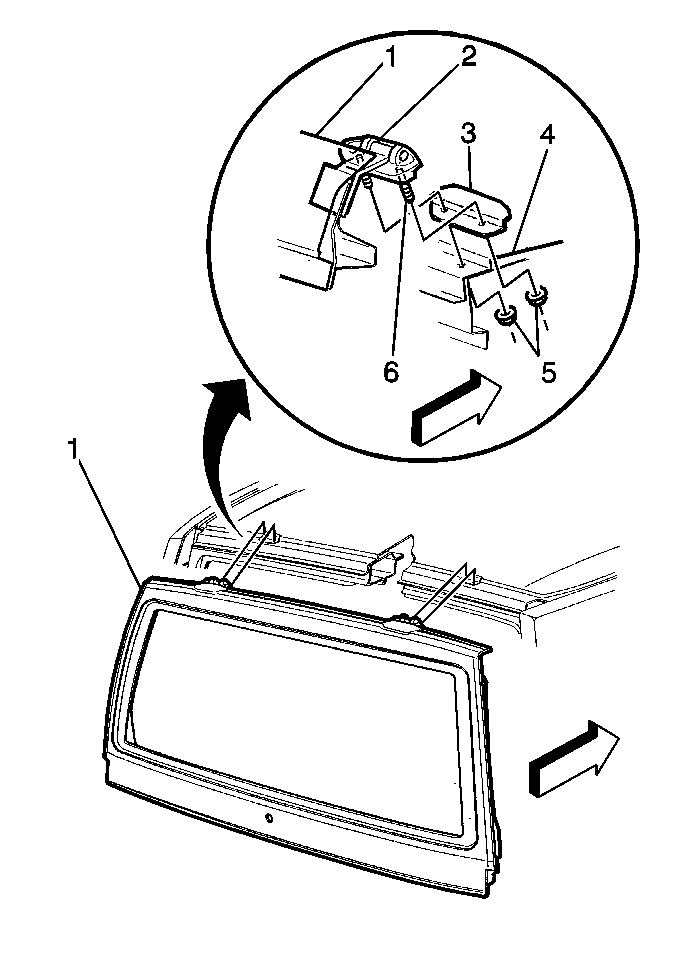
- With the aid of an assistant, remove the hinge fasteners.
- Transfer all the necessary components.
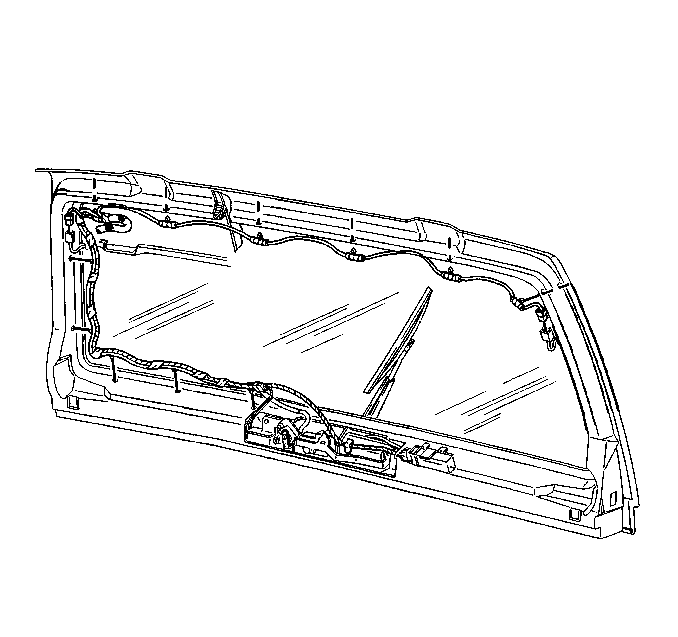
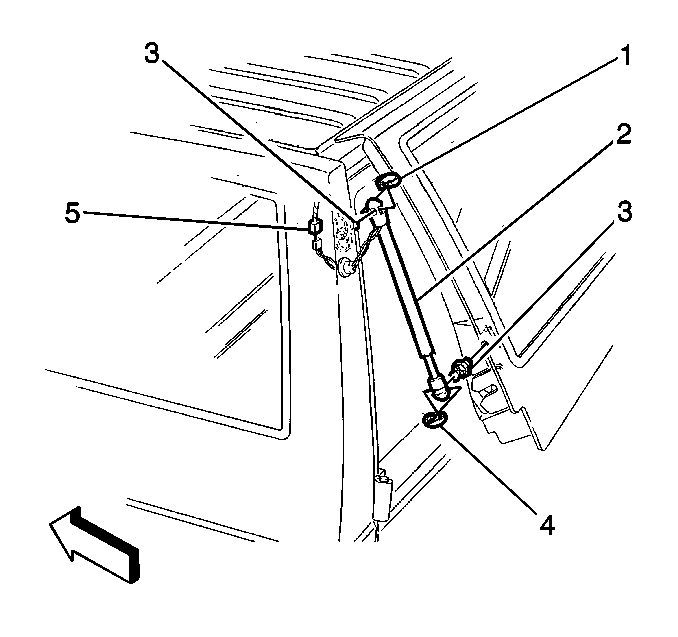
Caution: When a lift gate hold open device is being removed or installed, provide alternate support to avoid the possibility of damage to the vehicle or personal injury.
Installation Procedure
- With the aid of an assistant, install the liftgate (1) to the vehicle.
- Install the hinge stud through the holes in the gasket and the roof panel.
- Install the hinge fasteners in order to secure the liftgate to the body.
- Install the liftgate struts to the lower ball studs.
- Install the electrical harness and the hose assembly for the power lock actuator and the wiper washer motor.
- Install the liftgate garnish molding. Refer to [ADD LINK] in Interior Trim.
Important: When replacing the liftgate, install new washers.
Notice: Use the correct fastener in the correct location. Replacement fasteners must be the correct part number for that application. Fasteners requiring replacement or fasteners requiring the use of thread locking compound or sealant are identified in the service procedure. Do not use paints, lubricants, or corrosion inhibitors on fasteners or fastener joint surfaces unless specified. These coatings affect fastener torque and joint clamping force and may damage the fastener. Use the correct tightening sequence and specifications when installing fasteners in order to avoid damage to parts and systems.
Tighten
Tighten the hinge fasteners to 12 N·m (106 lb in).
