For 1990-2009 cars only
Tools Required
| • | J 29369-2 Bushing and Universal Remover |
| • | J 4972-4 Output Shaft Needle Bearing Installer |
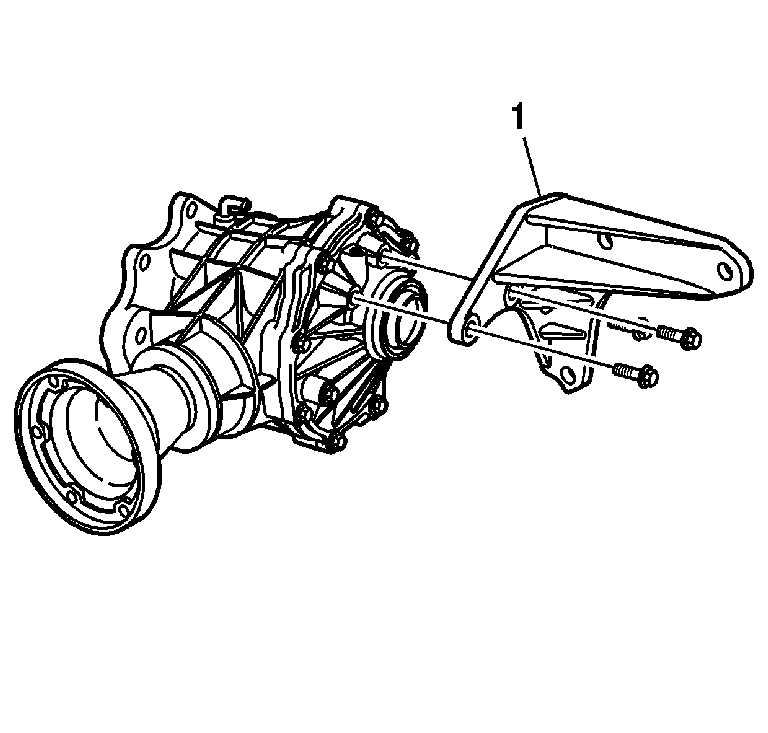
- Remove the 3 bolts from the bracket (1).
- Remove the bracket (1).
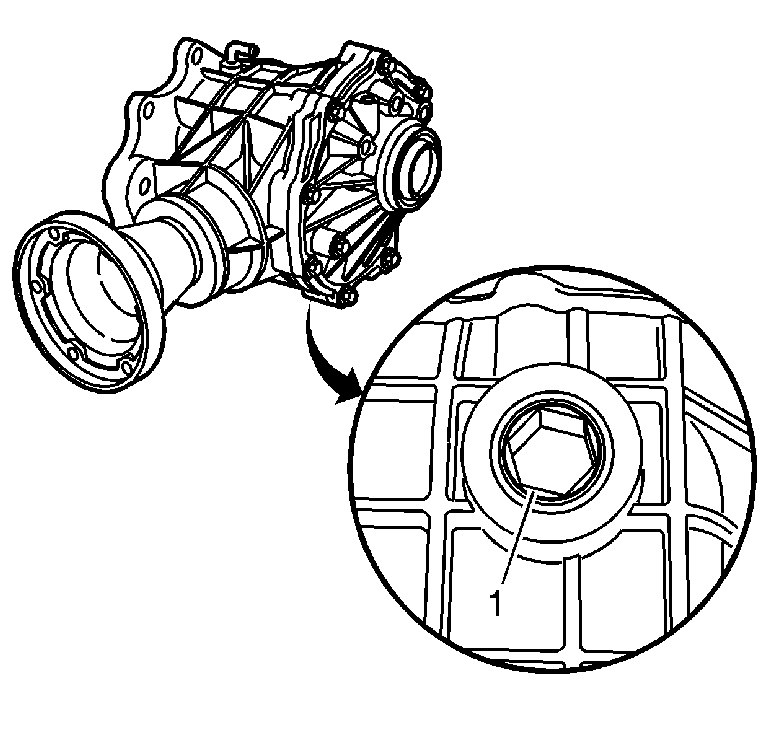
- Remove the drain plug (1).
- Remove the fill plug (1) and drain the fluid.
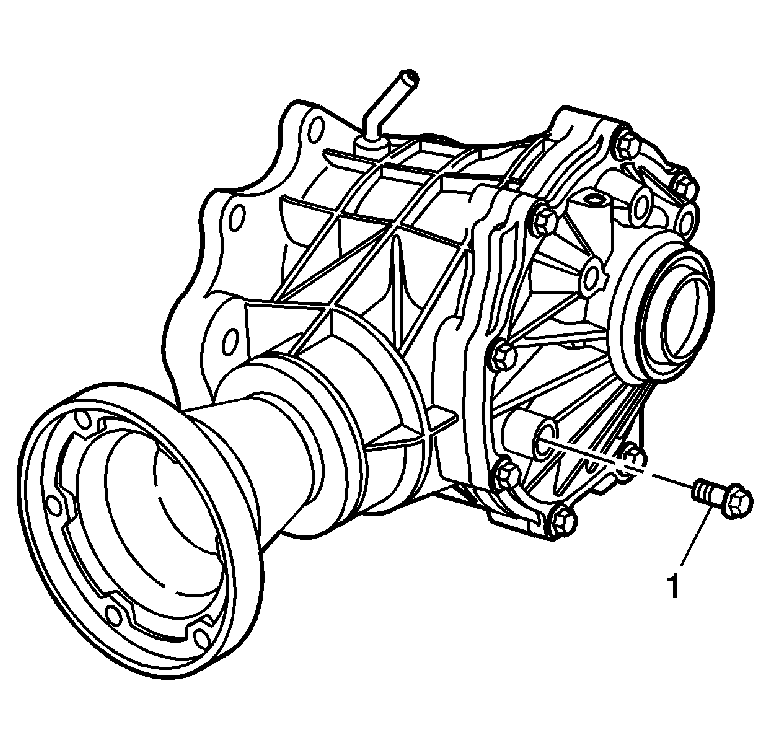
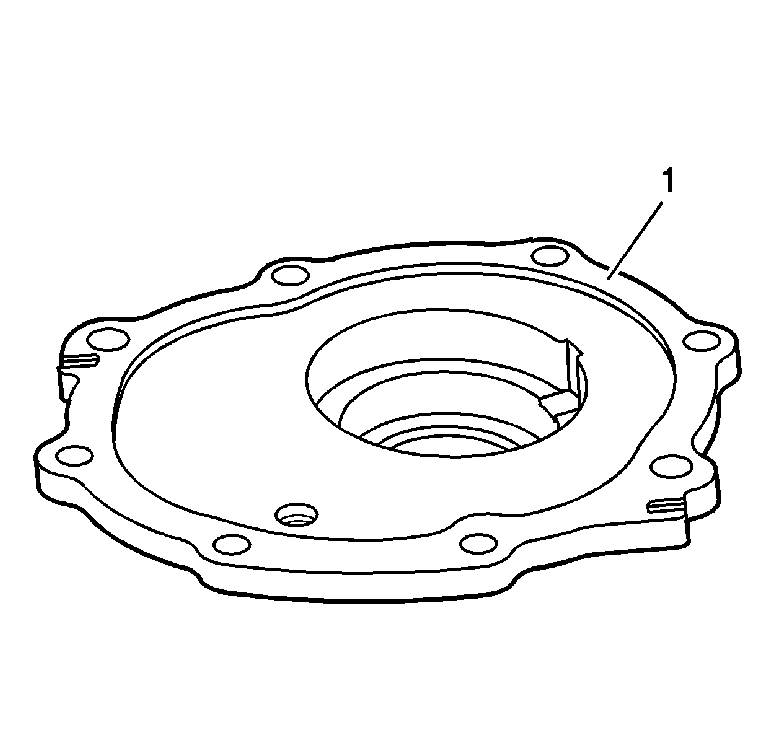
- Remove all bolts (2) from the side cover (1).
- Use pry point relief slots to remove the cover.
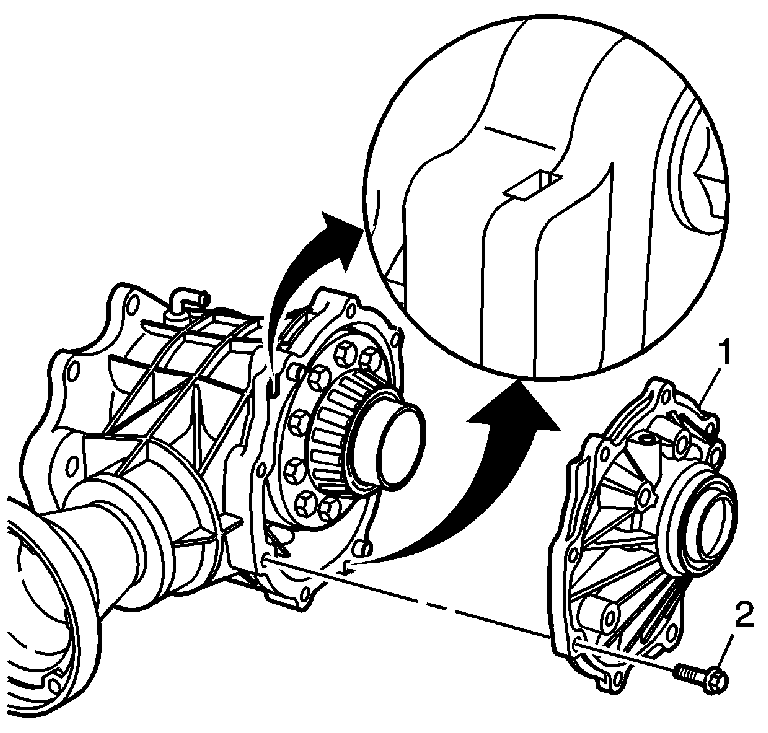
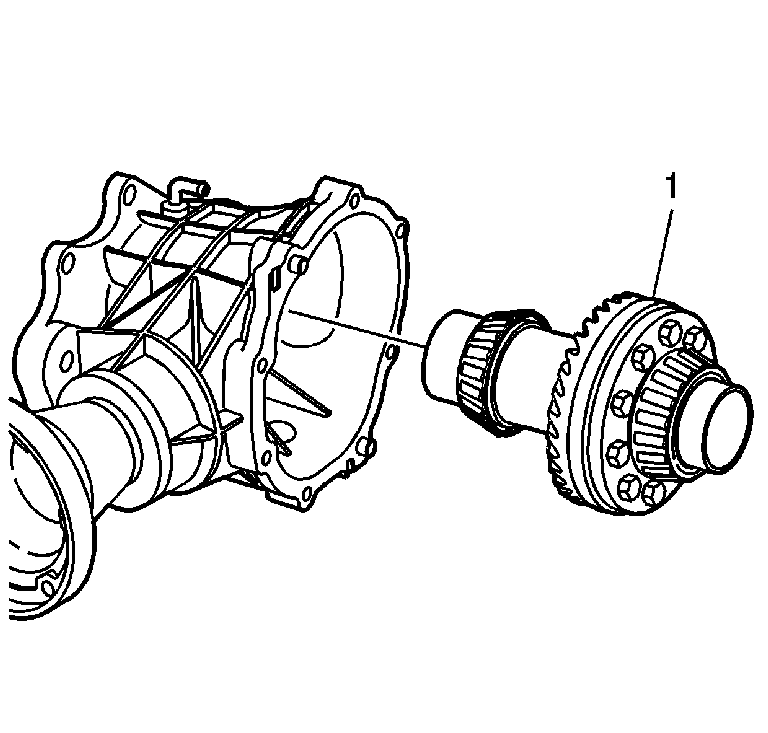
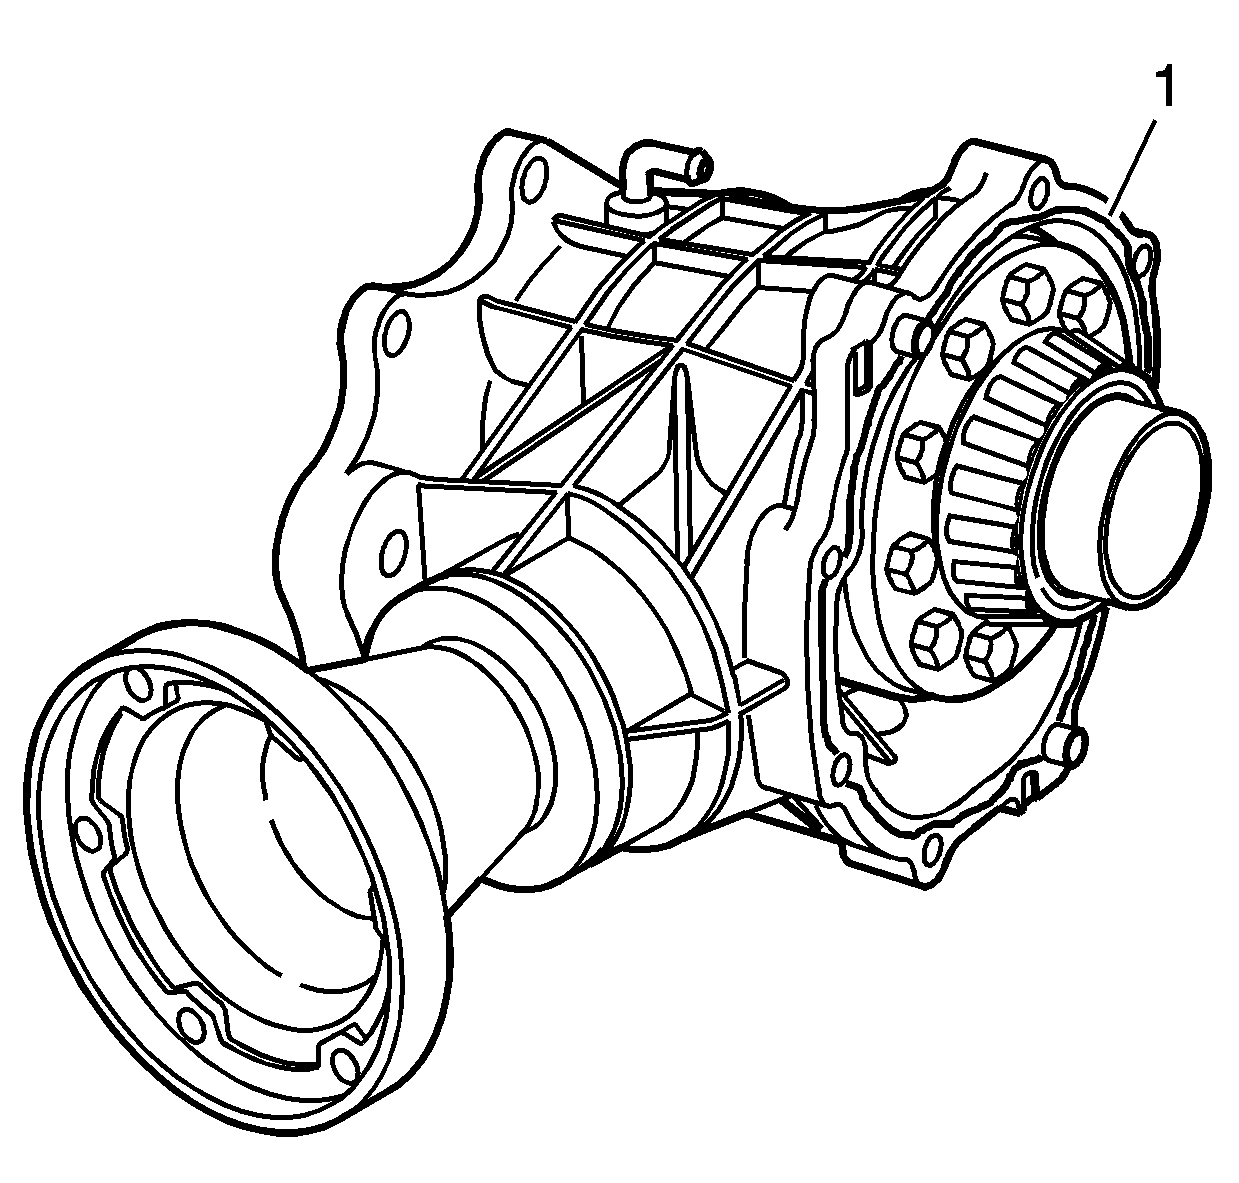
- Remove the carrier assembly (1) from the housing.
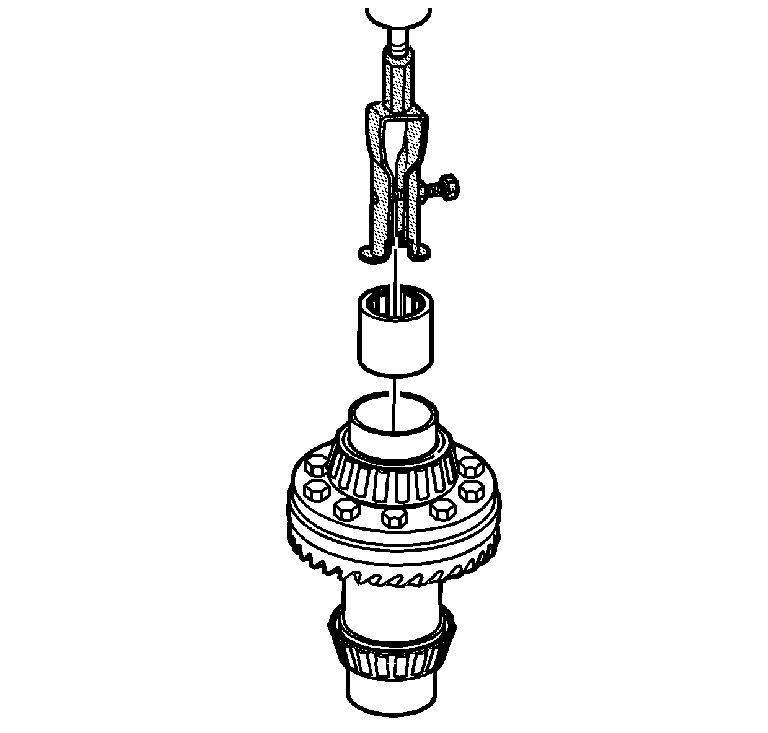
- Using the J 29369-2 and a slide hammer, remove the stub shaft inner bearing (1) from the carrier bore.
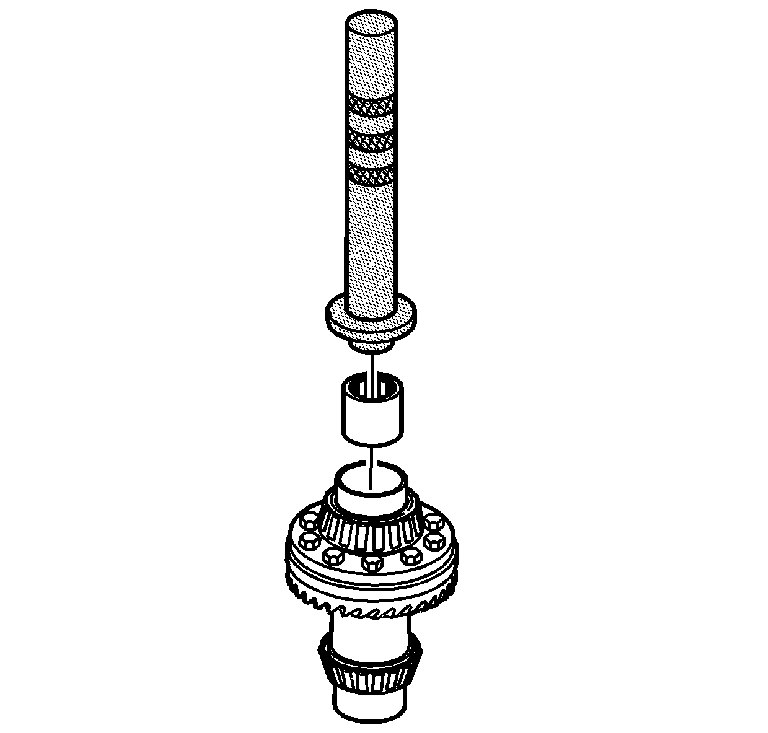
- Using J 4972-4 and a driver, install the axle shaft bearing (1) to the carrier until the bearing seats.
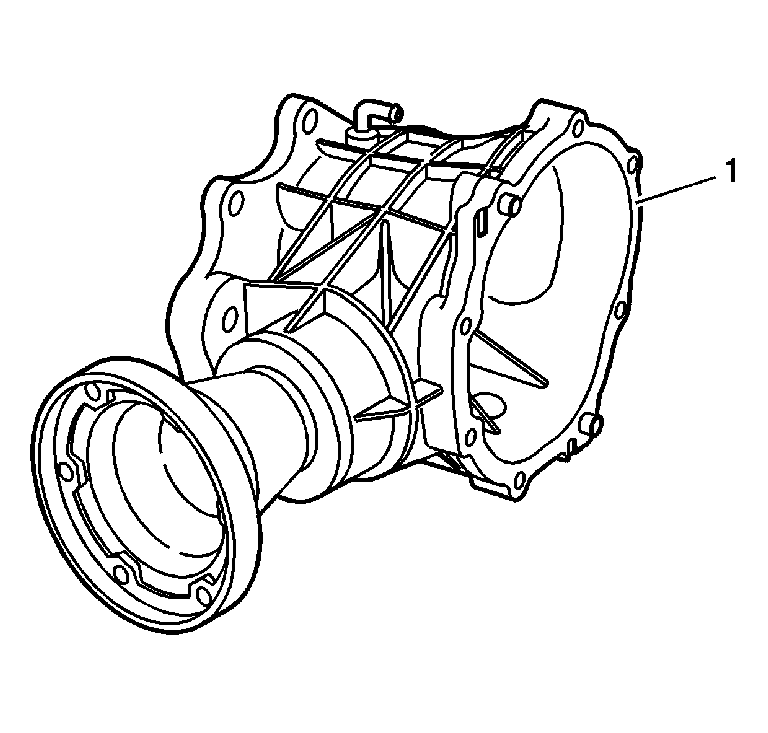
- Clean the carrier assembly housing sealing surface (1) with solvent and scrape it clean with a razor blade.
- Clean the cover sealing surface (1) with solvent and scrape it clean with a razor blade.
- Install the carrier assembly (1) to the housing.
- Apply a 2-3 mm (0.8-0.12 in) amount of sealer GM P/N United States 1052942, GM P/N Canada 10953466, or equivalent to the housing (1).
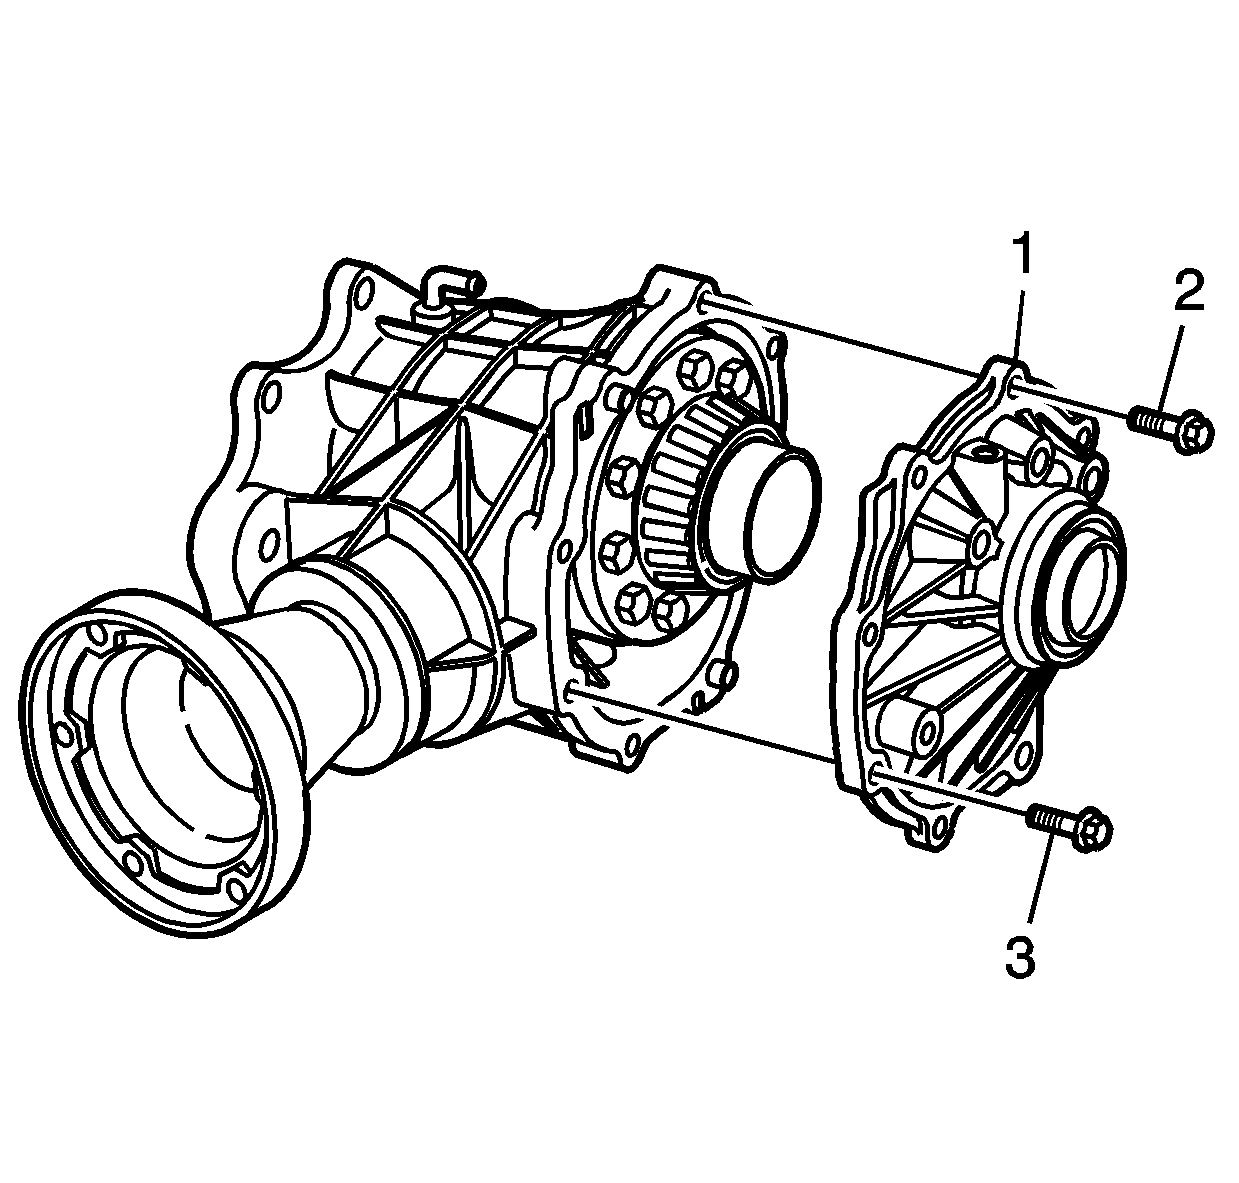
- Install the side cover (1) and bolts (2 and 3) to the housing.
- Fill the transfer case with fluid, after it is installed in the vehicle, to the bottom of the fill plug hole, or 500 ml (17 oz).
Important: Perform this step only if the bearing needs to be replaced. Do not use the old bearing again.
Important: Grease the seal lips in order to protect the seal and to ease in assembly.
Important: Do not apply excess sealer. Excess sealer could cause premature failure.
Important:
• Grease the seal lips in order to protect the seal and to ease in assembly. • Apply Thread Locker GM P/N United States 12345382,
GM P/N Canada 10953489 to the threads of the bolts.
There is not a specific tightening sequence, but the bolts with dowel pins should be tightened first, and alternate the others from side to side.
Tighten
Tighten the side cover bolts to 34 N·m (25 lb ft).
