For 1990-2009 cars only
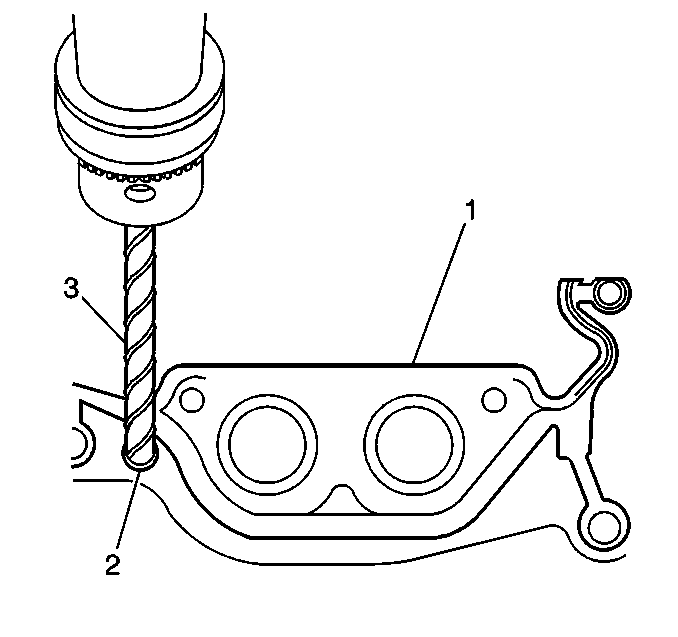
- Drill (3) out the oil pan gasket retaining rivets (2), if required.
- Remove the gasket (1) from the oil pan.
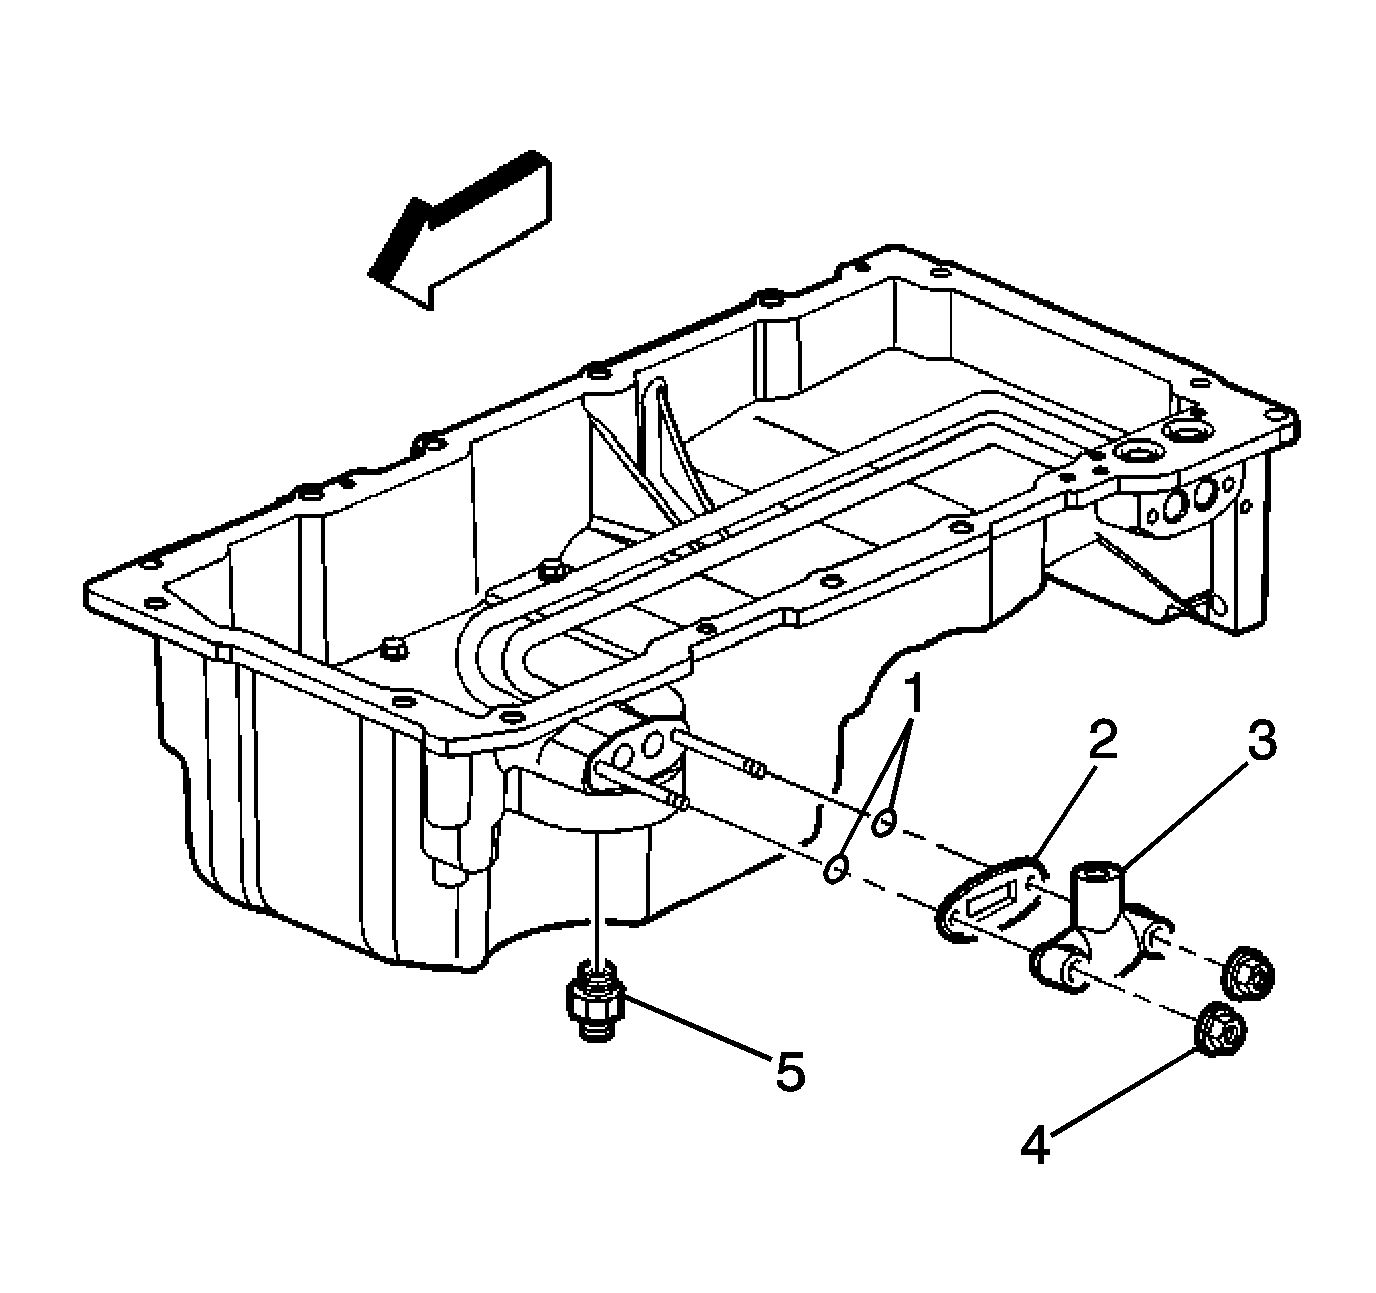
- Remove the oil pan cover (3), nuts (4), gasket (2), and O-ring seals (1), if applicable.
- Remove the oil filter fitting (5), if required.
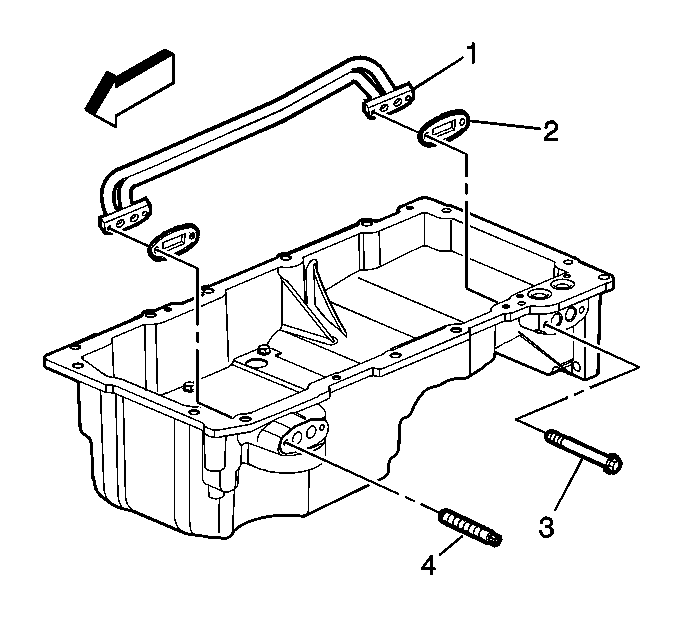
- Remove the oil transfer tube bolts (3), studs (4), and gaskets (2).
- Remove the oil transfer tube (1).
- Inspect the tube for damage or restrictions.
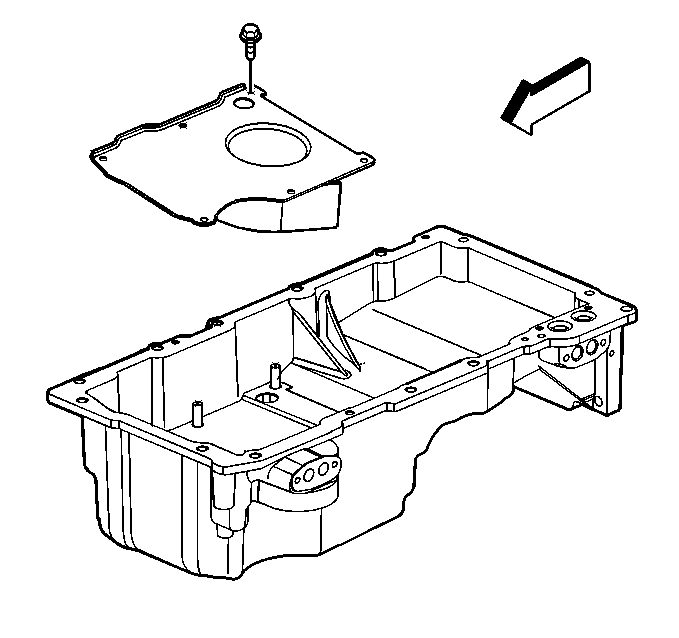
- Remove the oil pan baffle bolts and baffle.
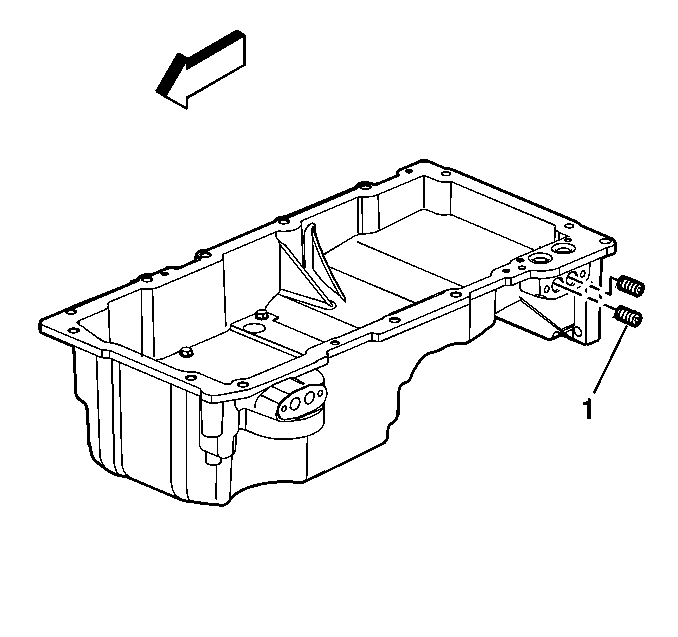
- Remove the plugs (1) from the oil galleries.
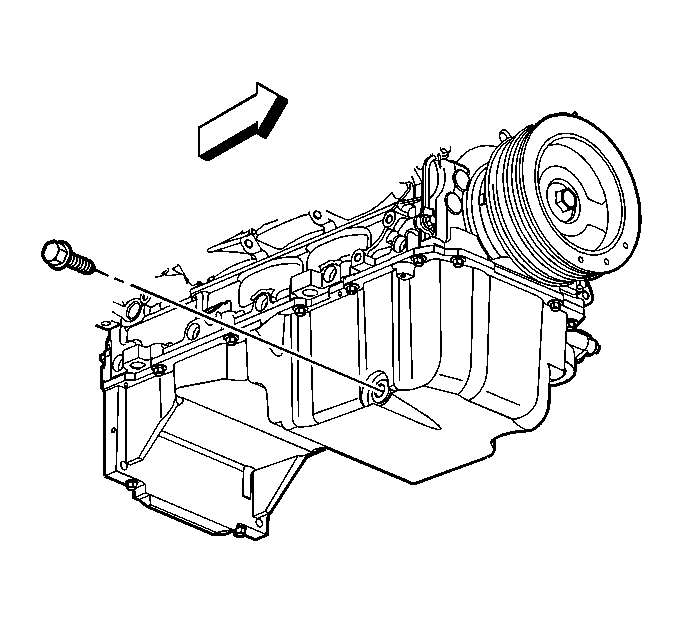
- Remove the oil pan drain plug.
- Clean the oil pan in solvent. Be sure to thoroughly clean all of the oil passages and recesses of the pan.
- Clean the oil pan gasket surfaces.
- Dry the oil pan with compressed air.
- Inspect the oil pan for the following:
- Inspect the oil filter fitting (1) for a loose fit or damaged threads.
- Inspect the oil filter bypass valve (2) for proper operation.
Important:
• Do not use the oil pan cover or oil transfer tube gaskets again. Install
NEW gaskets during assembly. • Do not use the oil pan to engine block gasket again. Install a NEW
gasket during assembly. • When installing a NEW oil pan gasket, it is not necessary to install
the rivets that retain the NEW gasket to the pan.

Refer to Replacing Engine Gaskets .
Caution: Wear safety glasses in order to avoid eye damage.
| • | Gasket sealing surfaces for excessive scratches or gouging |
| • | Oil pan drain plug and threaded drain hole for damaged threads |
| • | The drain plug O-ring seal may be used again if it is not cut or damaged |
| • | Oil filter sealing surface for scratches or gouging |
| • | Oil passages for restrictions |
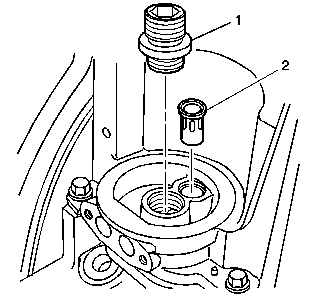
Lightly push the bypass valve into the bore. The valve spring should seat the valve to the proper position.
