For 1990-2009 cars only
Radio Replacement for Generic Unit Repair 2006
Removal Procedure
- Remove the HVAC control assembly. Refer to Heater and Air Conditioning Control Replacement .
- Remove the drivers information center switch bank. Refer to Driver Information Display Switch Replacement .
- Remove the radio screws.
- Pull the radio toward you.
- Disconnect the instrument panel (I/P) wiring harness connectors and the antenna cable connector from the radio.
- Remove the radio.
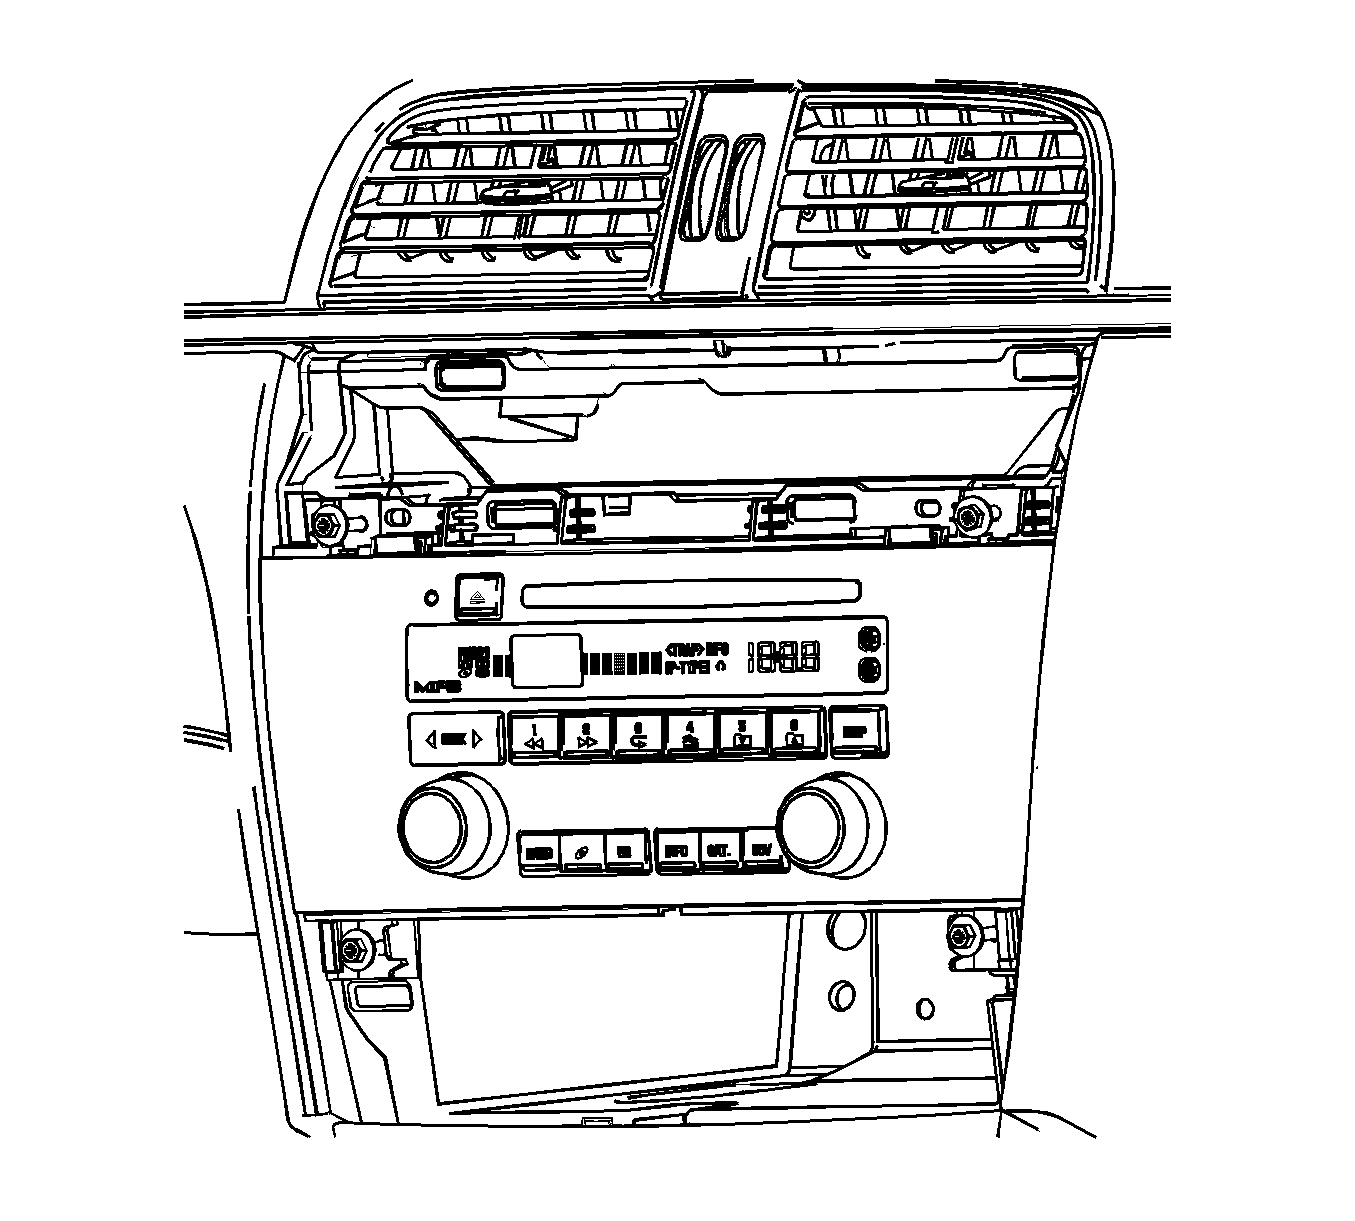
Important: Perform the radio set up procedure for new radios. Refer to Control Module References for programming and setup information.
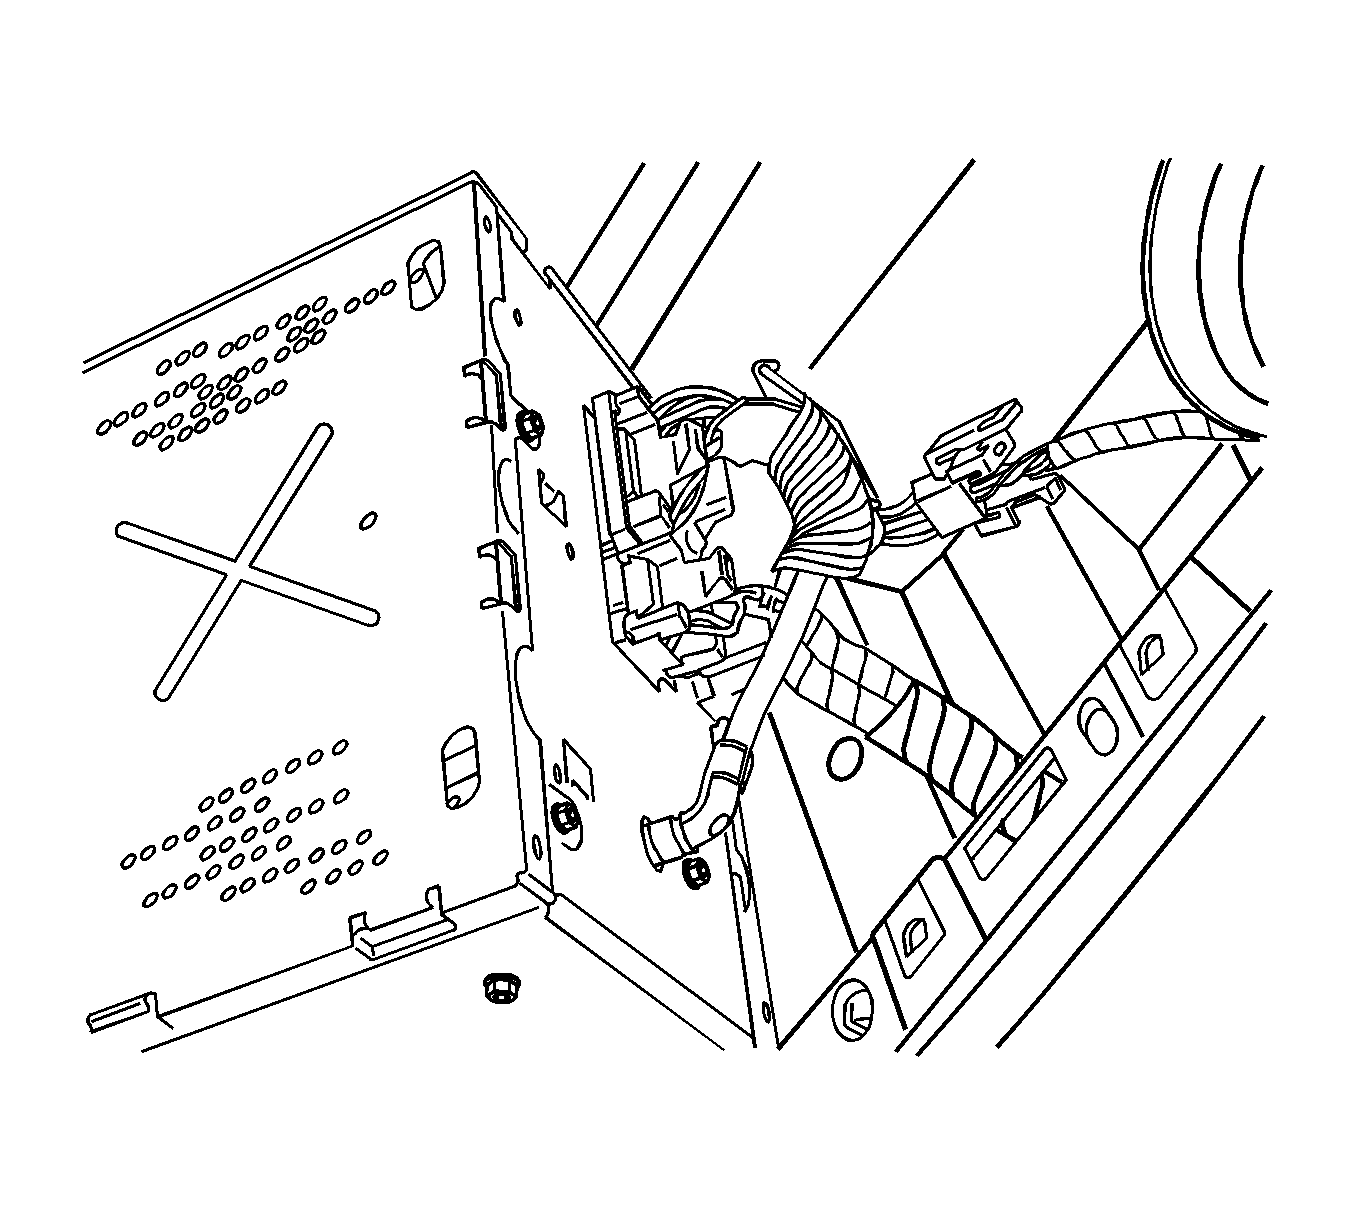
Installation Procedure
- Position the radio to the I/P.
- Connect the I/P wiring harness connectors and the antenna cable connector to the radio.
- Install the radio to the I/P.
- Install the radio screws.
- Install the drivers information center switch bank. Refer to Driver Information Display Switch Replacement .
- Install the HVAC control assembly. Refer to Heater and Air Conditioning Control Replacement .
- Perform the radio set up procedure for new radios. Refer to Control Module References for programming and setup information.
Important: If the radio locator is difficult to align to the I/P locator opening, pull the radio toward you and reposition the antenna cable.
Align the radio locator to the hole in the I/P while pressing the radio into position.
Notice: Refer to Fastener Notice in the Preface section.
Tighten
Tighten the screws to 2 N·m (18 lb in).
