For 1990-2009 cars only
Removal Procedure
- Remove the rear seat cushion. Refer to Rear Seat Cushion Replacement in Seats.
- Remove the rear seat back. Refer to Rear Seat Back Replacement in Seats.
- Remove the left rear quarter lower panel. Refer to Quarter Lower Rear Trim Panel Replacement in Interior Trim.
- Remove the left rear upper quarter trim panel. Refer to Quarter Upper Trim Panel Replacement in Interior Trim.
- Lower the rear of the headliner. Refer to Headlining Trim Panel Replacement in Interior Trim.
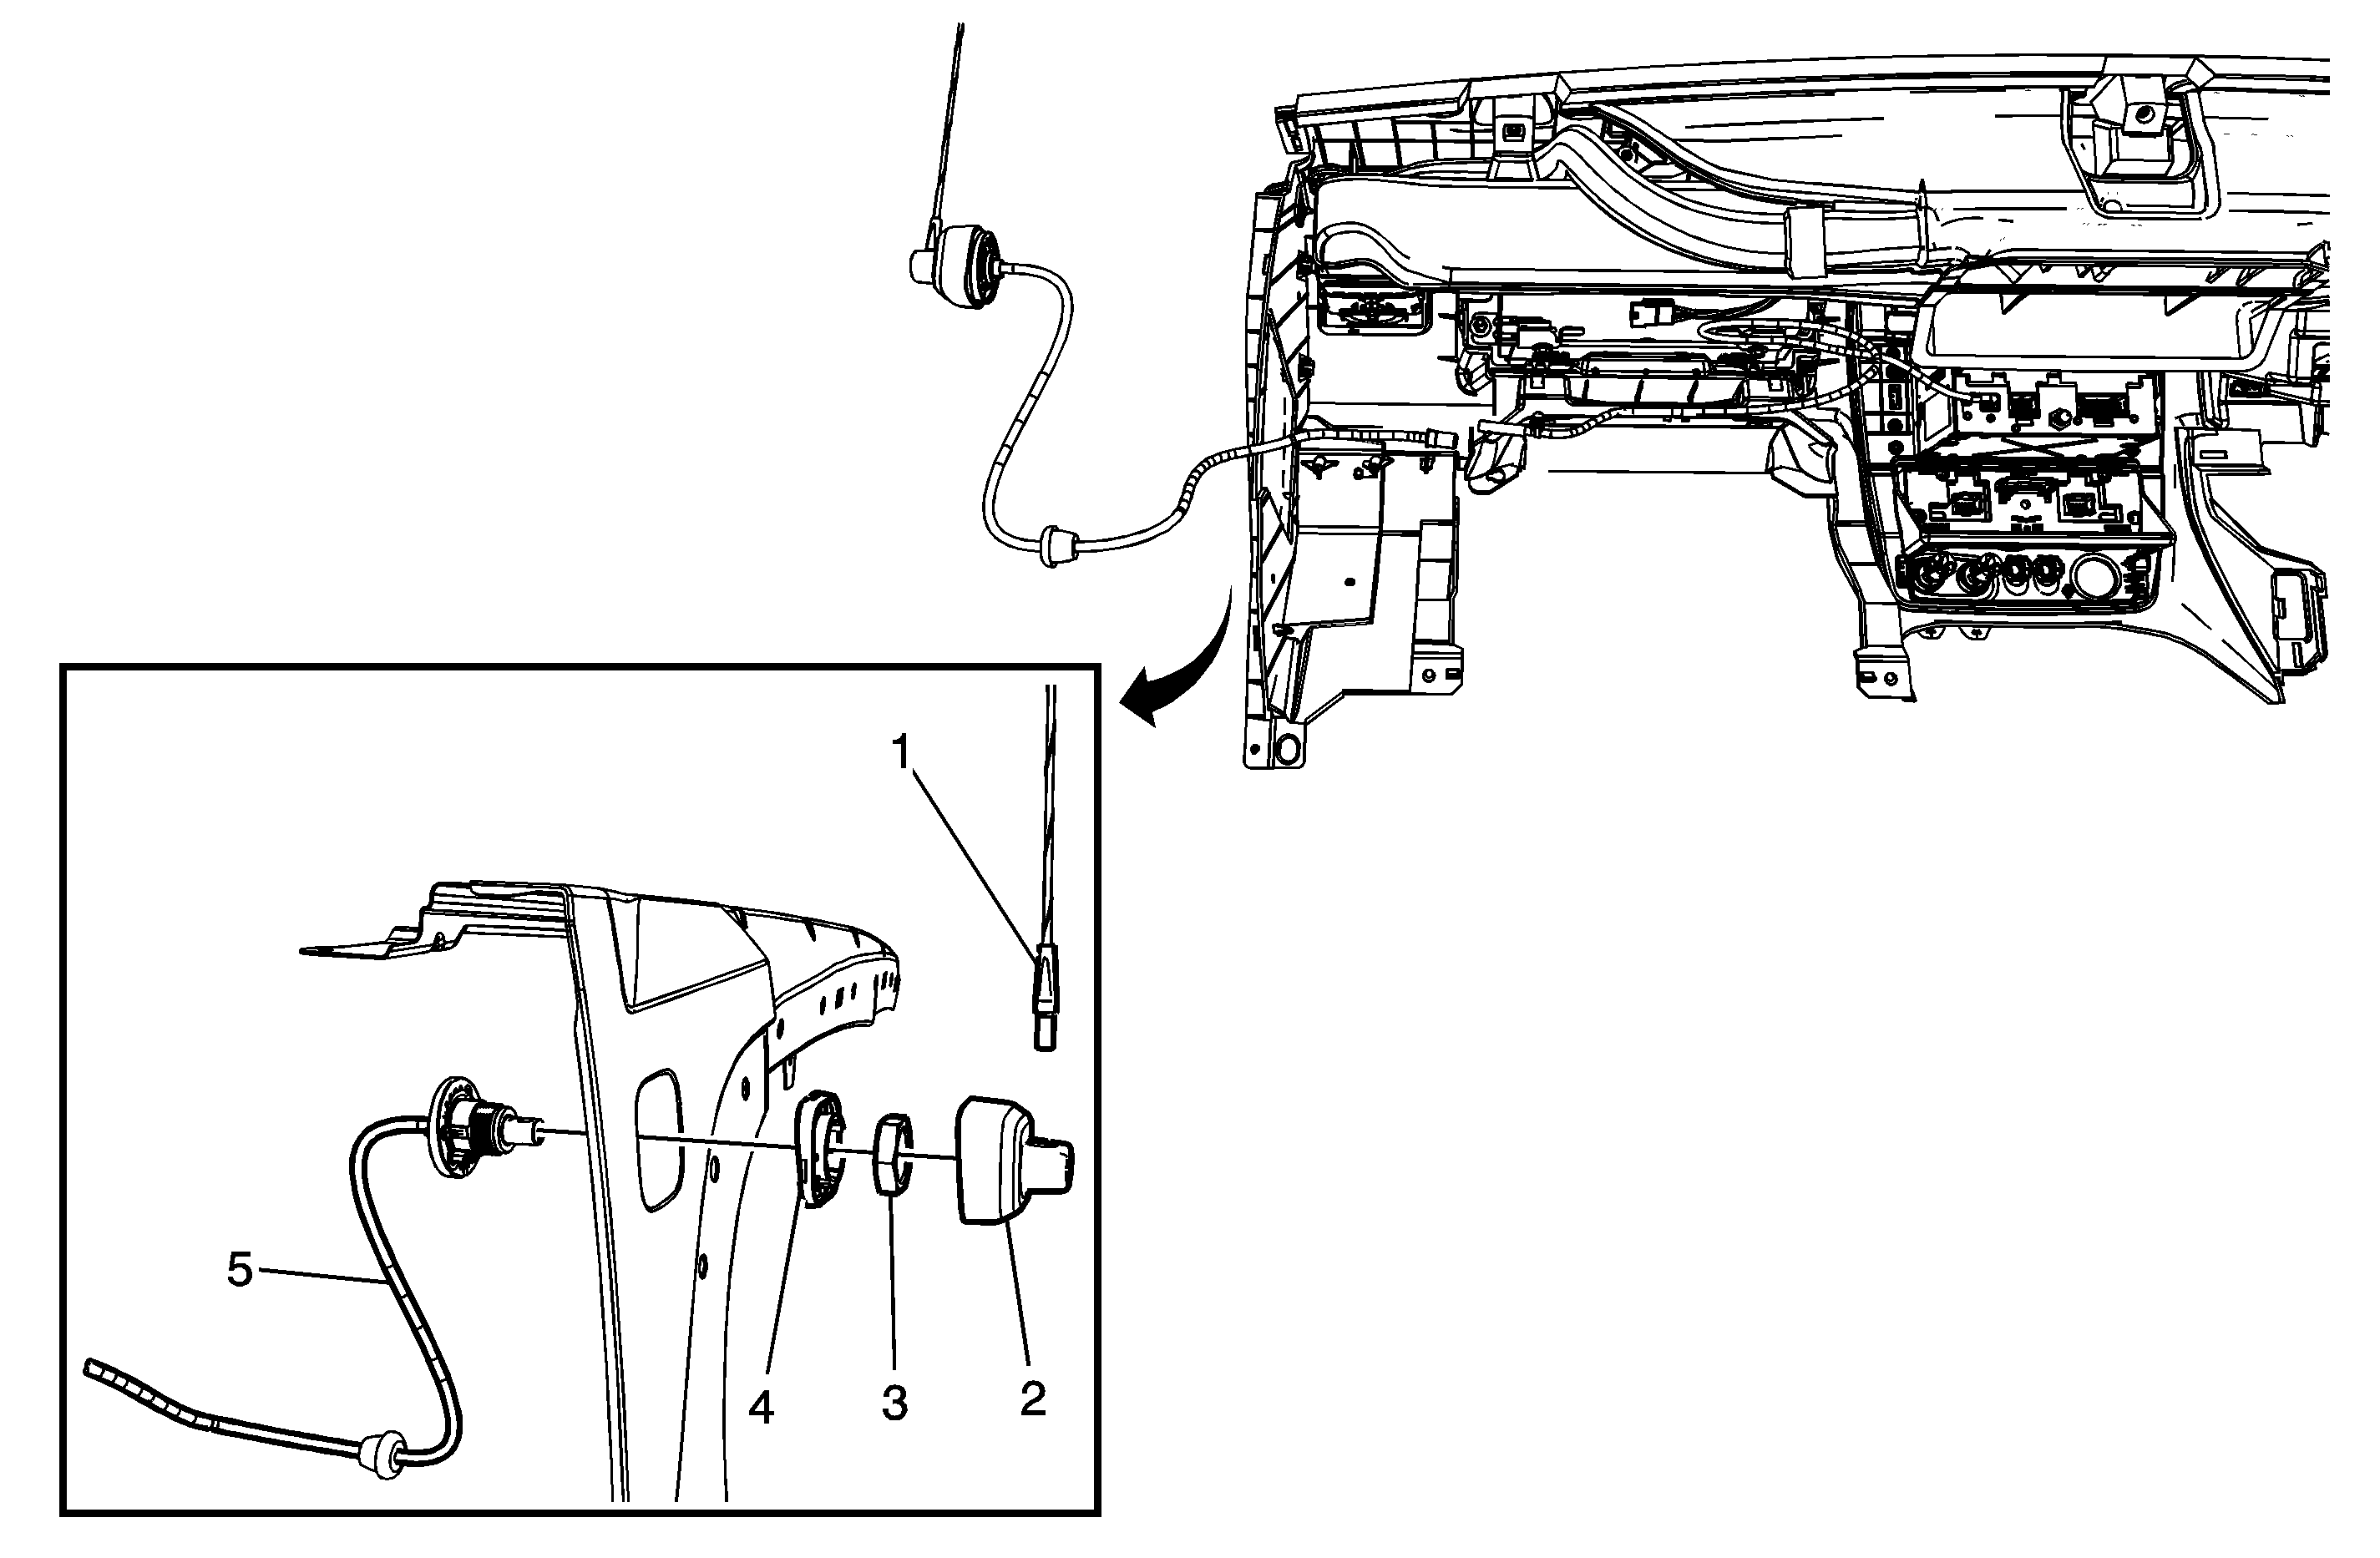
- Disconnect the antenna cable (2) from the radio antenna module.
- Remove the lower center pillar trim panel. Refer to Center Pillar Lower Trim Panel Replacement in Interior Trim.
- Remove the left lower pillar garnish molding. Refer to Lower Pillar Garnish Molding Replacement in Interior Trim.
- Adjust the carpet for access to the antenna cable (1) and body harness as required. Refer to Front Floor Panel Carpet Replacement in Interior Trim.
- Disconnect the antenna cable from the antenna extension cable (1).
- Cut off the visible ends of the antenna cable from the wiring harness in the following locations:


| • | The lower pillar garnish molding |
| • | The rear header area |
Installation Procedure
- Install the antenna cable (1) to the vehicle. Use electrical tape in order to secure the antenna cable to the top of the wiring harness. Secure the cable to the harness at least every 150 mm (6 in).
- Connect the antenna cable to the antenna extension cable.
- Install the carpet. Refer to Front Floor Panel Carpet Replacement in Interior Trim.
- Install the lower center pillar trim panel. Refer to Center Pillar Lower Trim Panel Replacement in Interior Trim.
- Install the left lower pillar garnish molding. Refer to Lower Pillar Garnish Molding Replacement in Interior Trim.
- Connect the antenna cable (2) to the radio antenna module
- Install the headliner. Refer to Headlining Trim Panel Replacement in Interior Trim.
- Install the left rear upper quarter trim panel. Refer to Quarter Upper Trim Panel Replacement in Interior Trim.
- Install the left rear quarter lower trim panel. Refer to Quarter Lower Rear Trim Panel Replacement in Interior Trim.
- Install the rear seat back. Refer to Rear Seat Back Replacement in Seats.
- Install the rear seat cushion. Refer to Rear Seat Cushion Replacement in Seats.


Callout | Component Name |
|---|---|
|
Notice: Refer to Fastener Notice in the Preface section. Fastener Tightening Specifications: Refer to Fastener Tightening Specifications . Preliminary ProcedureRemove the right front wheelhouse. Refer to Wheelhouse Panel Replacement . | |
1 | Radio Antenna Assembly |
2 | Radio Antenna Bracket Stud Cap |
3 | Radio Antenna Base Nut Tighten |
4 | Radio Antenna Spacer |
5 | Radio Antenna Base Cable Assembly Tip
|
