For 1990-2009 cars only
Removal Procedure
- Disconnect the negative battery cable.
- Remove the intake air temperature (IAT) sensor electrical connector.
- Remove the four cap clips from the ACL.
- Remove the ACL hose and cap from the engine compartment.
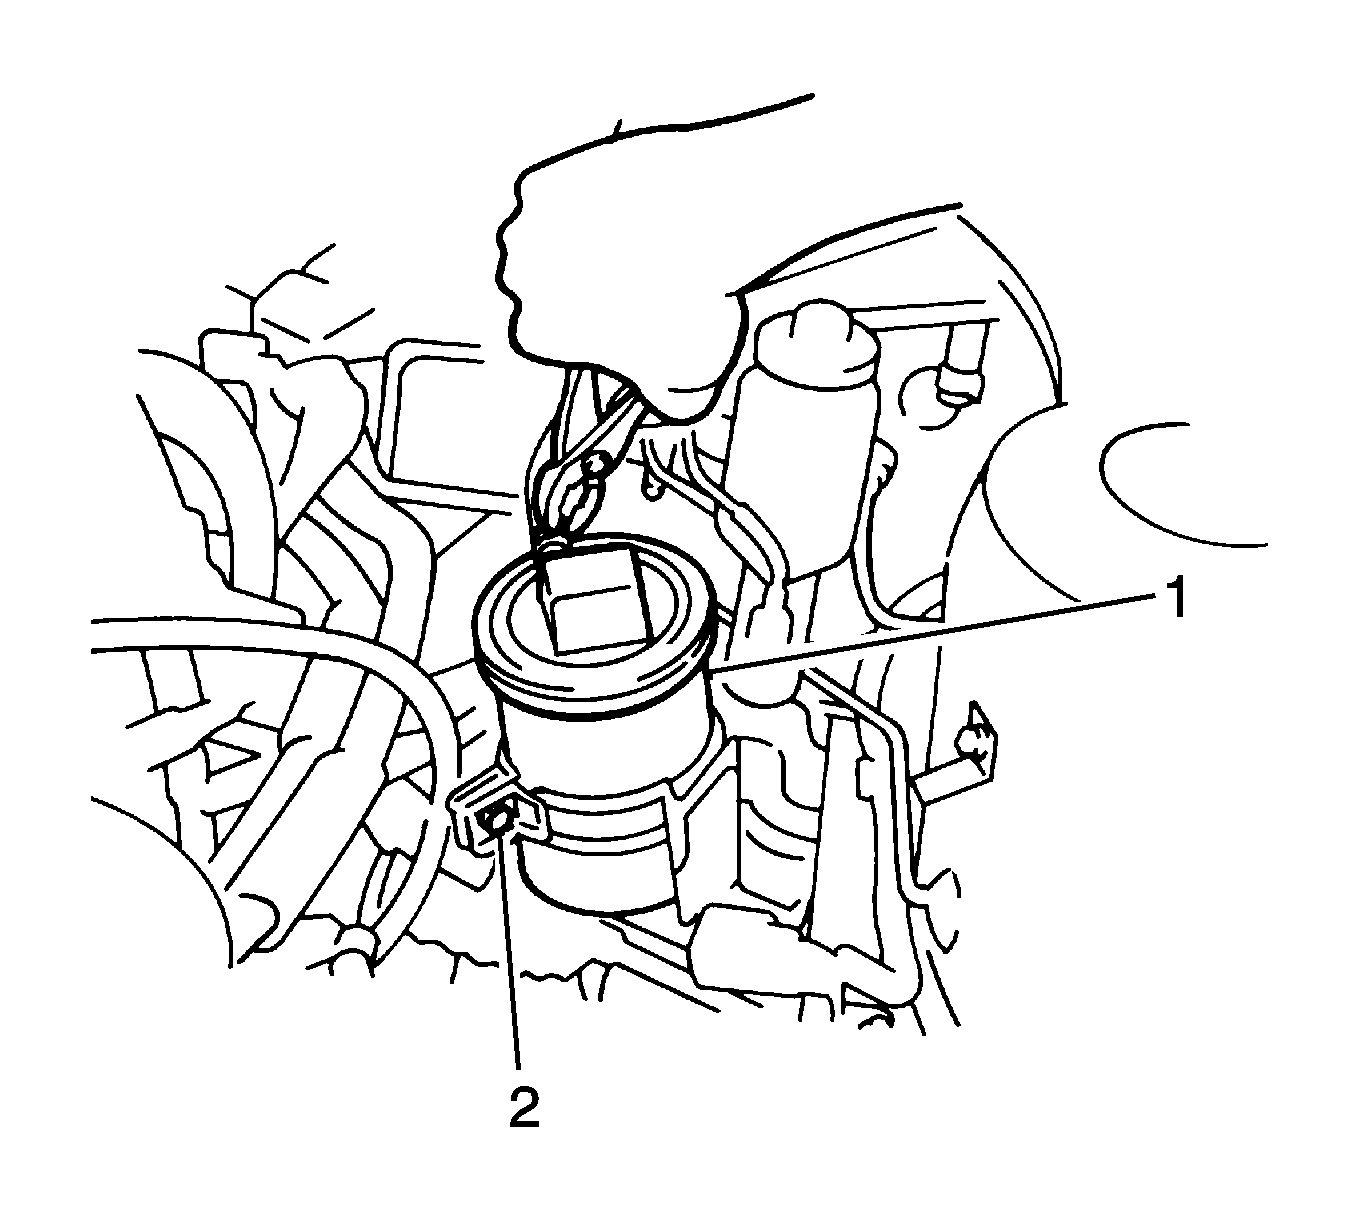
- Remove the two clamps and EVAP hoses from the EVAP canister (1).
- Remove the one vacuum hose from the EVAP canister.
- Remove the one bolt (2) and EVAP canister from the EVAP canister bracket.

Important: A careful visual check of the evaporative emission (EVAP) canister and the connecting vacuum hose should be made before diagnosis of the EVAP canister problem.
Loosen the air cleaner (ACL) hose clamp bolt.
Installation Procedure
- Install the EVAP canister (1) to the EVAP canister bracket; secure with one bolt (2).
- Install the one vacuum hose to the EVAP canister.
- Install the two EVAP hoses to the EVAP canister, secure with two clamps.
- Install the ACL hose and cap to the engine compartment.
- Install the four cap clips to the ACL.
- Install the IAT sensor electrical connector.
- Install the negative battery cable.

Tighten
Tighten the EVAP canister bracket bolts to 20 N·m (15 lb ft).
Tighten
Tighten the ACL hose clamp bolt to 2.5 N·m (24 lb in).
Tighten
Tighten the negative battery cable-to-negative battery terminal retainer to 15 N·m (11 lb ft).
