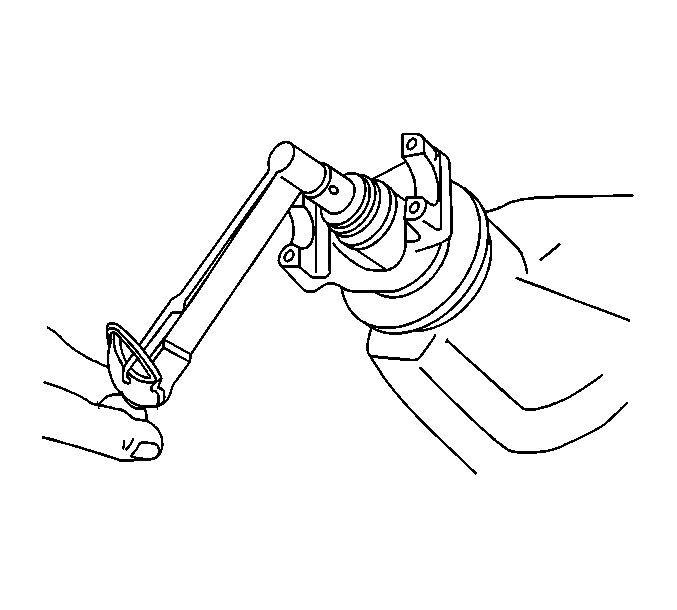
- Measure the rotating torque of the drive
pinion and differential assembly using an inch-pound torque wrench.
Specification
The rotating torque of the drive pinion and differential assembly should be
3.4-6.2 N·m (30-55 lb in) for new bearings
or 2.8-5.1 N·m ( 25-45 lb in) for used bearings.
- If the rotating torque is too low, tighten the differential bearing adjuster
nut in 1 slot increments until the specified rotating torque is obtained.
- If the rotating torque is too high, loosen the differential bearing adjuster
nut in 1 slot increments until the specified rotating torque is obtained.
- If the specification for the rotating torque of the drive pinion and differential
assembly cannot be obtained by adjusting the differential bearing adjuster nut, remove
the differential assembly, measure the rotating torque of the drive pinion and adjust
as necessary. Refer to
Differential Replacement
and
Drive Pinion Bearings Replacement
.

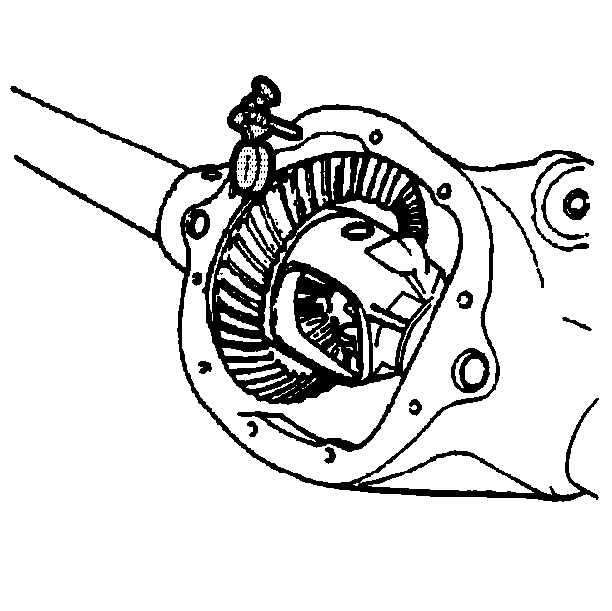
- Install
the J 25025-1
and the J 8001-3
to the axle housing as shown.
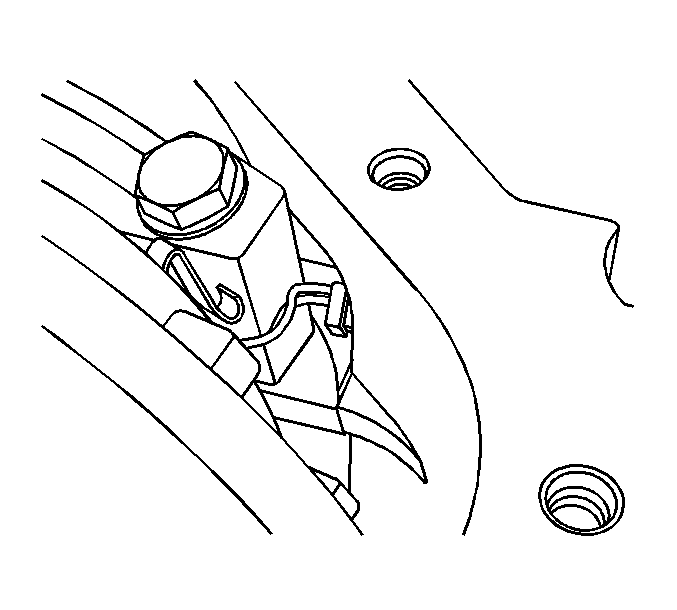
- Place the indicator stem of the J 8001-3
at the heel end of a gear tooth.
- Set the J 8001-3
so
that the stem is aligned with the gear rotation and perpendicular to the tooth angle.
- Preload the dial of the J 8001-3
approximately ¾ of a turn.
Align the needle and the dial face of the J 8001-3
to ZERO.
- While holding the drive pinion stationary, move the ring gear back and
forth.
Measure and record the backlash.
- Repeat the measuring procedure at eight points around the ring gear.
Specification
The difference between the backlash at all of the measuring points should not
vary by more than 0.05 mm (0.002 in).
- If the difference between the backlash at all of the measuring points
varies by more than 0.05 mm (0.002 in), inspect for the following conditions:
| • | A distorted case flange |
- If the difference between all the measuring points is within specifications,
the backlash at the minimum lash point measured should be:
Specification
The backlash between the ring gear and the drive pinion should be between 0.08-0.25 mm
(0.003-0.010 in) with a preferred backlash of 0.13-0.18 mm
(0.005-0.007 in).
Important:
| • | Do not use the original cast iron production shim to adjust the backlash.
Use service shims instead. |
| • | Increasing or decreasing the shim thickness by 0.05 mm (0.002 in)
will change the backlash adjustment approximately 0.03 mm (0.001 in). |
- If the backlash is too small, increase the backlash using the following procedure:
| 13.1. | Support the differential assembly in order to prevent the differential
assembly from falling out of the axle housing. |
| 13.2. | Loosen the right side bearing cap bolts. |
| 13.3. | Loosen the left side bearing cap bolts. |
Do not remove the bearing cap bolts.
| 13.4. | Loosen the differential bearing adjuster nut using the J 24429
. |
| 13.5. | Remove the differential side bearing shim. |
| 13.6. | Measure the thickness of the shim. |
Measure the shim in 3 locations.
| 13.7. | Calculate the average of the 3 measurements. |
Record the measurement.
| 13.8. | Select a smaller shim than the one that was removed. For example, to increase
the backlash by 0.05 mm (0.002 in), select a shim that is 0.10 mm
(0.004 in) thinner than the shim that was removed. |
- If the backlash is too large, decrease the backlash using the following
procedure:
| 14.1. | Support the differential assembly in order to prevent the differential
assembly from falling out of the axle housing. |
| 14.2. | Loosen the right side bearing cap bolts. |
| 14.3. | Loosen the left side bearing cap bolts. |
Do not remove the bearing cap bolts.
| 14.4. | Loosen the differential bearing adjuster nut using the J 24429
. |
| 14.5. | Remove the differential side bearing shim. |
| 14.6. | Measure the thickness of the shim. |
Measure the shim in 3 locations.
| 14.7. | Calculate the average of the 3 measurements. |
Record the measurement.
| 14.8. | Select a larger shim than the one that was removed. For example, to increase
the backlash by 0.05 mm (0.002 in), select a shim that is 0.10 mm
(0.004 in) thicker than the shim that was removed. |
- Install the new service shim.
- Tighten the differential bearing adjuster nut using the J 24429
until the differential bearing adjuster nut
contacts the bearing.
- Once the differential bearing adjuster contacts the differential bearing,
tighten the differential bearing adjuster nut using the J 24429
the following additional amounts:
Tighten
| • | For used bearings, tighten the differential bearing adjuster nut an additional
2 slots. |
| • | For new bearings, tighten the differential bearing adjuster nut an additional
3 slots. |
- Tighten the right side differential bearing cap bolts.
Tighten
Tighten the right side bearing cap bolts to 85 N·m (63 lb ft).

- Tighten the left side differential bearing
cap bolts.
Ensure that the locking differential coil assembly wires are routed away from
the differential bearing cap.
Tighten
Tighten the left side bearing cap bolts to 85 N·m (63 lb ft).
- Measure the drive pinion and differential case side bearing preload and
adjust, if necessary. Refer to
Differential Carrier Bearing Preload Adjustment
.
- Recheck the backlash and adjust, if necessary.
- Once backlash and bearing preload is correct, perform a gear tooth contact
pattern check in order to ensure proper alignment between the ring and pinion gears.
Refer to
Gear Tooth Contact Pattern Inspection
.
- Complete the installation of the differential into the axle housing. Refer
to
Differential Replacement
.
