Tools Required
| • | J 8614-01 Flange and Pulley Holding Tool |
| • | J 22536 Pinion Driver |
| • | J 22388 Pinion Oil Seal Installer - Rear |
Removal Procedure
- Raise the vehicle. Refer to Lifting and Jacking the Vehicle .
- Remove the tire and wheel assemblies. Refer to Tire and Wheel Removal and Installation .
- Remove the brake calipers. Refer to Rear Brake Caliper Replacement .
- Remove the brake rotors. Refer to Rear Brake Rotor Replacement .
- Remove the axle shafts. Refer to Rear Axle Shaft Replacement .
- Remove the differential. Refer to Differential Replacement .
- Remove the pinion yoke and the seal. Refer to Drive Pinion Flange/Yoke and/or Oil Seal Replacement .
- Install the J 22536 as shown.
- Drive the pinion out using the J 22536 and a hammer.
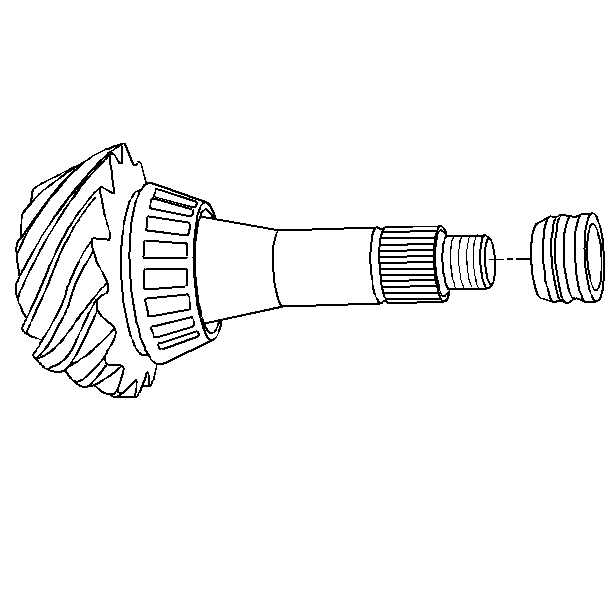
- Remove the collapsible spacer from the pinion. Discard the spacer.
- Remove the pinion bearings and the cups. Refer to Drive Pinion Bearings Replacement .
- Remove the ring gear bolts. Discard the bolts.
- Remove the ring gear from the differential. Drive the gear off with a brass drift if necessary.
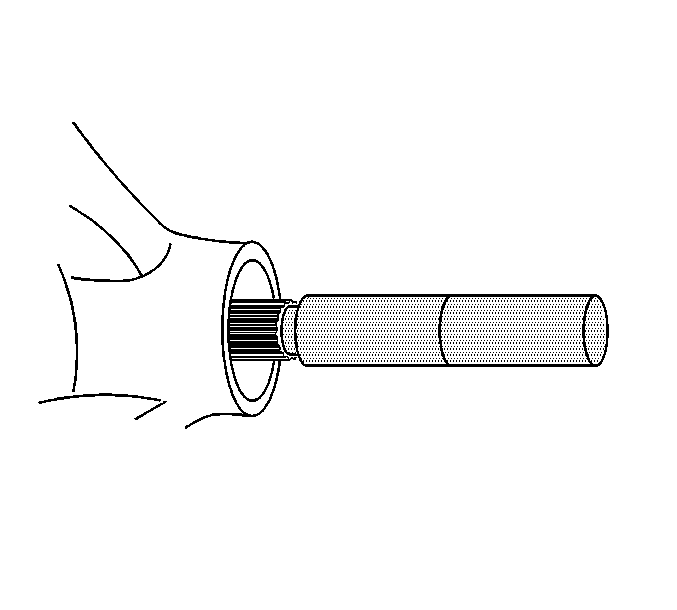
Ensure that the J 22536 is firmly seated on the pinion.
Strike the J 22536 slowly. Do not let the pinion fall out of the rear axle housing.
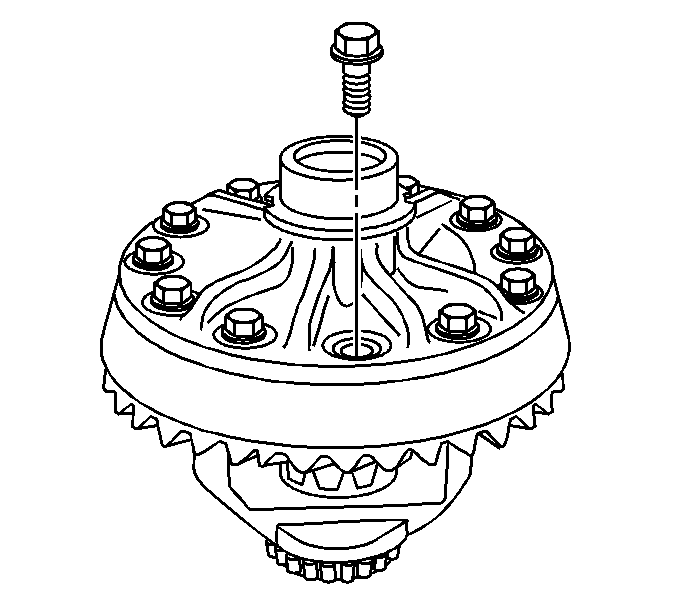
Important: The ring gear bolts have left-hand threads.
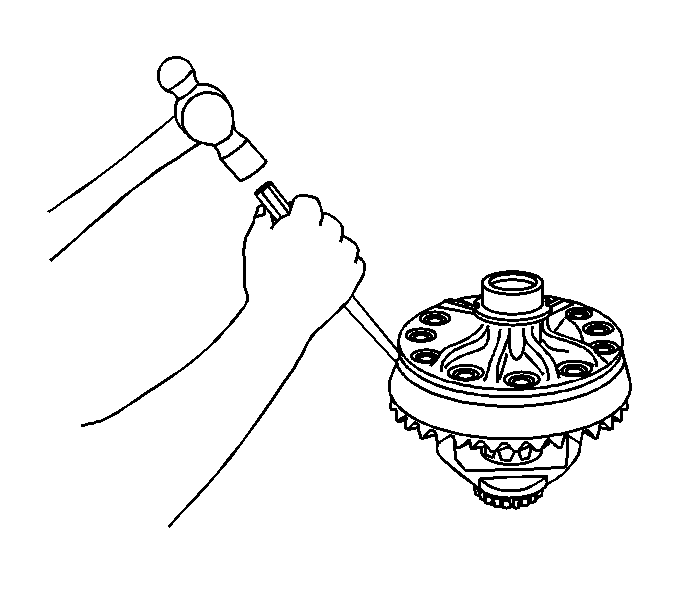
Notice: Do not pry the ring gear from the differential case. Prying the ring gear from the differential case may cause damage to the ring gear and/or the differential case.
Installation Procedure
- Install the ring gear to the differential case.
- Install the new left-hand ring gear bolts.
- Tighten the ring gear bolts alternately and in stages, gradually pulling the ring gear onto the differential case.
- Install the pinion bearing cups. Refer to Drive Pinion Bearings Replacement .
- Determine the selective shim thickness for the pinion gear. Refer to Pinion Depth Adjustment .
- Install the selective shim onto the drive pinion.
- Install the inner pinion bearing to the pinion. Refer to Drive Pinion Bearings Replacement .
- Install a new collapsible spacer.
- Lubricate the pinion bearings with axle lubricant. Use the proper fluid. Refer to Fluid and Lubricant Recommendations .
- Install the drive pinion into the axle housing.
- Install the outer pinion bearing onto the drive pinion.
- Install a new pinion oil seal using the J 22388 .
- Apply sealant, GM P/N 12346004 (Canadian P/N 10953480) or equivalent, to the splines of the pinion yoke.
- Install the pinion yoke.
- Seat the pinion yoke onto the pinion shaft by tapping it with a soft-faced hammer until a few pinion shaft threads show through the yoke.
- Install the washer and a new pinion nut.
- Install the J 8614-01 onto the pinion yoke.
- Tighten the pinion nut while holding the J 8614-01 .
- Measure the rotating torque of the drive pinion using an inch-pound torque wrench.
- If the rotating torque of the drive pinion is less than 1.7 N·m (15 lb in) for new bearings or 1.1 N·m (10 lb in) for used bearings, continue to tighten the pinion nut until the specified torque is obtained.
- If the rotating torque of the drive pinion is greater than 3.4 N·m (30 lb in) new bearings or 2.3 N·m (20 lb in) for used bearings, remove the drive pinion and replace the collapsible spacer and re-install the drive pinion following the steps above.
- Install the differential assembly. Refer to Differential Replacement .
- Perform a gear tooth contact pattern check on the drive pinion and the ring gear. Refer to Gear Tooth Contact Pattern Inspection .
- Install the axle shafts. Refer to Rear Axle Shaft Replacement .
- Install the brake rotors. Refer to Rear Brake Rotor Replacement .
- Install the brake calipers. Refer to Rear Brake Caliper Replacement .
- Install the tire and wheel assemblies. Refer to Tire and Wheel Removal and Installation .
- Fill the axle with lubricant. Use the proper fluid. Refer to Rear Axle Lubricant Replacement .
- Lower the vehicle.
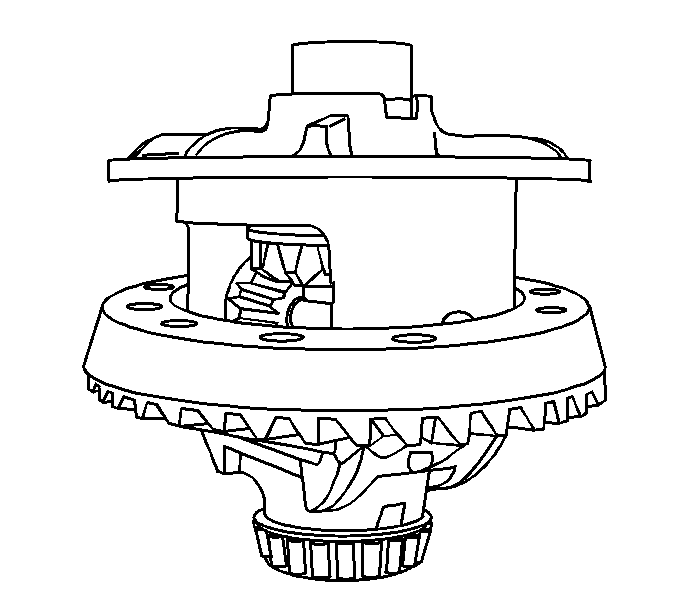
Important: The mating surface of the ring gear and the differential case must be clean and free of burrs before installing the ring gear.

Hand start each bolt in ensure the ring gear is properly installed to the differential case.
Notice: Refer to Fastener Notice in the Preface section.
Tighten
Tighten the ring gear bolts in sequence to 140 N·m (103 lb ft).

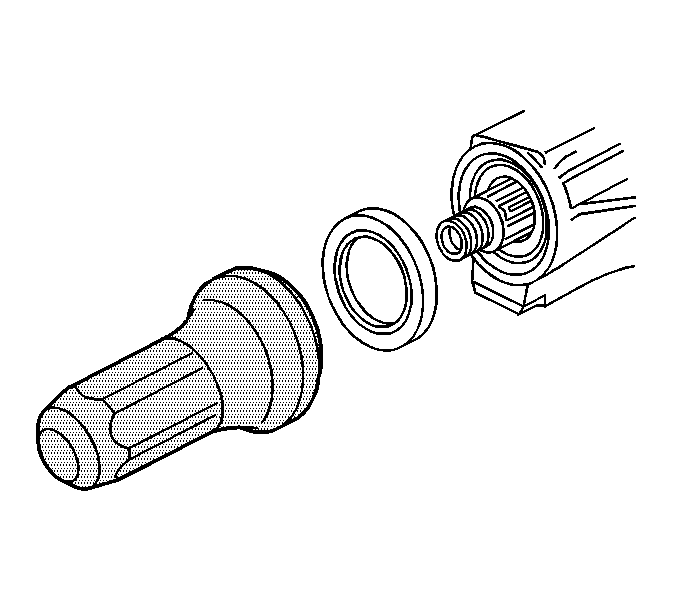
Notice: Do not hammer the pinion flange/yoke onto the pinion shaft. Pinion components may be damaged if the pinion flange/yoke is hammered onto the pinion shaft.
Important: If the rotating torque is exceeded, the pinion will have to be removed and a new collapsible spacer installed.
Tighten
Tighten the nut until the pinion end play is just taken up. Rotate the pinion while tightening the nut to seat the bearings.
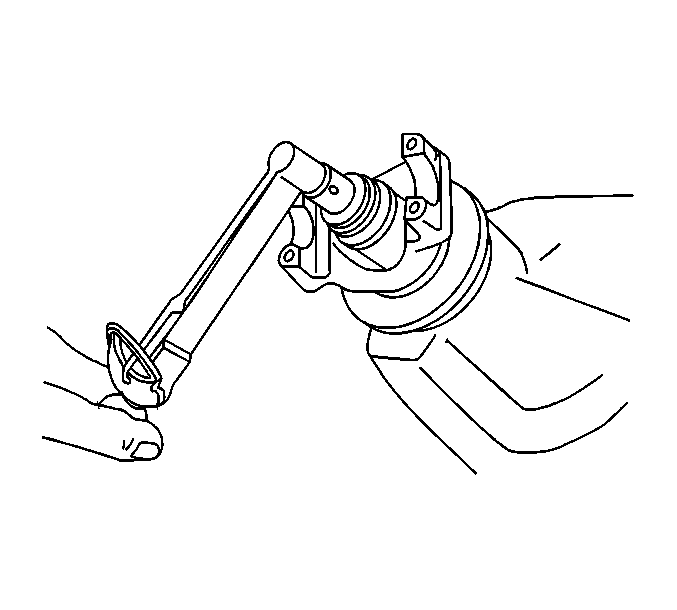
Specification
The rotating torque of the drive pinion should be 1.7-3.4 N·m (15-30 lb in) for new bearings or 1.1-2.3 N·m (10-20 lb in) for used bearings.
Rotate the pinion several times to ensure the bearings have seated. Recheck the rotating torque and adjust if necessary.
