For 1990-2009 cars only
Roof Console Replacement Full Length
Removal Procedure
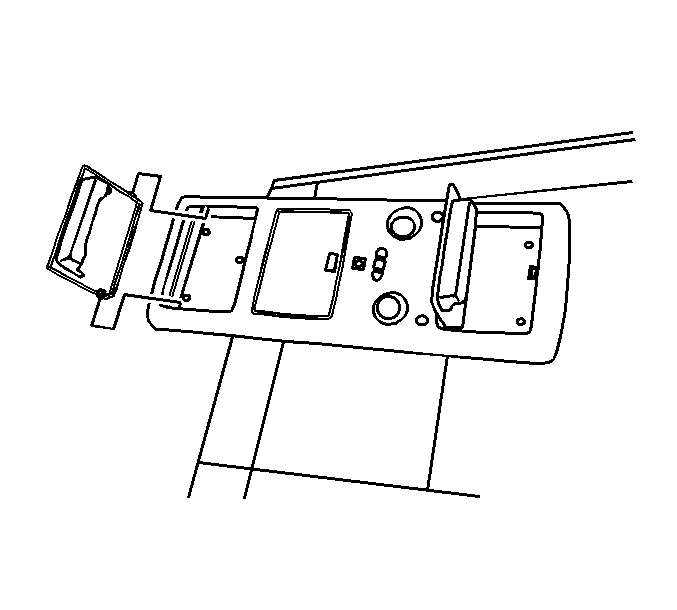
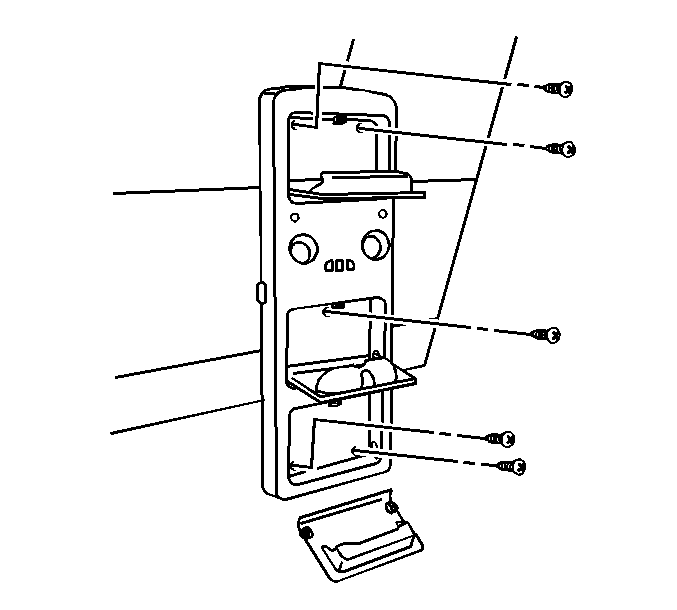
- Open the console compartment and remove the roof screws.
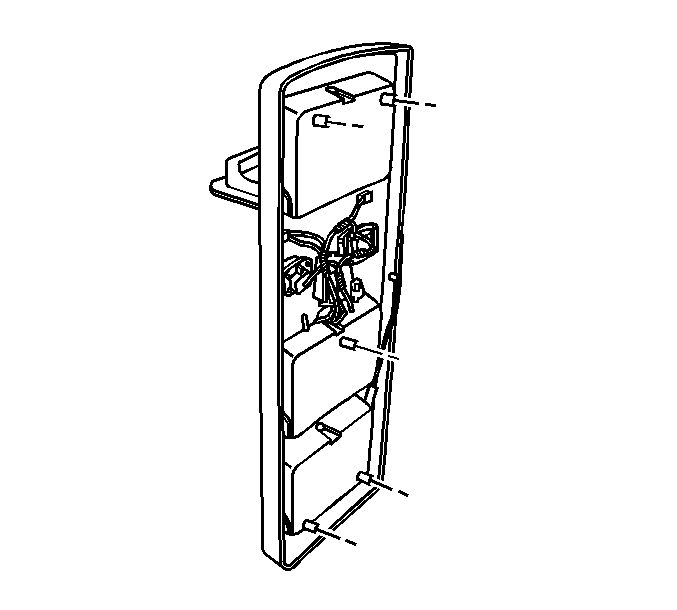
- Disconnect the electrical connectors from the overhead console.
- Remove the console.
Installation Procedure
- Connect the electrical connection to the console.
- Align the overhead console with the roof console holes.
- Install the console to the roof.


Notice: Refer to Fastener Notice in the Preface section.

Tighten
Tighten the screws to 2 N·m (18 lb in).
Roof Console Replacement Short Length
Removal Procedure
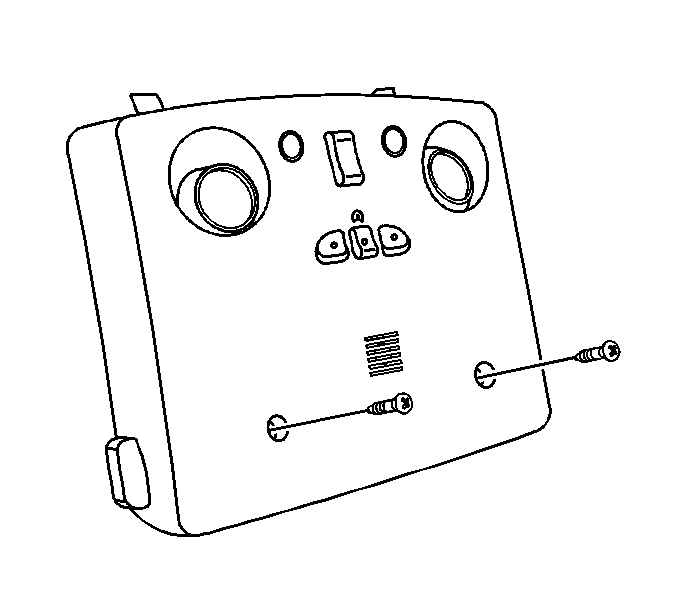
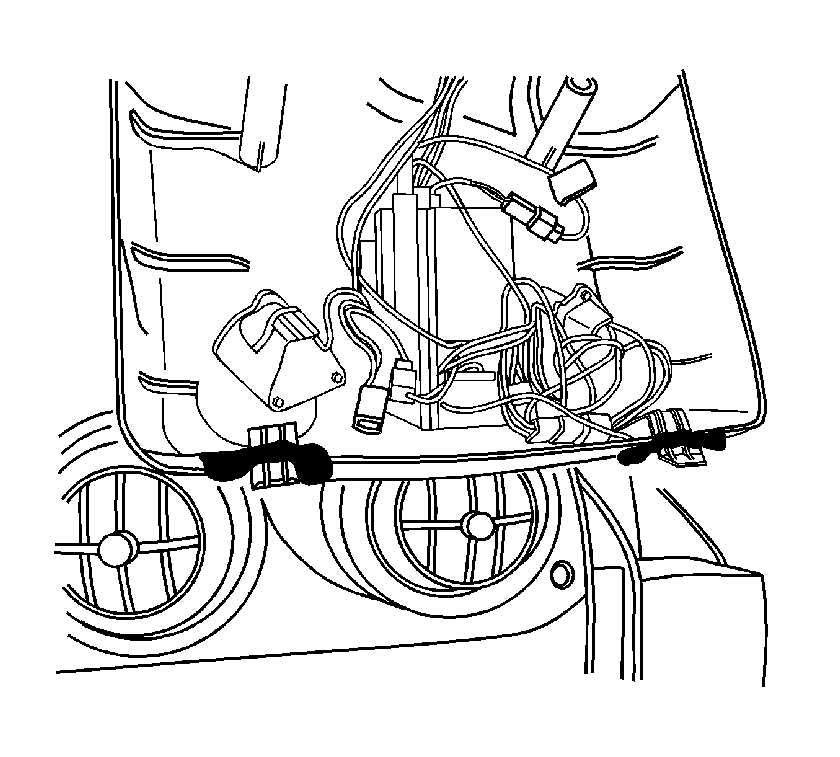
Important: When removing some overhead consoles, the rear retaining tabs may be hot glued to the headliner.
- Remove the console roof screws.
- If front tabs are glued to headliner, gently wiggle console to loosen console tabs from headliner.
- Disconnect the electrical connectors.
- Remove the console.
Installation Procedure
- Connect the electrical connectors.
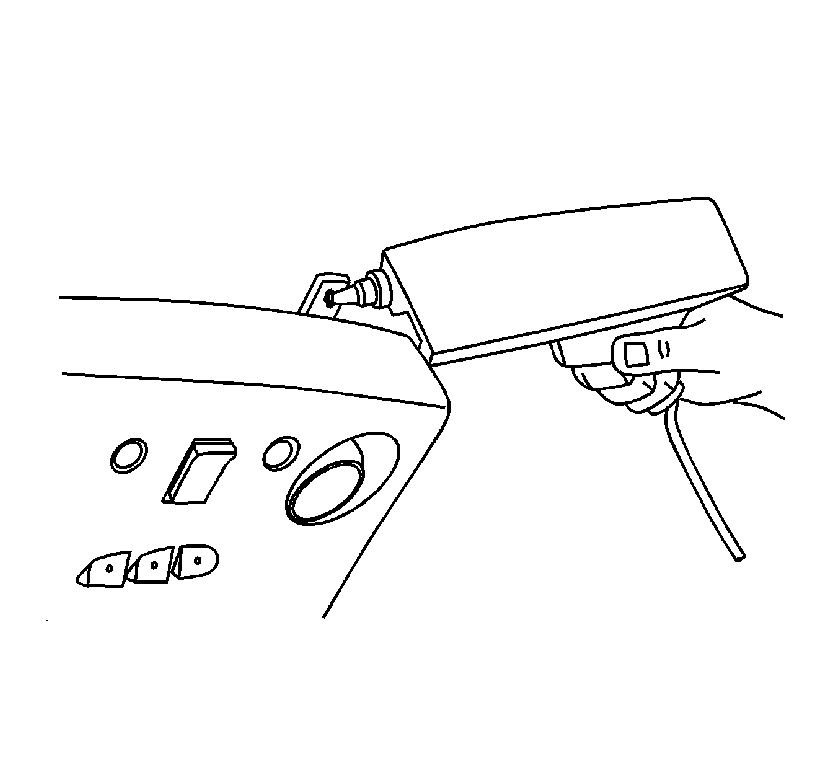
- Using a hot melt glue gun, run a bead of glue on tabs and align the console to the headliner holes.
- Install the console roof screws.
- Check for console operation.
Notice: Refer to Fastener Notice in the Preface section.

Tighten
Tighten the screws to 2 N·m (18 lb in).
