For 1990-2009 cars only
Repair Procedure
- Remove all related panels and components.
- Clean front and back sides of area to be repaired. Refer to General Plastic Repair for the approved products.
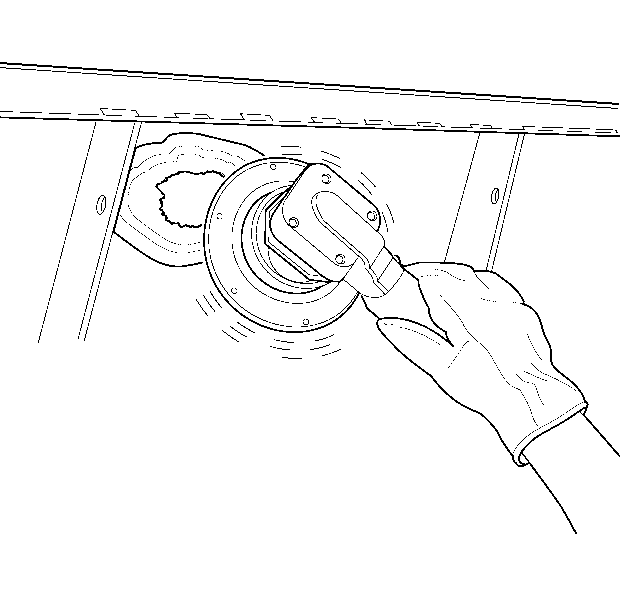
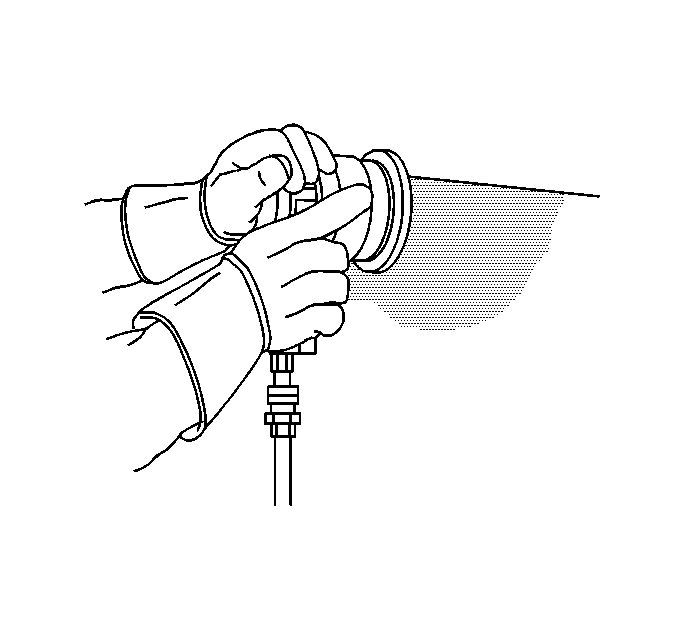
- On both sides of the damaged area, use an 80 grit disc on a D.A. sander to feather out the area where repair is to be performed.
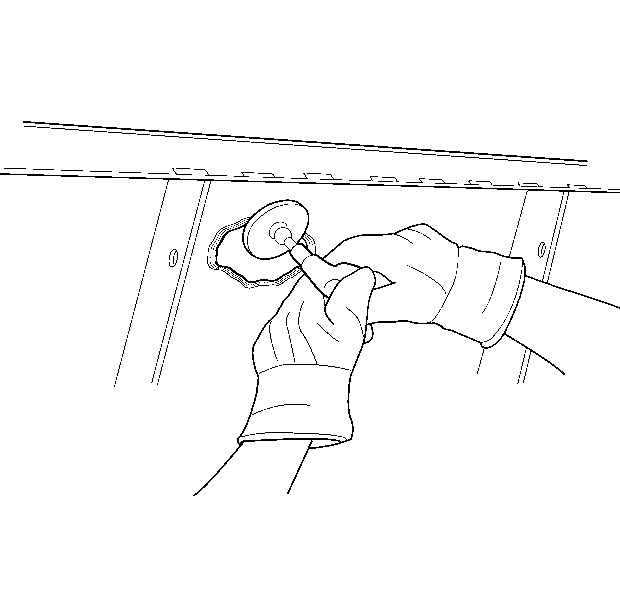
- Bevel the edges on both sides of the damaged area with a 50 grit abrasive disc.
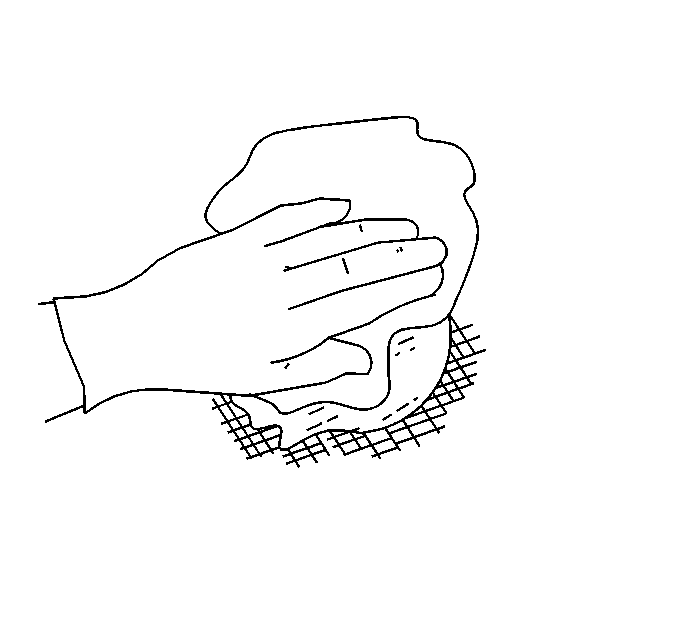
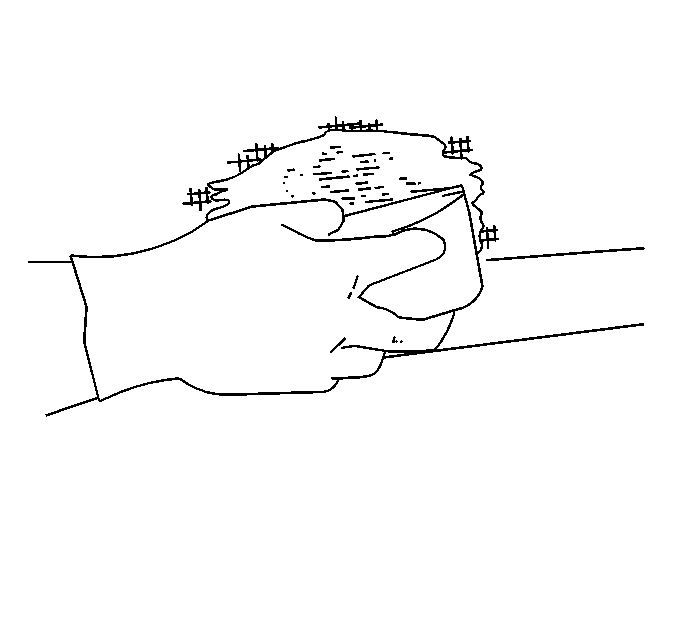
- Clean the repair area with tack rag and compressed air.
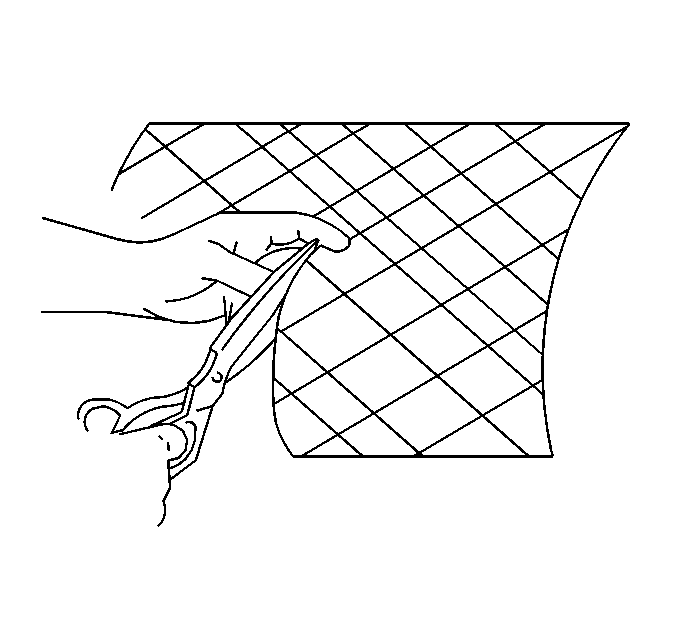
- Cut one piece of glass cloth matt for a patch large enough to extend 38 to 50 mm (1 1/2 to 2 in) beyond the damaged area.
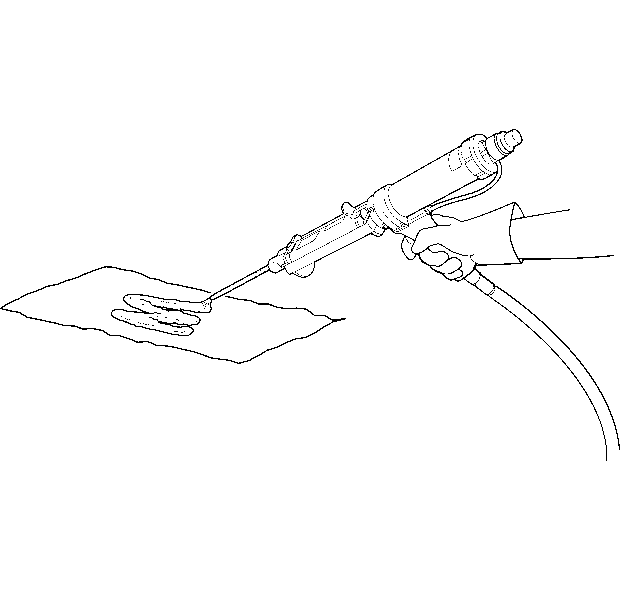
- Apply an 8 mm (1/4 in) layer of repair material to a piece of release paper, such as wax paper or polyethylene film, covering an area as large as the class cloth mat patch. Refer to Rigid Plastic Part Repair Materials for approved products.
- Place the pre-cut piece of mat over the pool or repair material.
- Apply an 8 mm (1/4 in) layer of repair material over the glass cloth mat.
- Place a second sheet of release paper over the repair patch.
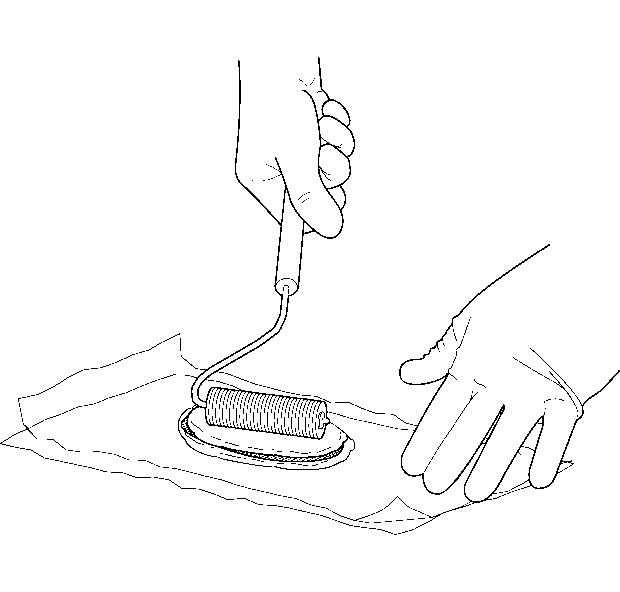
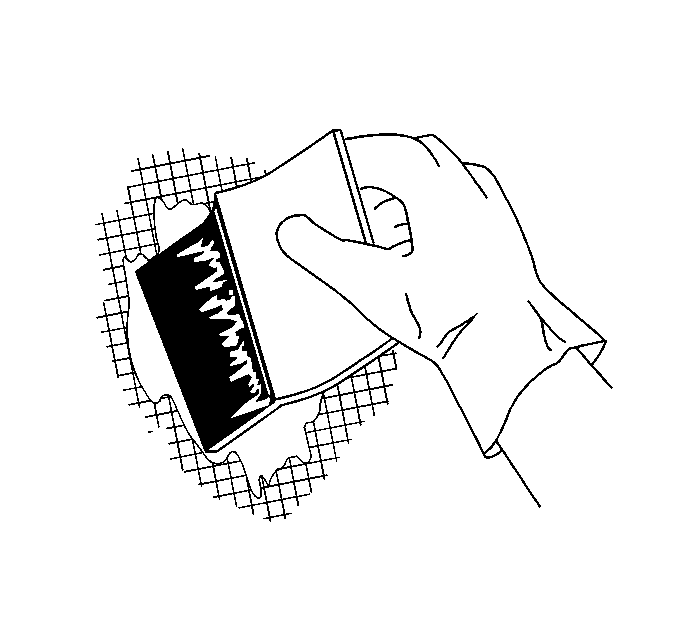
- Roll patch with saturation roller until the mat is completely saturated with repair material.
- Separate the two sheets of release paper.
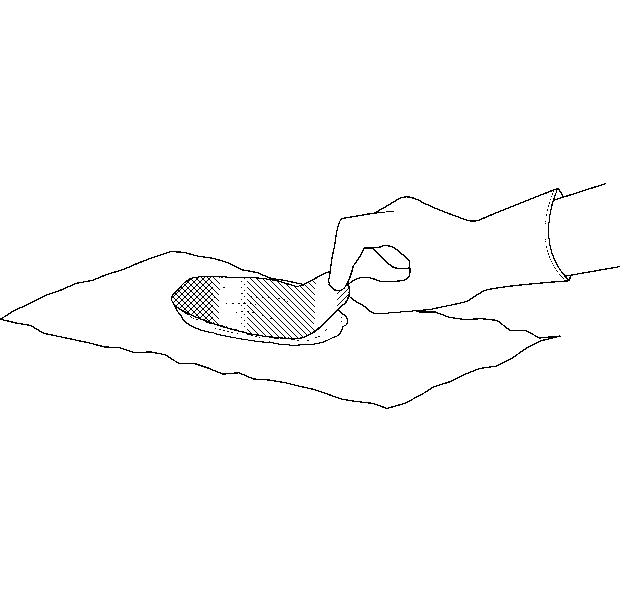
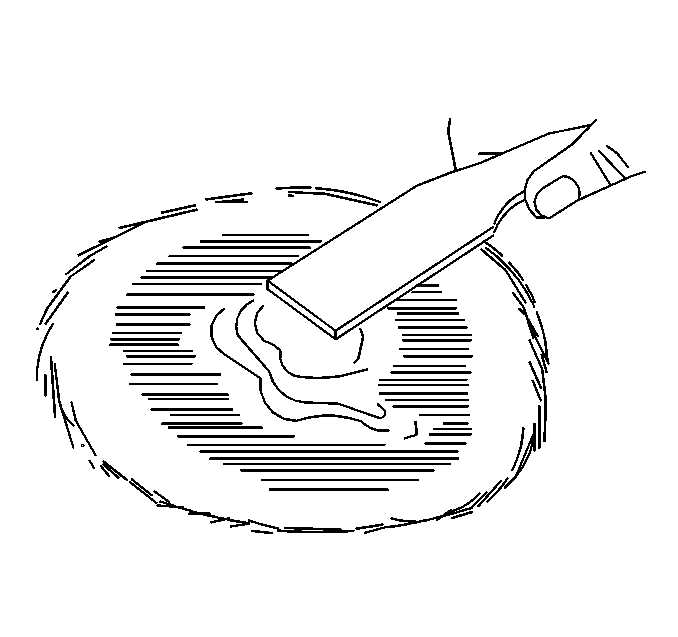
- Apply repair material over the backside of the damage. Use an applicator to spread repair material 38 to 50 mm (1 1/2 in to 2 in) beyond the damaged area.
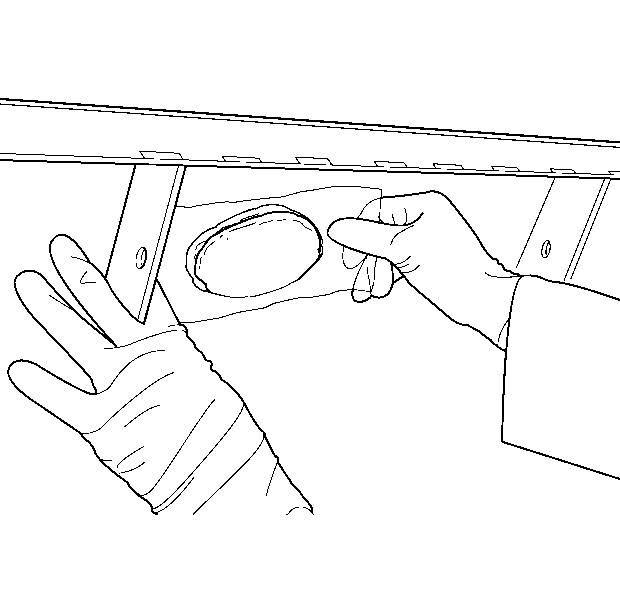
- Place the repair patch over the backside of the repair area. Use an applicator to smooth the patch out and remove all trapped air.
- Secure the release paper and patch in place with tape.
- Cut two pieces of glass cloth mat large enough to cover the beveled area on the front side of the repair.
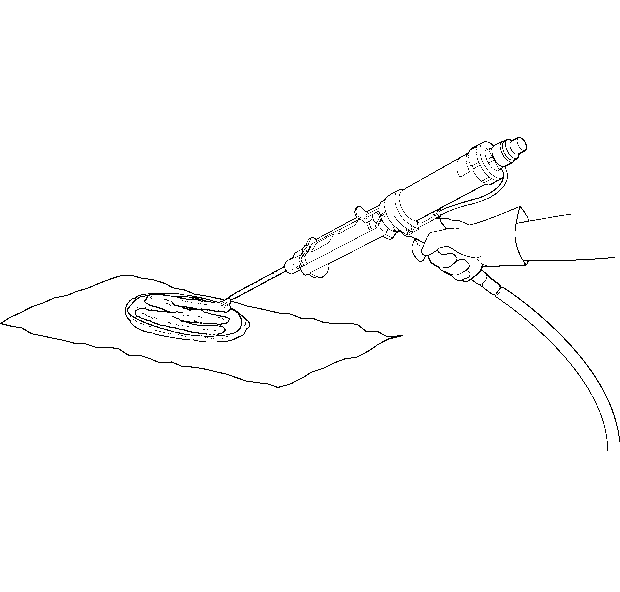
- Mix and apply a layer of repair material to the front of the repair, repair material should be at a level slightly above the surrounding area.
- Lay a pre-cut piece of mat into the repair material, use an applicator to saturate the mat and remove all trapped air.
- Apply a second coat of repair material and smooth out the surface with an applicator.
- Place the second layer of pre-cut mat over the repair material, smooth out and remove all trapped air.
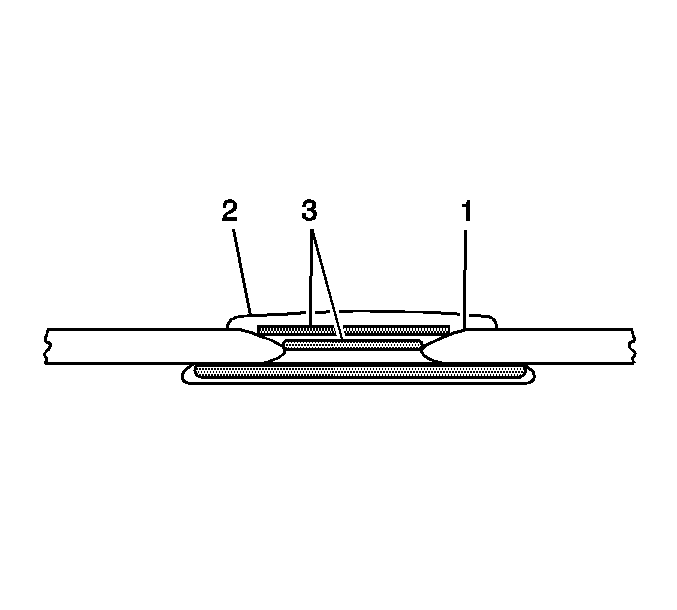
- Apply a third coat of repair material (1) to the front (2) of the repair, and place a sheet of release paper over it. Use a saturation roller to ensure full saturation of repair material into the mat (3).
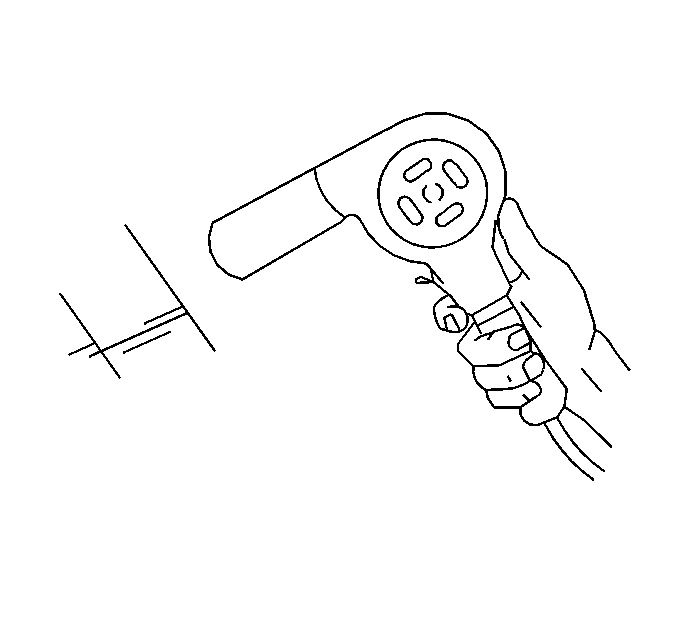
- Cure the repair material according to the manufacturer's recommendations.
- Rough out the repaired surface with an 80 grit disc on a D.A. sander.
- Apply necessary skim coats of repair material until surface contour is achieved.
- Finish contour sanding with a 220 grit abrasive or finer.
Important: Refer to General Plastic Repair Instructions, Plastic Repair Precautions and Repair Material-Rigid Plastic Parts, before proceeding. Currently the only approved adhesives for SRIM ™ repair are GM P/N 12378523 or equivalent SIA ™ adhesives. Refer to Rigid Plastic Part Repair Materials in Plastic Panel Information and Repair. For ordering information contact SIA ™ Adhesive INC, Customer Service Call 1-330-374-2468.
Currently the only approved refinishing material for the SRIM ™ is Rohm Haas Mat-Tec Composite Box refinish Paint, approved by General Motors for refinishing of the composite box. The Rohm Haas Mat-Tee Refinish Material for the Composite Box, P/N 60230-R798, for customer service Call 1-800-323-3224.