For 1990-2009 cars only
Inflator Air Switch Replacement SUV
Removal Procedure
- Raise and support the vehicle. Refer to Lifting and Jacking the Vehicle .
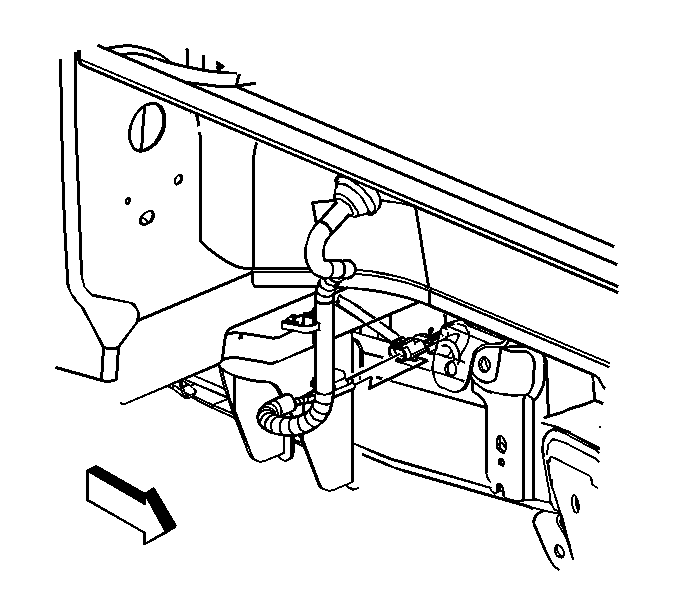
- Disconnect the air inflator switch harness and the air line from the air compressor.
- Lower the vehicle.
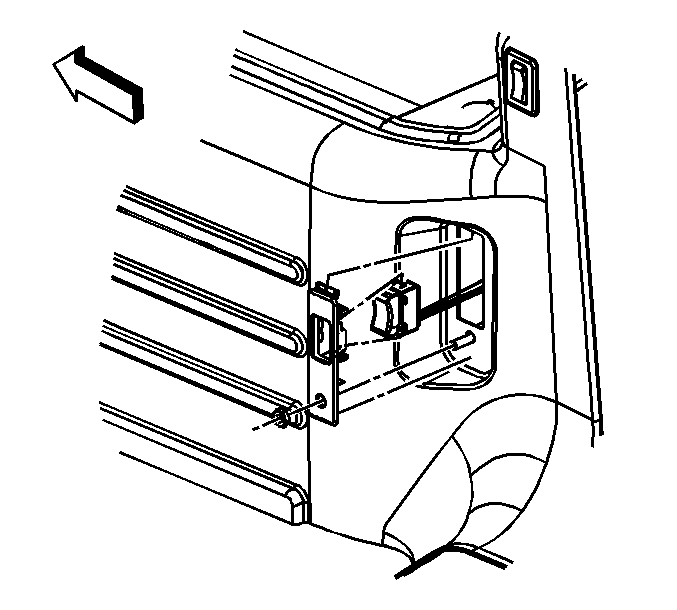
- Remove the inflator retaining nut.
- Remove the air inflator switch from the trim bezel.
- Remove the rear quarter lower trim panel. Refer to Body Side Trim Panel Replacement - Right Side .
- Remove the air inflator switch harness grommet from the body
- Remove the air inflator switch from the vehicle.
Installation Procedure
- Install the air inflator switch and harness assembly to the vehicle.
- Install the air inflator switch harness grommet to the body.
- Install in the rear quarter lower trim panel. Refer to Body Side Trim Panel Replacement - Right Side .
- Install the air inflator switch to the trim bezel.
- Install the inflator retaining nut.
- Raise the vehicle.
- Connect the air inflator switch harness and the air line to the air compressor.
- Lower the vehicle.


Inflator Air Switch Replacement SUT
Removal Procedure
- Open the rear liftgate.
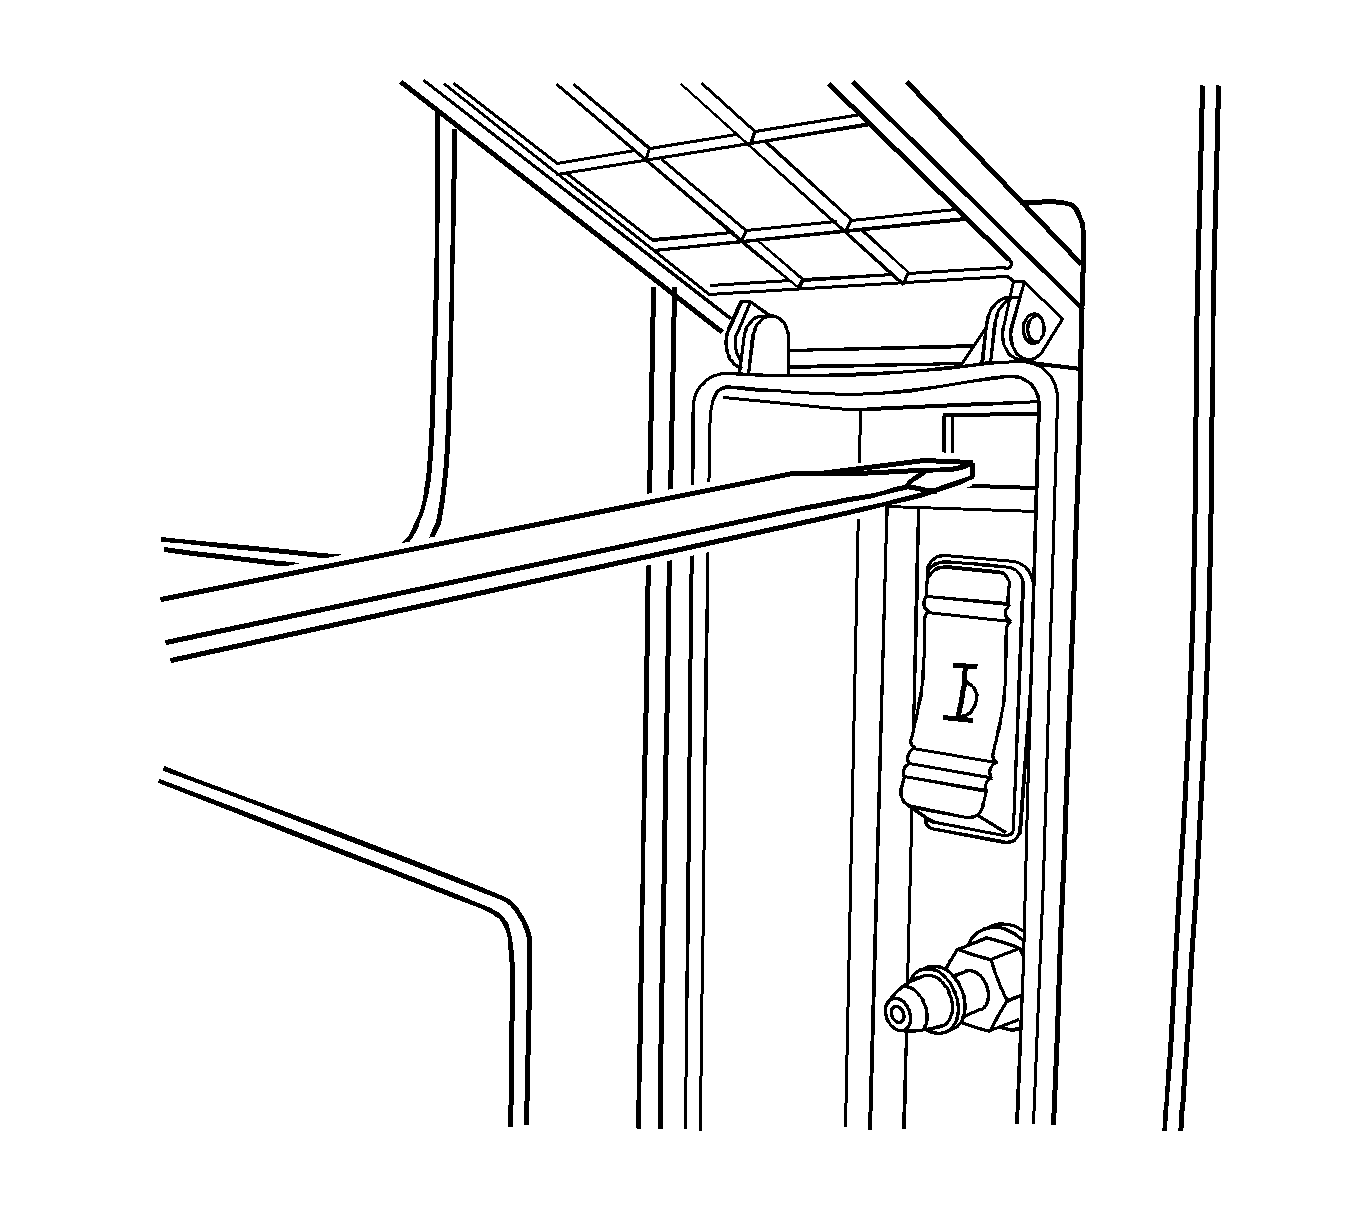
- Open the inflator switch door.
- Using a flat-bladed tool, disengage the bezel from the rear trim panel.
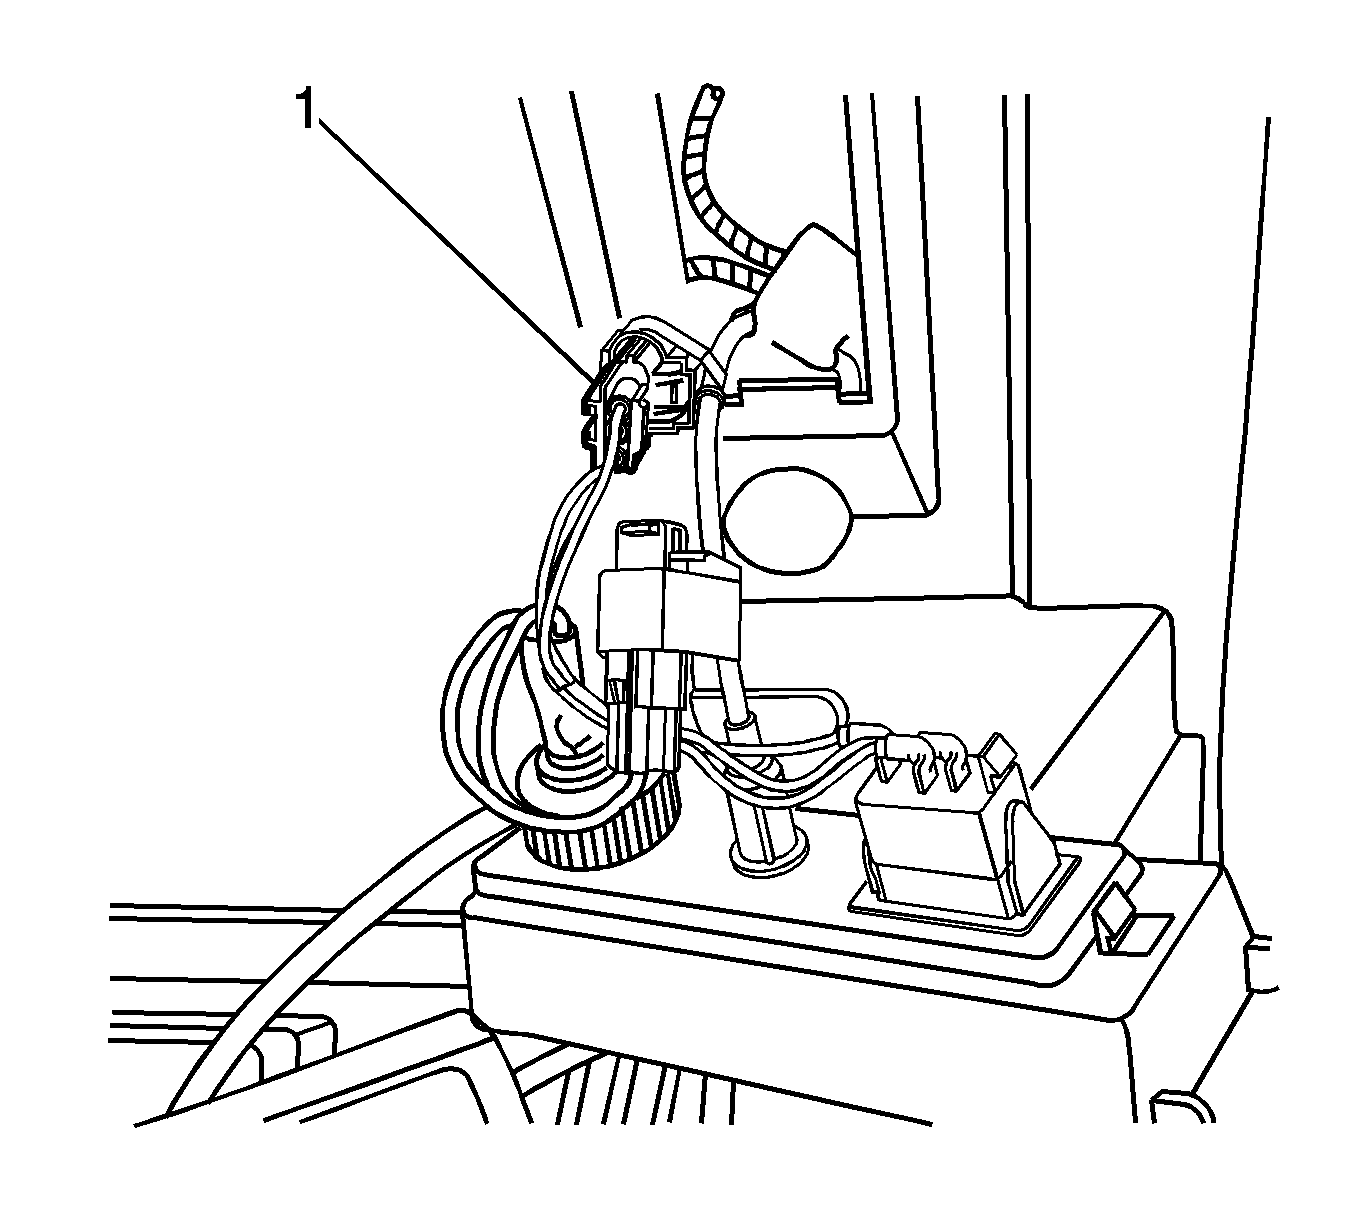
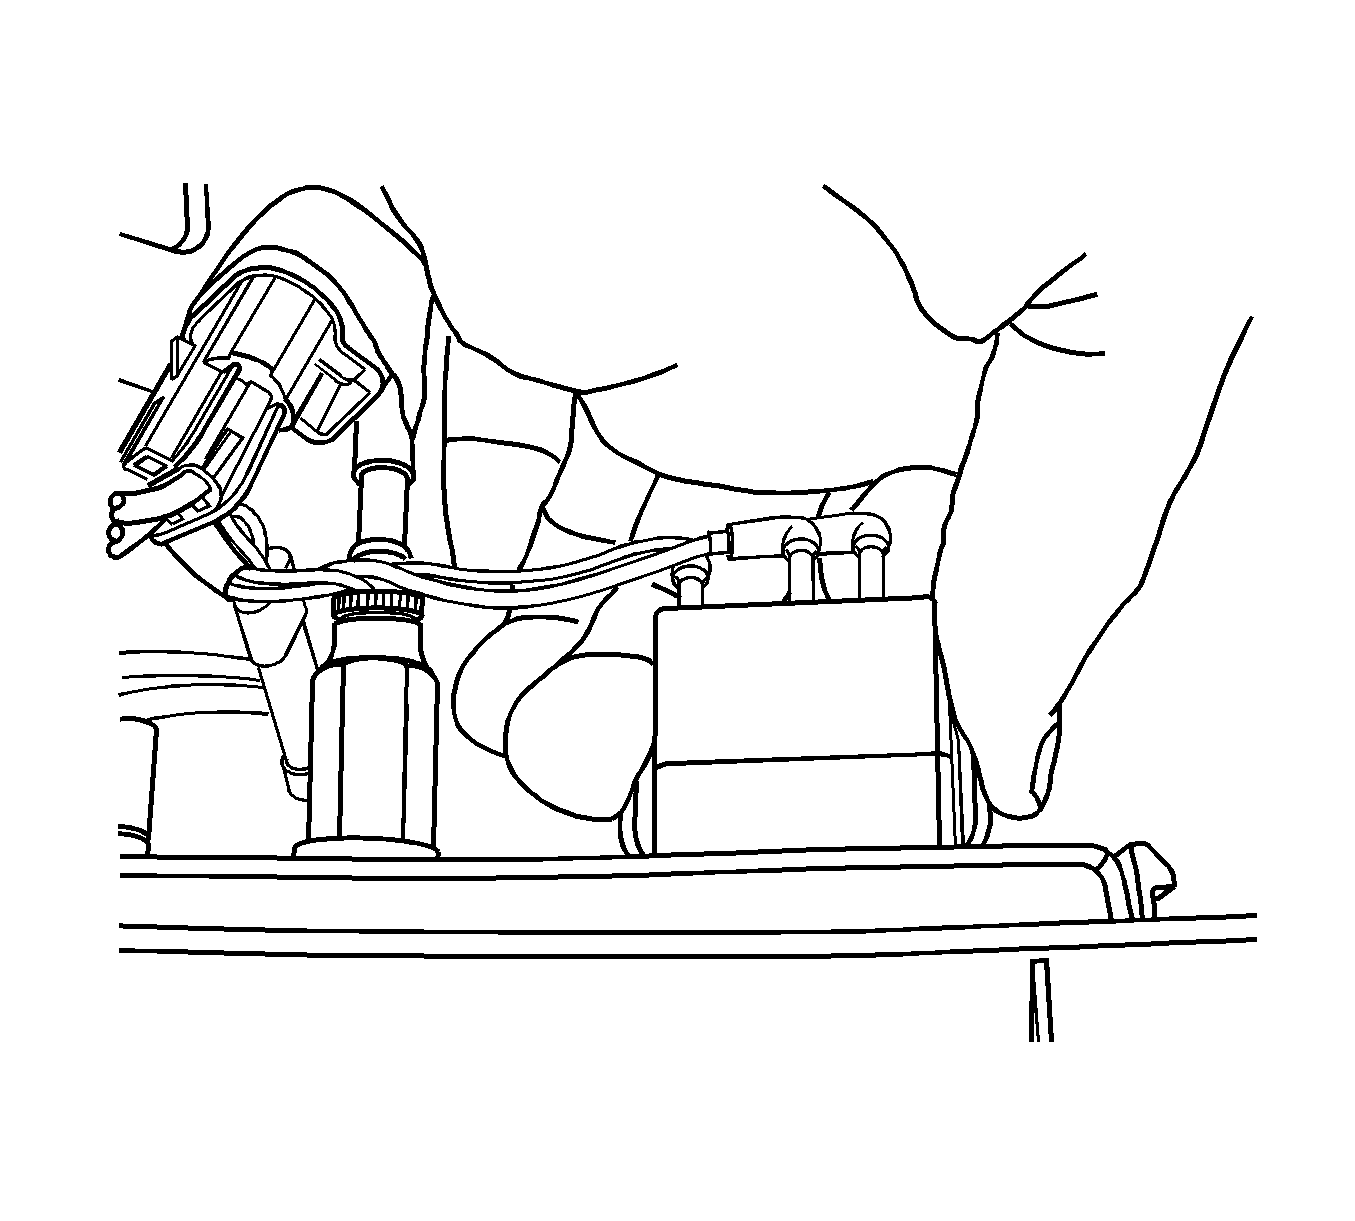
- Disconnect the air inflator switch electrical connector (1).
- Remove the air inflator switch from the bezel.
Installation Procedure
- Install the air inflator switch to the bezel.
- Connect the air inflator switch electrical connector (1).
- Snap the bezel into the rear trim panel.
- Close the inflator switch door.
- Close the rear liftgate

