Luggage Carrier Replacement SUV
Removal Procedure
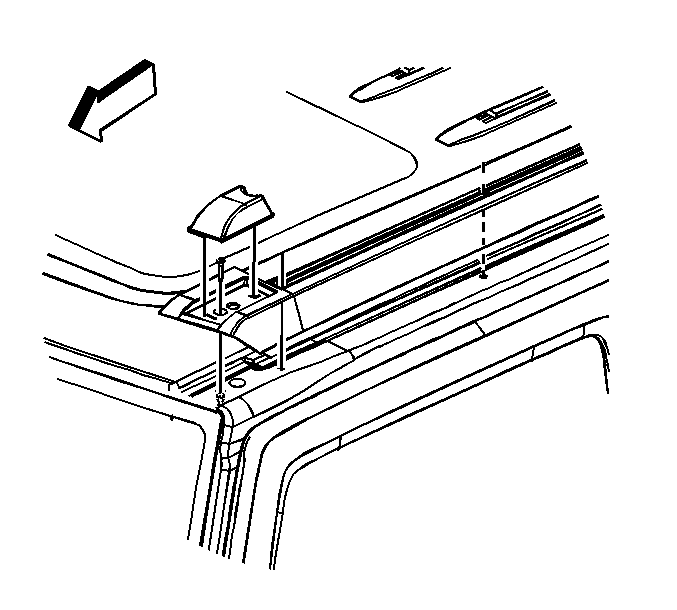
- Remove the side rail covers by unclipping the covers from the side rails.
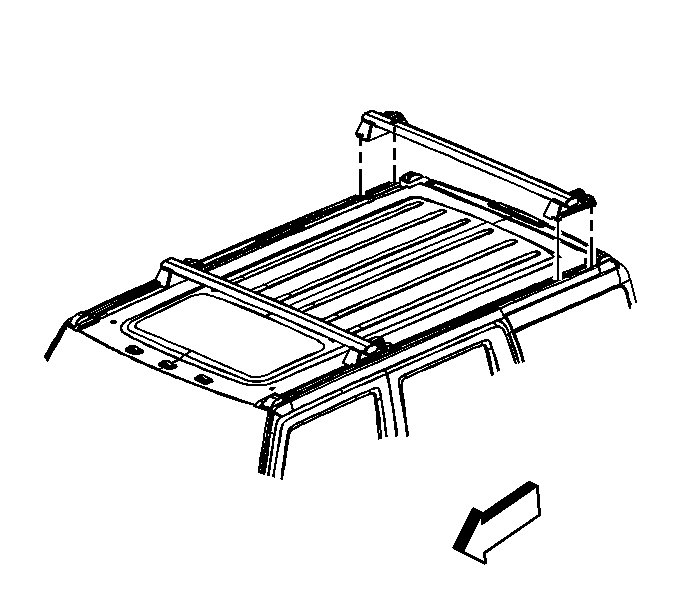
- Remove the cross rails by loosening the lock knobs on both ends. Slide the cross rails to the rear of vehicle to remove from the luggage carrier.
- Remove the clearance lamps from the side rails by removing the screw and lifting to disengage the locator tab.
- Remove the bolts from the side rails
- Remove the luggage carrier from the vehicle.
Installation Procedure
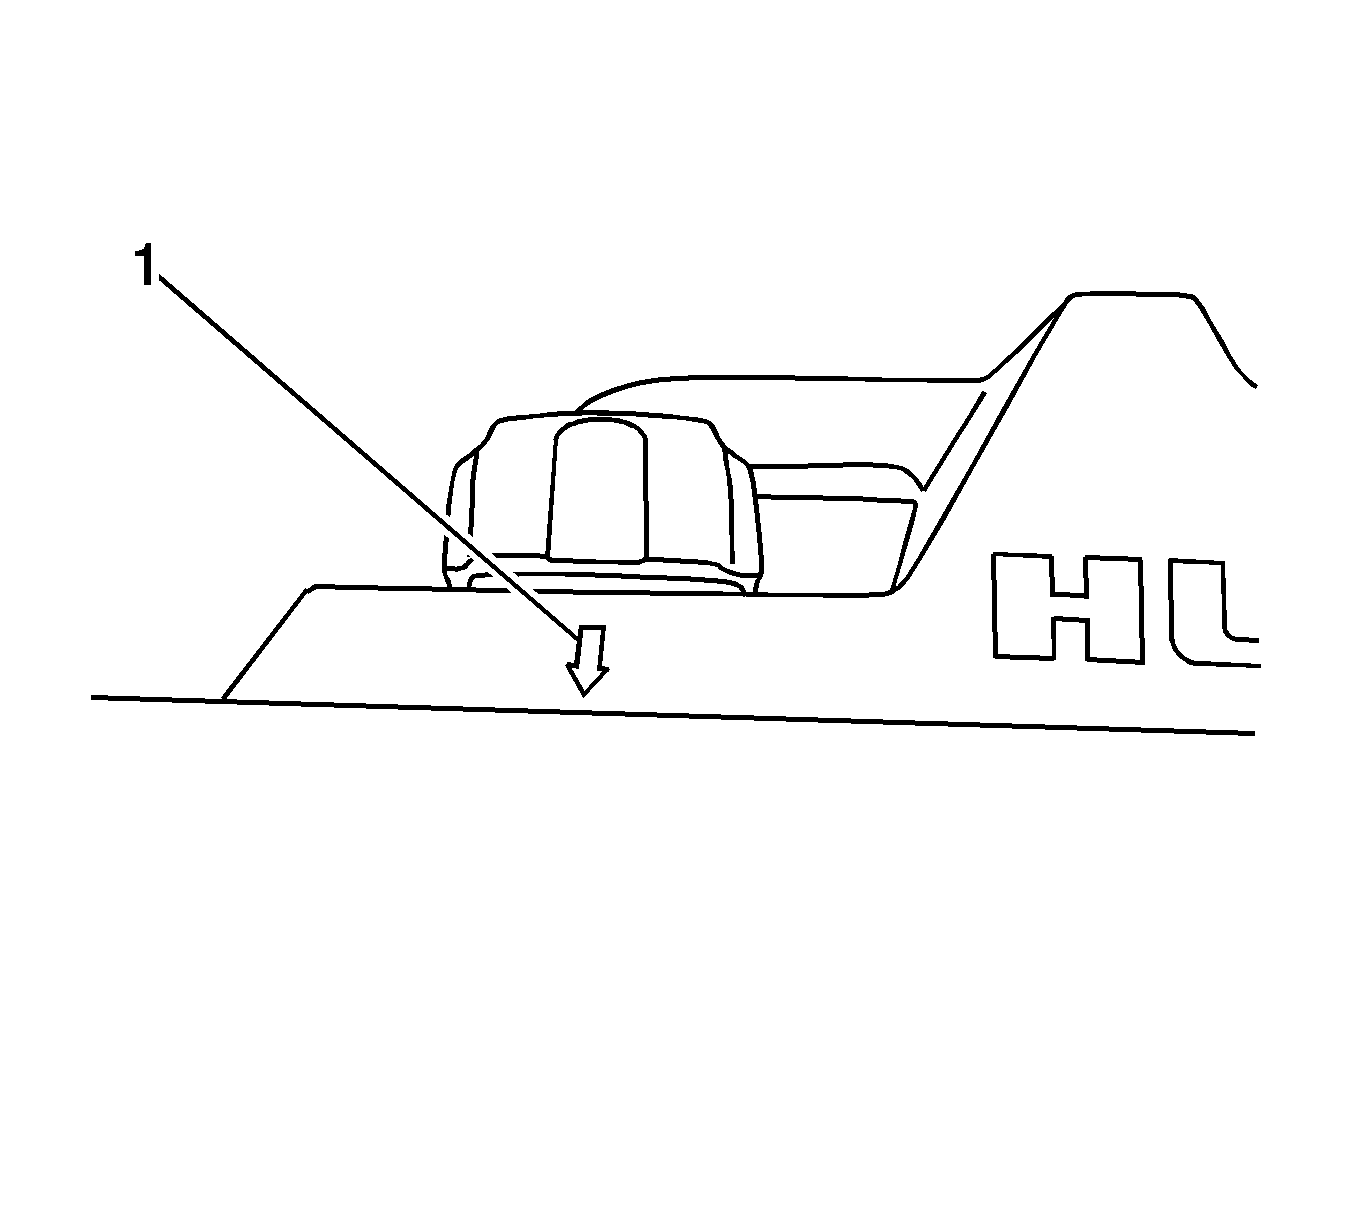
Important: It is necessary to use the following alignment marks when aligning the front cross bar. Marks are located on the top surface of the passenger side roof rail, and should be aligned with the arrow (1) on the crossbar. All roof rack kits include a stop clip, which should be placed on the roof rail in the appropriate stop location. Failure to align to these marks could result in component interference and excessive wind noise.
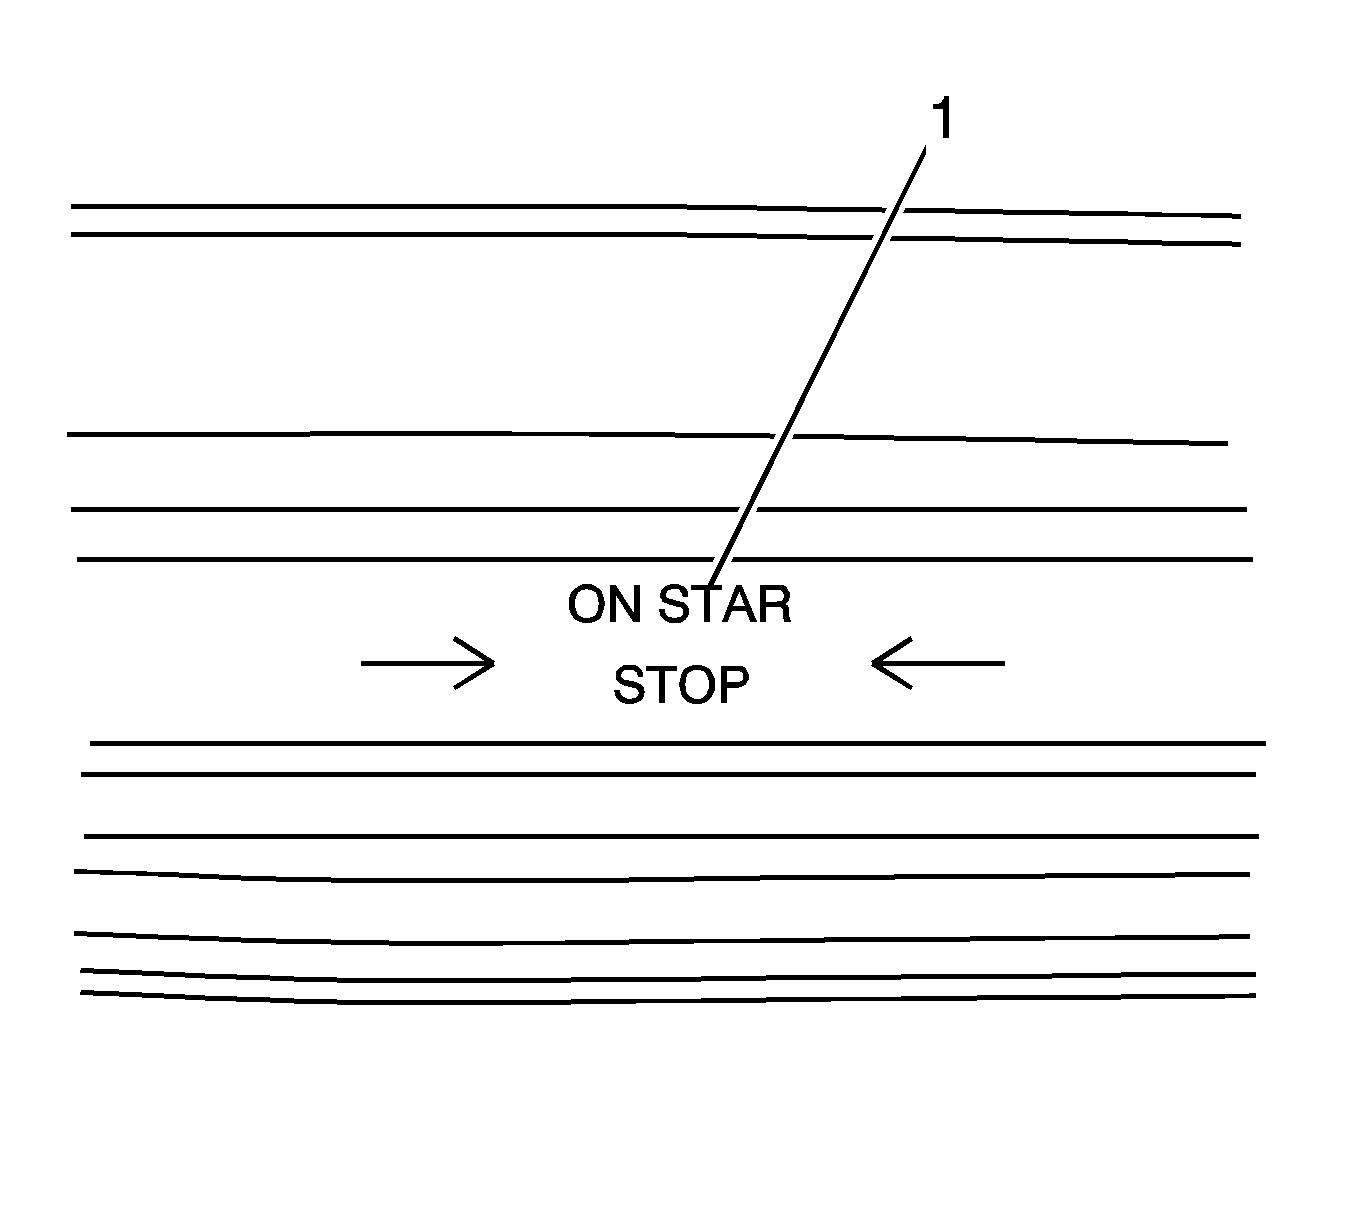
On vehicles not equipped with sunroofs, align the front cross bar with the OnStar stop (1), located approximately 7.5 inches behind the front outer marking light.
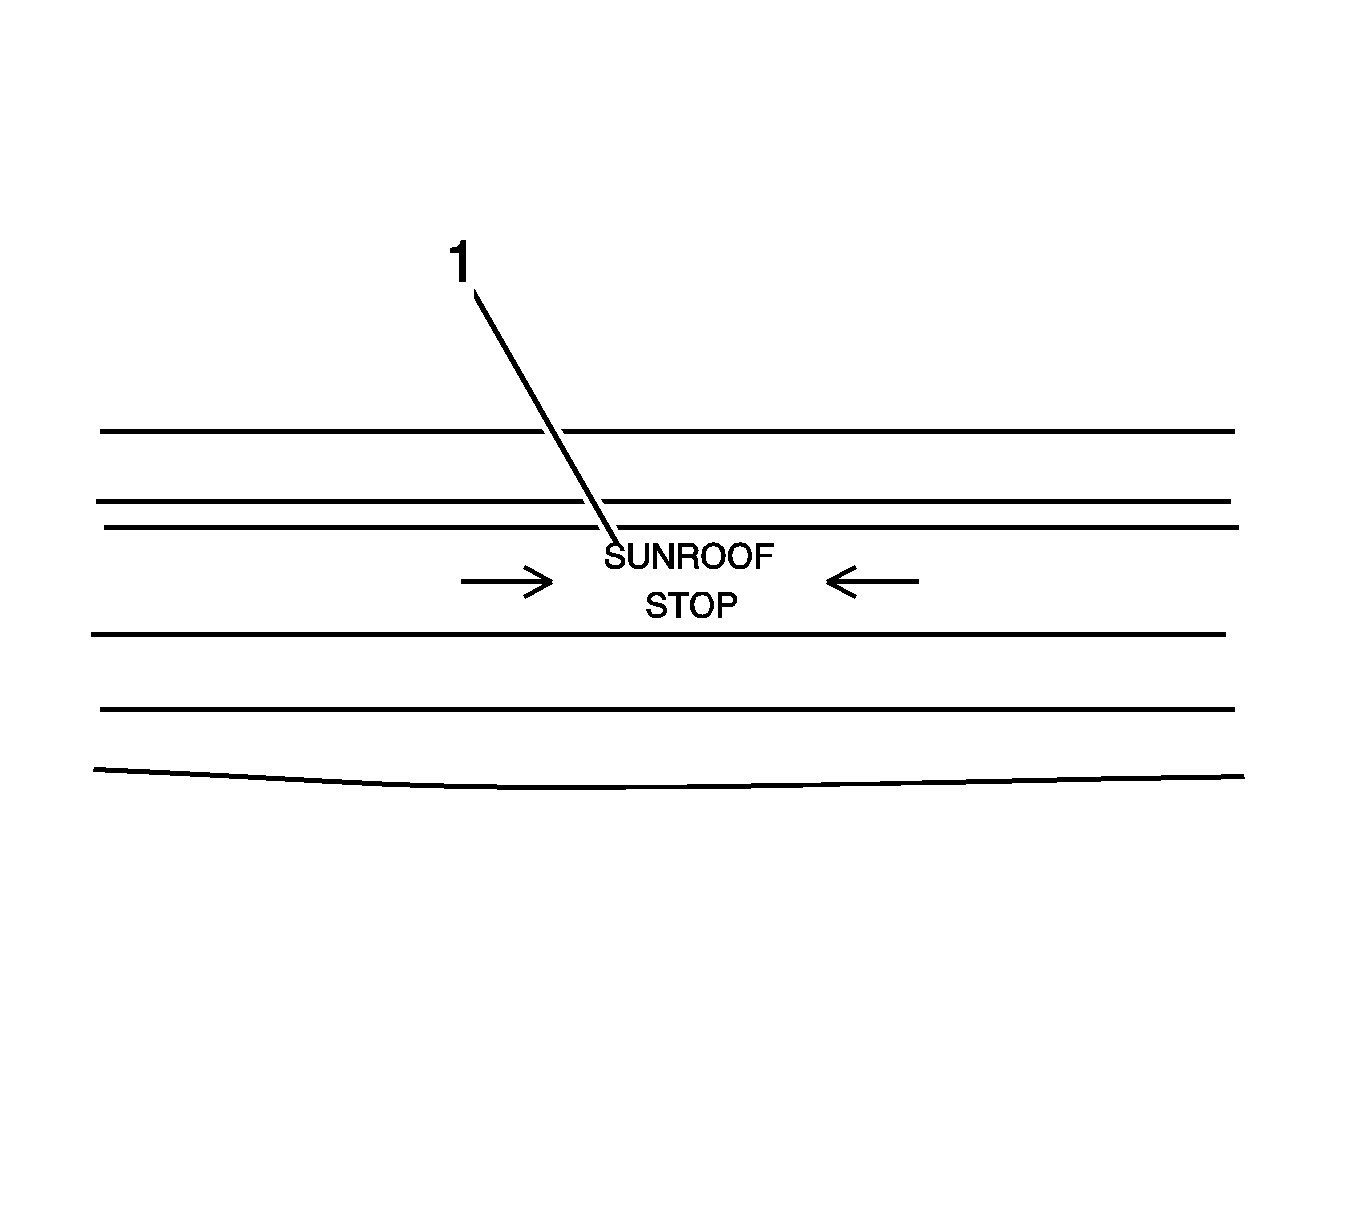
On vehicles equipped with sunroofs, align the arrow on the cross bar with the sunroof stop (1), located approximately 20 inches rearward on the OnStar stop.
- Install the luggage carrier to the vehicle.
- Install the bolts to the side rails.
- Install the clearance lamps to the side rails by inserting the locator tab and lowering into place, then insert the screw.
- Install the cross rails by sliding the cross rails from the rear of the vehicle. Tighten the lock knobs at the detent locator marks.
- Install the side rail covers by clipping the covers to the luggage carrier side rails.
Notice: Refer to Fastener Notice in the Preface section.

Tighten
Tighten the bolts to 9 N·m (7 lb ft).
Tighten
Tighten the screw to 3 N·m (26 lb in).

Luggage Carrier Replacement SUT
Removal Procedure
- Remove the side rail covers by unclipping the covers from the side rails.
- Remove the cross rails by loosening the lock knobs on both ends.
- Slide the cross rails to the rear of vehicle to remove from the luggage carrier.
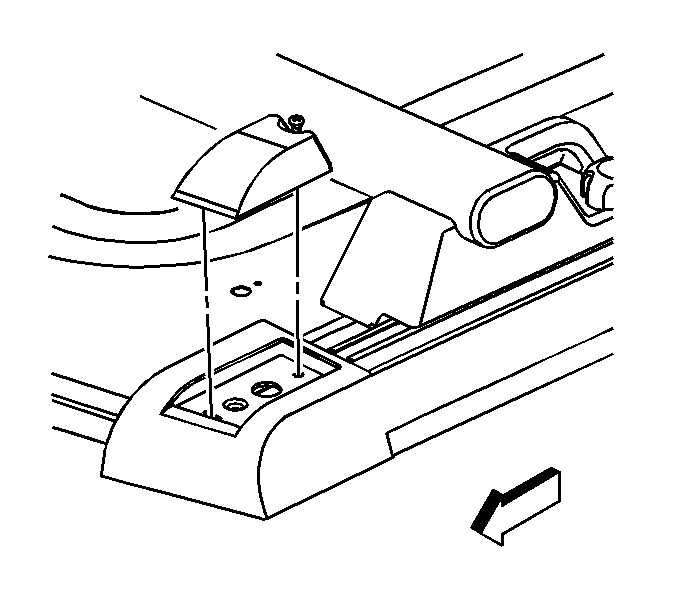
- Remove the clearance lamps from the side rails by removing the screw and lifting to disengage the locator tab.
- Remove the luggage carrier side rail end caps. Refer to Luggage Carrier Side Rear Rail Cap Replacement .
- Open both side doors on the side the luggage side rail is being removed.
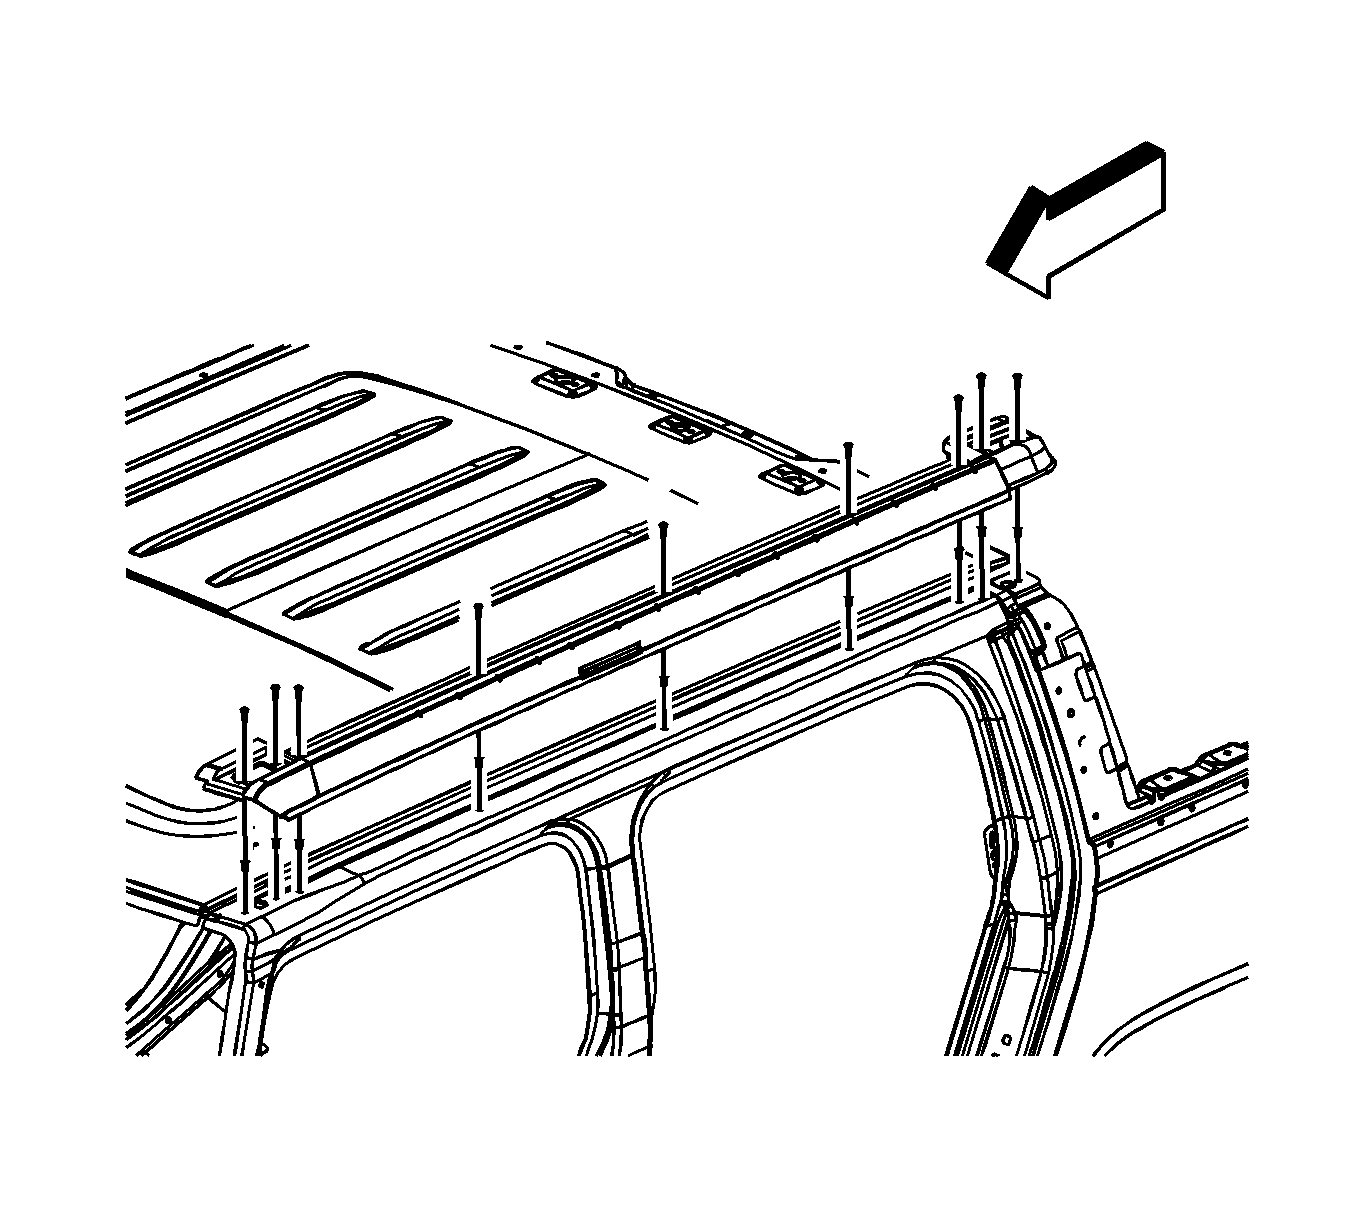
- Remove the bolts from the side rails.
- Remove the luggage carrier side rails from the roof panel.
- Remove the drip edge weatherstrip and transfer.

Installation Procedure

Important: It is necessary to use the following alignment marks when aligning the front cross bar. Marks are located on the top surface of the passenger side roof rail, and should be aligned with the arrow (1) on the crossbar. All roof rack kits include a stop clip, which should be placed on the roof rail in the appropriate stop location. Failure to align to these marks could result in component interference and excessive wind noise.

On vehicles not equipped with sunroofs, align the front cross bar with the On-Star stop (1), located approximately 7.5 inches behind the front outer marking light.

On vehicles equipped with sunroofs, align the arrow on the cross bar with the sunroof stop (1), located approximately 20 inches rearward on the OnStar stop.
- Install the luggage carrier rail to the roof panel.
- Install the bolts to the side rails.
- Install the front clearance lamps to the side rails by inserting the locator tab and lowering into place, then insert the screw.
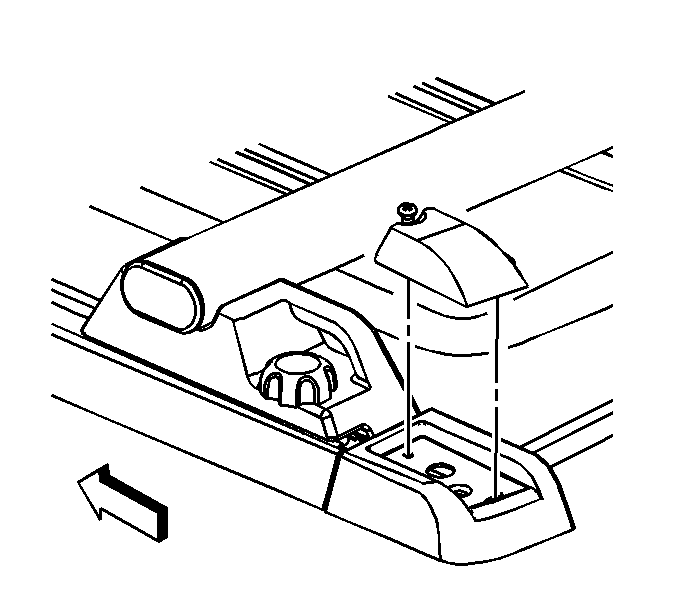
- Install the rear clearance lamps to the side rails.
- Install the cross rails by sliding the cross rails from the rear of the vehicle. Tighten the lock knobs at the detent locator marks (1).
- Install the side rail covers by clipping the covers to the luggage carrier side rails.
- Close both side doors.

Notice: Refer to Fastener Notice in the Preface section.
Tighten
Tighten the bolts to 9 N·m (7 lb ft).
Tighten
Tighten the screw to 3 N·m (26 lb in).
Tighten
Tighten the screws to 3 N·m (26 lb in).

