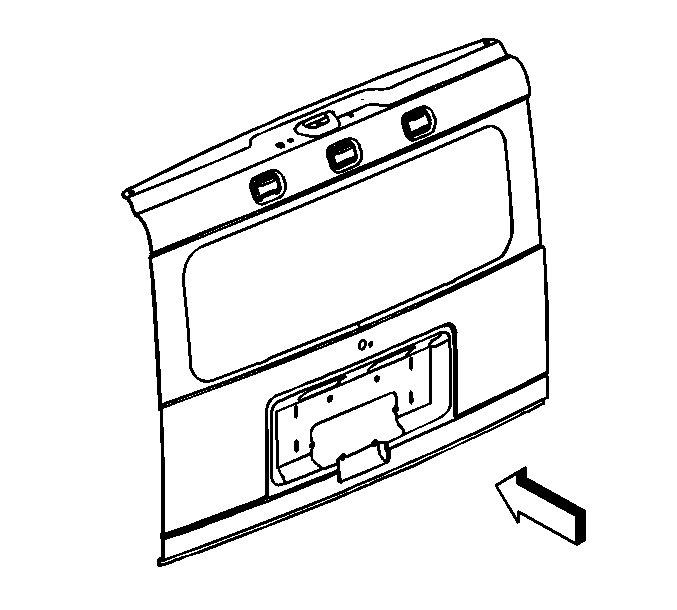
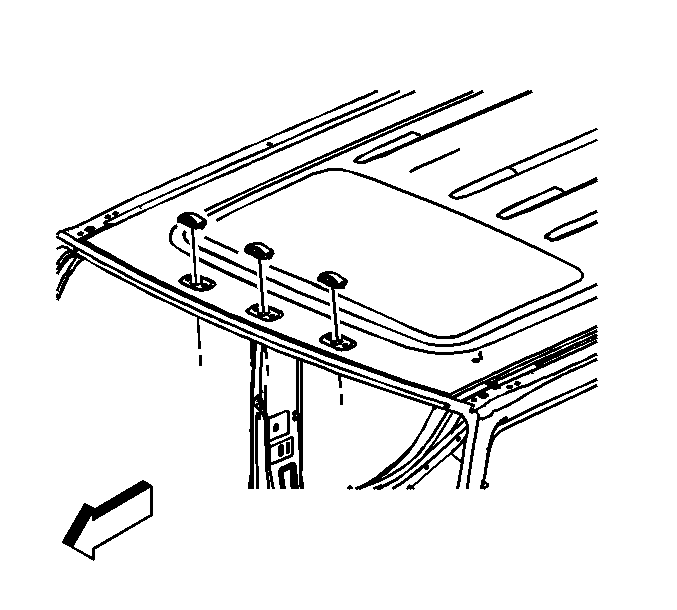
For 1990-2009 cars only
Identification Lamp Replacement SUV
Removal Procedure
- Insert a flat-bladed tool underneath the lamp on the notched side, to disengage the retaining clip.
- Tilt the lamp back to disengage the hook.
- Remove the electrical harness at the connector.
- Remove the lamp from the vehicle.
- Turn the bulb socket counterclockwise to remove the bulb from the lamp assembly.
- Remove the bulb from the socket.


Installation Procedure
- Install the bulb to the socket.
- Turn the bulb socket clockwise to lock the socket into the lamp assembly.
- Install the lamp assembly to the vehicle.
- Install the electrical harness at the connector.
- Tilt the lamp forward to engage the hook.
- Apply light pressure downward on the lamp to engage the retaining clip.


Identification Lamp Replacement SUT Front Header
Removal Procedure
- Protect the surface with 2 layers of masking tape.
- Insert a flat-bladed tool underneath the lamp on the outer edge to disengage the retention clip.
- Tilt the lamp rearward in order to disengage the lamp from the front header.
- Disconnect the electrical connector.
- Remove the lamp from the vehicle.
- Turn the bulb socket counterclockwise in order to remove the socket from the lamp assembly.
- Remove the bulb from the socket, if needed.

Installation Procedure
- Install the bulb into the socket.
- Turn the bulb socket clockwise in order to lock the socket into the lamp assembly.
- Install the lamp assembly to the vehicle.
- Connect the electrical connector.
- Ensure the foam gasket is in place and is note damaged. Replace the foam gasket, if damaged.
- Tilt the lamp forward to engage the hook.
- Apply light pressure downward on the lamp in order to engage the retention clip.
- Remove the 2 layers of masking tape.

Identification Lamp Replacement SUT Rear Header
Removal Procedure
- Protect the painted surface with 2 layers of masking tape.
- Insert a flat-bladed tool underneath the lamp on the outer edge in order to disengage the retention clip.
- Tilt the lamp rearward in order to disengage the lamp from the rear roof header.
- Disconnect the electrical connector.
- Remove the lamp from the rear roof header.
- Turn the bulb socket counterclockwise in order to remove the socket from the lamp assembly.
- Remove the bulb from the socket, if needed.
Installation Procedure
- Install the bulb into the socket.
- Rotate the bulb socket clockwise into the lamp housing in order to secure.
- Connect the electrical connector to the socket.
- Position the lamp to the rear header opening.
- Ensure the foam gasket is not damaged and is in place.
- With light pressure, push downward on the lamp in order to secure the retention clip into the rear roof header.
- Remove the 2 layers of masking tape.
