Storing a Flat or Spare Tire and Tools SUV
Storing the Flat or Spare Tire
Use the following art and text to help store the spare or flat tire back into its proper location when done changing a tire.
To store the flat or spare tire on the tire carrier:
- Close the tire carrier. See Tailgate/Spare Tire Carrier for tire carrier operation.
- Place the flat or spare tire onto the tire carrier with the outside of the wheel facing out.
- Reinstall the three nuts holding the spare or the flat tire to the tire carrier. Tighten the nuts by hand.
- Use the wheel wrench and wheel wrench extension to tighten the nuts firmly.
- Try to move the tire back and forth slightly to make sure it is secure.
- Slide the license plate holder onto the spare or flat tire. Secure it from the back of the tire carrier with the wing nut.
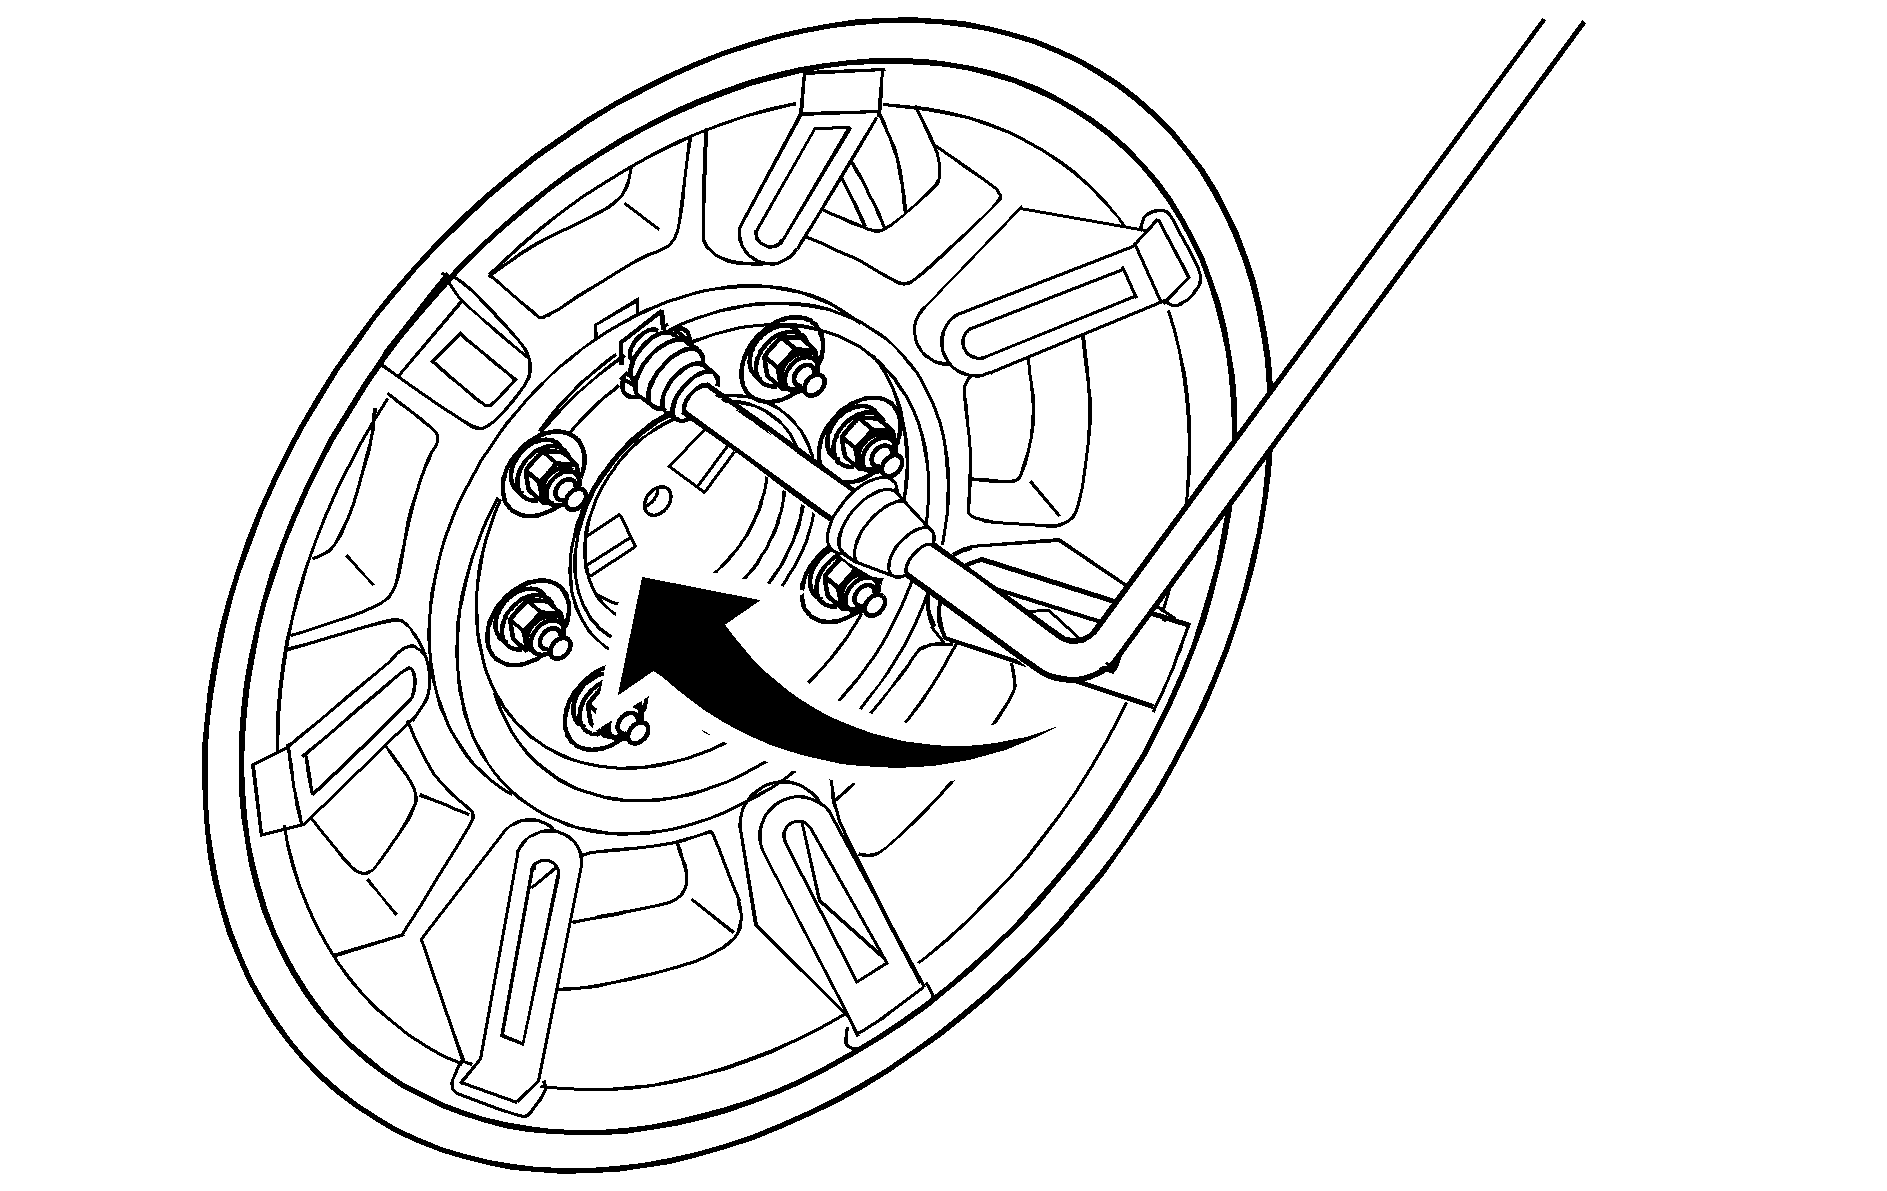
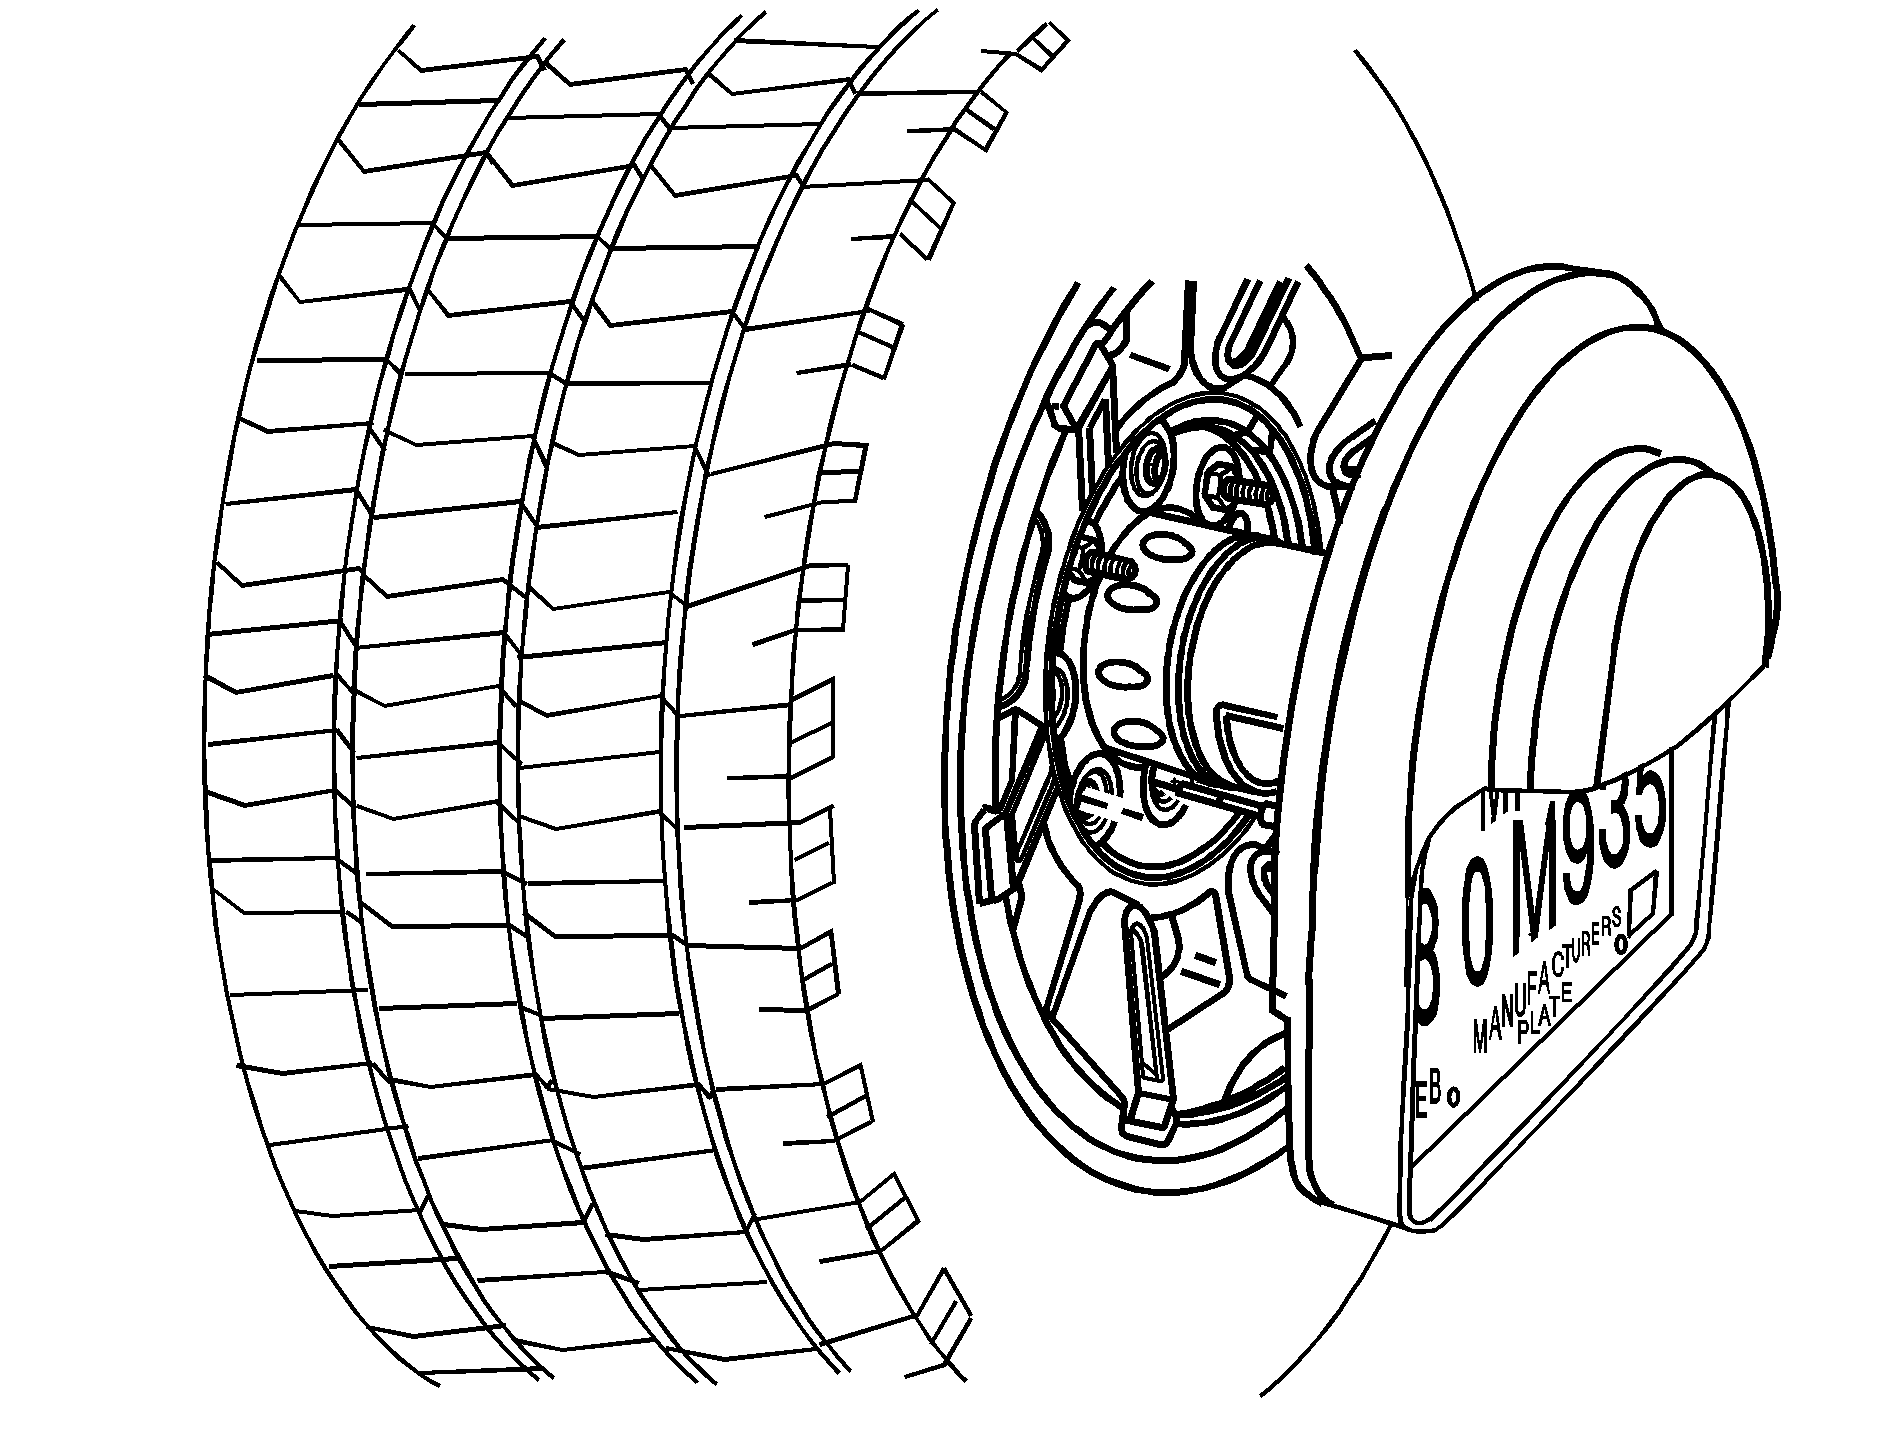
If you choose not to reinstall the spare or flat tire on the vehicle, you still need to reinstall the license plate holder on the spare tire carrier.
Storing the Jack and Tools
To store the jack and tools:
- Lower the jack completely.
- Place the jack in the mounting bracket.
- Turn the hole at the top of the jack clockwise until the jack is held tight in the mounting bracket.
- Push and pull on the jack and retighten if necessary to make sure the jack is secure.
- Place the wheel blocks in the tool bag.
- Place the remaining tools in the tool bag.
- Make sure nothing is located under or in front of the seat and then lift the rear driver's seat so that the floor is exposed. See 60/40 Split Bench Seat for more information.
- Place the narrow end of the tool bag under the seat rails as shown and slide the tool bag under the rear seat.
- Reinstall the strap to the seat rail for the tool bag. Wrap the strap around the seat rail and then secure it to the tool bag.
- Return the seat to the correct position. See 60/40 Split Bench Seat for more information.
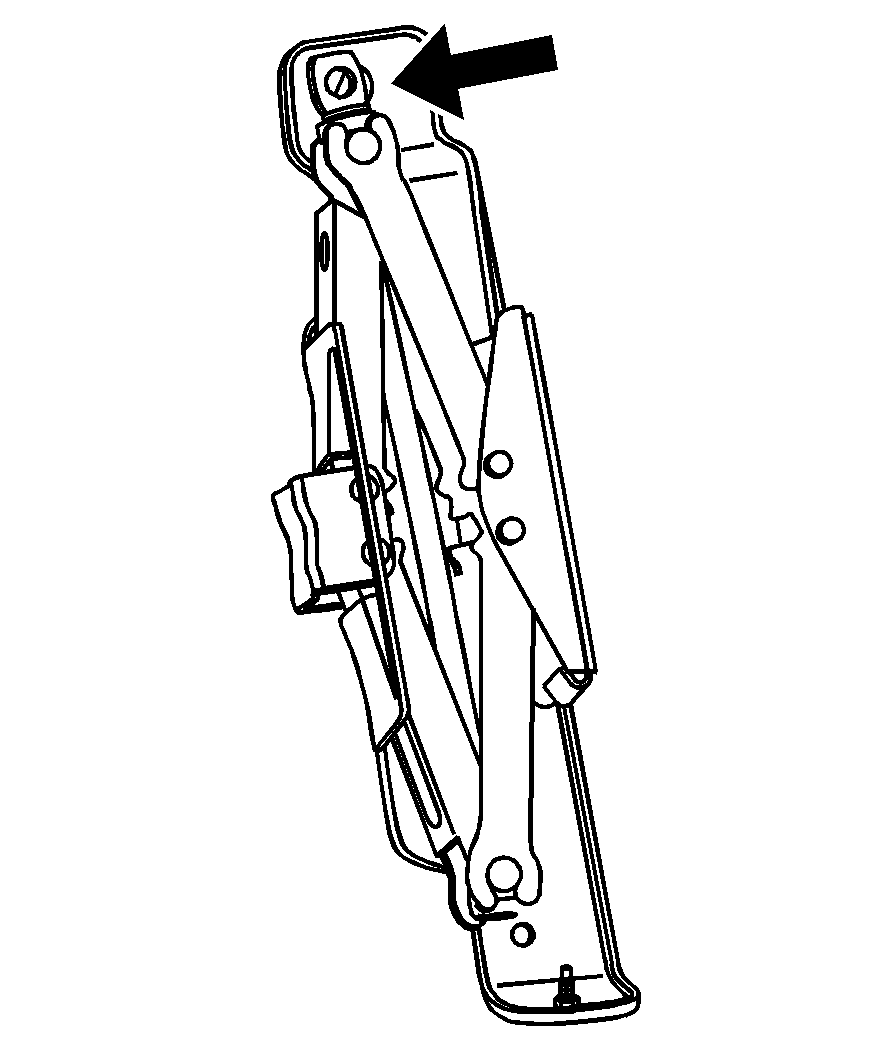
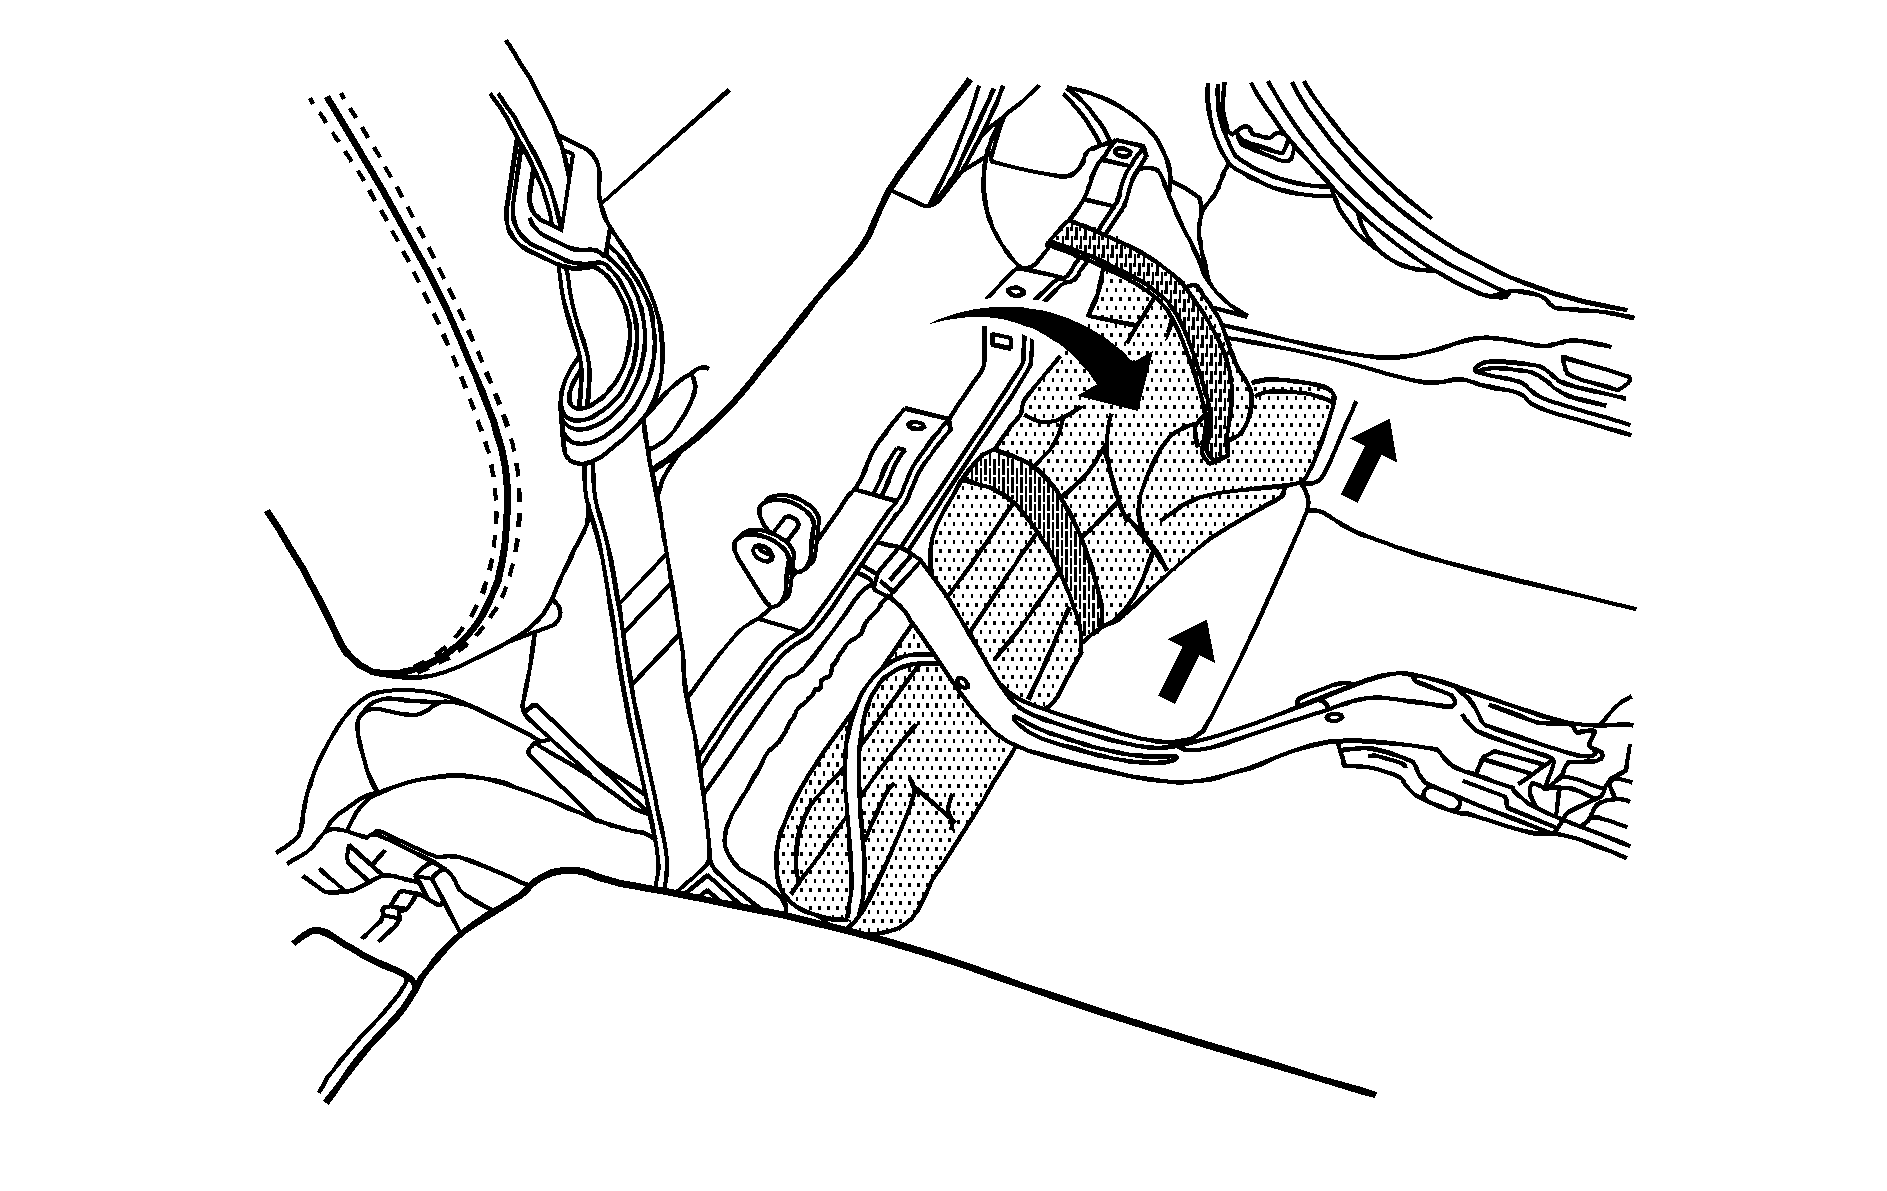
Be careful not to pinch the seat cables or electrical harnesses.
Storing a Flat or Spare Tire and Tools SUT
Storing the Flat or Spare Tire
Use the following art and text to help you store the spare or flat tire back into its proper location when you are done.
To store the flat or spare tire on the tire carrier:
- Close the tire carrier. See Tailgate/Spare Tire Carrier for tire carrier operation.
- Place the flat or spare tire onto the tire carrier with the outside of the wheel facing you.
- Reinstall the three nuts holding spare or flat tire to the tire carrier. Tighten the nuts by hand.
- Use the wheel wrench and the wheel wrench extension to tighten the nuts firmly. Try to move the tire back and forth slightly to be sure it is secure.
- Slide the license plate holder onto the spare or flat tire. Secure it from the back of the tire carrier with the wing nut.


If you choose not to reinstall the spare or flat tire on the vehicle, you will still need to reinstall the license plate holder on the spare tire carrier.
Storing the Jack and Tools
To store the jack and tools:
- Lower the jack completely.
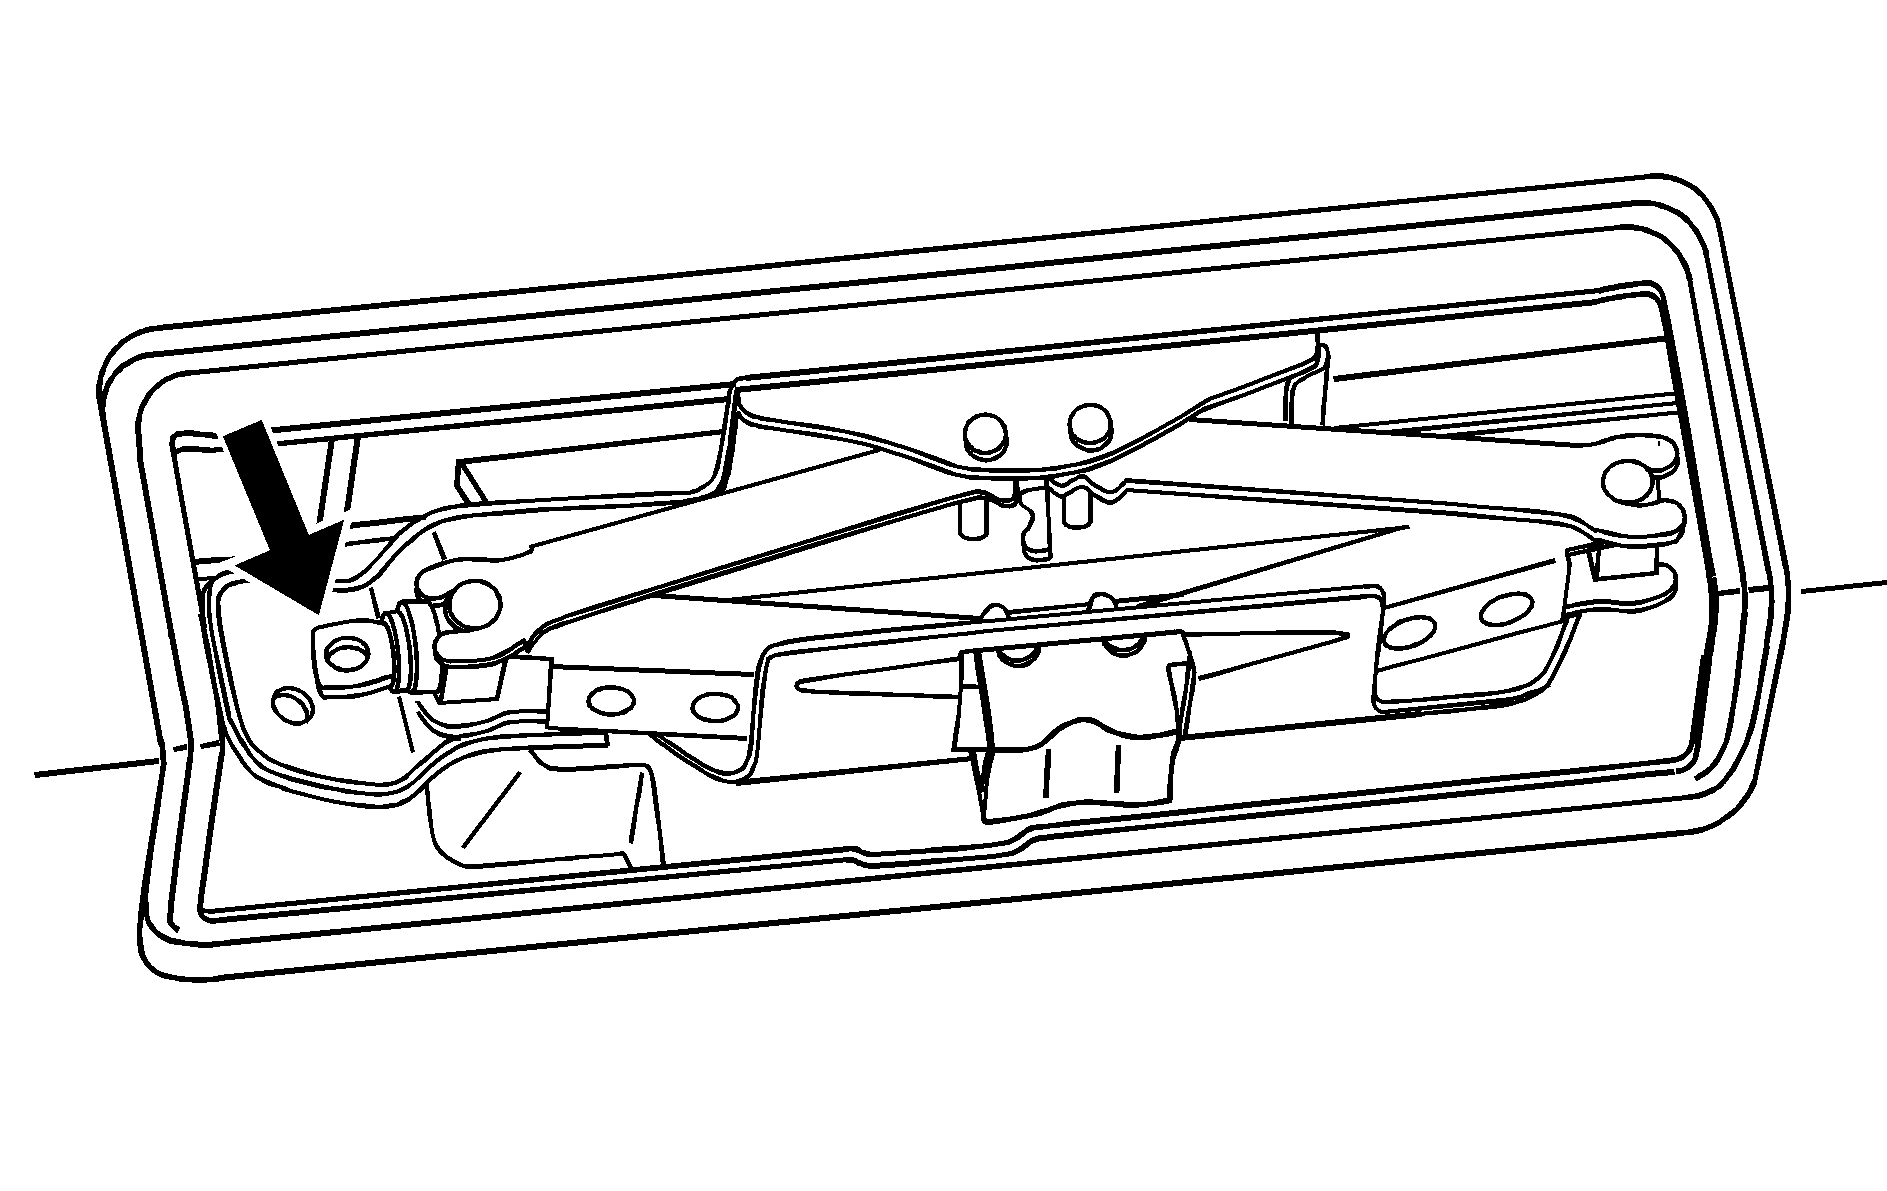
- Place the jack in the mounting bracket.
- Turn the hole at the top of the jack clockwise until the jack is held tight in the mounting bracket.
- Push and pull on the jack and retighten if necessary to make sure the jack is secure.
- Place the wheel blocks in the tool bag.
- Place the remaining tools in the tool bag.
- Make sure nothing is located under or in front of the seat and then lift the rear driver's seat so that the floor is exposed. See 60/40 Split Bench Seat for more information.
- Place the narrow end of the tool bag under the seat rails as shown. Slide the tool bag under the rear seat.
- Reinstall the strap to the seat rail.
- Return the seat to the correct position.

Be careful not to pinch the seat cables or electrical harnesses.
