For 1990-2009 cars only
Removal Procedure
- Remove the center pillar upper garnish molding. Refer to Center Pillar Upper Garnish Molding Replacement .
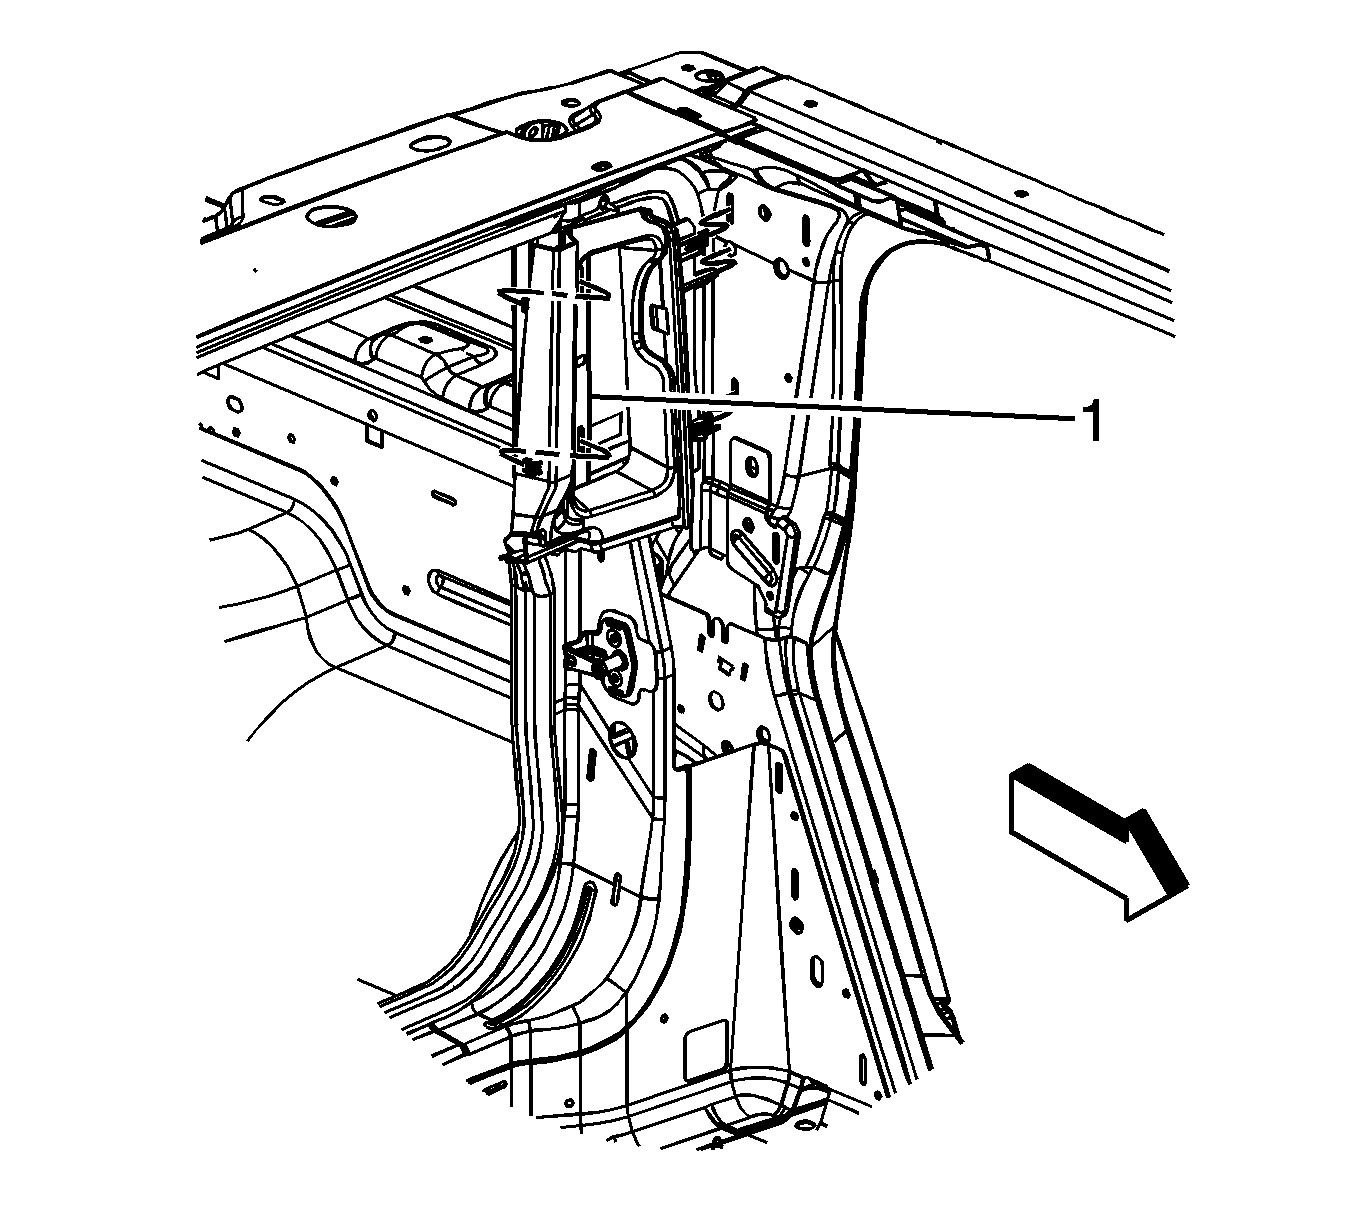
- Carefully pull the lock pillar garnish molding (1) towards the front of the vehicle, only far enough to release the rearward facing clips.
- Pull the lock pillar garnish molding (1) away from the body towards the center of the vehicle to release the remaining clips.
- Remove the lock pillar garnish molding (1).

Installation Procedure
- Align the lock pillar garnish molding (1) with the body.
- Push the lock pillar garnish molding (1) towards the outside of the body to engage clips.
- Push the lock pillar garnish molding (1) towards the rear of the vehicle to engage the remaining clips.
- Install the lock pillar garnish molding (1). Refer to Center Pillar Upper Garnish Molding Replacement .

Important: Ensure the molding clips are aligned with the openings in the body before pushing on the panel to engage the molding clips.
