For 1990-2009 cars only
Removal Procedure
- Lower the midgate window.
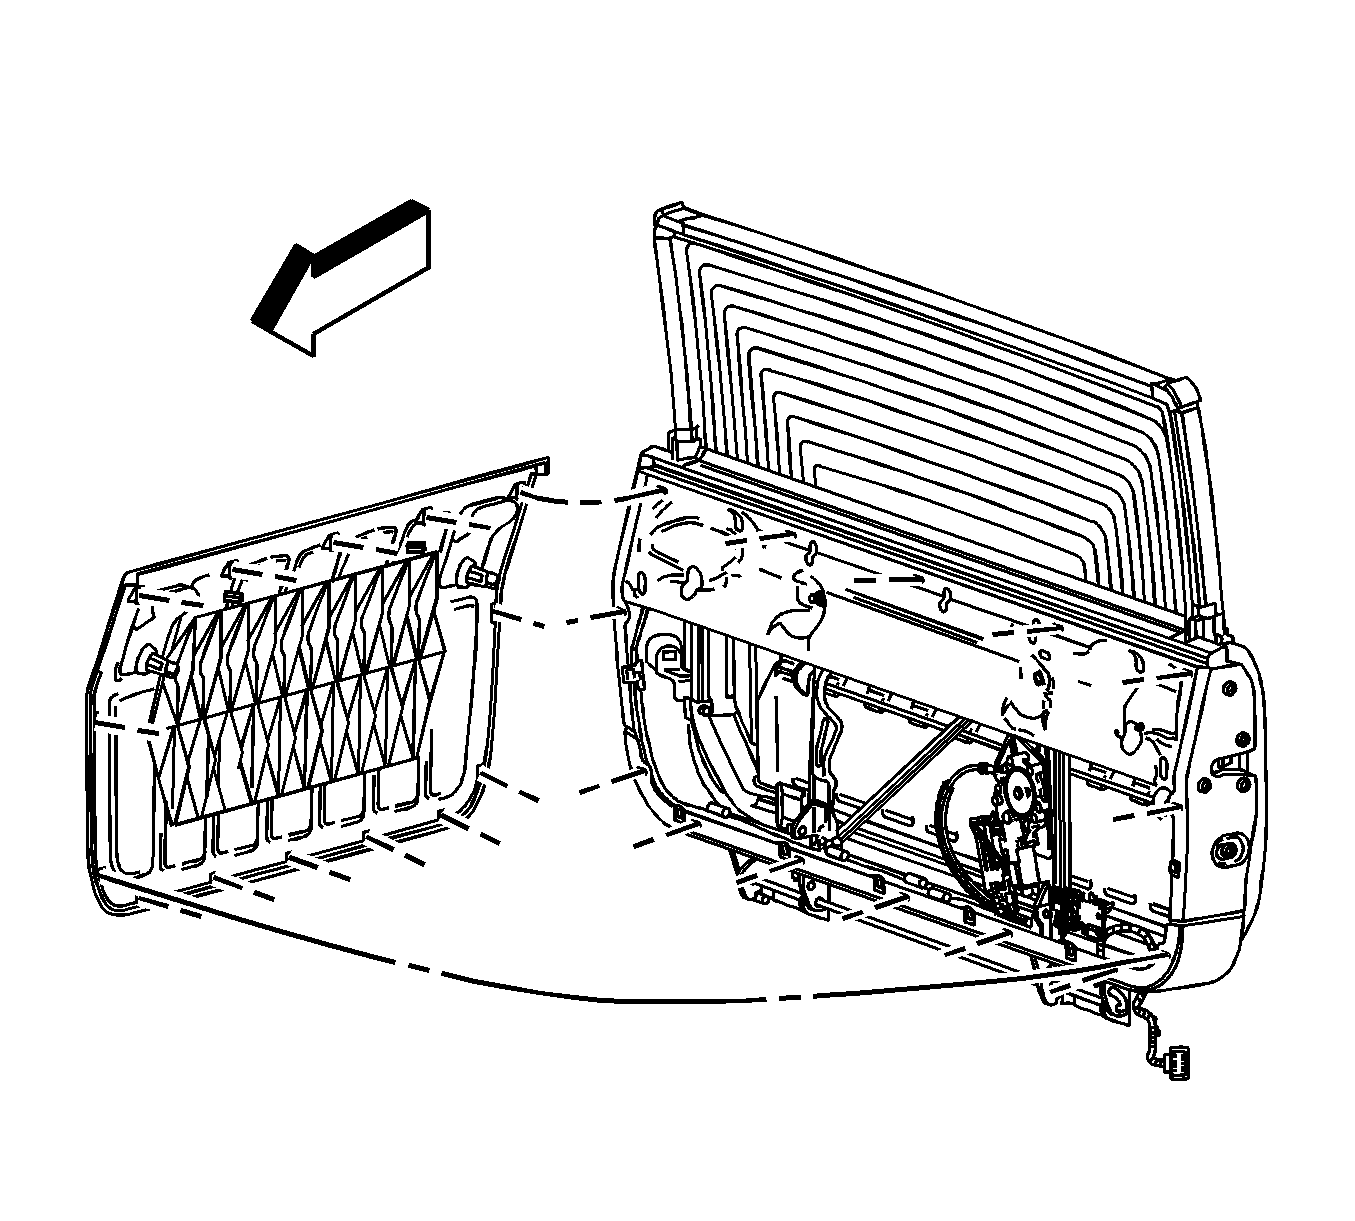
- Remove the midgate inner panel. Refer to Midgate Inner Panel Replacement .
- Open the midgate. If the latches will not operate using the midgate latch release switch, then release the midgate latches manually. Refer to Opening the Midgate Without Electrical Power .
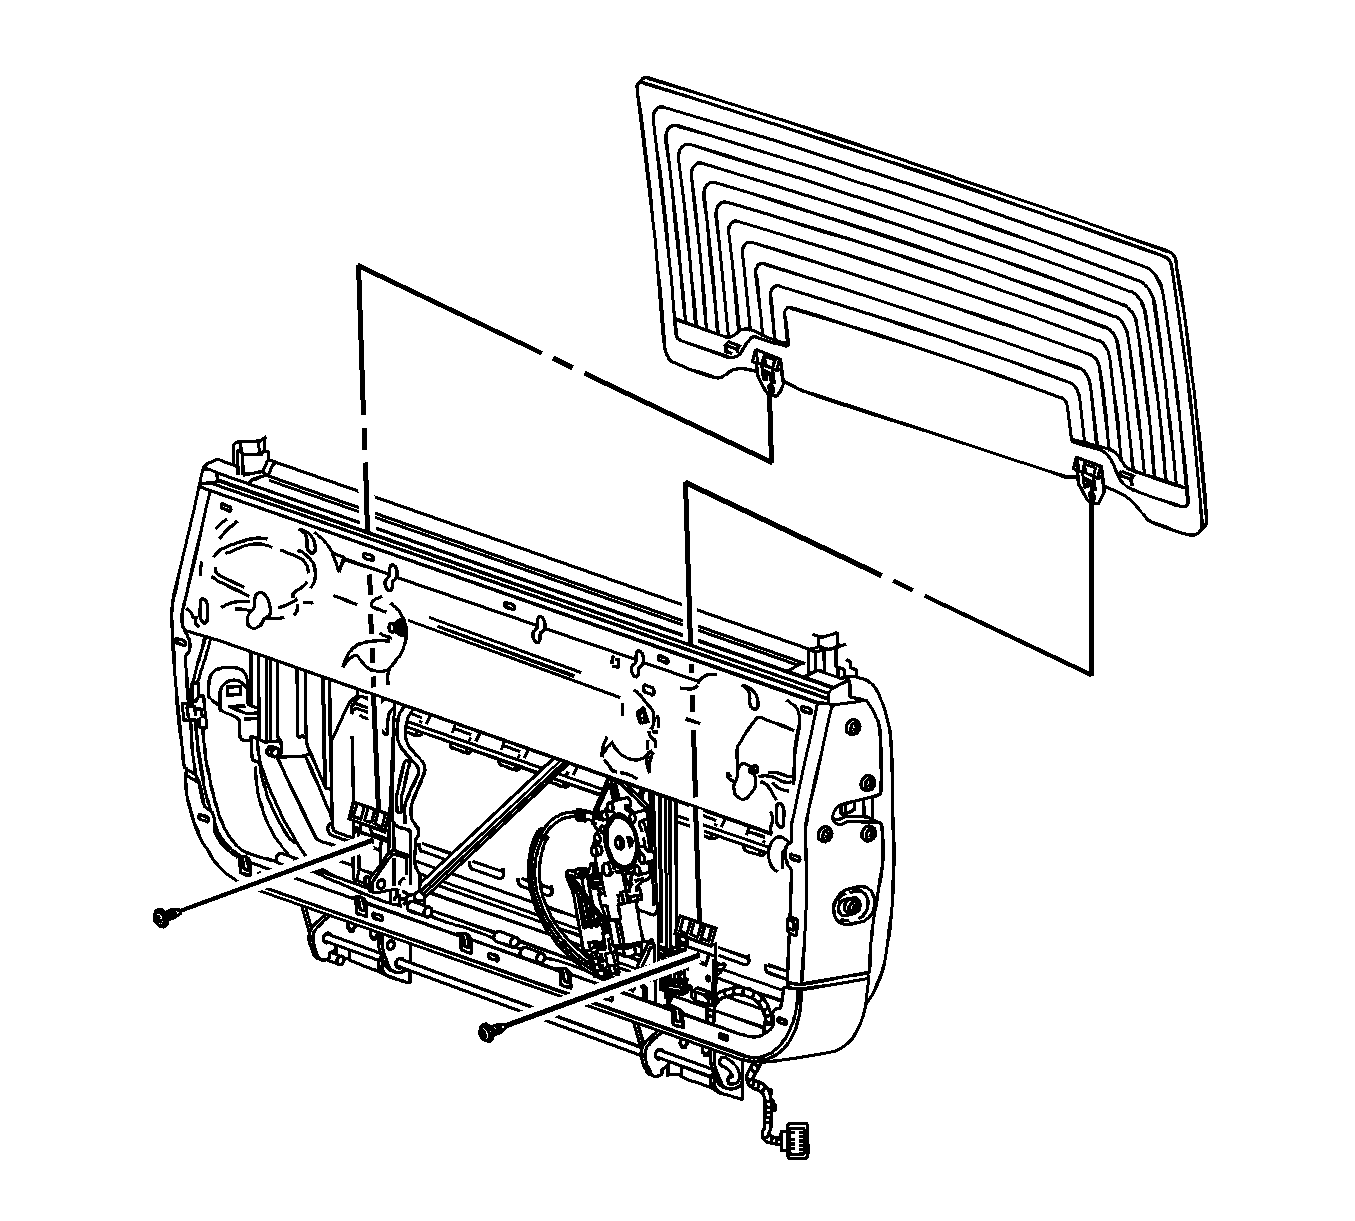
- Remove the midgate window. Refer to Midgate Window Replacement .
- Remove the midgate window run channel(s). Refer to Midgate Window Channel Replacement .
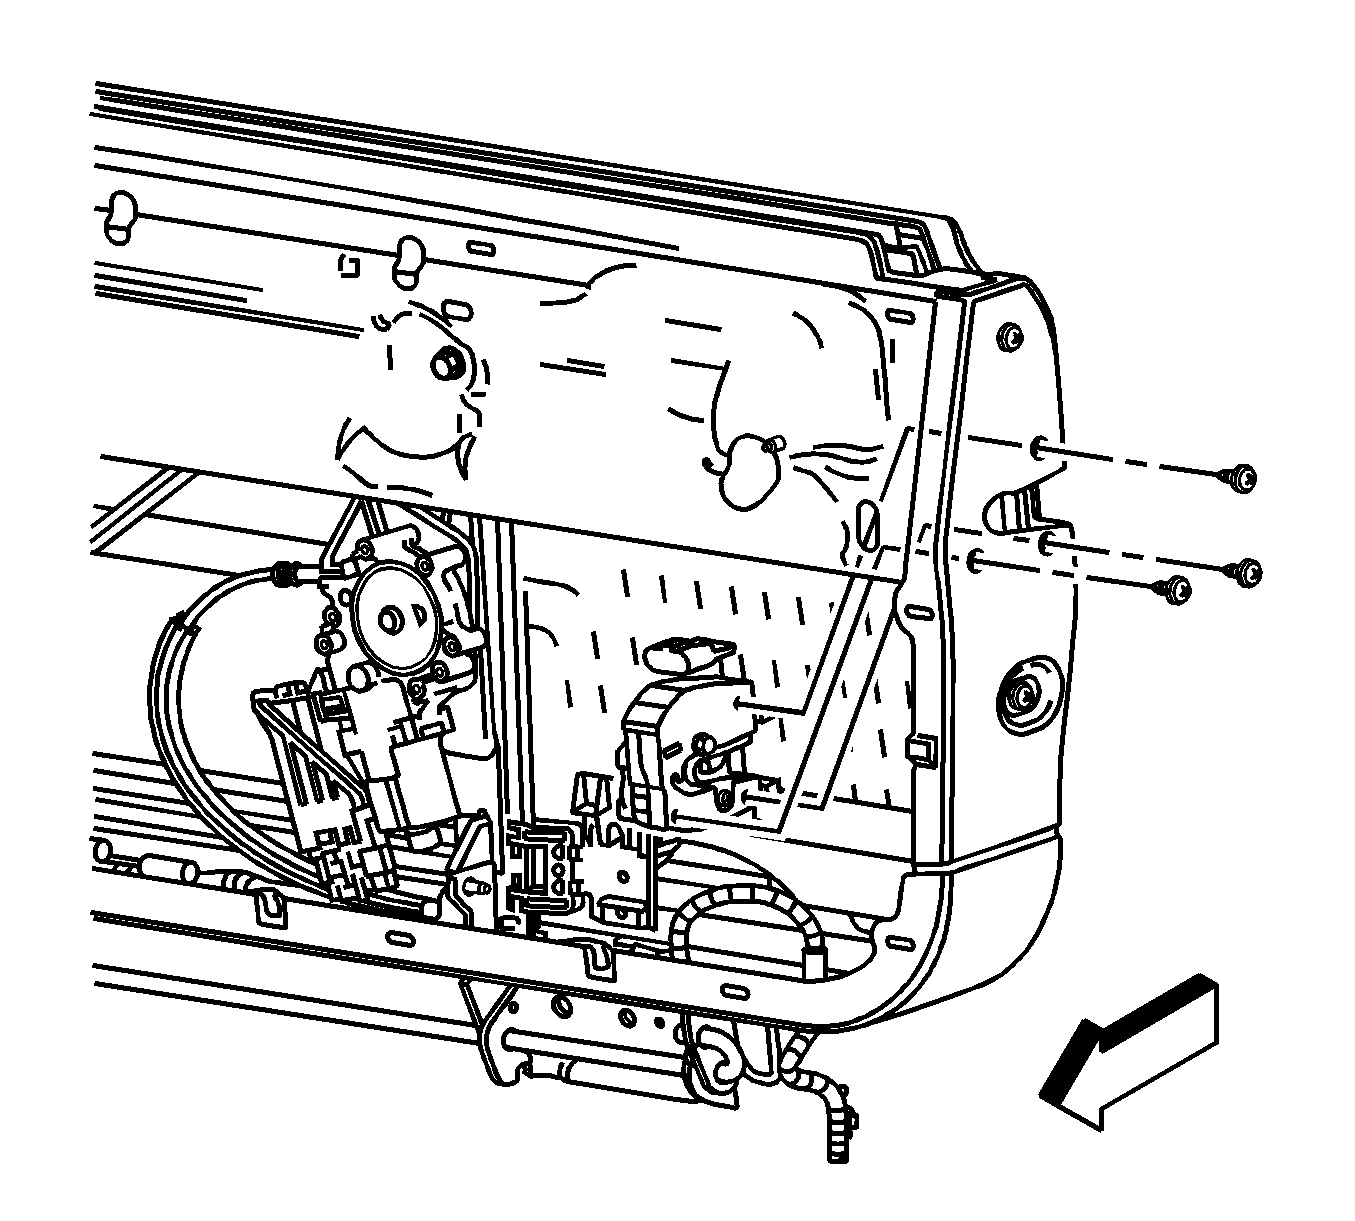
- Remove the screws retaining the latch assembly to the midgate structure.
- Disconnect the electrical connector from the midgate latch.
- Remove the latch from the midgate structure.


Installation Procedure
- Connect the electrical connector to the midgate latch.
- Position the midgate latch to the midgate structure.
- Install the screws retaining the midgate latch to the midgate structure.
- Install the midgate window run channel. Refer to Midgate Window Channel Replacement .
- Install the midgate window. Refer to Midgate Window Replacement .
- Install the midgate inner panel. Refer to Midgate Inner Panel Replacement .
- Inspect the midgate window and latches for proper operation.

Notice: Refer to Fastener Notice in the Preface section.
Tighten
Tighten the midgate latch screws to 10 N·m (89 lb in).


