For 1990-2009 cars only
Removal Procedure
- Open the door.
- Remove the door trim panel. Refer to Rear Side Door Trim Panel Replacement .
- Remove the water deflector. Refer to Rear Side Door Water Deflector Replacement .
- Disconnect the lock actuator electrical connector.
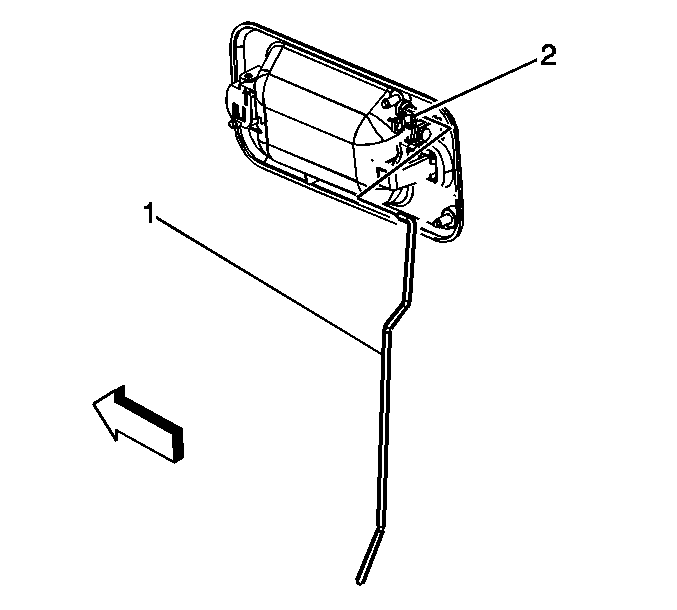
- Disconnect the outside door handle rod (1) by releasing the retaining clip on the door latch.
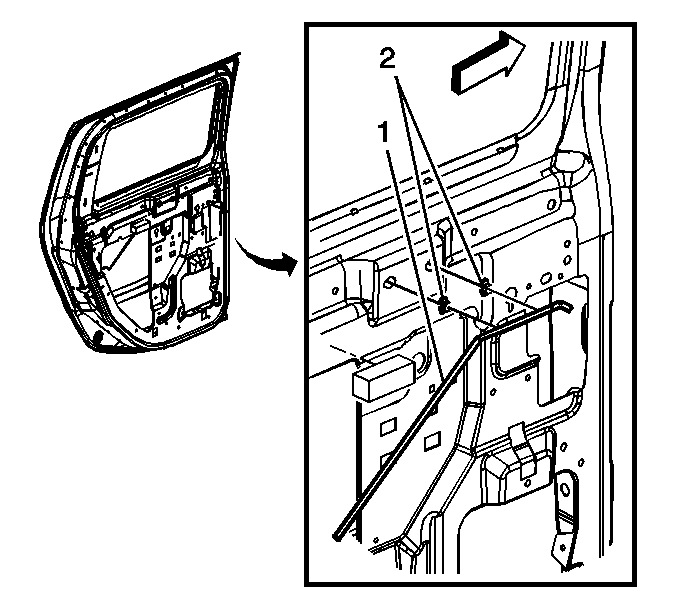
- Remove the manual locking rod (1) from the door by releasing the rod from the retainers (2).
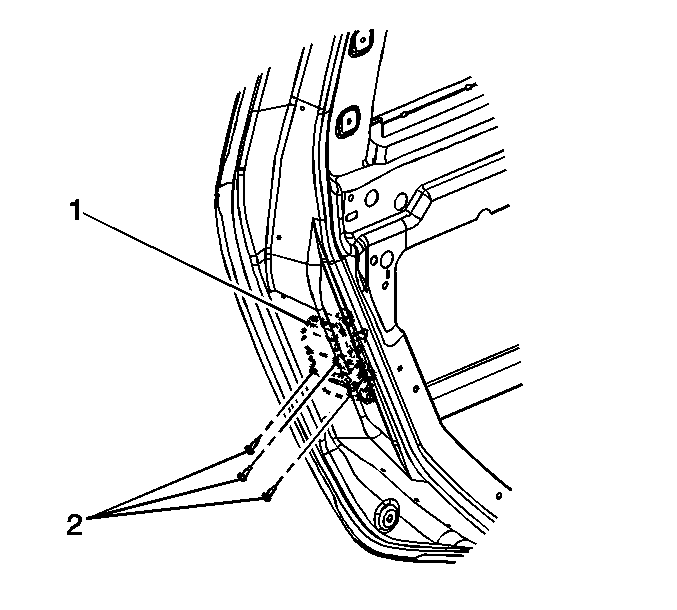
- Remove the fasteners (2) retaining the door latch (1) to the door.
- Remove the door latch.


Installation Procedure
- Place the latch (1) into position in the door, and install the 3 fasteners (2) that retain the latch to the door.
- Install the manual locking rod (1) to the door by securing the rod in the retainers (2).
- Connect the outside door handle rod (1) by securing the rod in the retaining clip on the door latch.
- Connect the lock actuator electrical connector.
- Operate the door handle functions to ensure proper operation.
- Install the window run channel. Refer to Rear Side Door Window Channel Replacement .
- Install the water deflector. Refer to Rear Side Door Water Deflector Replacement .
- Install the door trim panel. Refer to Rear Side Door Trim Panel Replacement .
Notice: Refer to Fastener Notice in the Preface section.

Tighten
Tighten the fasteners to 9 N·m (80 lb in).


