For 1990-2009 cars only
Tail/Turn Signal Lamp Replacement SUV
Removal Procedure
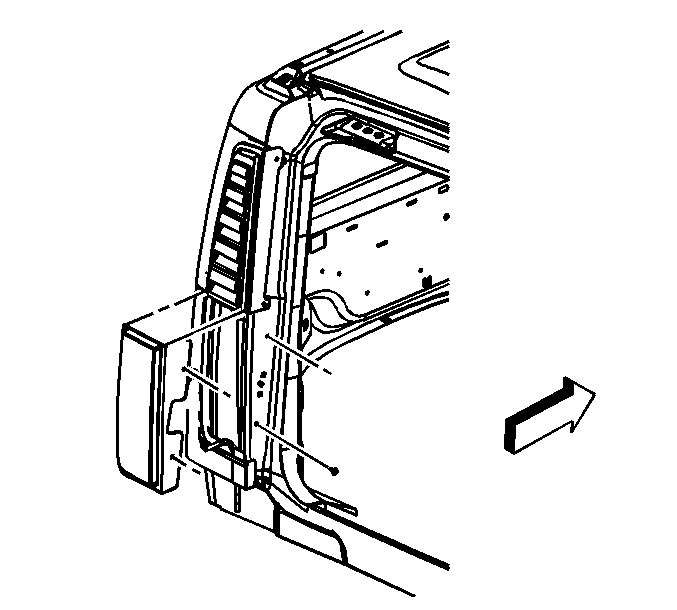
- Remove the screws from the lamp.
- Remove the lamp from the body.
- Disconnect the electrical harness at the connector.
- Turn the bulb socket counterclockwise.
- Remove the bulb from the socket.

Installation Procedure
- Install the bulb to the socket.
- Turn the bulb socket clockwise in order to lock.
- Connect the electrical harness at the connector.
- Install the lamp to the body.
- Install the screws to the lamp.

Caution: Refer to Fastener Caution in the Preface section.
Tighten
Tighten the screws to 6 N·m (53 lb in).
Tail/Turn Signal Lamp Replacement SUT
Removal Procedure
- Open the spare tire carrier.
- Open the endgate.
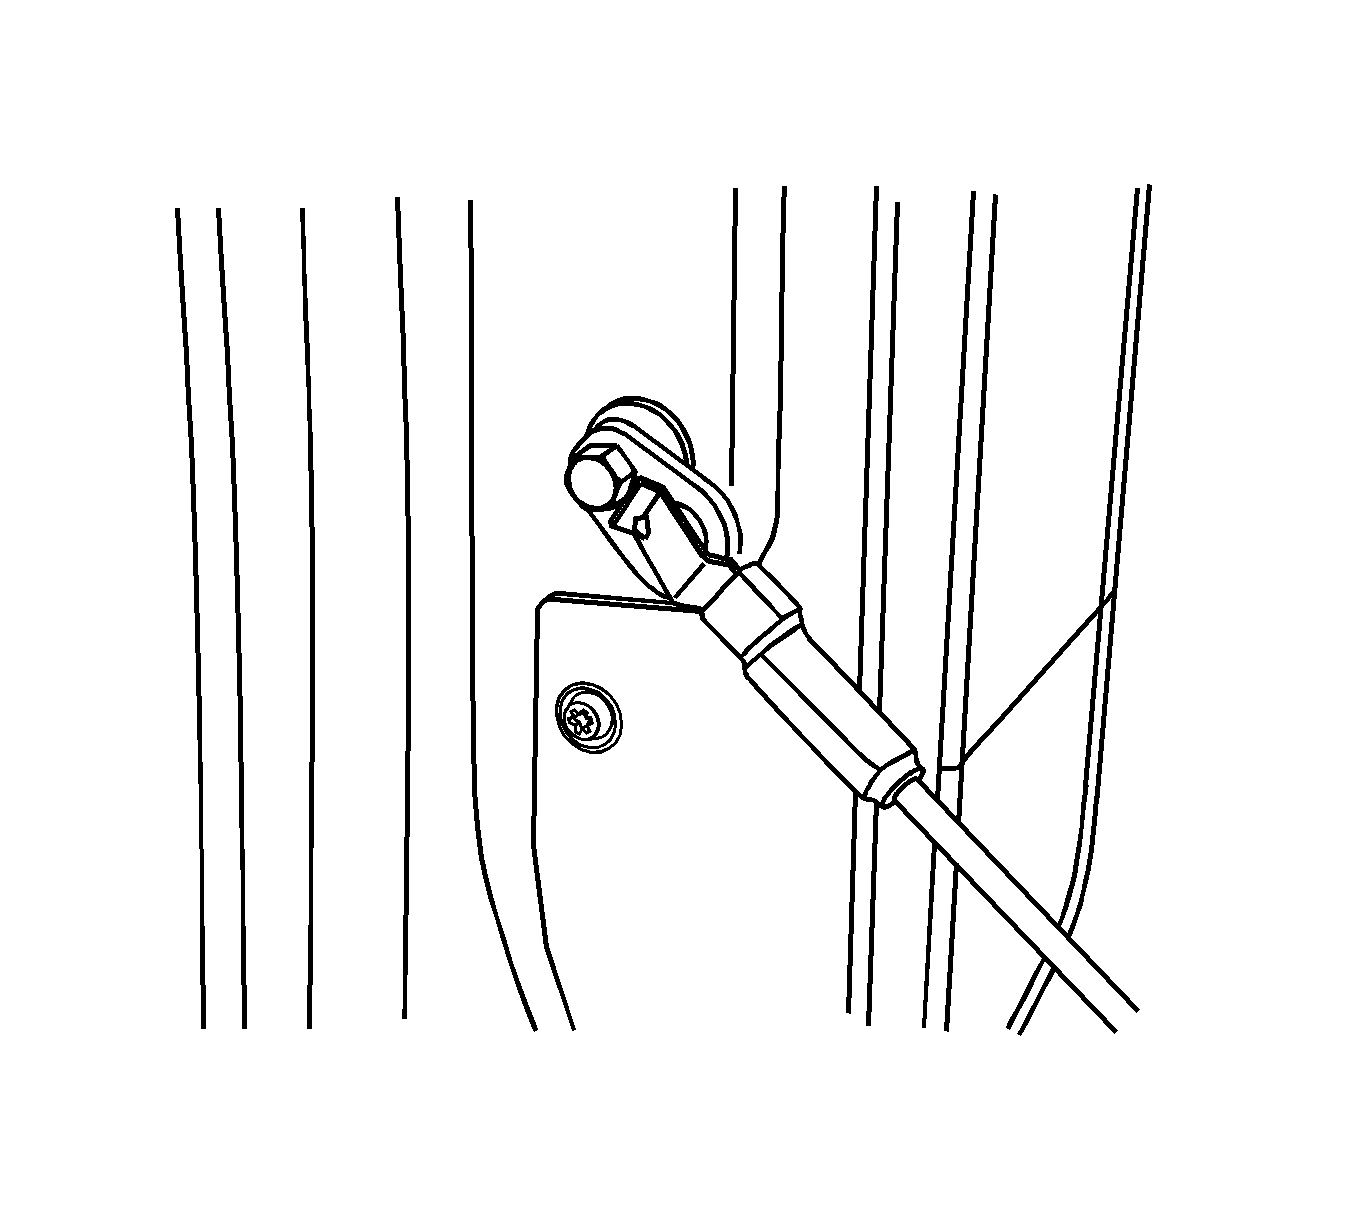
- Release either the right or left side endgate cable from the body side bolt in order to remove the lamp.
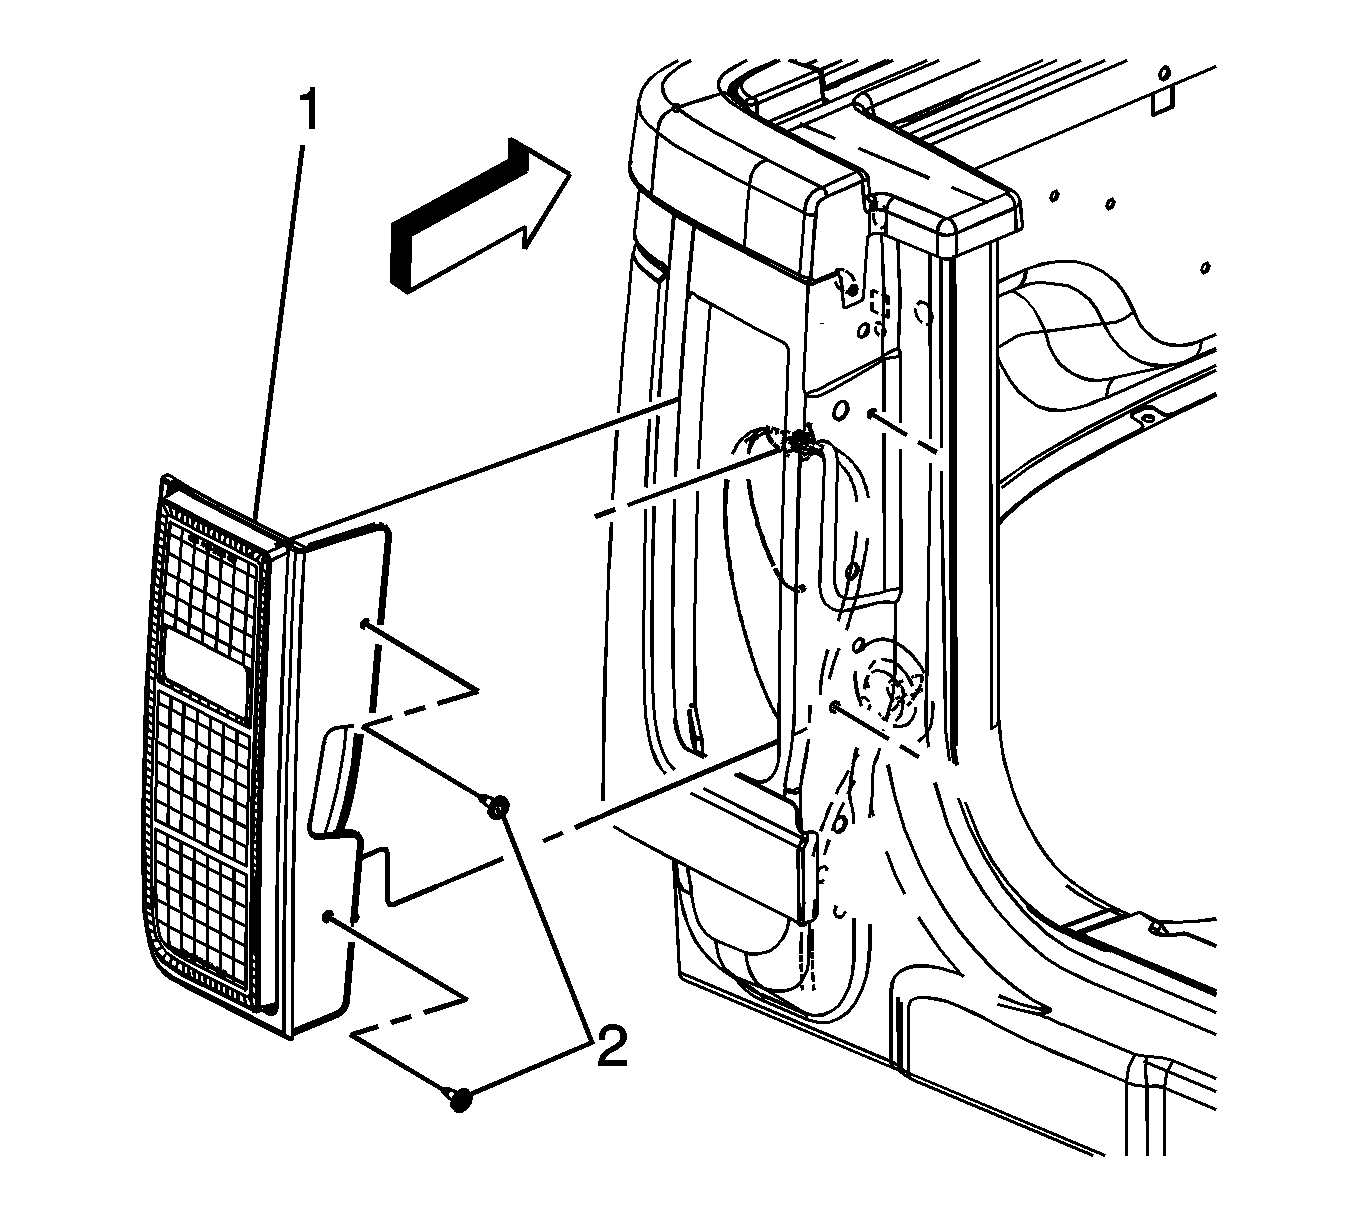
- Remove the screws (2) from the lamp (1).
- Remove the inboard side of the lamp from the endgate opening.
- Pull the lamp housing outward.
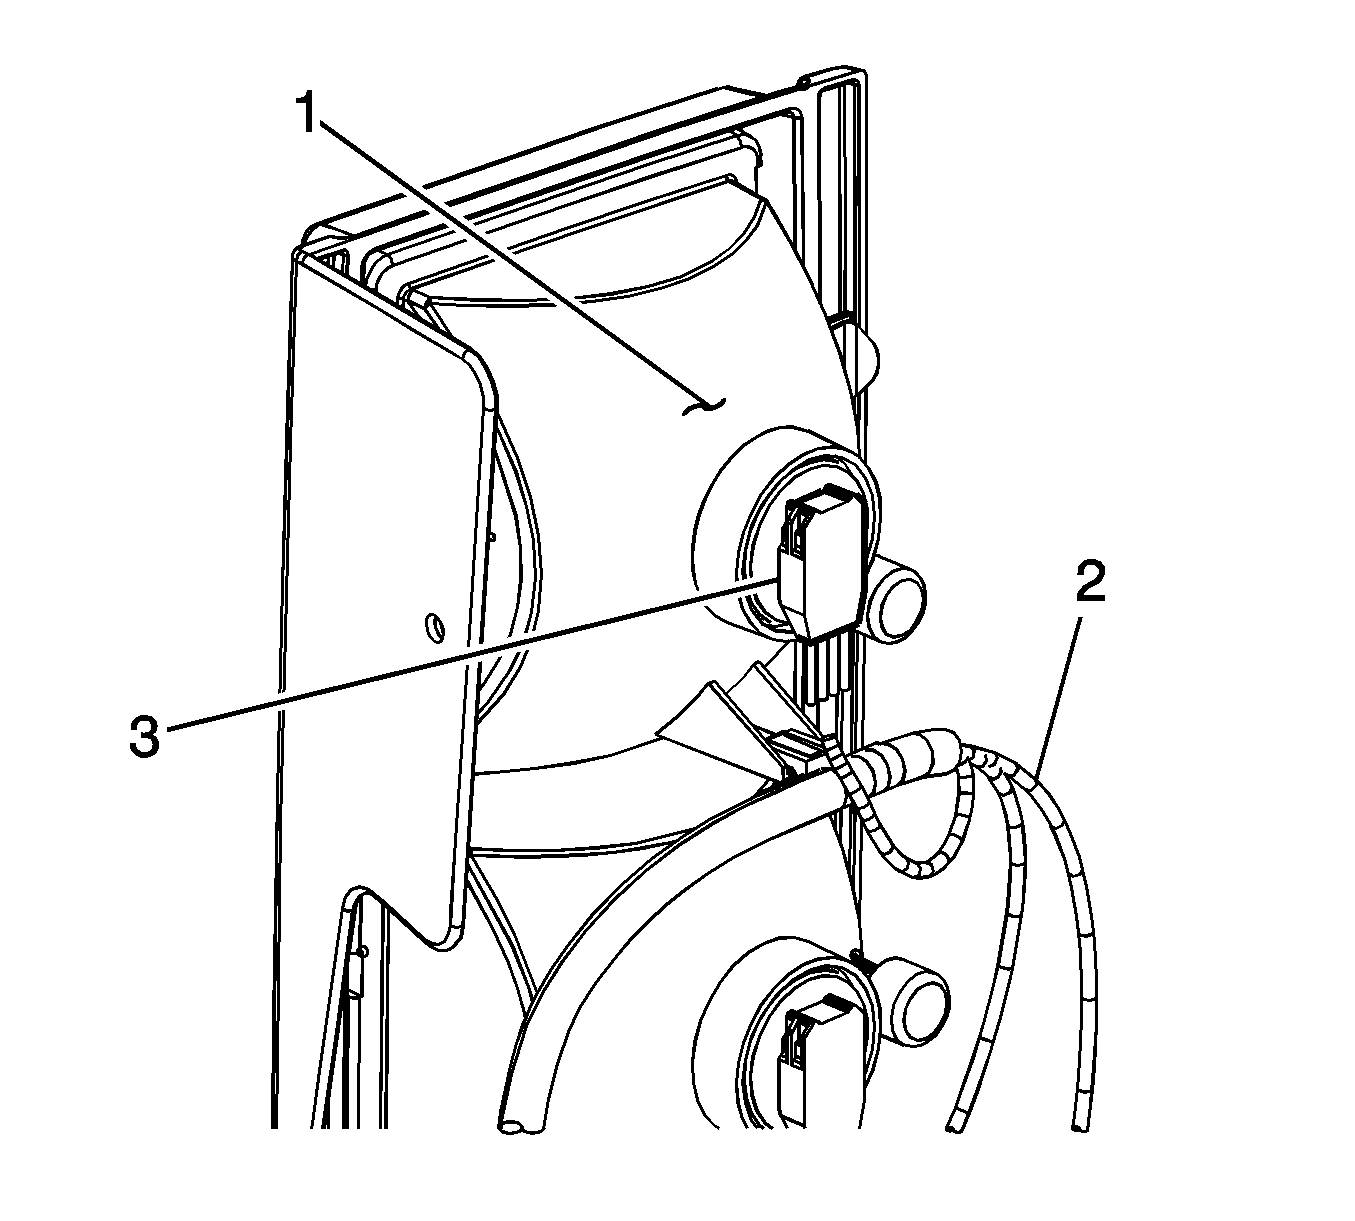
- Disconnect the electrical harness at the main body harness connector.
- Turn the bulb socket (3) counterclockwise one at a time from the lamp (1).
- Remove the bulbs from the sockets, if needed.


Installation Procedure
- Install the bulbs into the sockets (3).
- Position each socket into the lamp (1) and rotate 1/8 turn in order to secure.
- Position the lamp housing (1) to the rear body opening.
- Connect the lamp housing electrical connector to the main body wire harness connector.
- Ensure all electrical wiring is positioned away from the sharp sheet metal flanges.
- Secure the inboard side of the lamp (1) to the endgate opening.
- Install the screws (2).
- Re-secure either the right or left side endgate cable to the body side bolt after lamp installation.
- Close the endgate.
- Latch and secure the spare tire carrier.


Note: The outboard edge of the lamp housing will need to be positioned first.
Caution: Refer to Fastener Caution in the Preface section.
Tighten
Tighten the screws to 6 N·m (53 lb in).

