For 1990-2009 cars only
Removal Procedure
- Remove the center lower interior trim. Refer to Endgate Center Molding Replacement.
- Lower the window into the midgate.
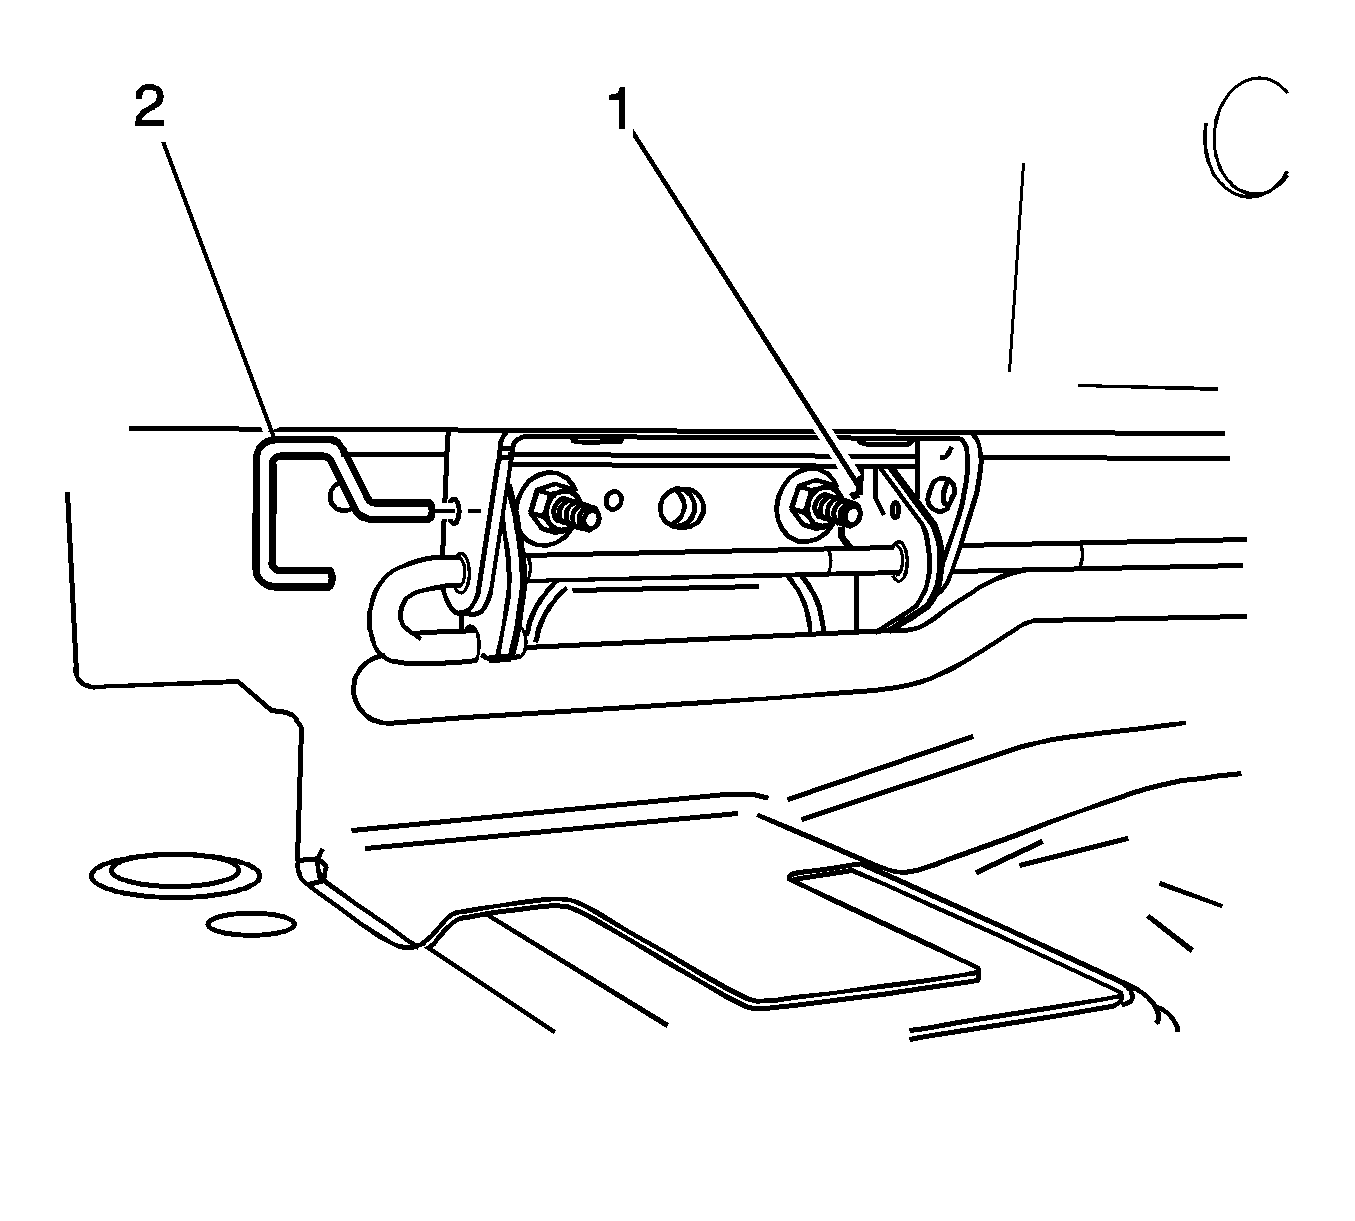
- Release the midgate latches, opening the midgate until the holes in the hinge assembly are aligned.
- Install 5 mm (0.20 in) pins (2) or an allen wrench through the holes in each hinge (1) to support the midgate.
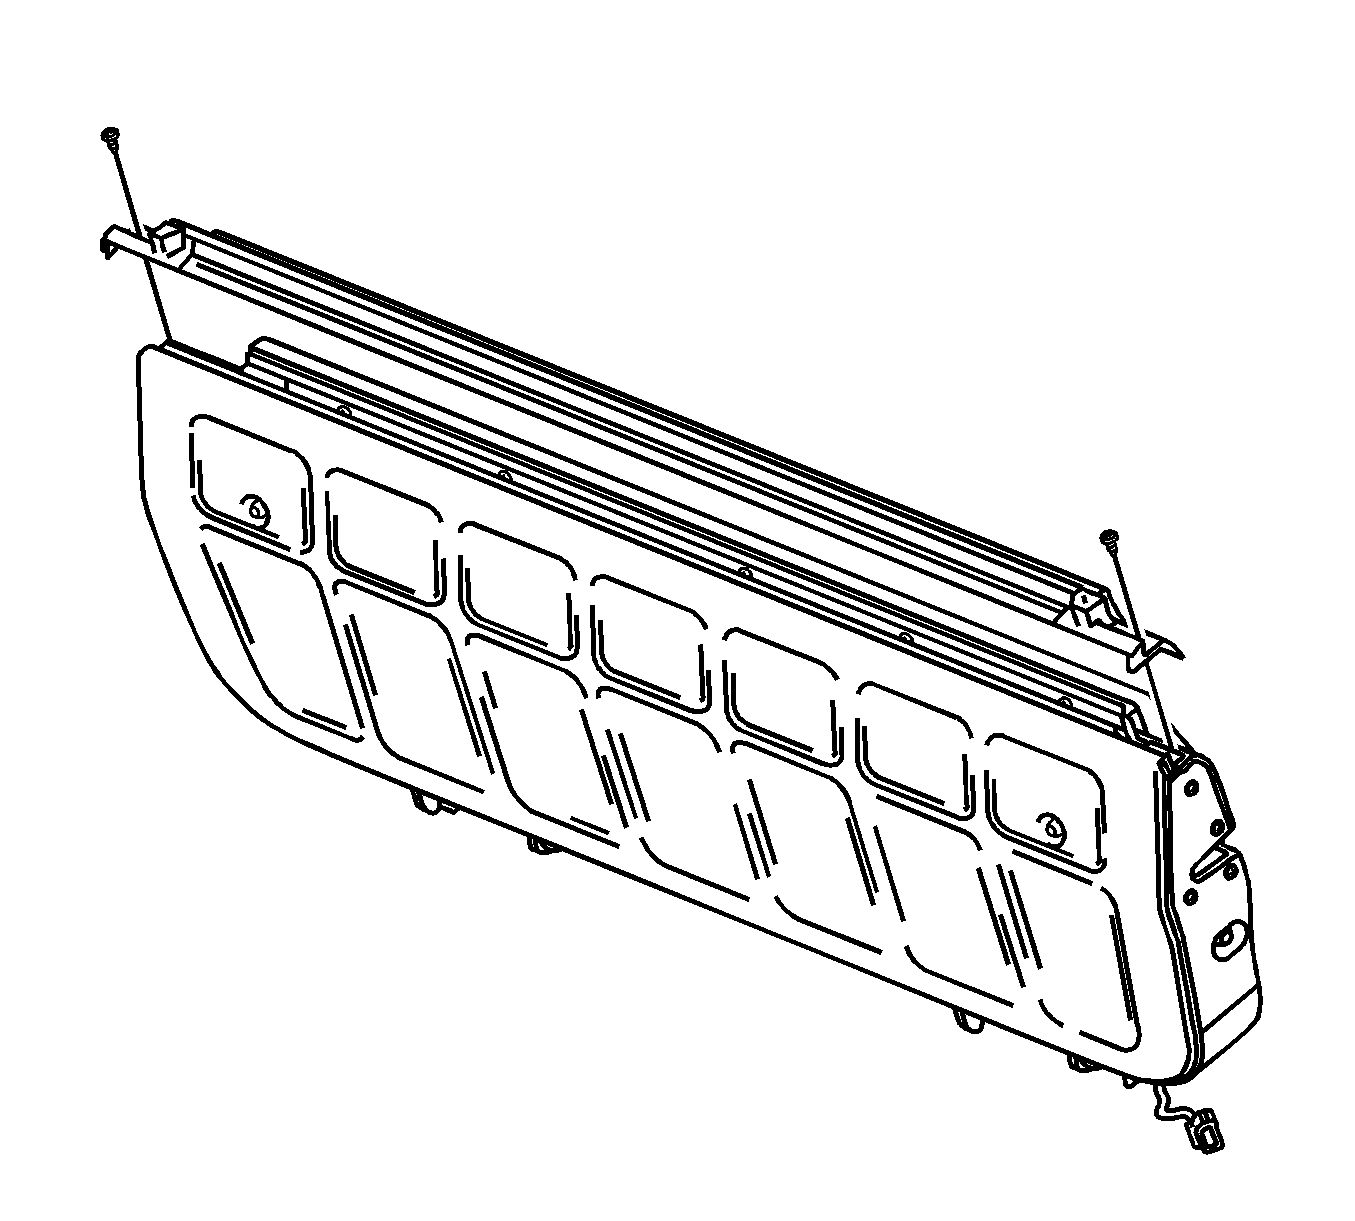
- Remove the fasteners securing the sealing strip to the midgate structure.
- Begin at either end and gently pry upward in order to release the sealing strip from the midgate structure.
- Remove the sealing strip from the midgate and discard if damaged.


Installation Procedure
- Align the tab on the midgate window sealing strip to the notch in the midgate flange.
- Install the window sealing strip to the midgate flanges, pressing down until the seal is fully seated.
- Install the sealing strip screws.
- Remove the pins (2) or allen wrenches from the midgate hinges (1) supporting the midgate.
- Close the midgate, ensuring the latches are fully engaged.
- Install the center lower interior trim. Refer to Endgate Center Molding Replacement.
- Close the midgate window. Ensure the window sealing strip remains fully seated and not binding against the midgate window.

Caution: Refer to Fastener Caution in the Preface section.
Tighten
Tighten the screws to 0.675 N·m (6 lb in).

