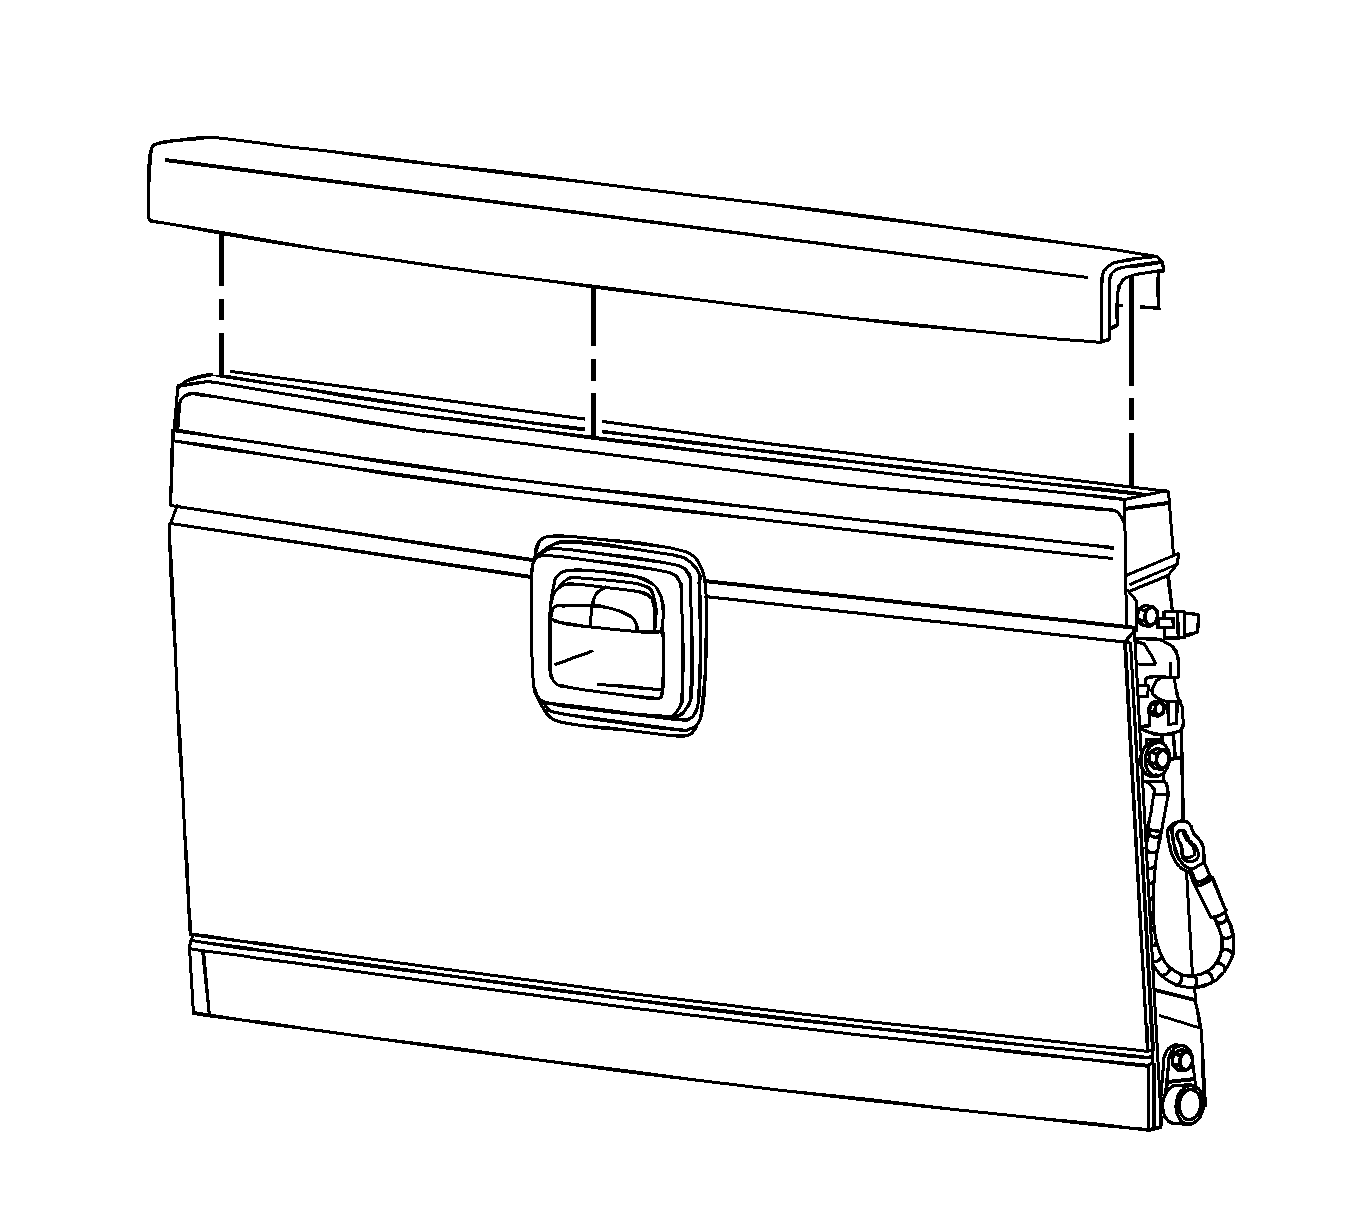
For 1990-2009 cars only
Removal Procedure
- Heat the inside of the endgate cap using a heat gun. Hold the heat gun approximately 152 mm (6 in) from the surface. Apply heat using a circular motion for approximately 30 seconds.
- Peel the endgate cap from the inner surface of the endgate using a flat-bladed tool.
- Remove the endgate cap.
- Remove all adhesive from the endgate and endgate cap using a 3M Scotch Brite molding adhesive remover disk 3M P/N 0751 or equivalent.
- Clean the endgate using Varnish Makers and Painters (VMP) naptha.

Important: Be careful not to scratch or chip the paint.
Installation Procedure
- Ensure that the painted surface of the endgate in the tape contact area is clean and dry.
- Peel the backing from the adhesive on the endgate cap.
- Lower the front edge of the endgate cap against the endgate surface approximately 2 mm (0.08 in) above the endgate offset.
- Rotate the endgate cap down over the top of the endgate.
- Press the endgate cap to the endgate to ensure proper adhesion.

Important: Do not let the tape surface contact the endgate surface until after part rotation.
