For 1990-2009 cars only
Assist Step Replacement Tubular BVE
Removal Procedure
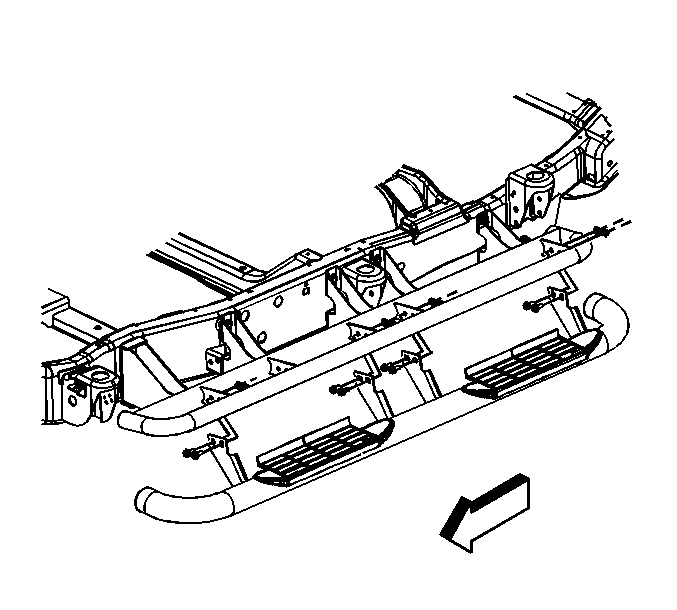
- Remove the nuts and the bolts.
- Remove the assist step from the vehicle.

Installation Procedure
- Perform the following procedure before installing the bolts.
- Install the assist step to the vehicle. An assistant may be necessary for this step.
- Install the nuts and the bolts.
| • | Remove all traces of the original adhesive patch. |
| • | Clean the threads of the bolt with denatured alcohol or equivalent and allow to dry. |
| • | Apply Threadlocker GM P/N 12345382 (Canadian P/N 10953489). |
Note: Using a level, secure the fasteners for the 2 inner brackets first. The assist step should be held level in relationship to the vehicle. Secure the fasteners for the outer brackets after the inner fasteners have been torqued.

Caution: Refer to Fastener Caution in the Preface section.
Tighten
Tighten the nuts to 50 N·m (39 lb ft).
Assist Step Replacement w/WS2, BVX

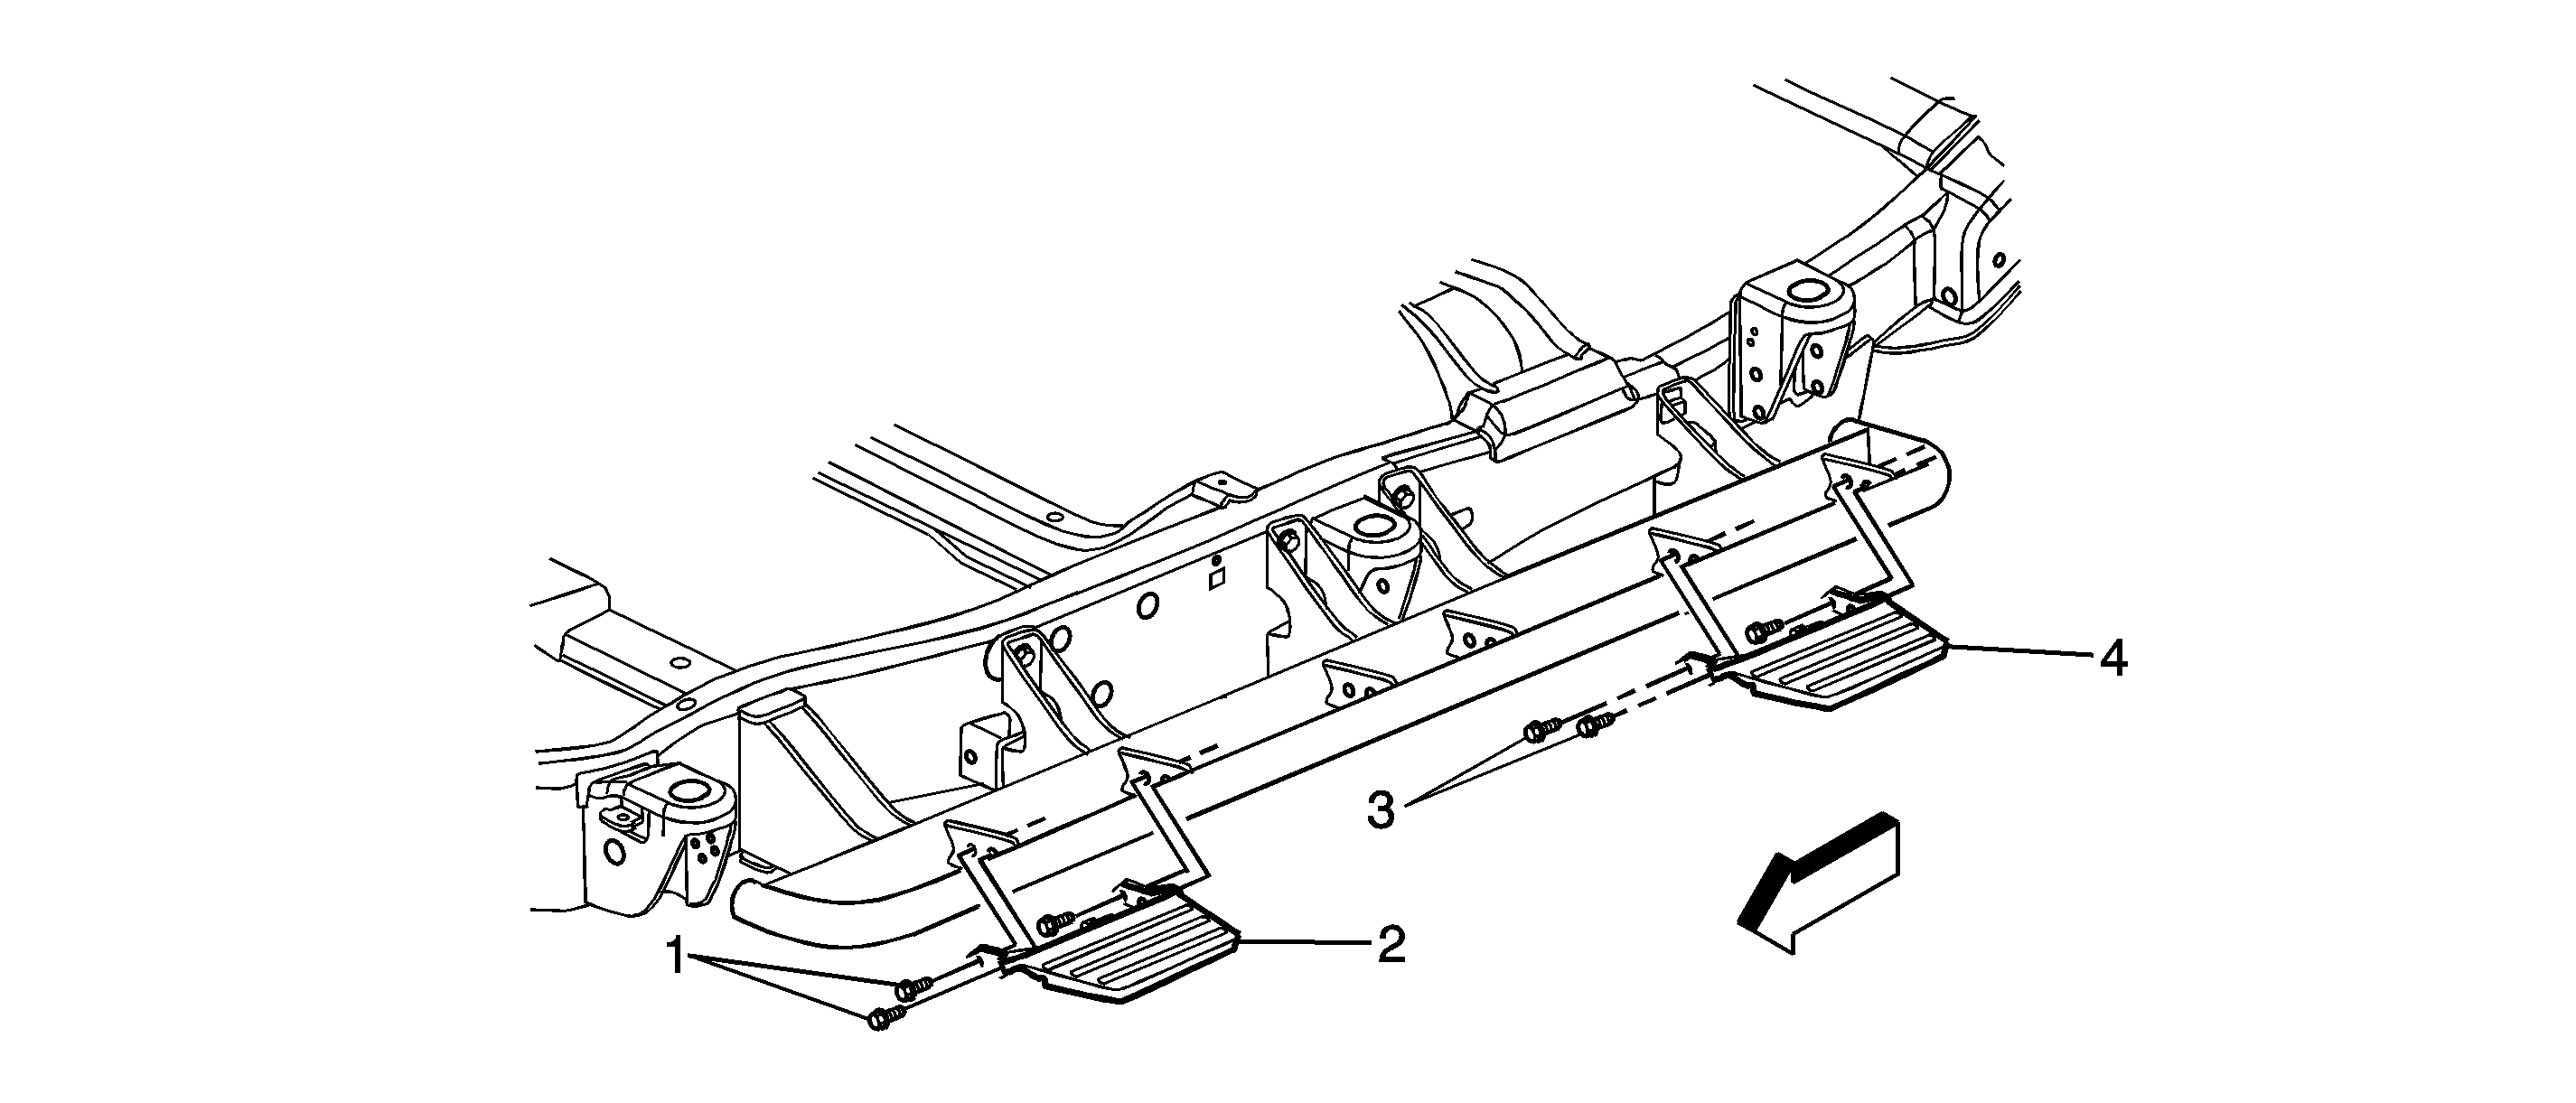
Callout | Component Name |
|---|---|
1 | Assist Step Bolt (Qty: 4) Caution: Refer to Fastener Caution in the Preface section. Tighten |
2 | Front Assist Step Procedure
|
3 | Assist Step Bolt (Qty: 4) Tighten |
4 | Rear Assist Step Procedure
|
