For 1990-2009 cars only
Parking Brake Adjustment LHD
Important: The following service procedure must be performed to ensure the proper adjustment of the park brake system.
- Release the park brake.
- Raise the vehicle. Refer to Lifting and Jacking the Vehicle .
- Clean the threads on the front park brake cable.
- Adjust the park brake until the right rear brake is locked.
- Apply and release the park brake 5 times.
- With the park brake in the release position, adjust the park brake until the right rear brake develops a slight drag.
- Back off the adjusting nut 6 complete turns.
Parking Brake Adjustment RHD
- Fully apply and release the park brake lever with an operating force equivalent to the specification 10 times to settle the front park brake cable.
- Turn ON the ignition. Verify the red BRAKE warning lamp is not illuminated.
- Turn OFF the ignition.
- Remove the driver knee bolster bracket. Refer to Driver Knee Bolster Replacement.
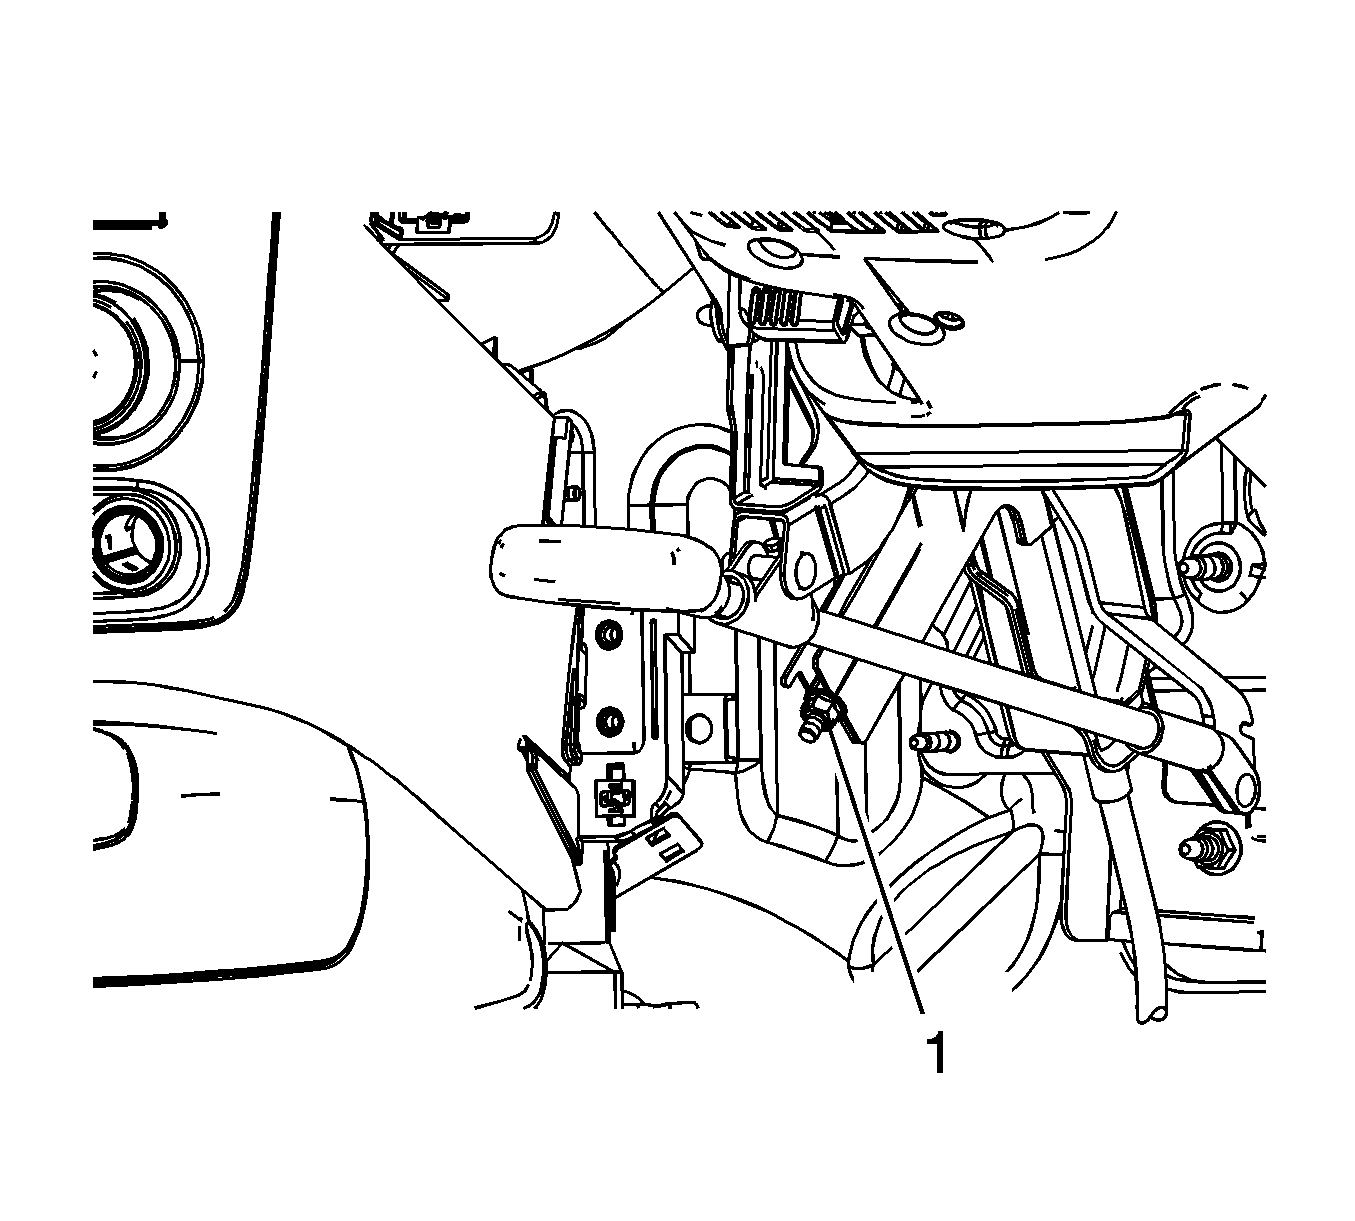
- Loosen the front park brake cable adjustment nut (1).
- Raise and support the vehicle. Refer to Lifting and Jacking the Vehicle.
- Verify both rear wheel and tire assemblies rotate freely with no drag.
- Apply the brake lever to 8 notches.
- Tighten the front park brake cable adjustment nut until it contacts the park brake lever.
- Fully release the park brake lever.
- Verify both rear wheel and tire assemblies rotate freely with no drag.
- Apply the park brake lever with an operating force equivalent to the specification to 8 notches.
- Attempt to rotate the rear wheel and tire assemblies.
- The rear wheel and tire assemblies should not rotate.
- If the rear tire and wheel assemblies rotate, repeat the adjustment procedure.
- Fully release the park brake lever.
- Verify both rear wheel and tire assemblies rotate freely with no drag.
- Lower the vehicle.
- Install the driver knee bolster bracket. Refer to Driver Knee Bolster Replacement.

Specification
490 N (108 lb)
Specification
294 N (64 lb)
