For 1990-2009 cars only
Removal Procedure
Warning: Refer to Fuel and Evaporative Emission Pipe Warning in the Preface section.
Warning: Refer to Gasoline/Gasoline Vapors Warning in the Preface section.
Caution: Refer to Fuel and Evaporative Emission Hose/Pipe Connection Cleaning Caution in the Preface section.
- Relieve the fuel system pressure. Refer to Fuel Pressure Relief.
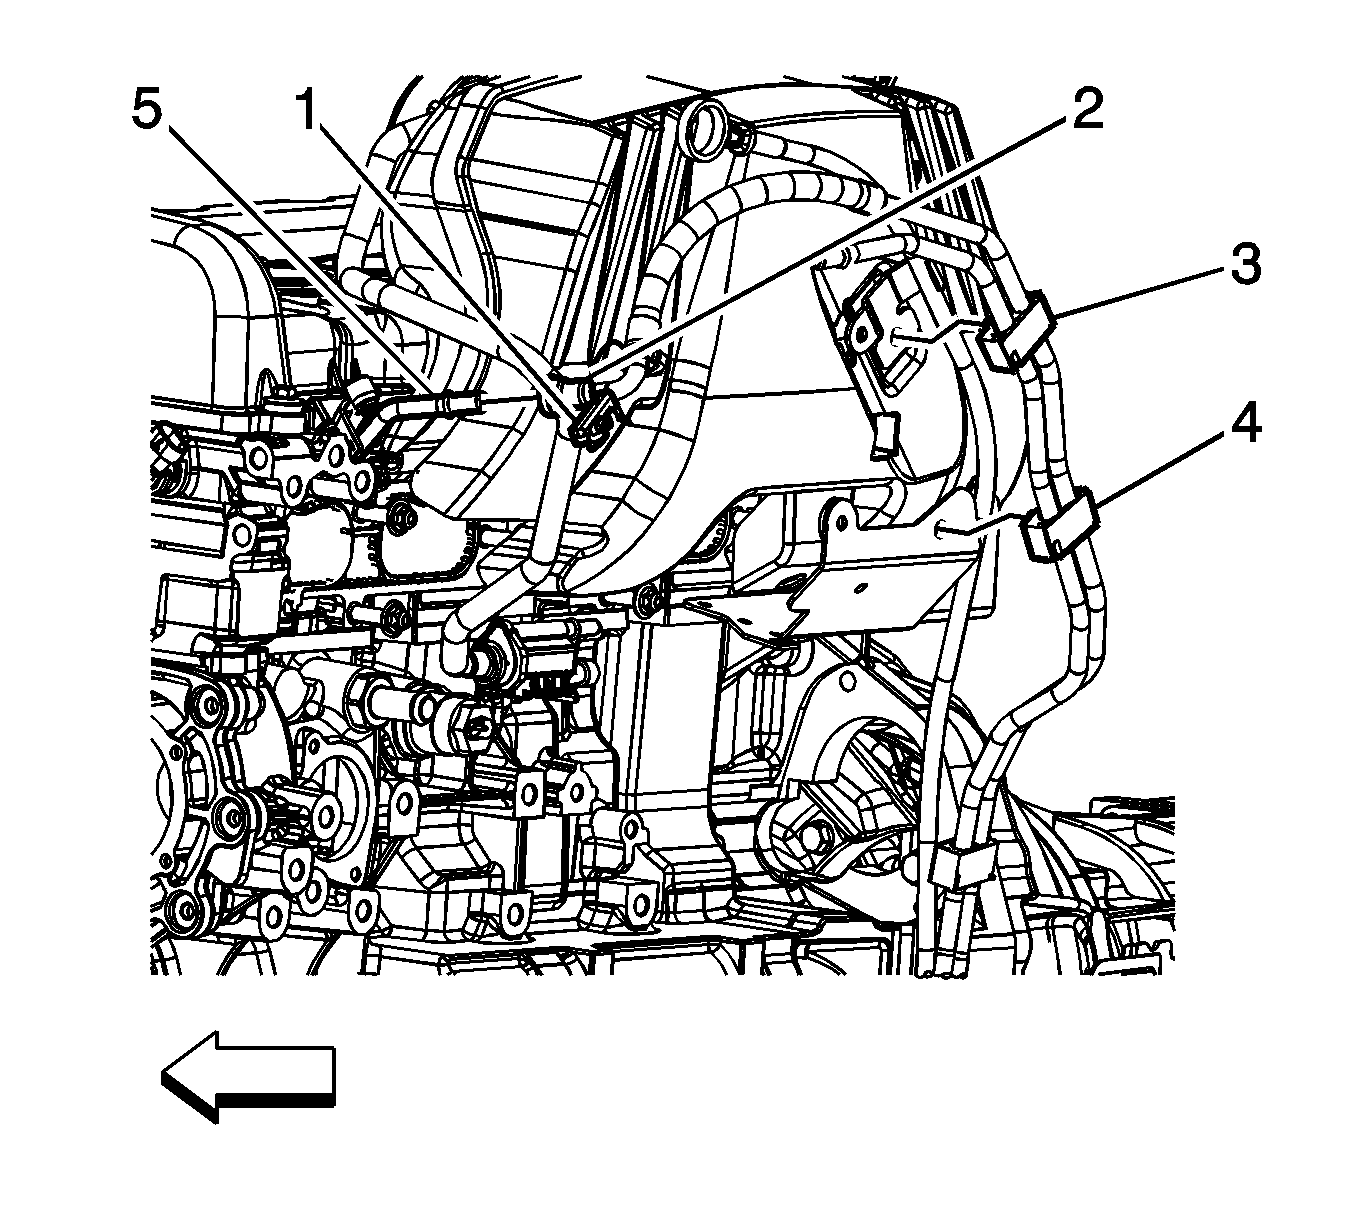
- Disengage the quick connect fitting lock clip (1).
- Disconnect the fuel feed line quick connect (2). Refer to Metal Collar Quick Connect Fitting Service.
- Open the retaining clips (3, 4).
- Remove fuel feed line from the clips.
- Raise and support the vehicle. Refer to Lifting and Jacking the Vehicle.
- Disconnect the fuel feed line from the fuel tank. Refer to Plastic Collar Quick Connect Fitting Service.
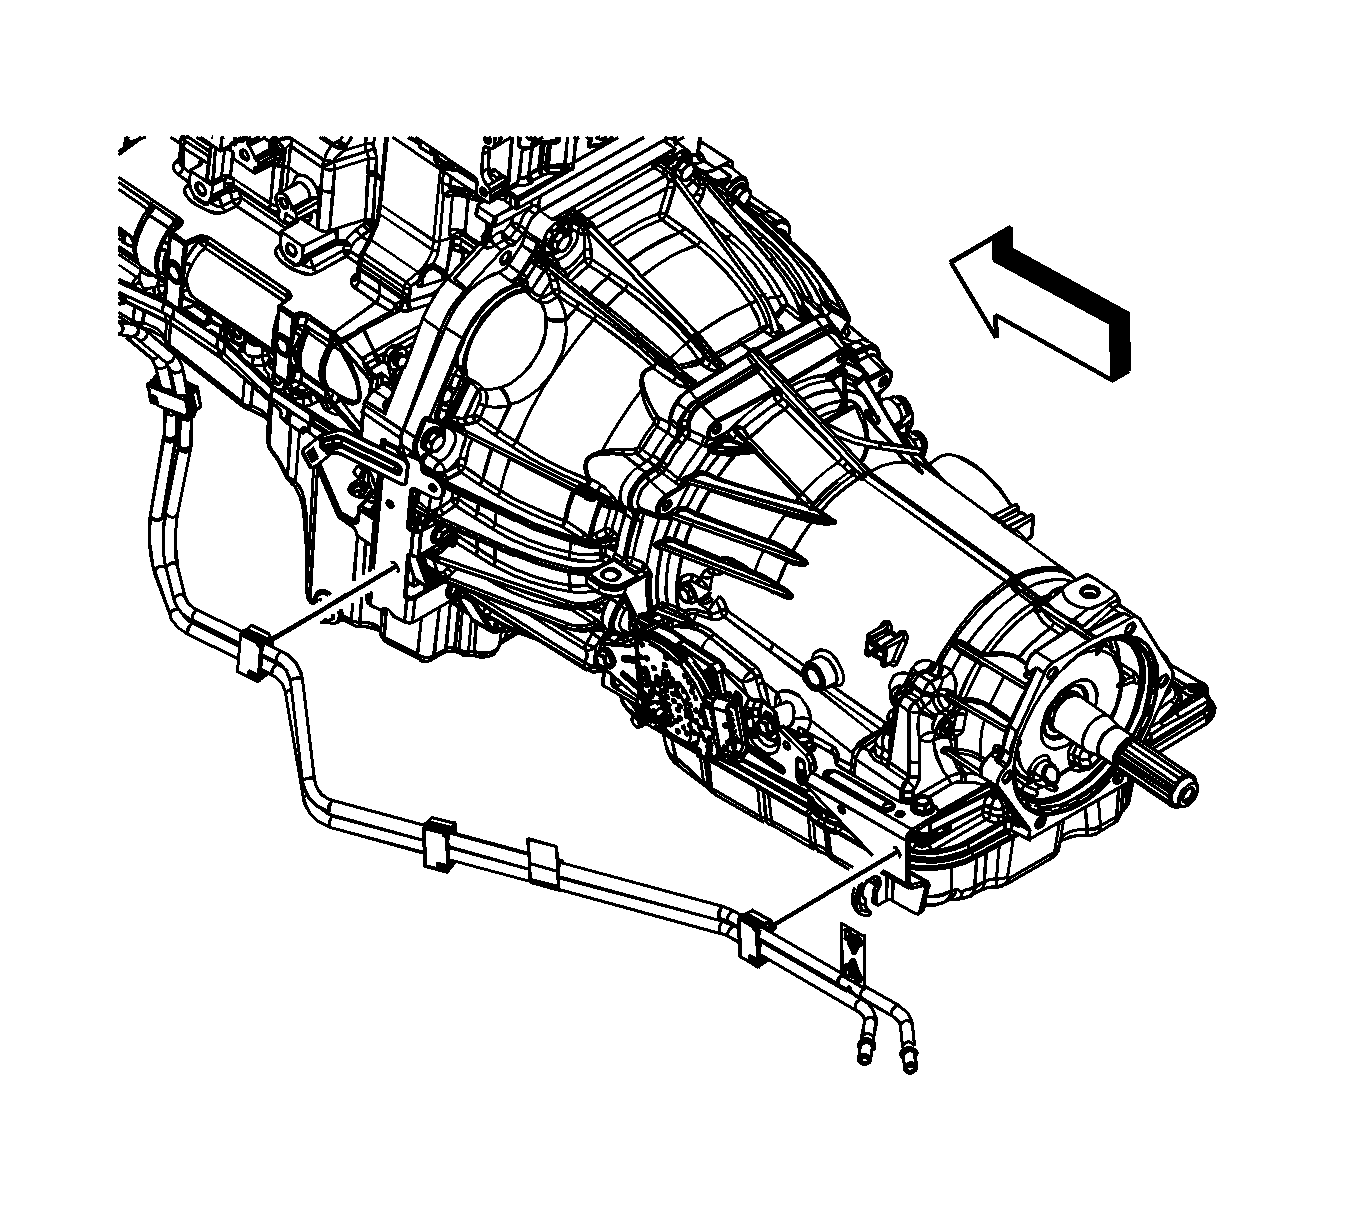
- If equipped with an automatic transmission, open the retaining clips attaching the lines to the transmission.
- Remove the fuel feed line from the clips.
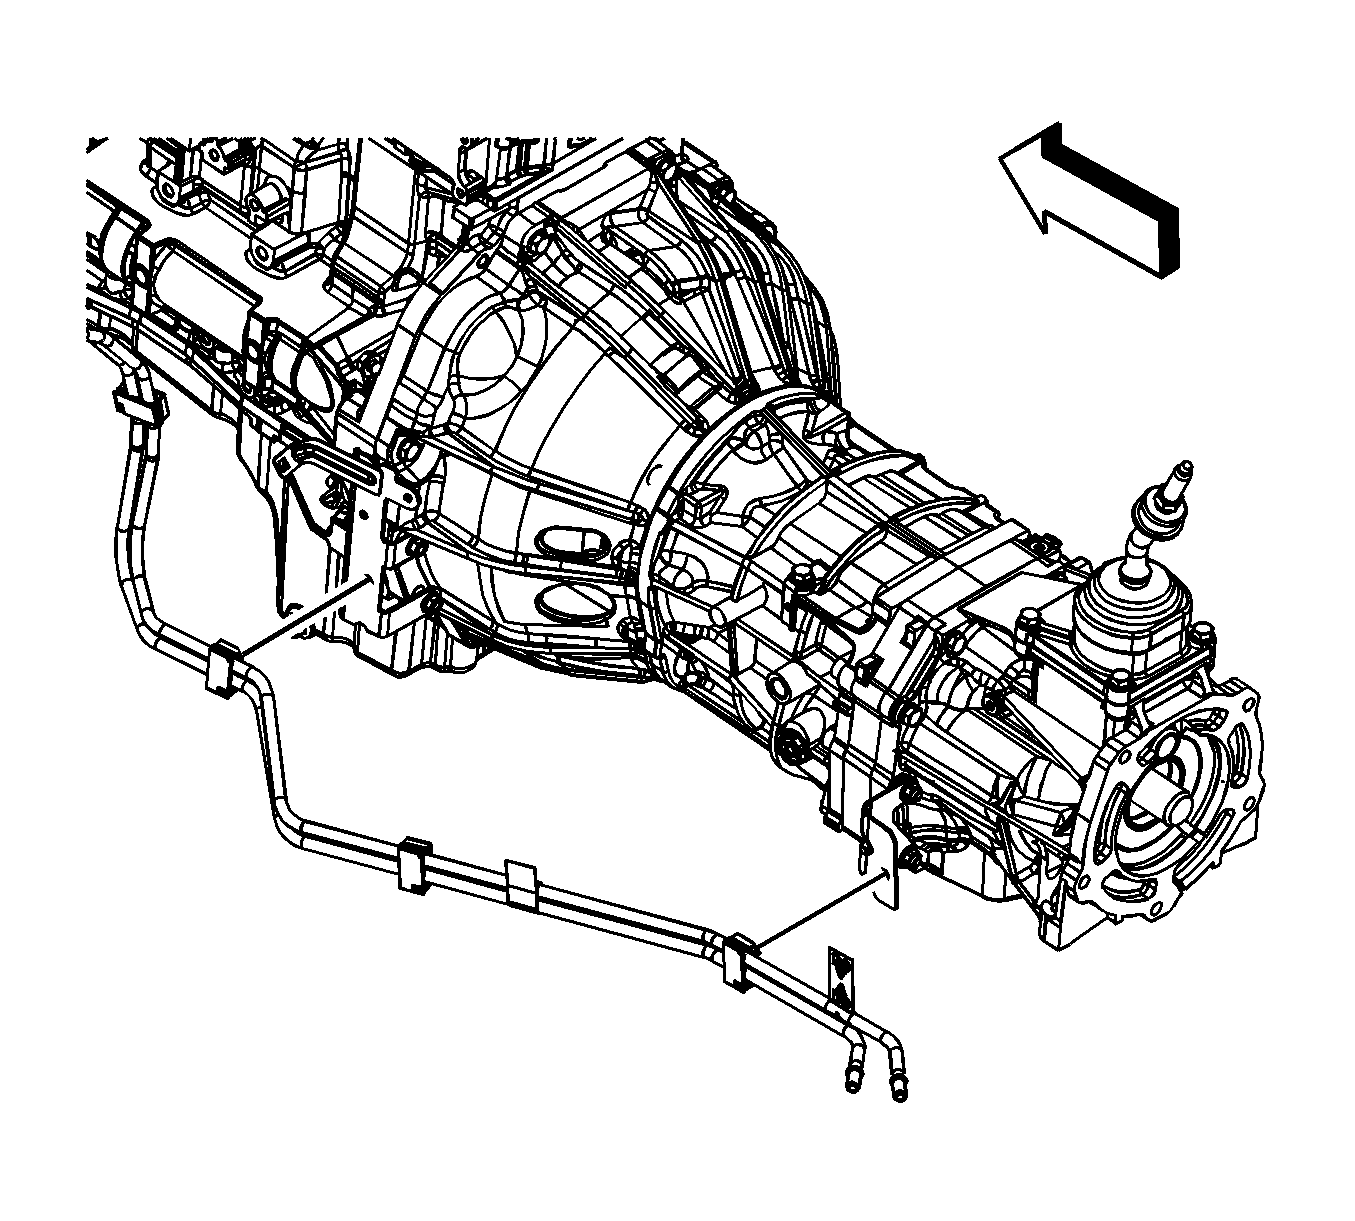
- If equipped with a manual transmission, open the retaining clips attaching the lines to the transmission.
- Remove the fuel feed line from the clips.


Installation Procedure
- Install the fuel feed line to the clips.
- If equipped with a manual transmission, close the retaining clips attaching the lines to the transmission.
- Install the fuel feed line to the clips.
- If equipped with an automatic transmission, close the retaining clips attaching the lines to the transmission.
- Disconnect the fuel feed line from the fuel tank. Refer to Plastic Collar Quick Connect Fitting Service.
- Lower the vehicle.
- Install fuel feed line to the clips.
- Close the retaining clips (3, 4).
- Connect the fuel feed line quick connect (2). Refer to Metal Collar Quick Connect Fitting Service.
- Engage the quick connect fitting lock clip (1).


