Front Differential Case Assemble W E-Locker
Special Tools
| • | J 7872 Magnetic Base Dial Indicator |
| • | J 8001 Dial Indicator Set |
| • | J 8092 Universal Drive Handle |
| • | J 25299 Side Bearing Installer |
Assembly Procedure
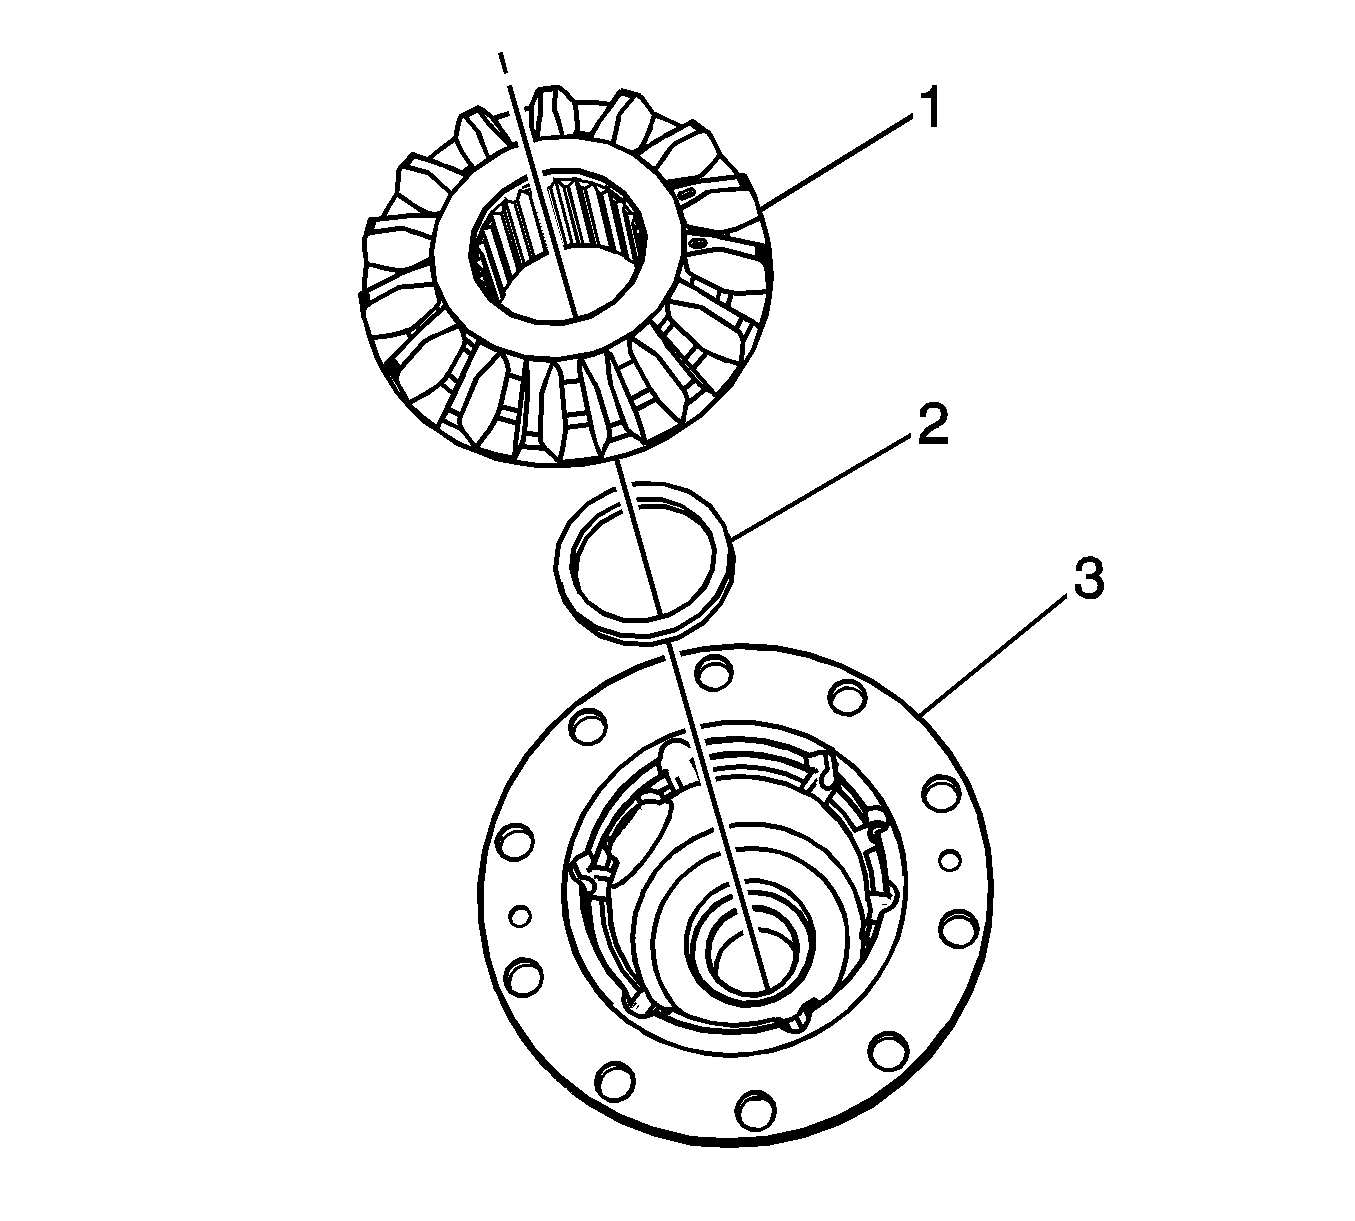
- Install the shim (2) side gear (1) differential case (3).
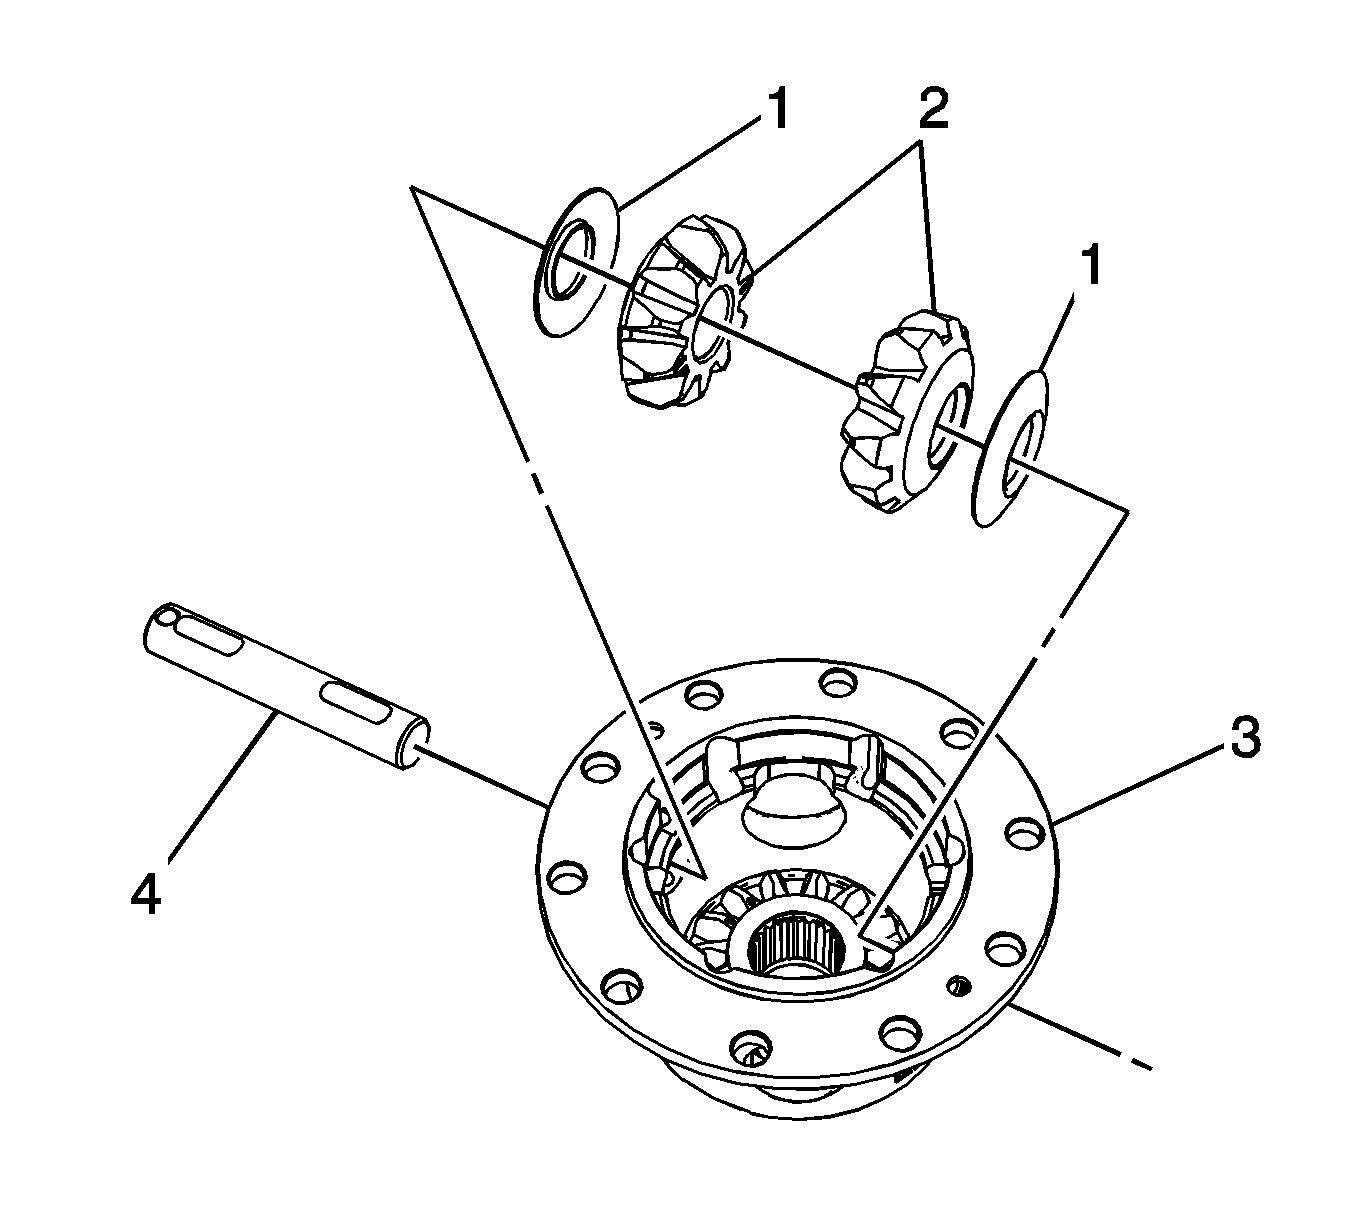
- Install the thrust washers (1), side gears (2), and the pinion shaft (4) in the differential case (3).
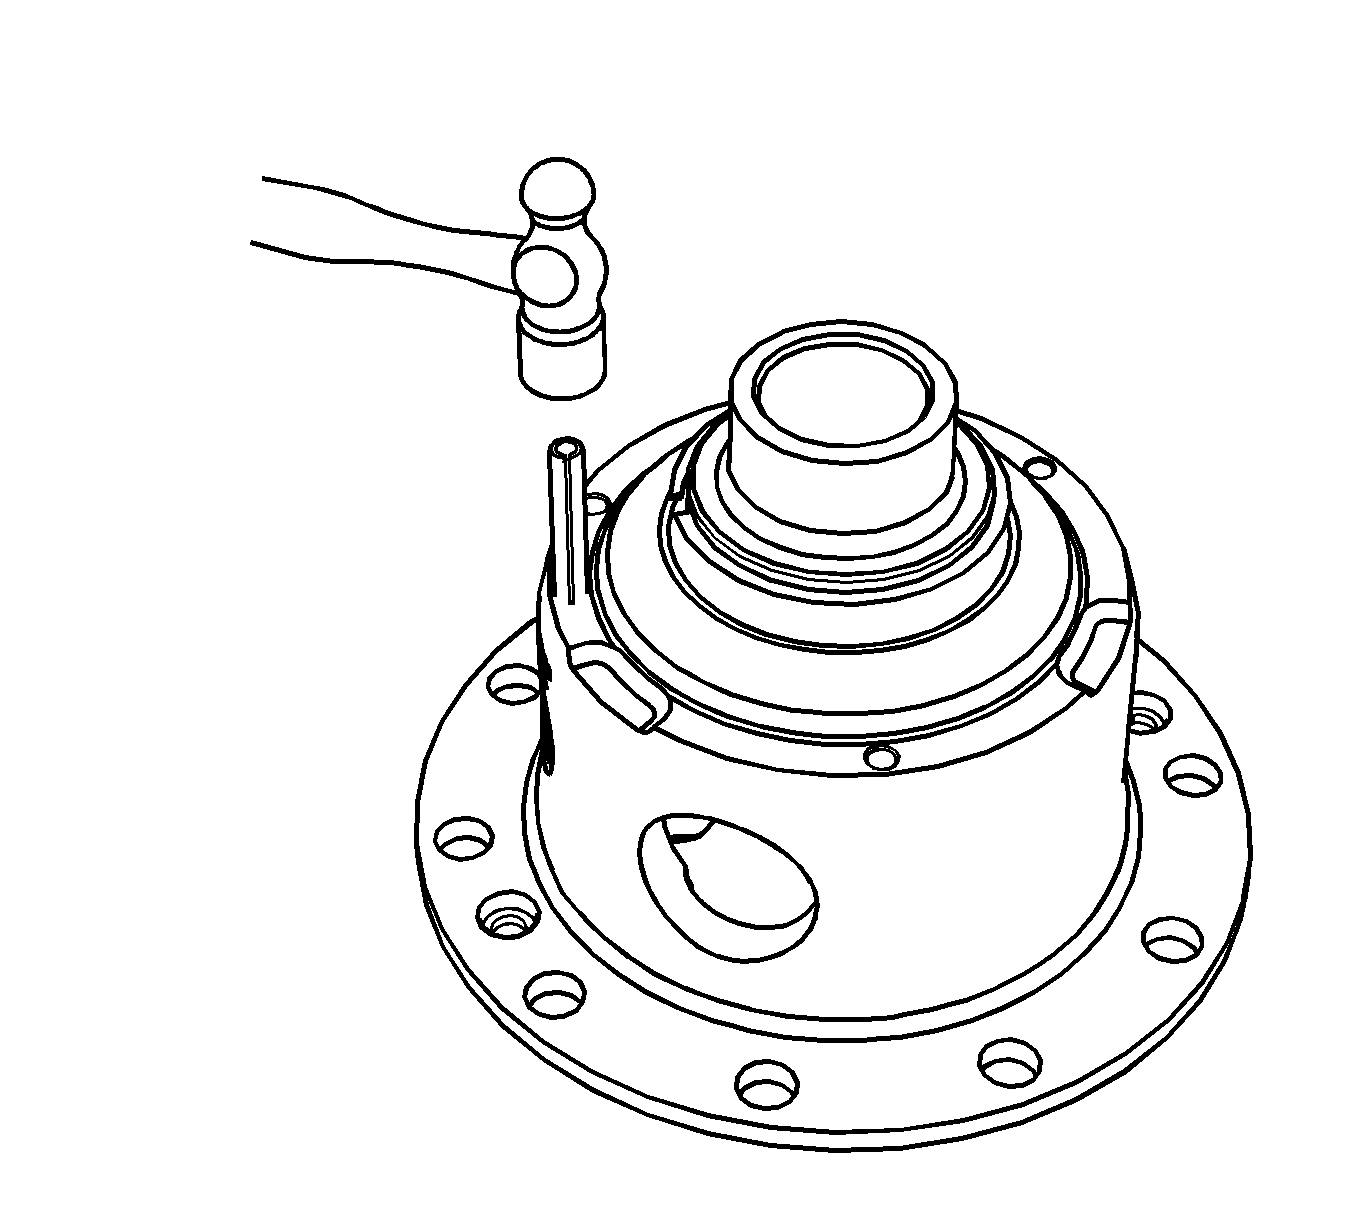
- Using a hammer, install the roll pin (1) for the pinion shaft.
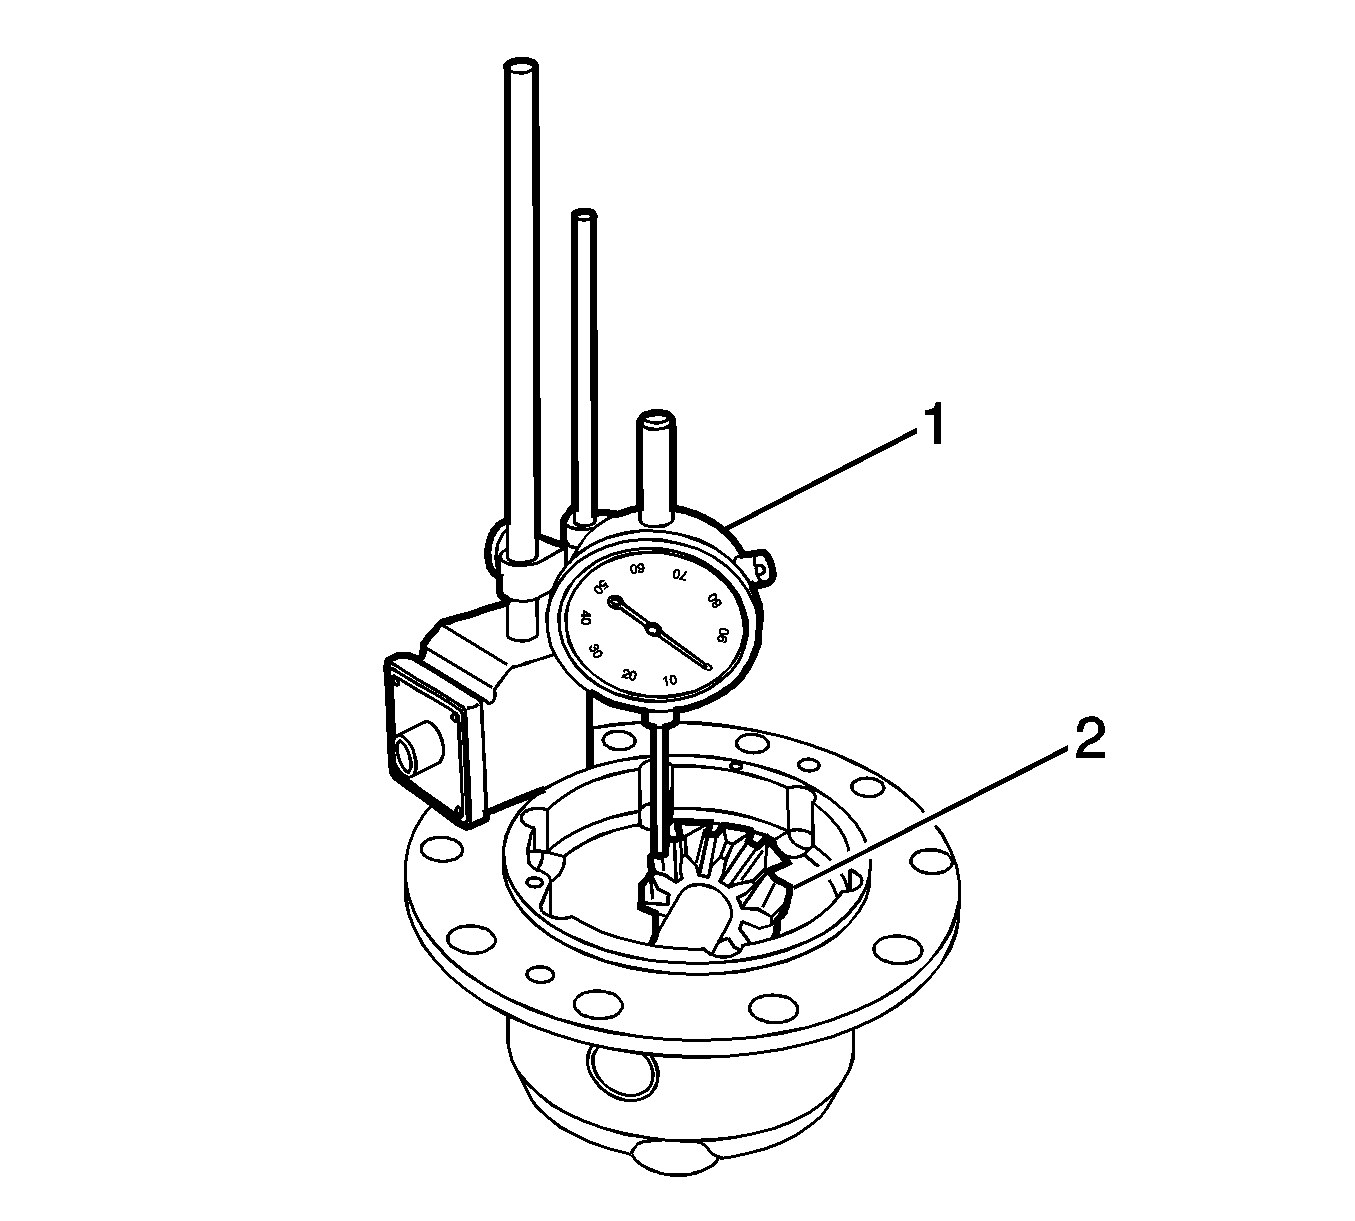
- Install the J 8001 Dial Indicator Set on the differential case.
- Position the dial indicator so that it is on the tooth of the spider gear.
- Rotate the side gear back and forth and record the reading 0.004 in to 0.006 in. .
- If the reading is with specification, proceed to the next step. If not, replace the shims and recheck the reading.
- Install the electronic locking differential plate (3), locking side gear (2), and the shim (1) in the differential carrier case (4).
- Install the front differential preload spring (1) in the differential carrier case (2).
- Using a dead blow hammer, lightly tap the differential case halves (1) and (2) until they are seated.
- Install the screws (1) for the differential case (2) and tighten to 9 N·m (80 lb in). .
- Install the differential case (4) in a soft jawed vise.
- Insert a flat bladed tool such as a chisel or screw driver (1) in the access hole in the differential case to hold the side gear in place.
- Install the J 7872 Magnetic Base Dial Indicator (2) on the differential case (4).
- Position the dial indicator (3) on the side gear.
- Applying slight pressure to the bladed tool such as a chisel or screw driver (1) with one hand, insert one finger through the hole in the side gear and rotate the side gear back and forth to check the reading 0.004 in to 0.006 in. .
- If the reading is not within specifications, replace the shims until the proper specification is reached.
- Install the locking cam (4), locking differential electronic coil (3), thrust bearing and bearing race (2), and the retaining ring (1) on the differential case (5).
- Install the pins (1) in the differential case (2).
- Install the front differential gear on the differential case.
- Install the differential gear bolts and tighten in stages to 130 N·m (69 lb ft). .
- Place the differential case assembly on a block of wood.
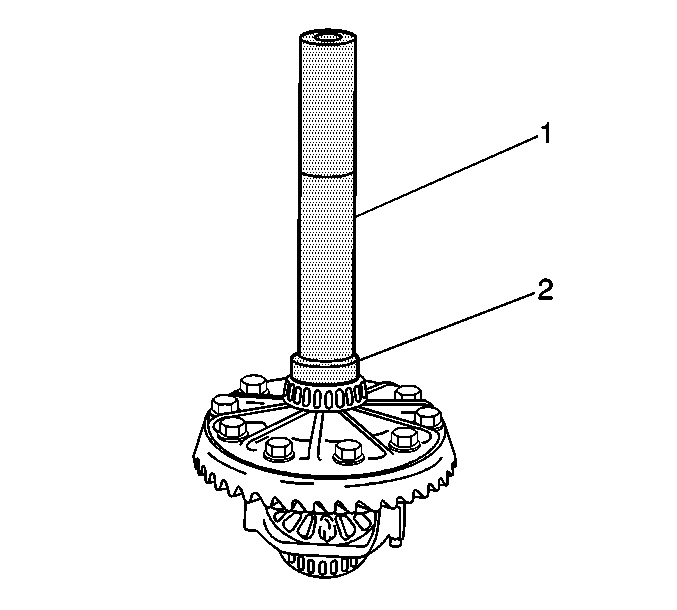
- Using the J 8092 Universal Drive Handle (1) and the J 25299 Side Bearing Installer (2), install the differential bearing. Repeat this procedure for the opposite differential bearing.
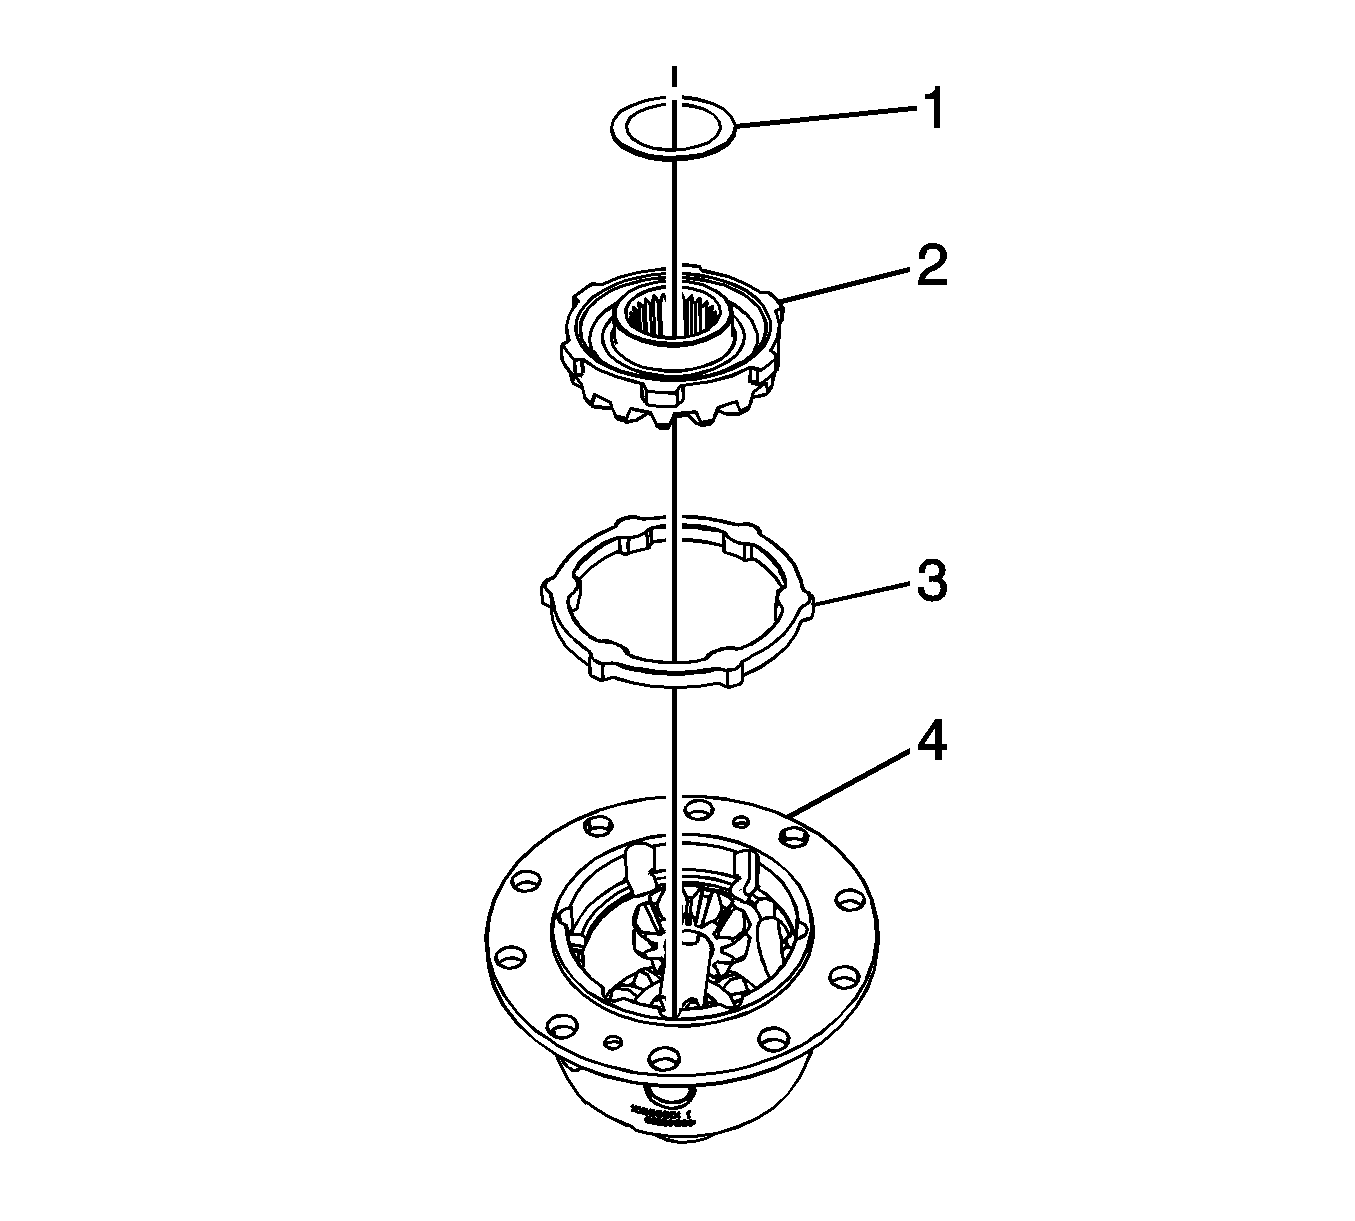
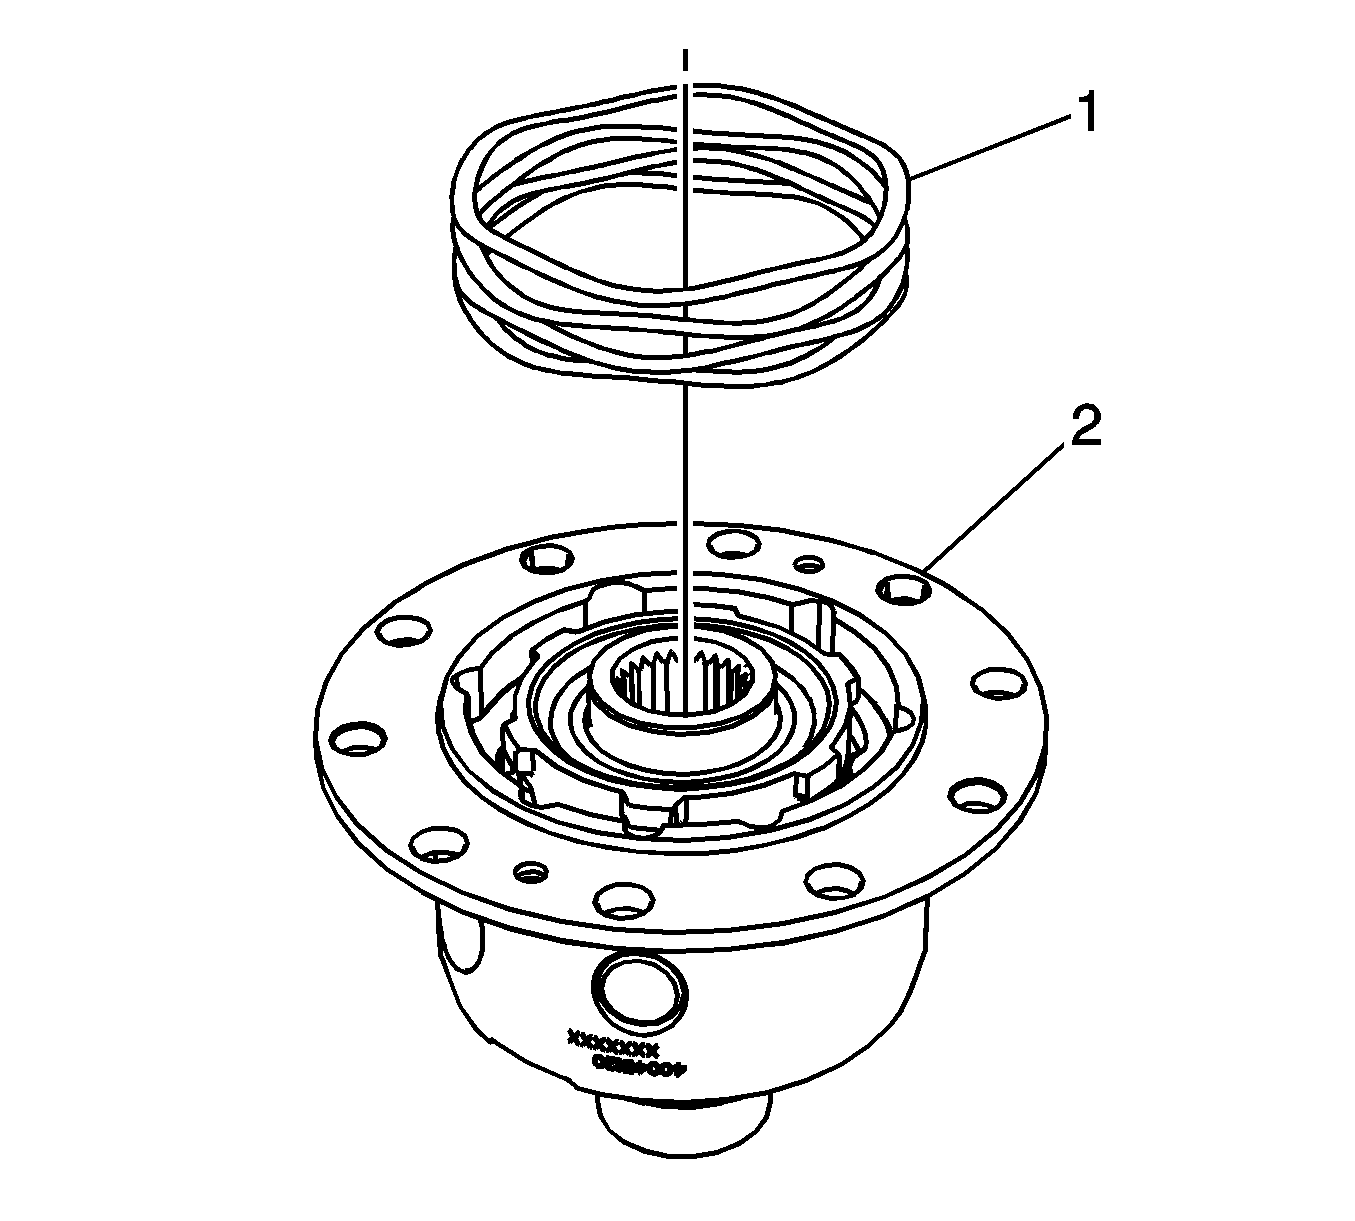
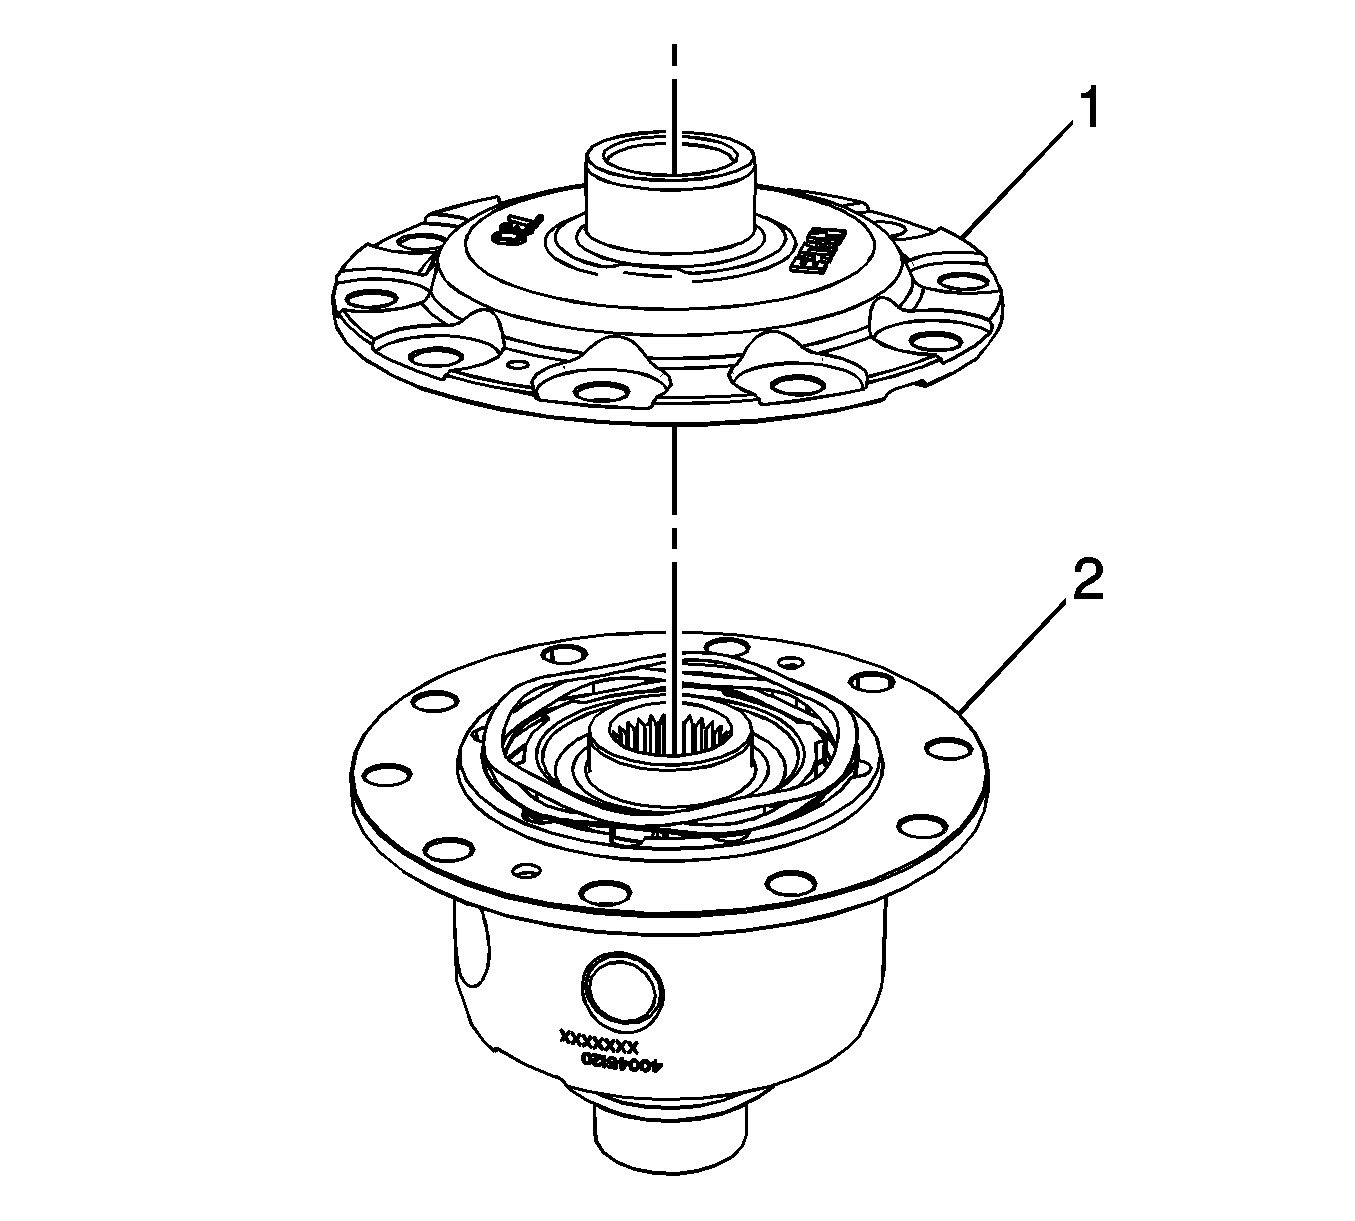
Note: It maybe necessary to use screw driver or punch as an alignment guide when assembling the differential carrier case half's.
Caution: Refer to Fastener Caution in the Preface section.
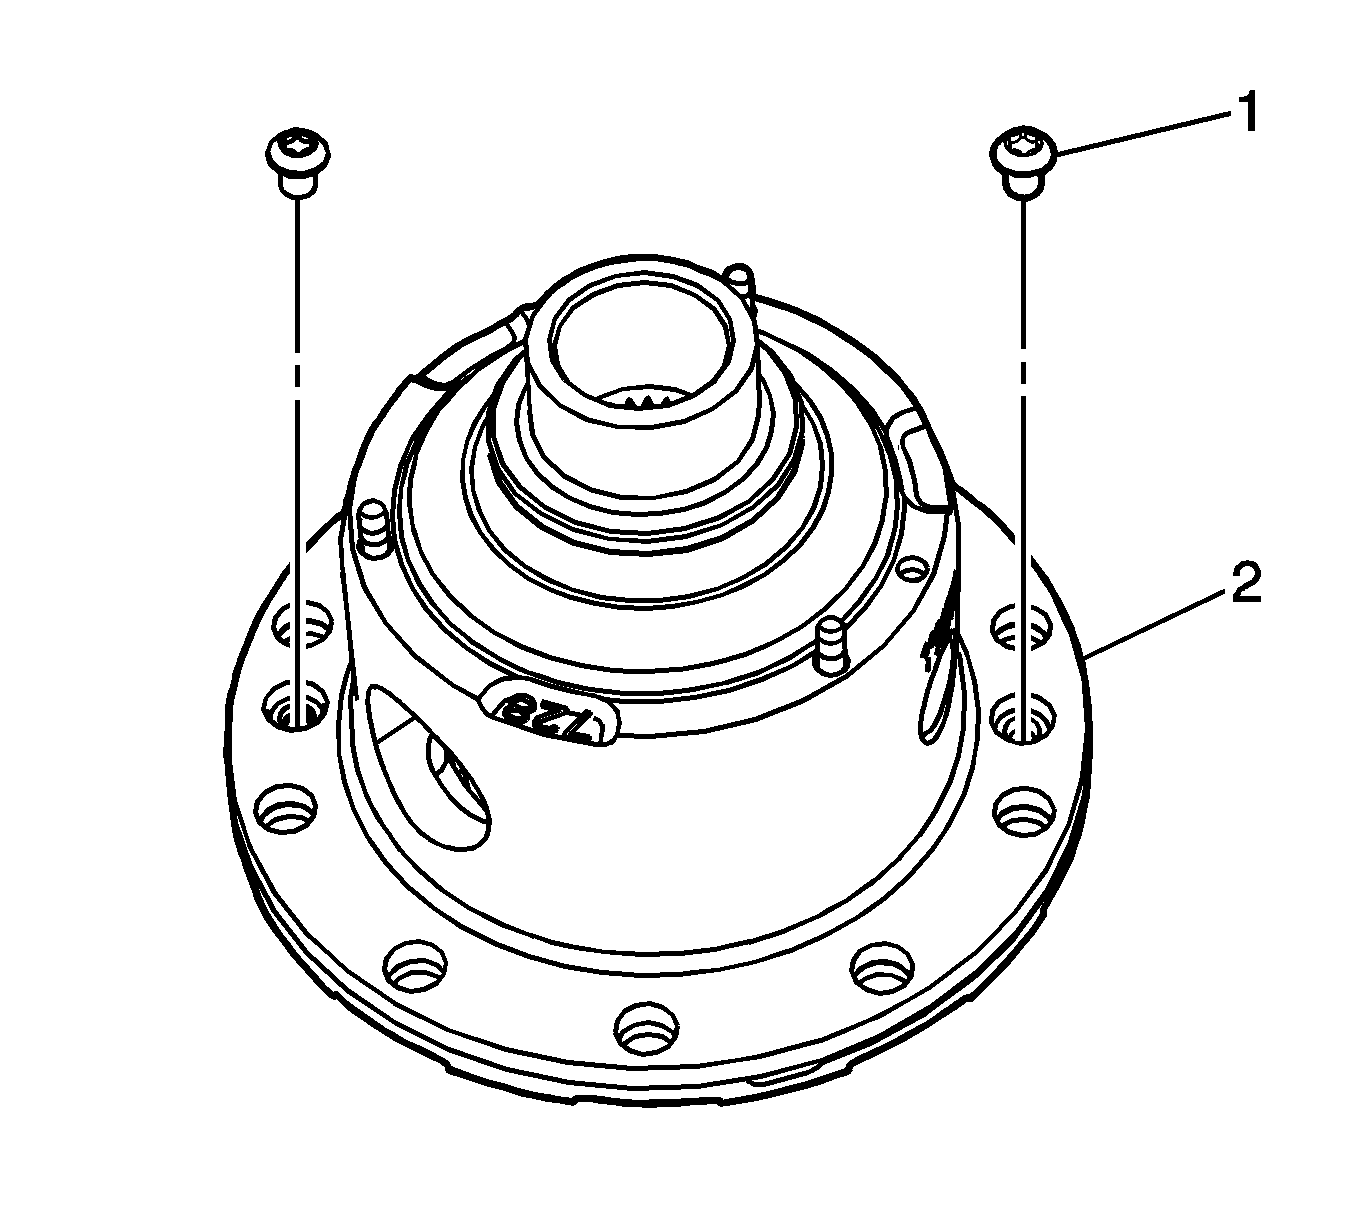
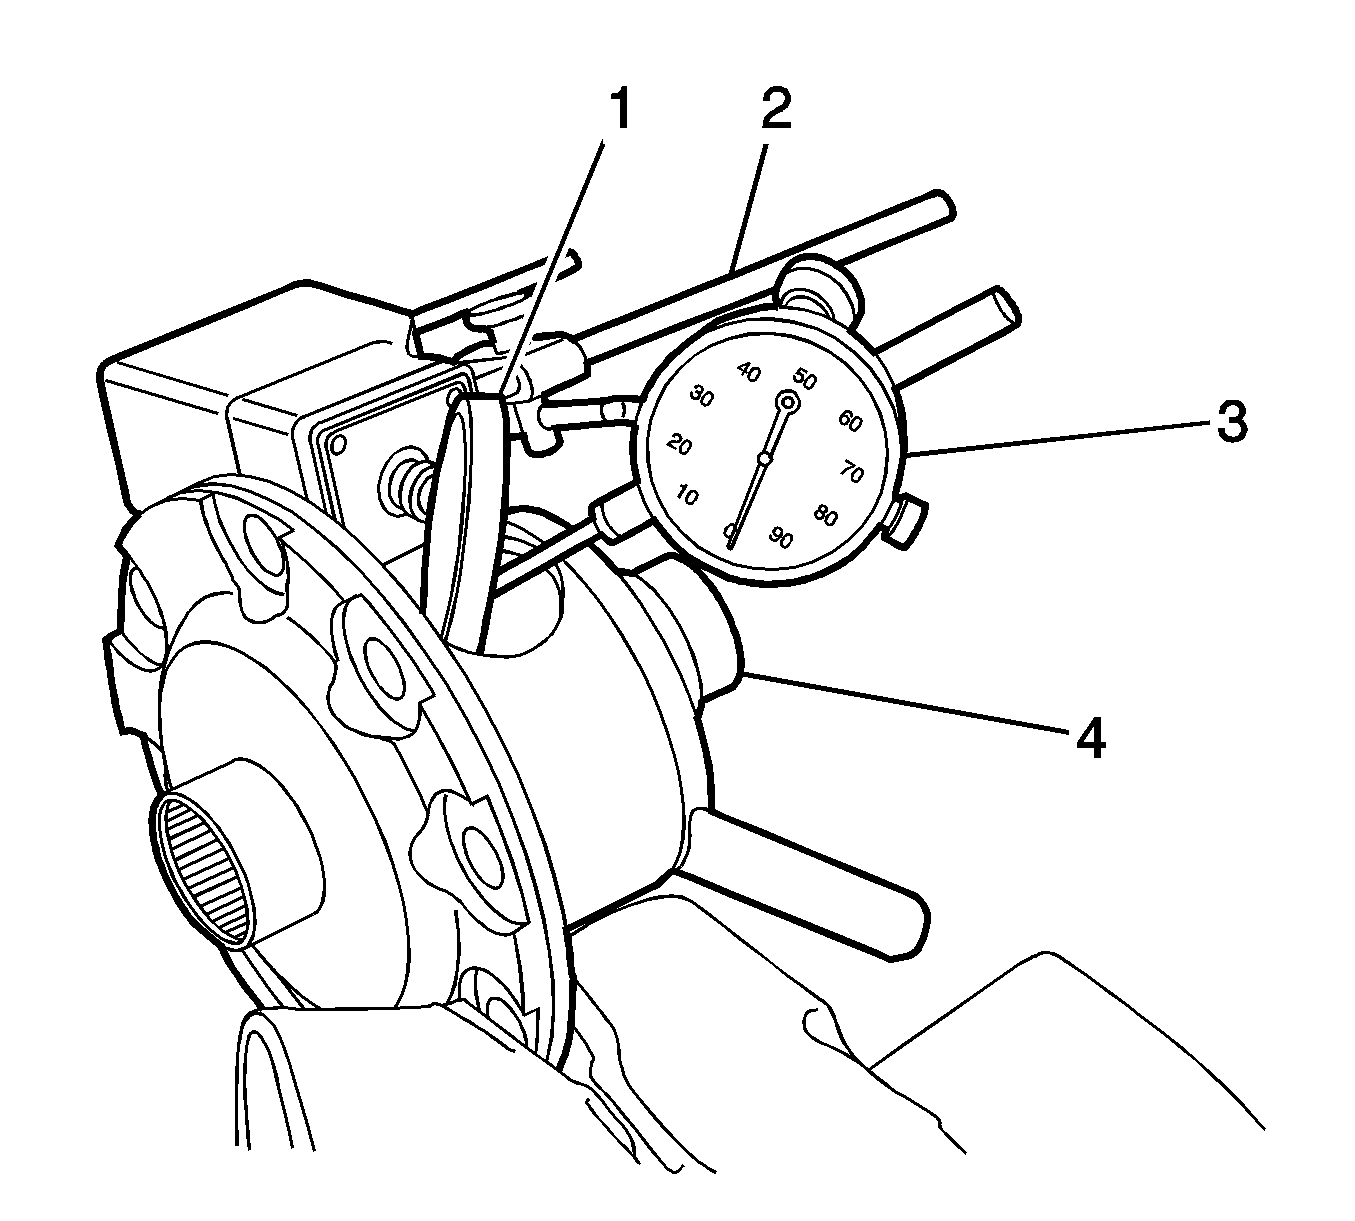
Note: When installing the differential case in the vise, ensure that the opening on the side of the differential case is facing up so that access to the spider gears.
Note: Increase the shim thickness to decrease the backlash. Decrease the shim thickness to increase the backlash.
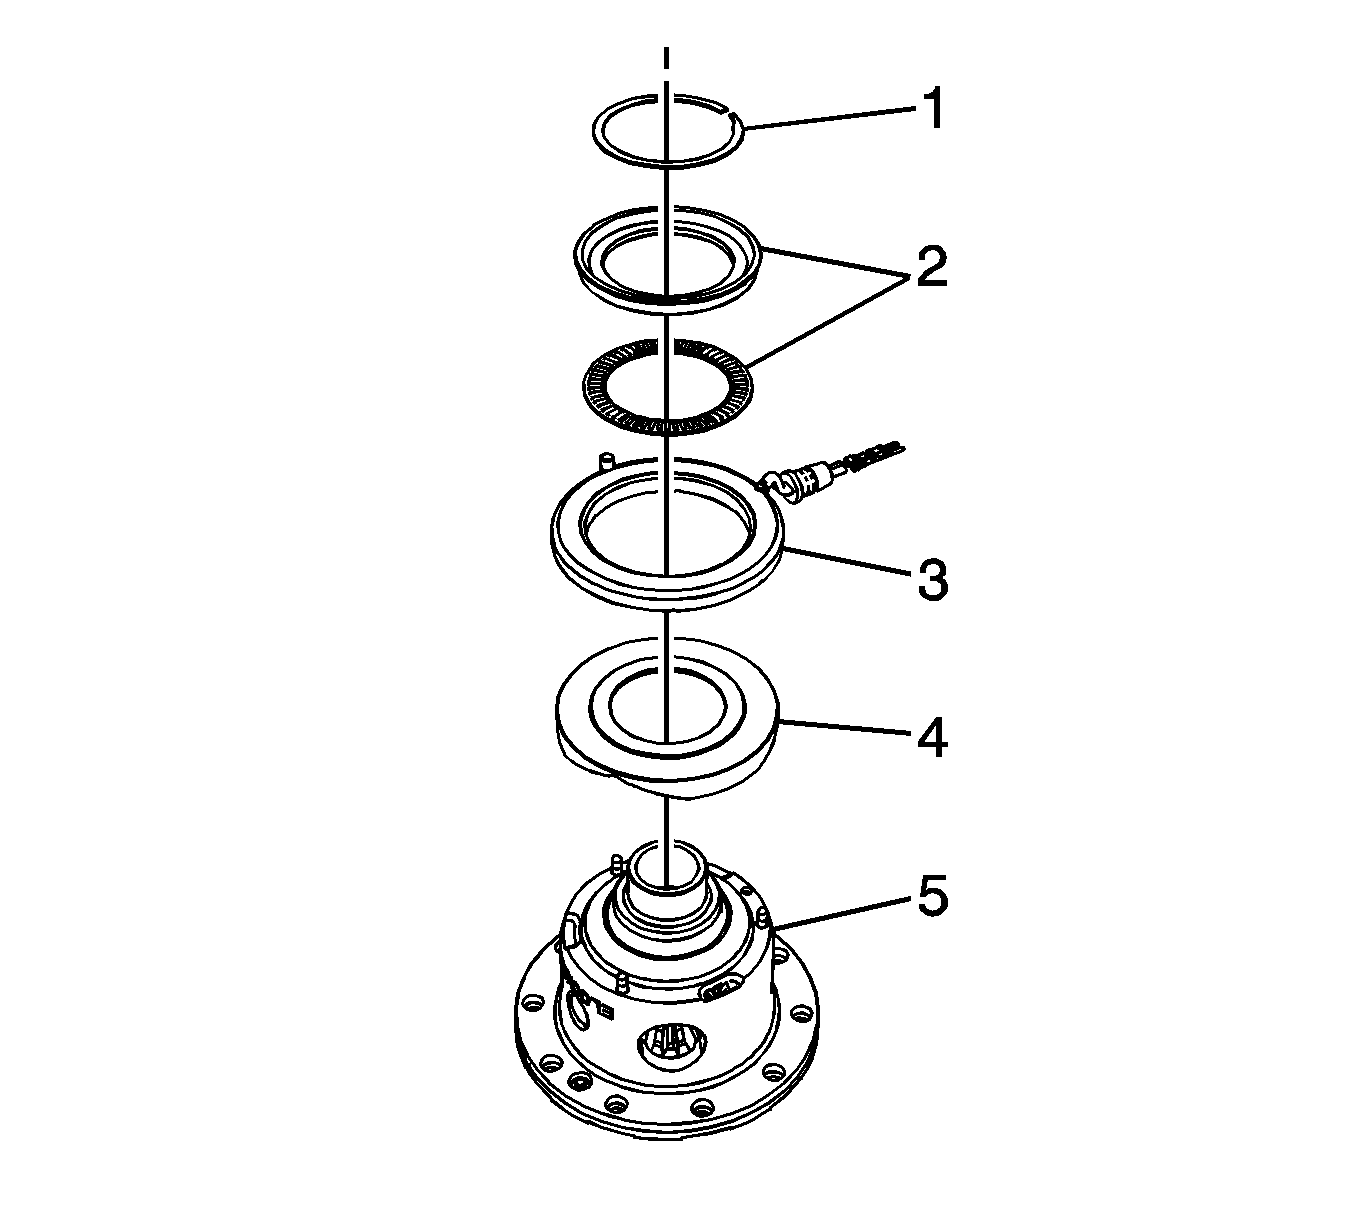
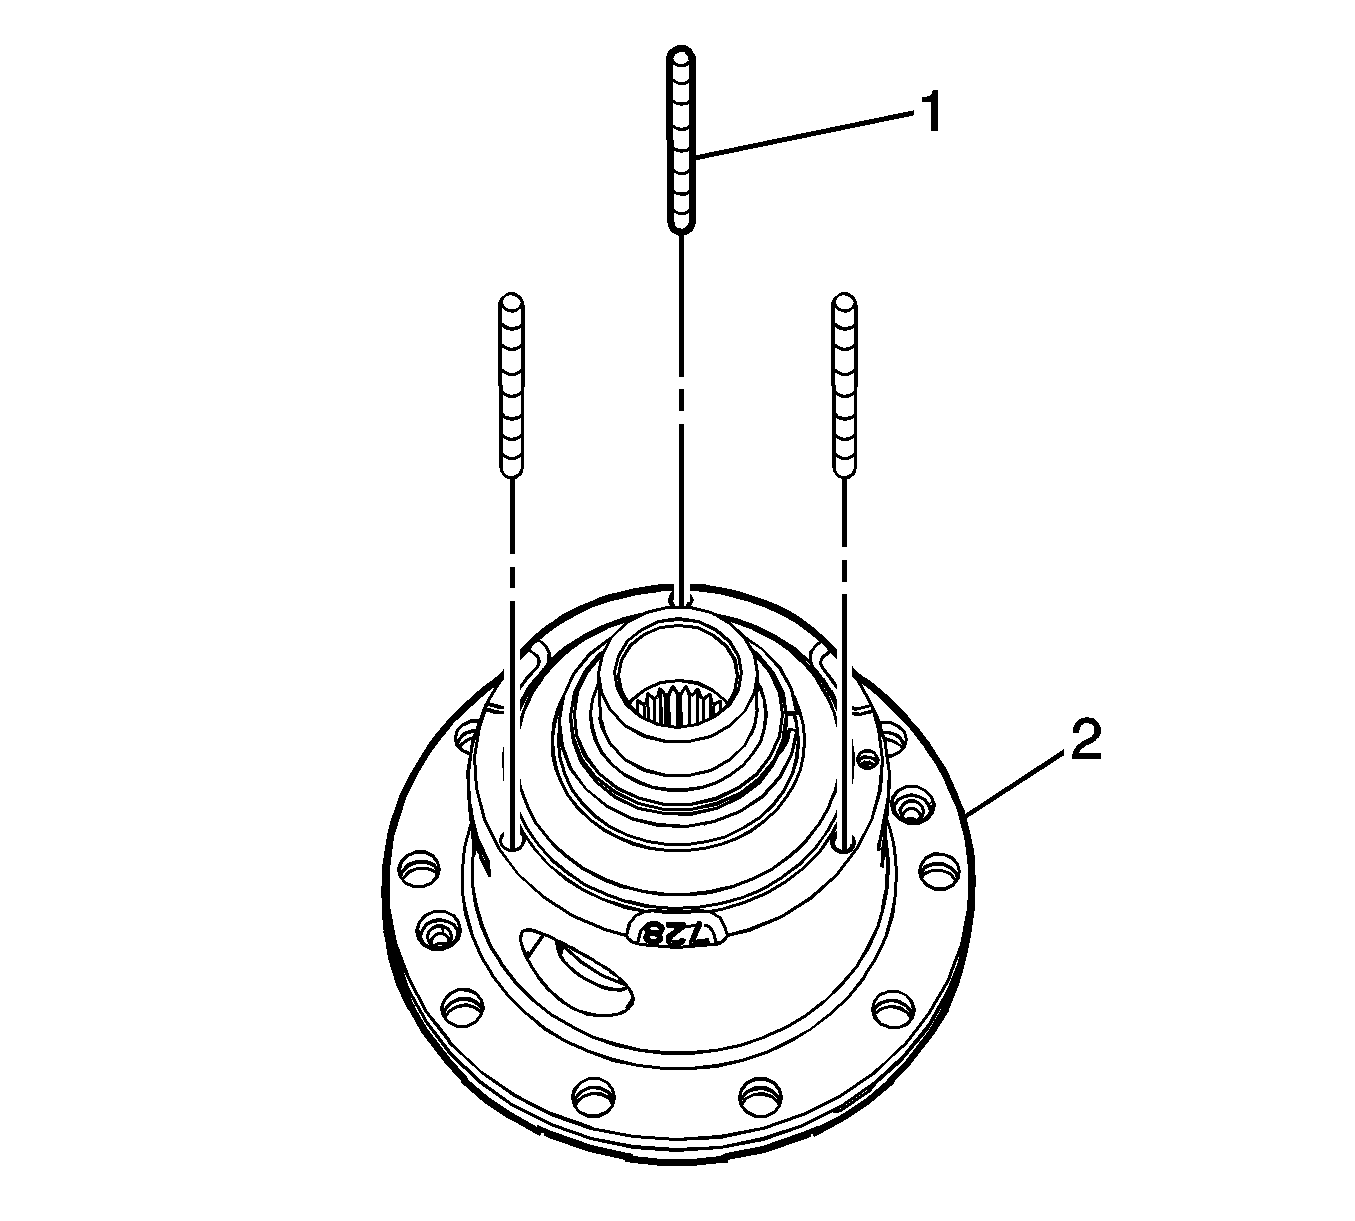
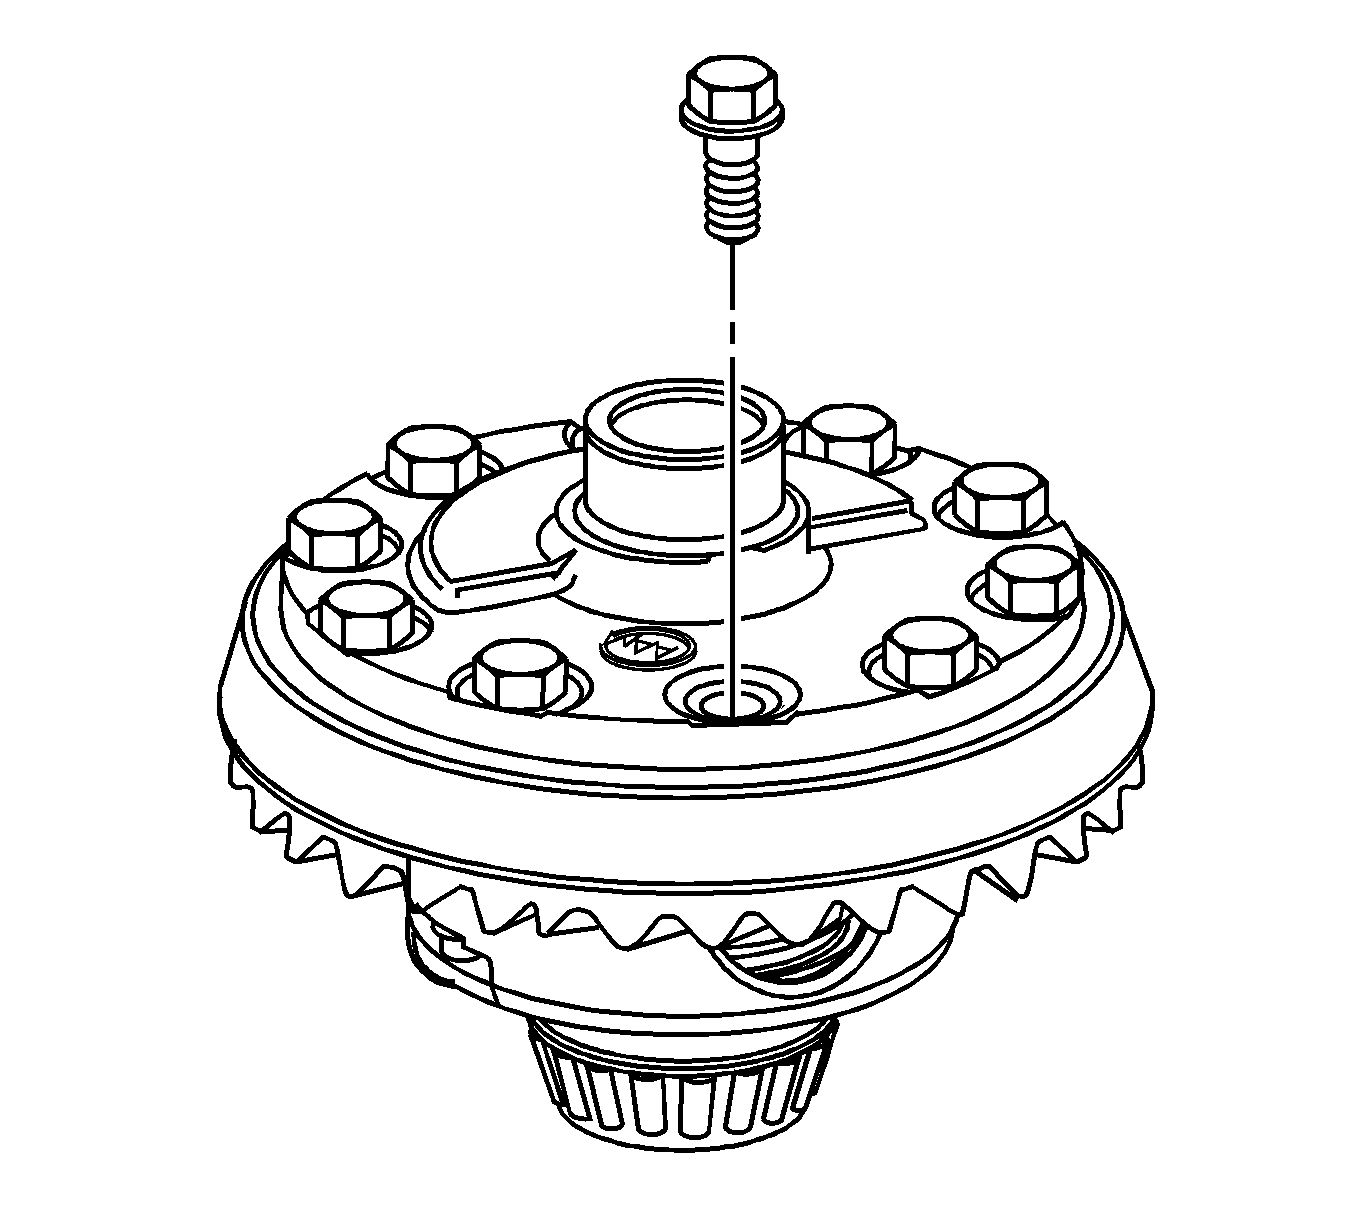
Note: The mating surfaces of the differential gear and the differential case must be clean and free of burrs before the installation of the differential gear.
Caution: Refer to Fastener Caution in the Preface section.
Note: Hand start the differential gear bolts. The threads of the bolts are left hand thread.
Front Differential Case Assemble w/o E-Locker
Special Tools
| • | J 8092 Universal Driver Handle - ¾ in - 10 |
| • | J 25299 Side Bearing Installer |
- Lubricate the pinion and side gears using axle lubricant. Use the proper fluid. Refer to Fluid and Lubricant Recommendations.
- Install the differential side gear thrust washers to the differential side gears.
- Install the differential side gears and thrust washers into the differential case.
- Install the differential pinion gears and thrust washers by performing the following steps:
- Install the pinion gear shaft.
- Install the new pinion gear shaft lock bolt and tighten to 25 N·m (18 lb ft).
- Install the ring gear onto the differential case.
- Install the new ring gear bolts.
- Tighten the ring gear bolts. Tighten the ring gear bolts alternately and in stages, gradually pulling the ring gear onto the differential case.
- Install the differential side bearings by performing the following steps:
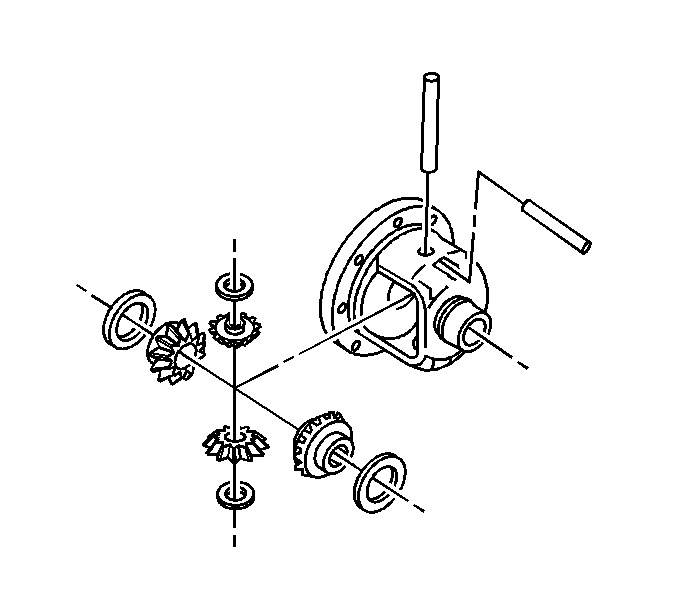
If the same differential side gears and the thrust washers are being used, install the side gears and the thrust washers to their original locations.
| 4.1. | Position one pinion gear between the differential side gears. |
| 4.2. | Position the second pinion gear between the differential side gear directly opposite of the first gear. |
| 4.3. | Rotate the differential side gears until the pinion gears are directly opposite the opening in the differential case. |
| 4.4. | Install the thrust washers. |
Rotate the pinion gears toward the differential case opening in order to permit the sliding in of the thrust washers.
Caution: Refer to Fastener Caution in the Preface section.
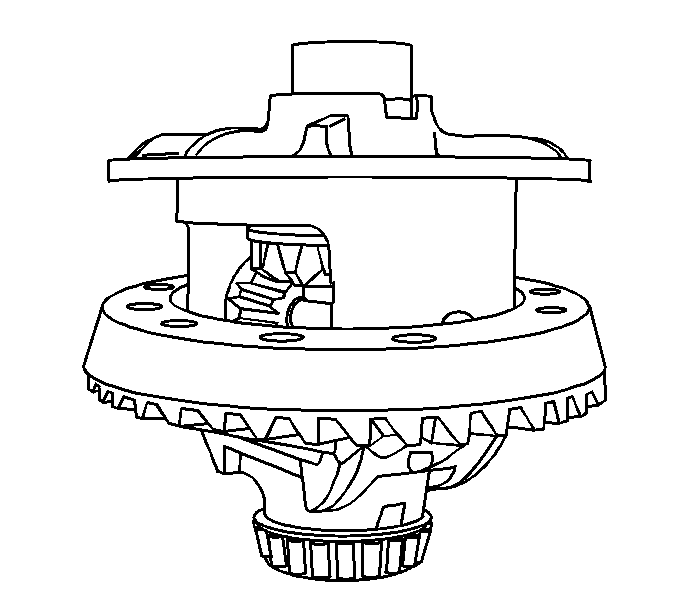
Note: The mating surface of the ring gear and the differential case must be clean and free of burrs before installing the ring gear.
Note: The ring gear bolts have left-hand threads.
Hand start each bolt to ensure that the ring gear is properly installed to the differential case.
Tighten the ring gear bolts in sequence to 130 N·m (96 lb ft).

| 10.1. | In order to protect the differential case, install the J 8107-2 in the case on the side opposite the bearing installation. |
