Special Tools
| • | J 33782 Pinion Oil Seal Installer |
| • | J 38694 Extension Housing Oil Pump/Seal Installer |
Removal Procedure
Note: Observe and mark the positions of all the driveline components, relative to the propeller shaft and the axles, prior to disassembly. These components include the propeller shafts, drive axles, pinion flanges, output shafts, etc.
Reassemble all the components in the exact places in which you removed the parts. Follow any specifications, torque values, and any measurements made prior to disassembly.
- Raise the vehicle. Refer to
Lifting and Jacking the Vehicle.
- Remove the propeller shaft. Refer to
Rear Propeller Shaft Replacement.
- Drain the drive axle. Refer to
Rear Axle Lubricant Replacement.
- Remove the rear brake rotors. Refer to
Rear Brake Rotor Replacement.
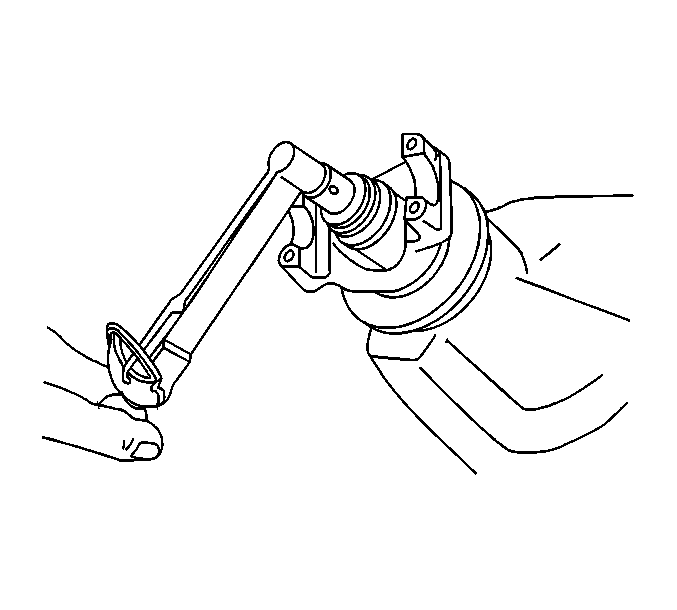
- Using an inch-pound torque wrench, measure the amount of torque required to rotate the pinion. Record this measurement for reassembly. This will give the combined preload for the following components:
| • | The differential case bearings |
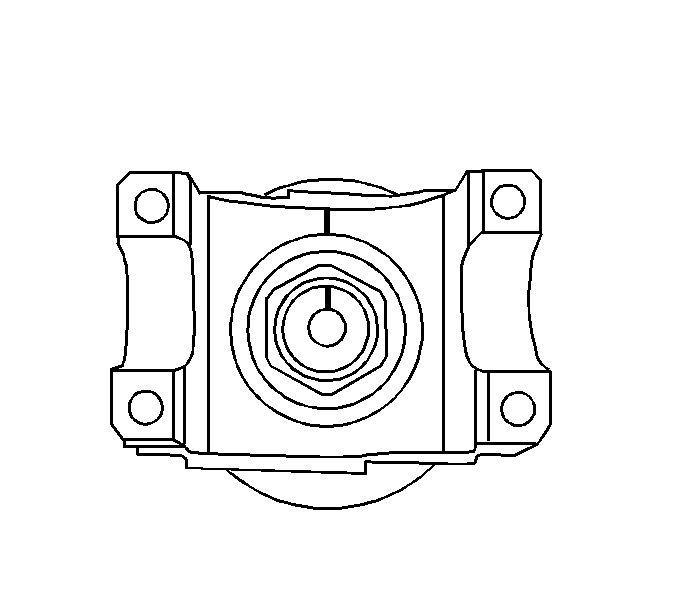
- Place an alignment mark between the pinion and the pinion yoke.
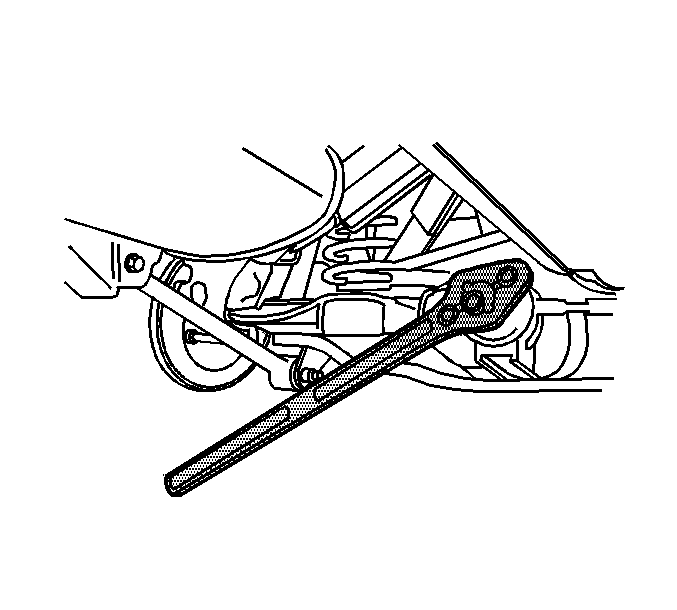
- Install the
J 8614-01 as shown.
- Remove the pinion nut while holding the
J 8614-01 .
- Remove the washer.
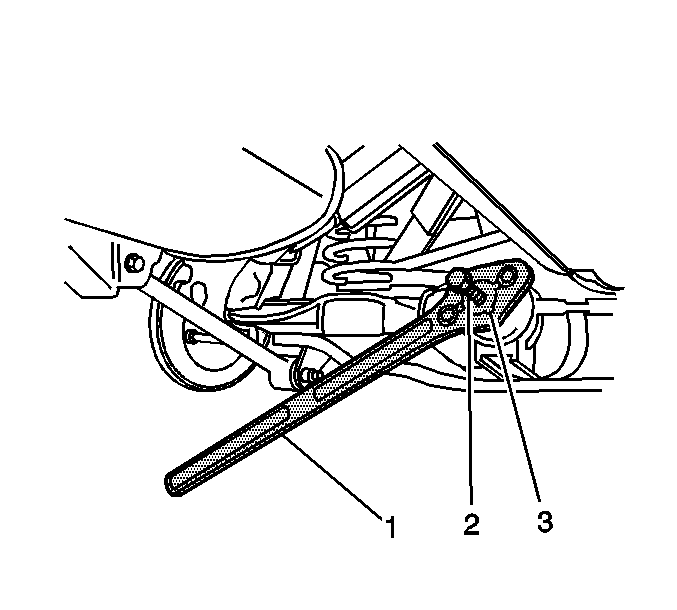
- Install the J 8614-3 (2) and the J 8614-2 (3) into the
J 8614-01 (1) as shown.
- Remove the pinion yoke by turning the J 8614-3 (3) clockwise while holding the
J 8614-01 (1).
- Using a suitable seal removal tool, remove the pinion oil seal. Do not damage the housing.
Installation Procedure
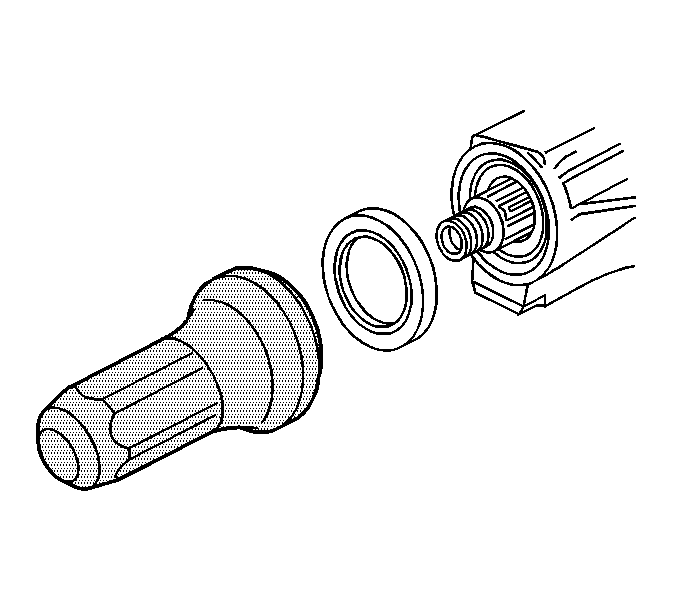
- Using the
J 33782 , install the pinion seal.
- Apply sealant GM P/N 12346004 (Canadian P/N 10953480) or equivalent to the splines of the pinion yoke.

- Align the reference marks.
- Install the pinion yoke.
Caution: Do not hammer the pinion flange/yoke onto the pinion shaft. Pinion components may be damaged if the pinion flange/yoke is hammered onto the pinion shaft.
- Using a soft-faced hammer, tap the pinion yoke until the threads on the pinion shaft can be seen.
- Install the washer and a new pinion nut.

- Install the
J 8614-01 onto the pinion yoke as shown.
Caution: Refer to Fastener Caution in the Preface section.
Note: If the rotating torque is exceeded, the pinion will have to be removed and a new collapsible spacer installed.
- Tighten the pinion nut while holding the
J 8614-01 .
Tighten
Tighten the nut until the pinion end play is just taken up. Rotate the pinion while tightening the nut to seat the bearings.

- Measure the rotating torque of the pinion. Compare this measurement with the rotating torque recorded during removal.
Tighten
Tighten the nut in small increments, as needed, until the rotating torque is 0.40-0.57 N·m (3-5 lb in) greater than the rotating torque recorded during removal.
- Once the specified torque is obtained, rotate the pinion several times to ensure the bearings have seated. Recheck the rotating torque and adjust if necessary.
- Install the propeller shaft. Refer to
Rear Propeller Shaft Replacement.
- Install the brake rotors. Refer to
Rear Brake Rotor Replacement.
- Inspect and add axle lubricant to the axle housing, if necessary. Refer to
Rear Axle Lubricant Replacement.
- Fill the drive axle. Refer to
Rear Axle Lubricant Replacement.
- Lower the vehicle.


