For 1990-2009 cars only
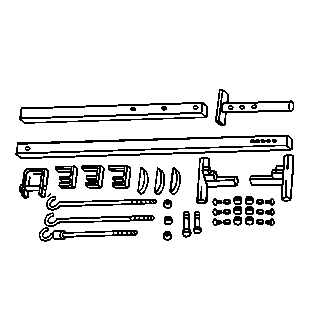
Tools Required
Removal Procedure
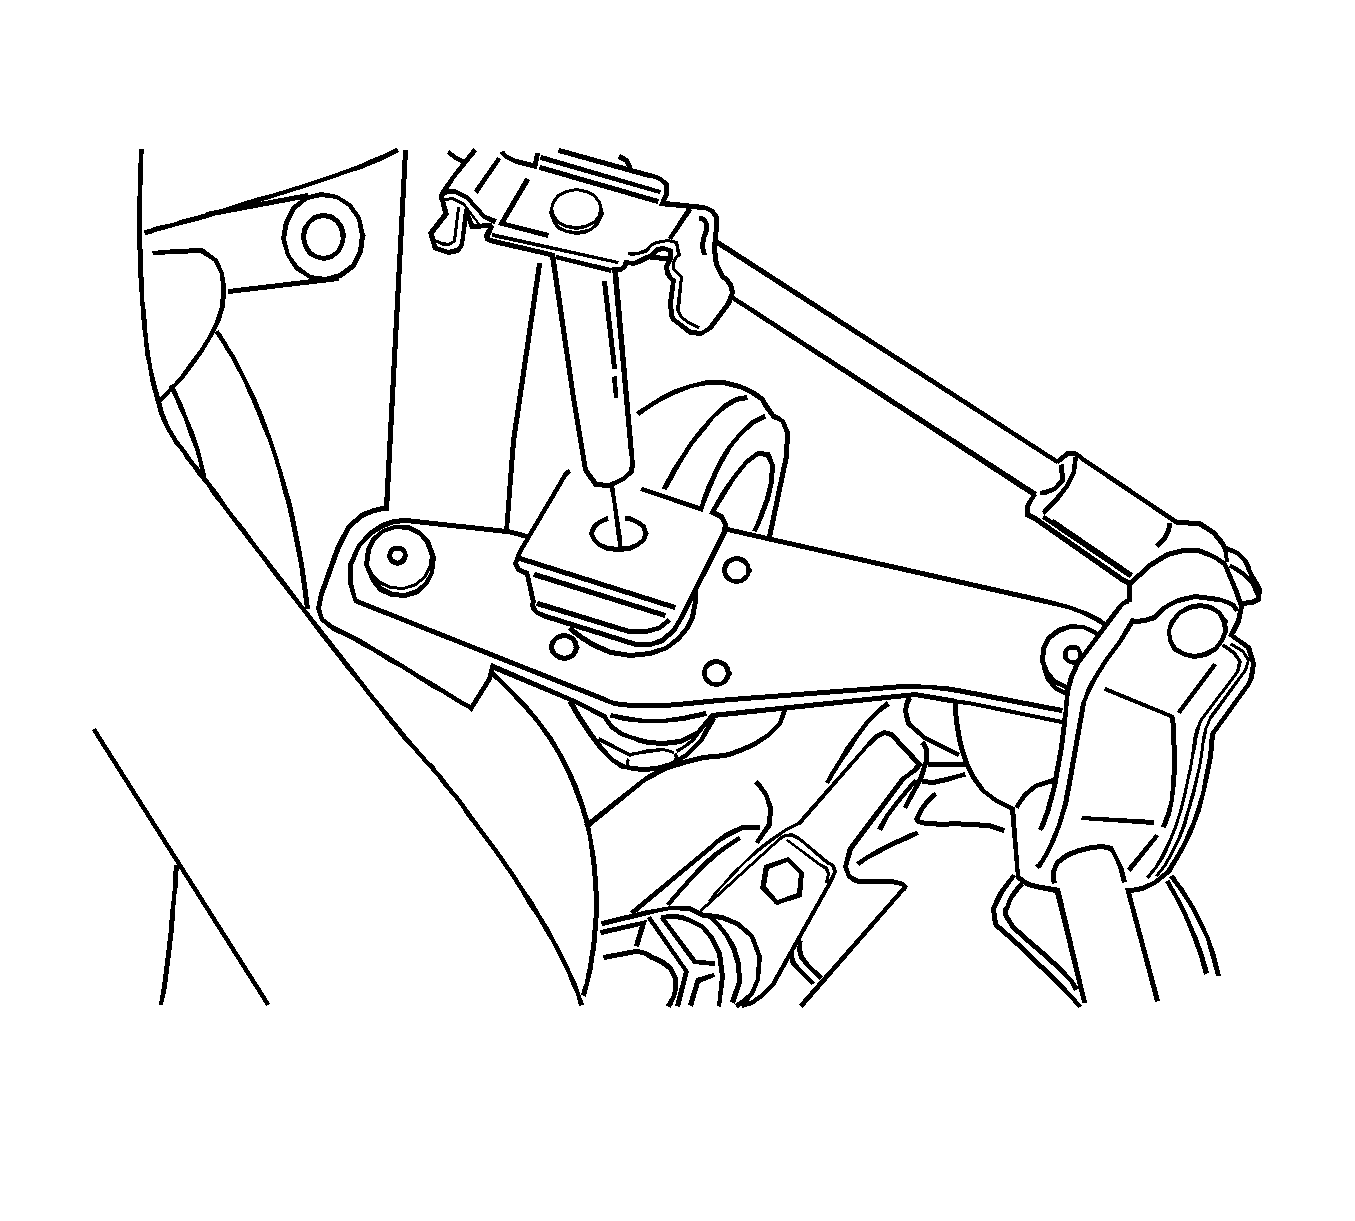
- Install the J 28467-B
- Remove the battery and battery tray.
- Remove the shift linkage assembly. Refer to Shift Control Linkage Replacement
- Remove the drive axle shaft. Refer to Front Drive Axle Inner Shaft Replacement
- Disconnect the backup lamp switch electrical connector.
- Disconnect the speedometer speed sensor electrical connector.
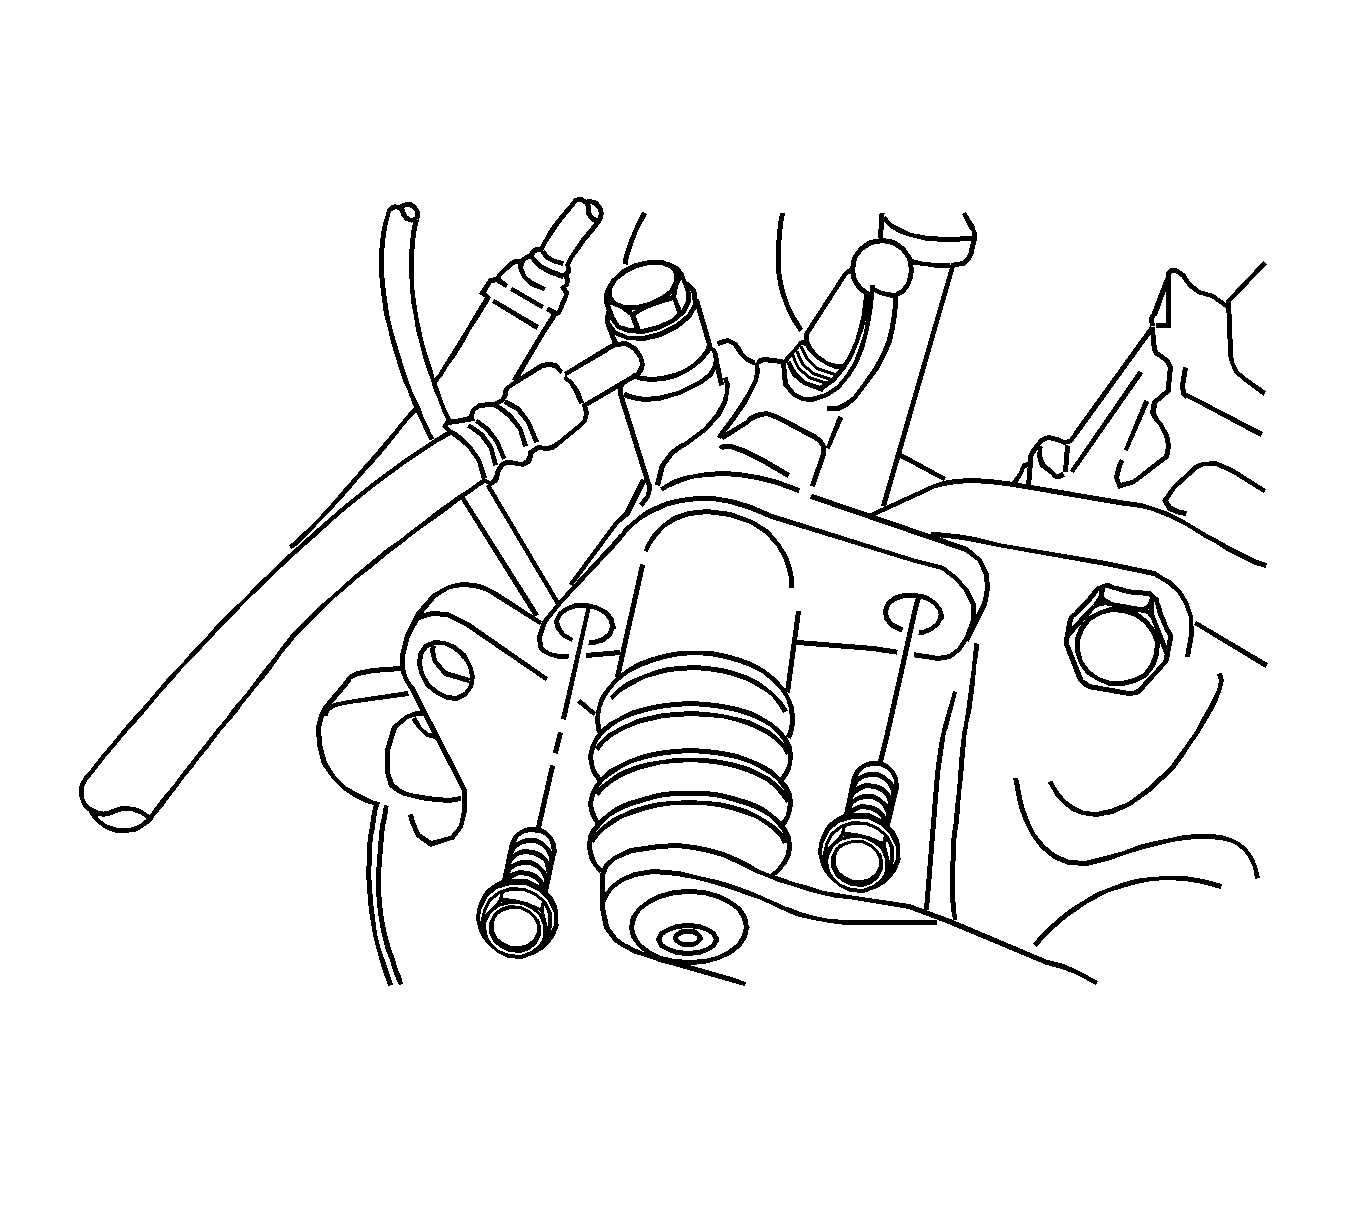
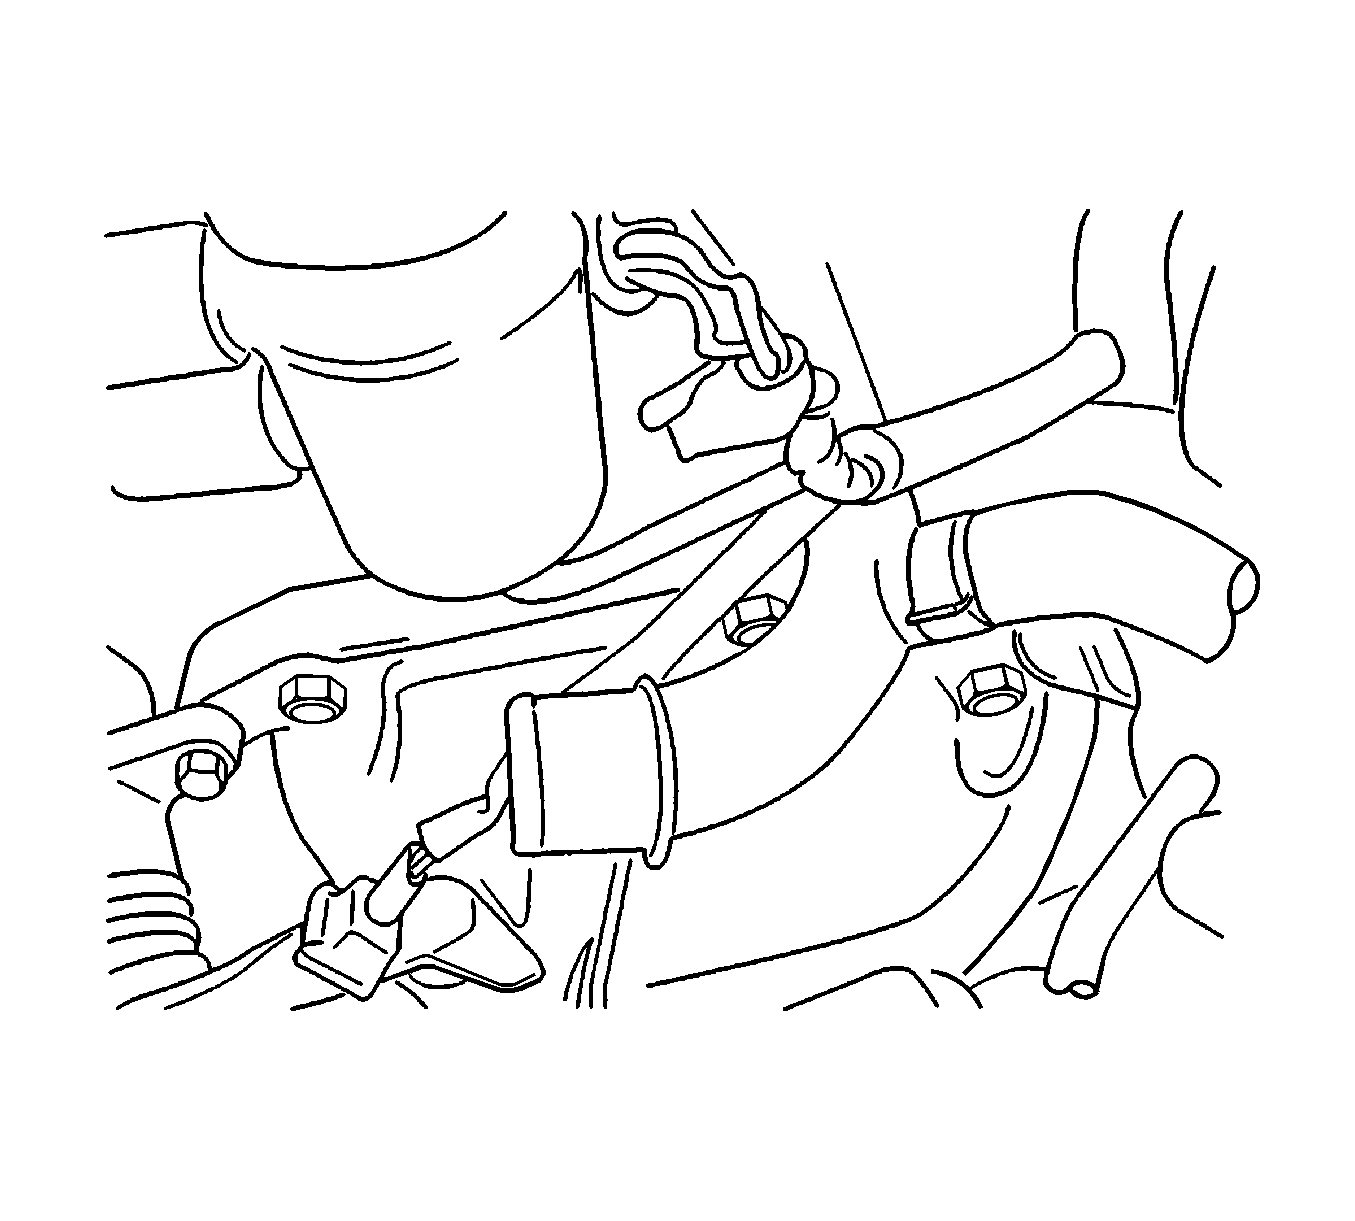
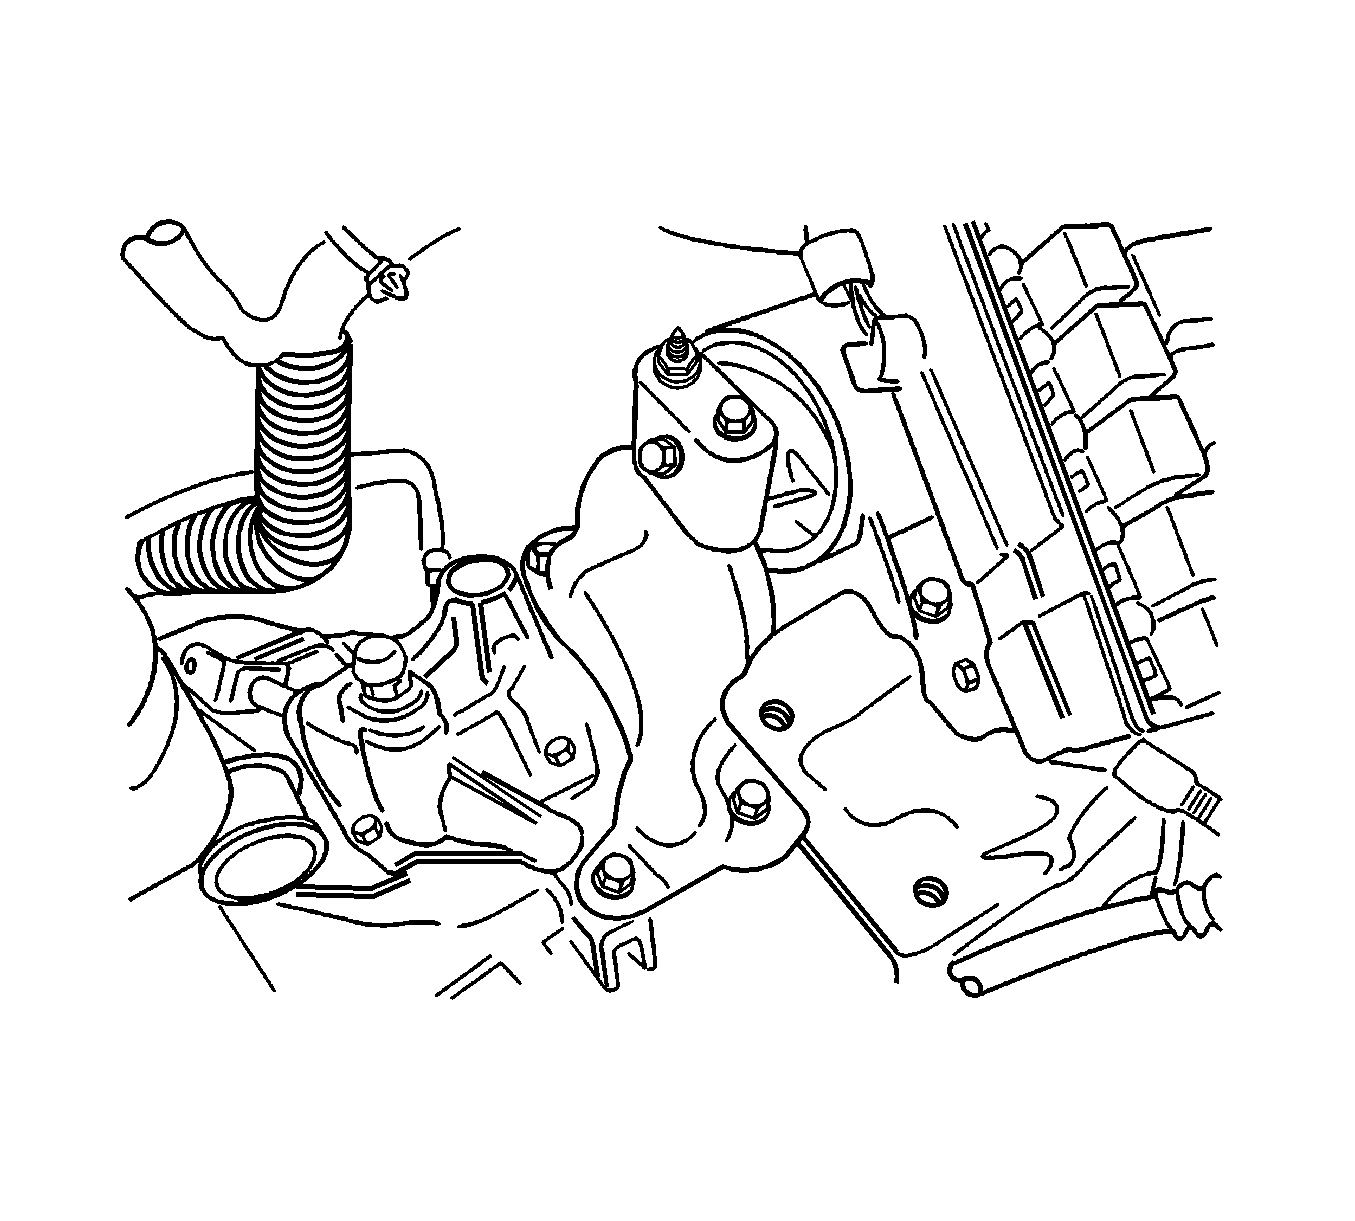
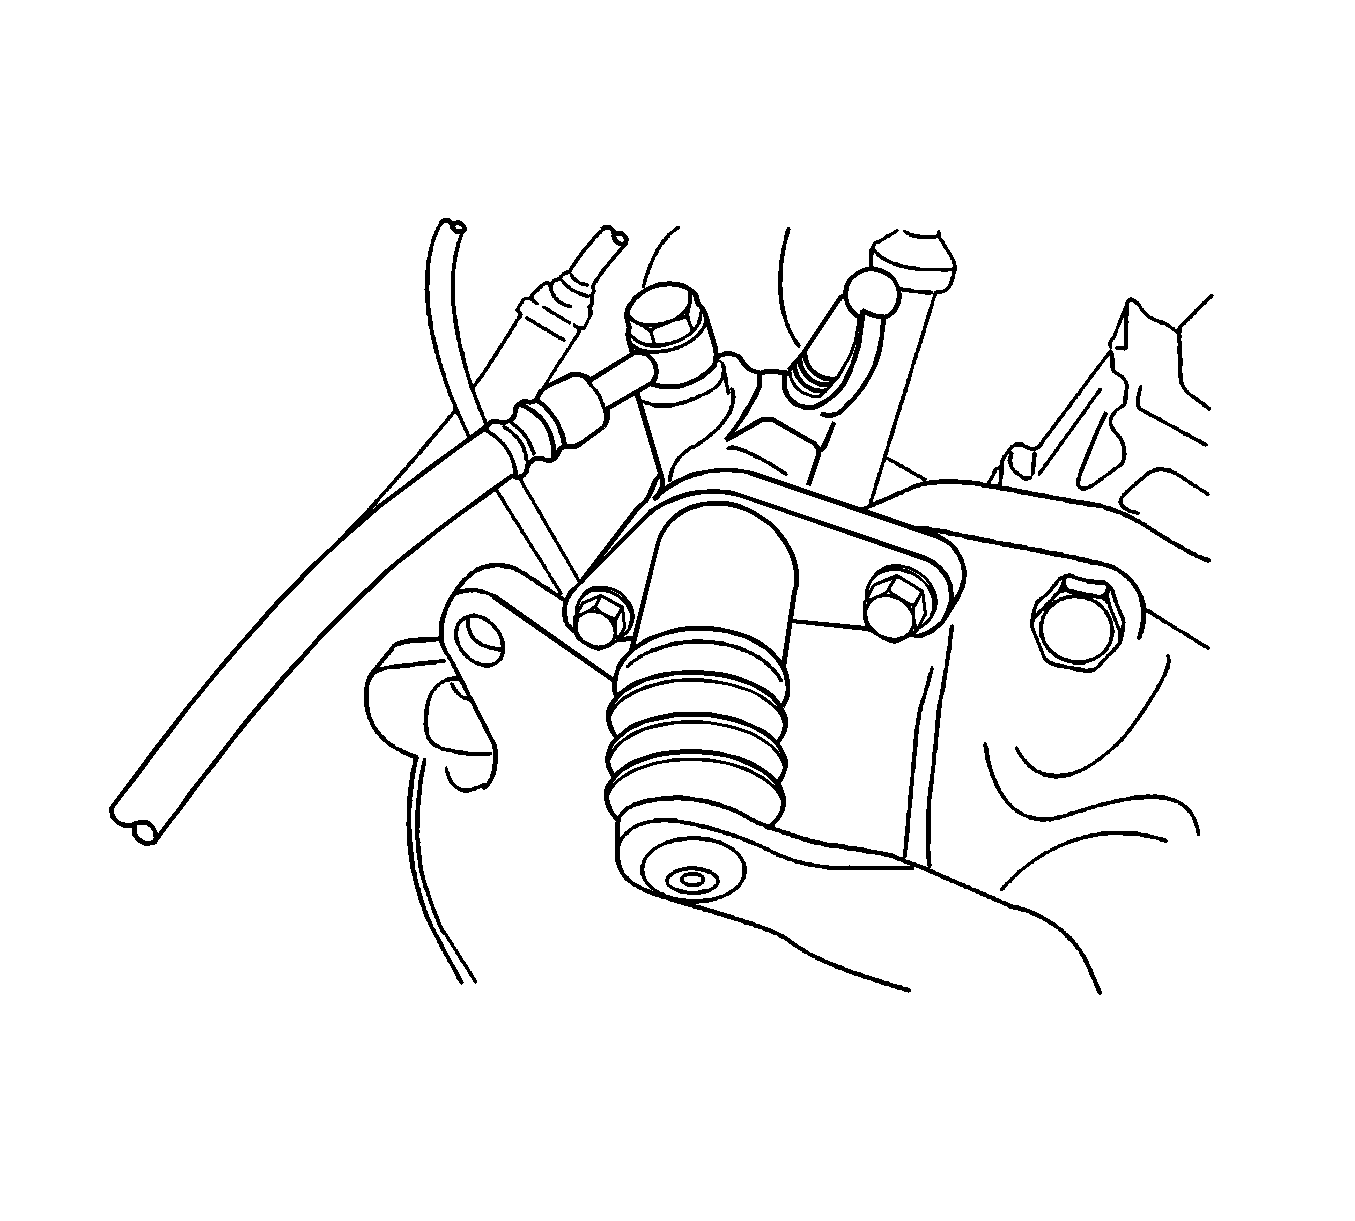
- Remove the clutch release cylinder retaining bolts and the clutch release cylinder.
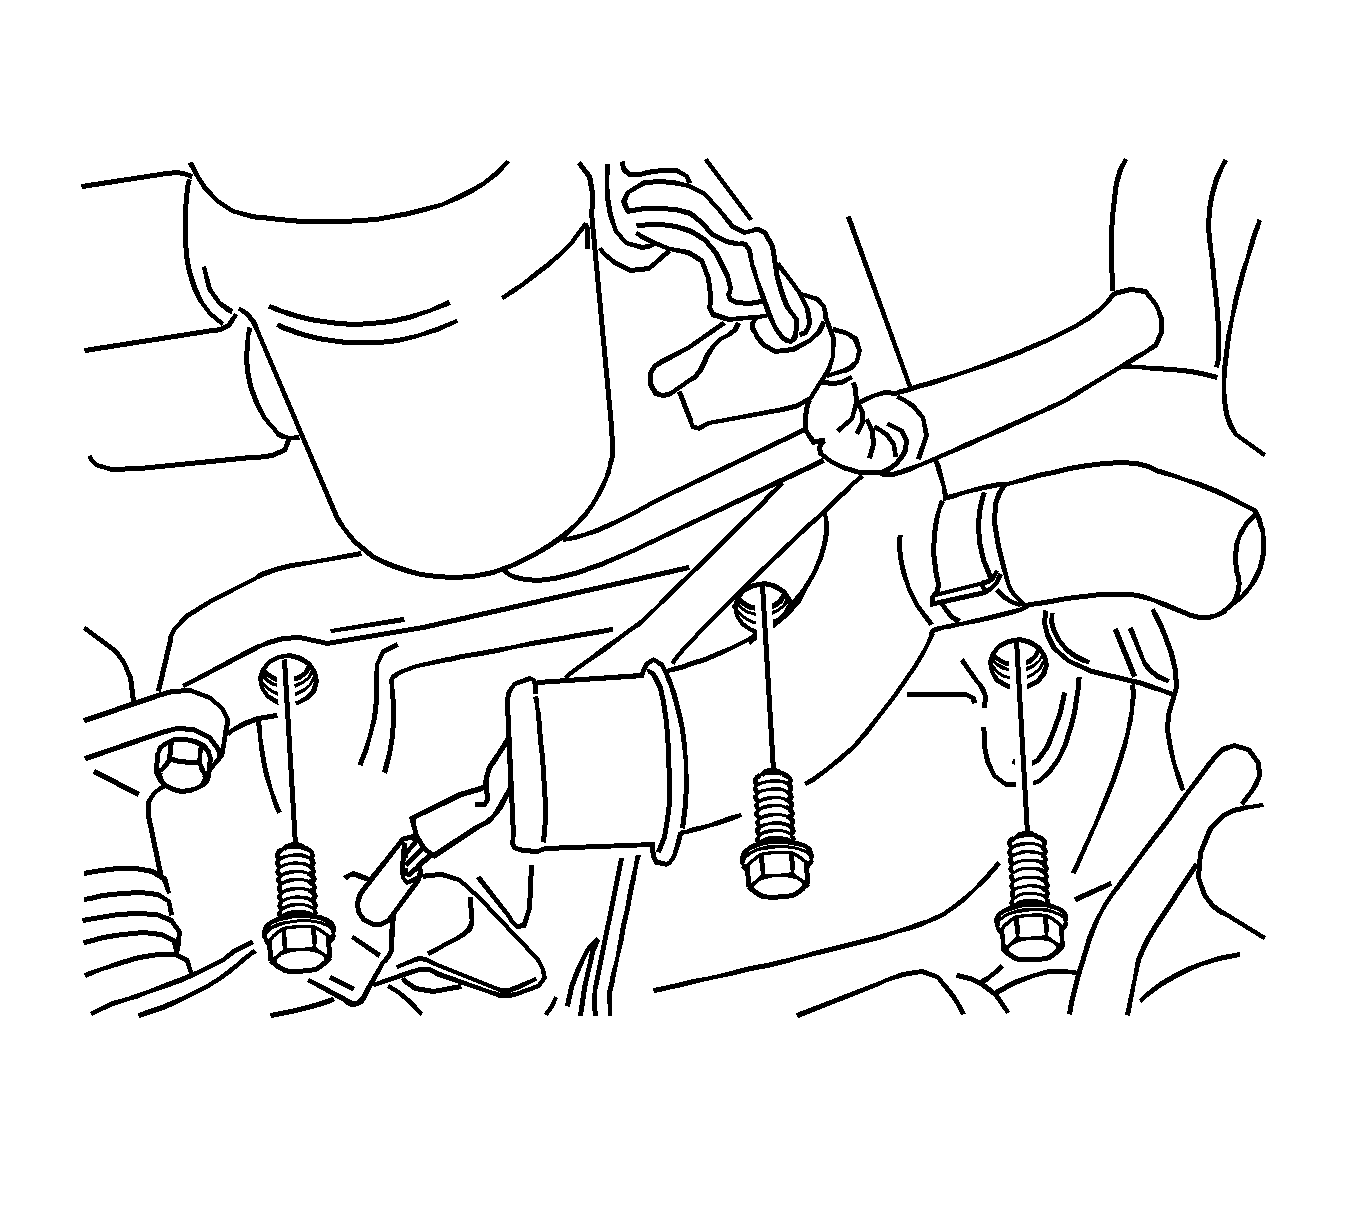
- Remove the damping block connection nut and bolt.
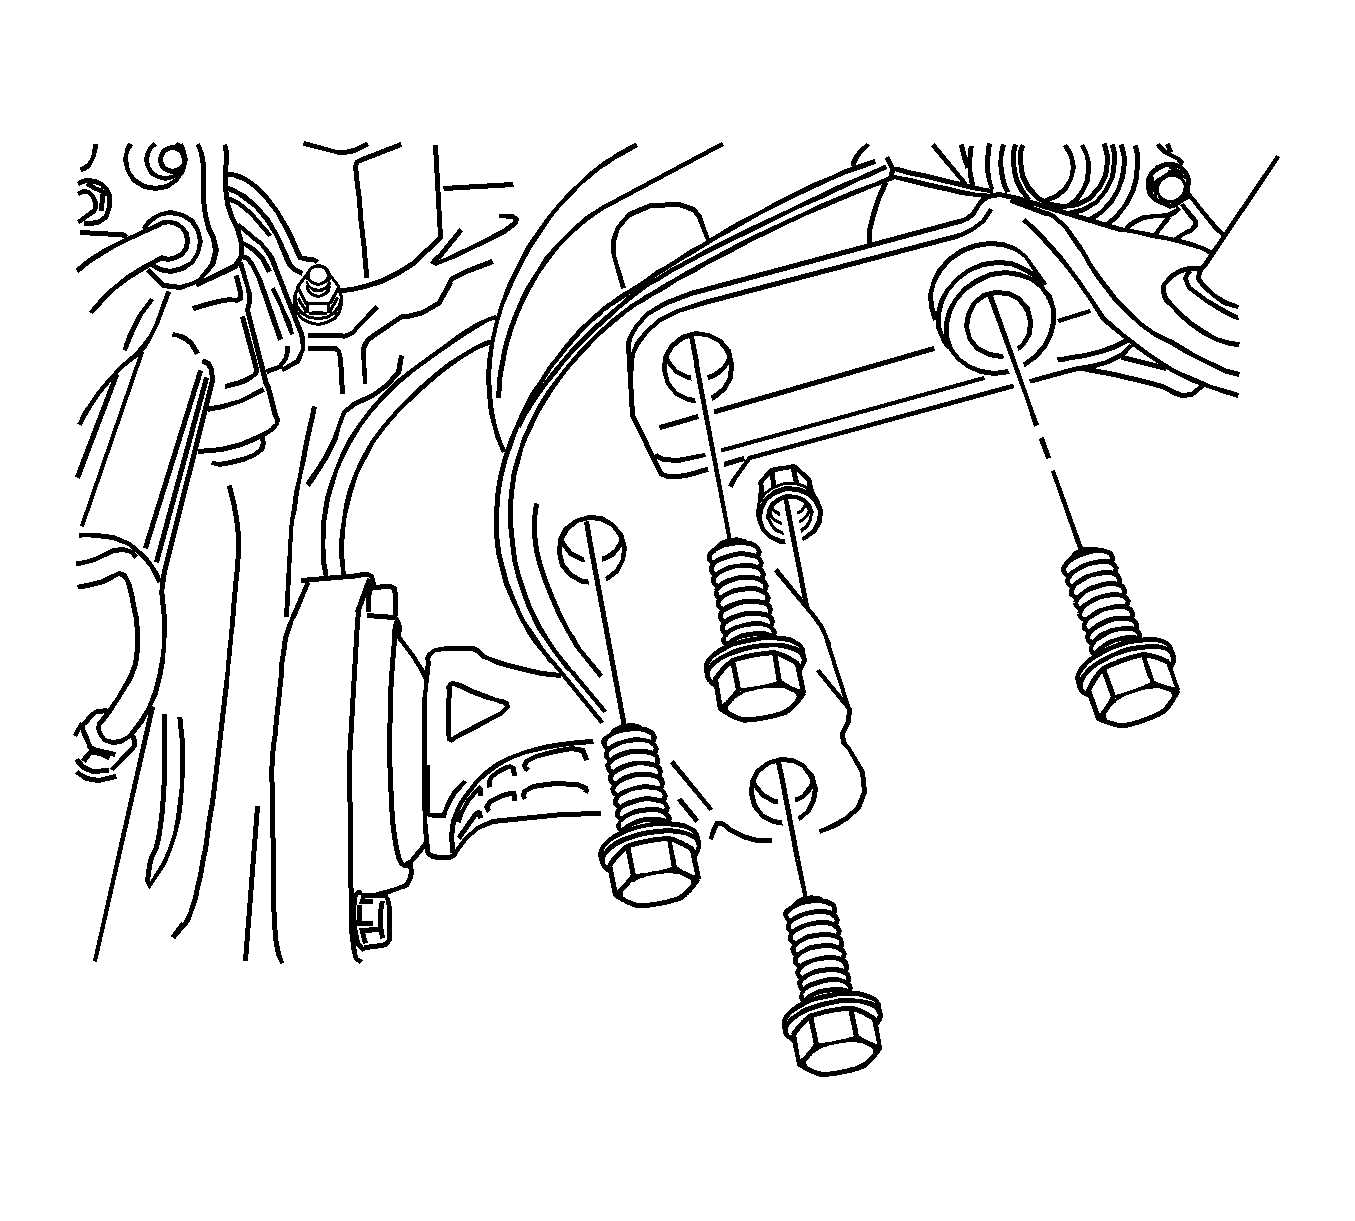
- Remove the 3 rear mounting bracket bolts.
- Remove the rear mounting bracket from the transaxle.
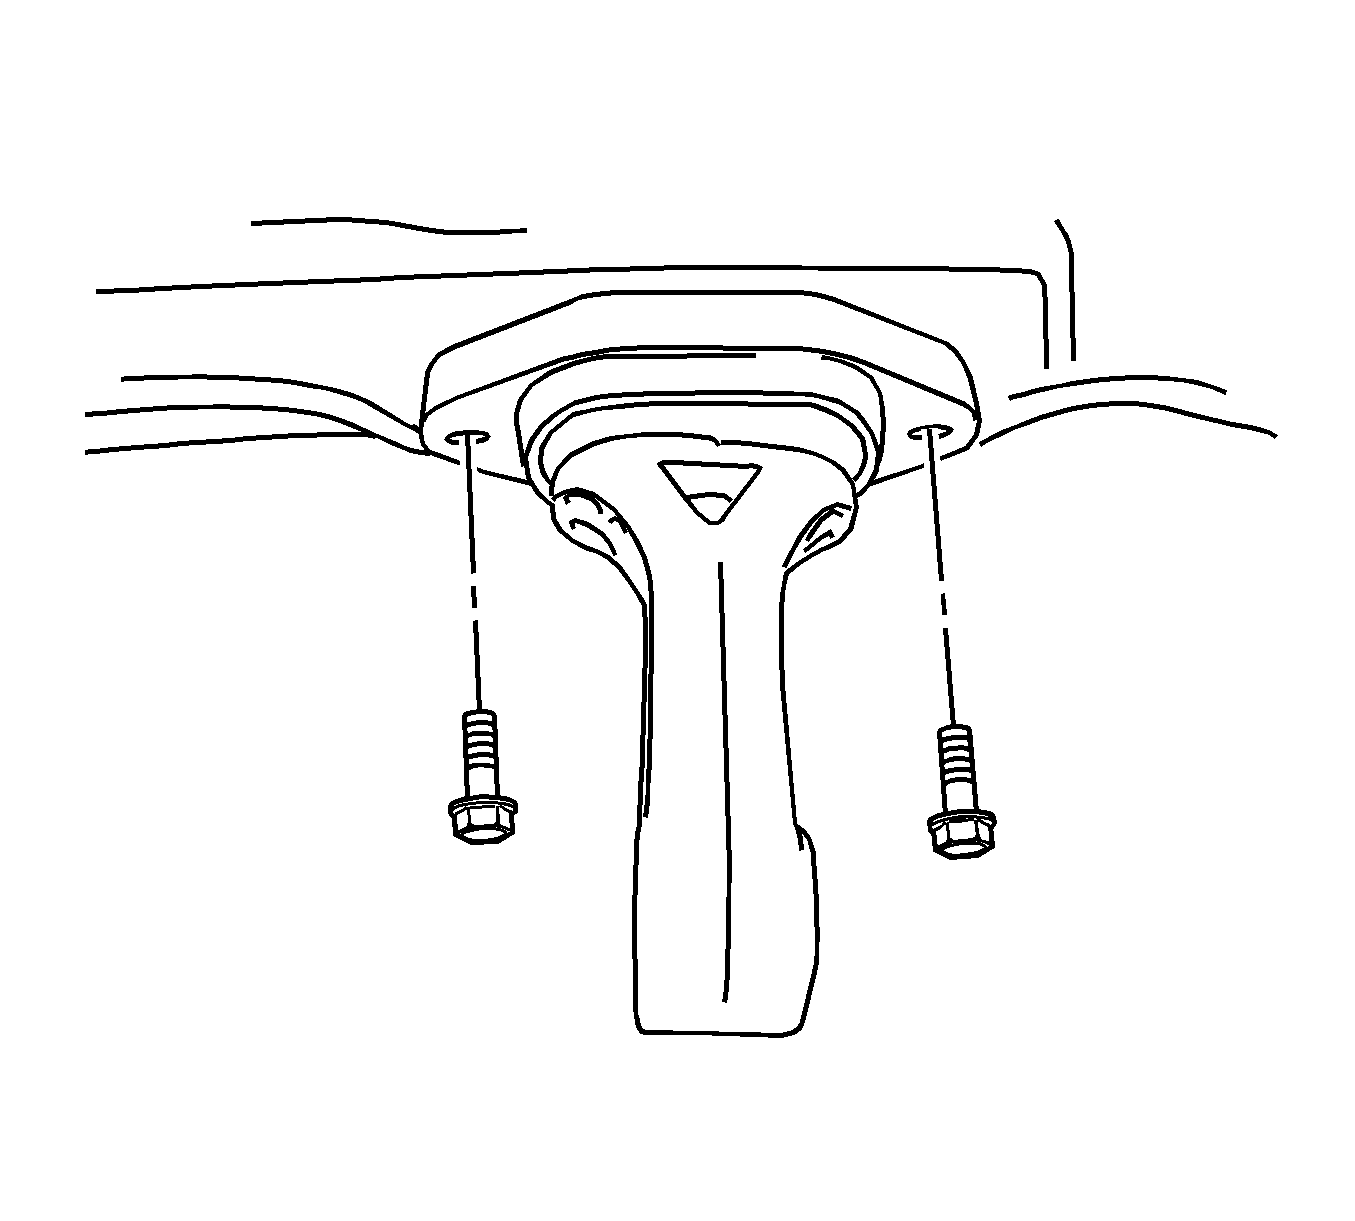
- Remove the 2 rear damping block retaining bolts.
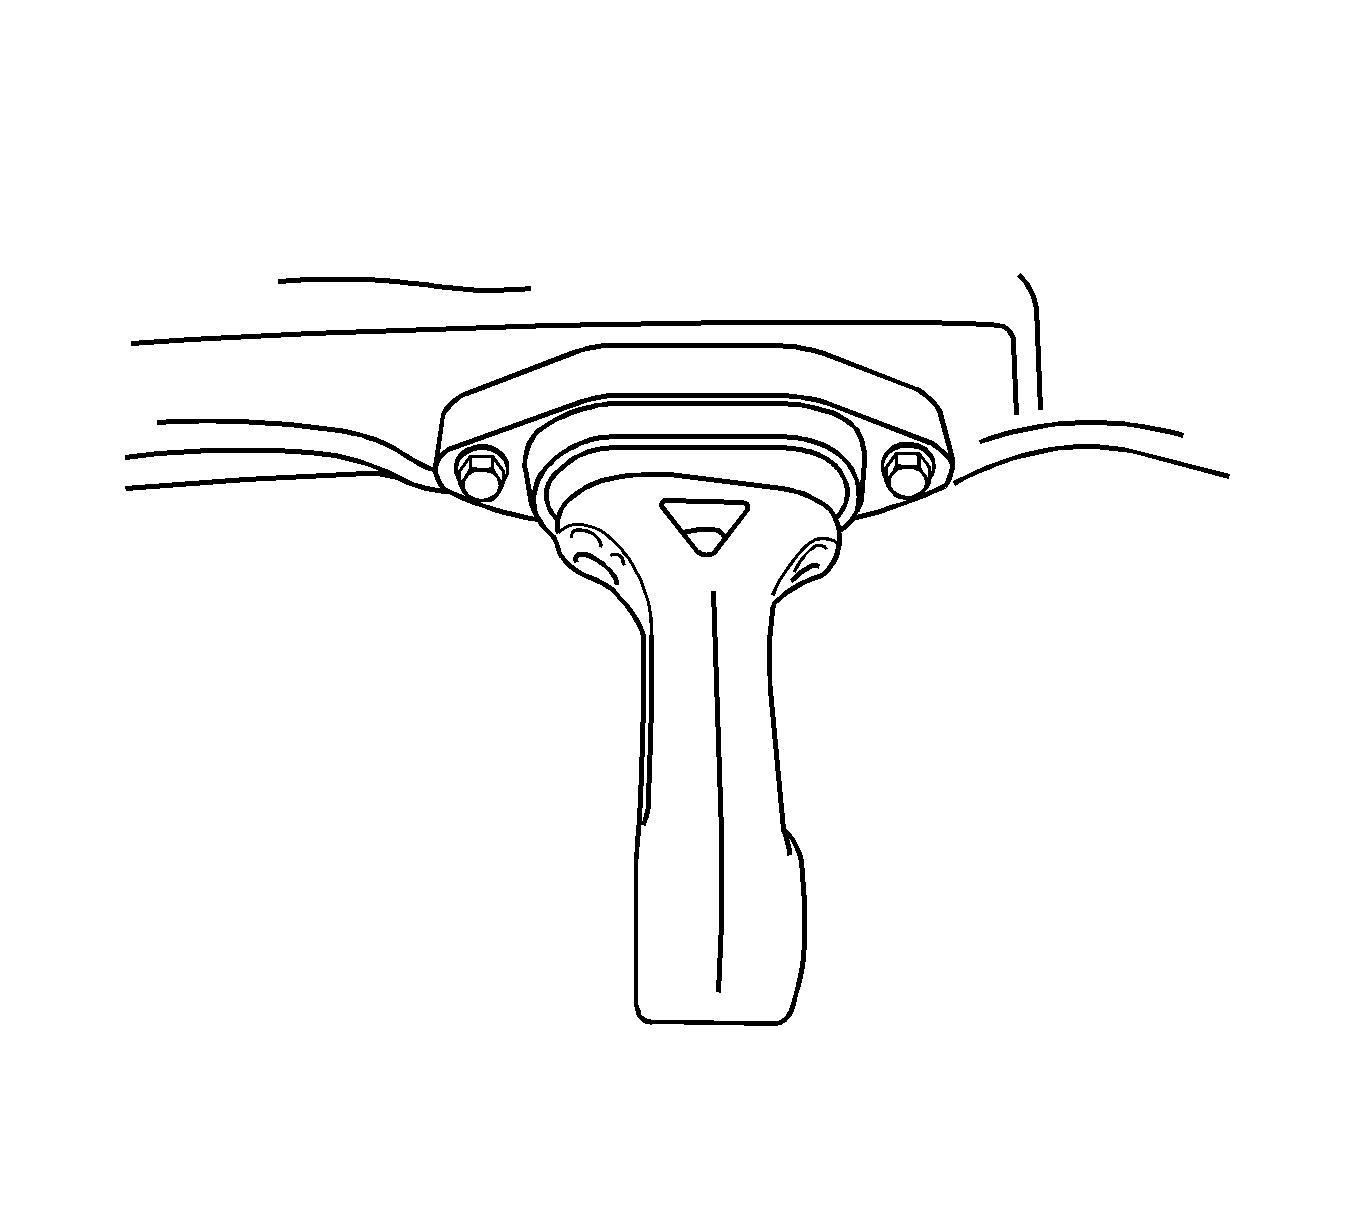
- Remove the rear damping block from the front cross member.
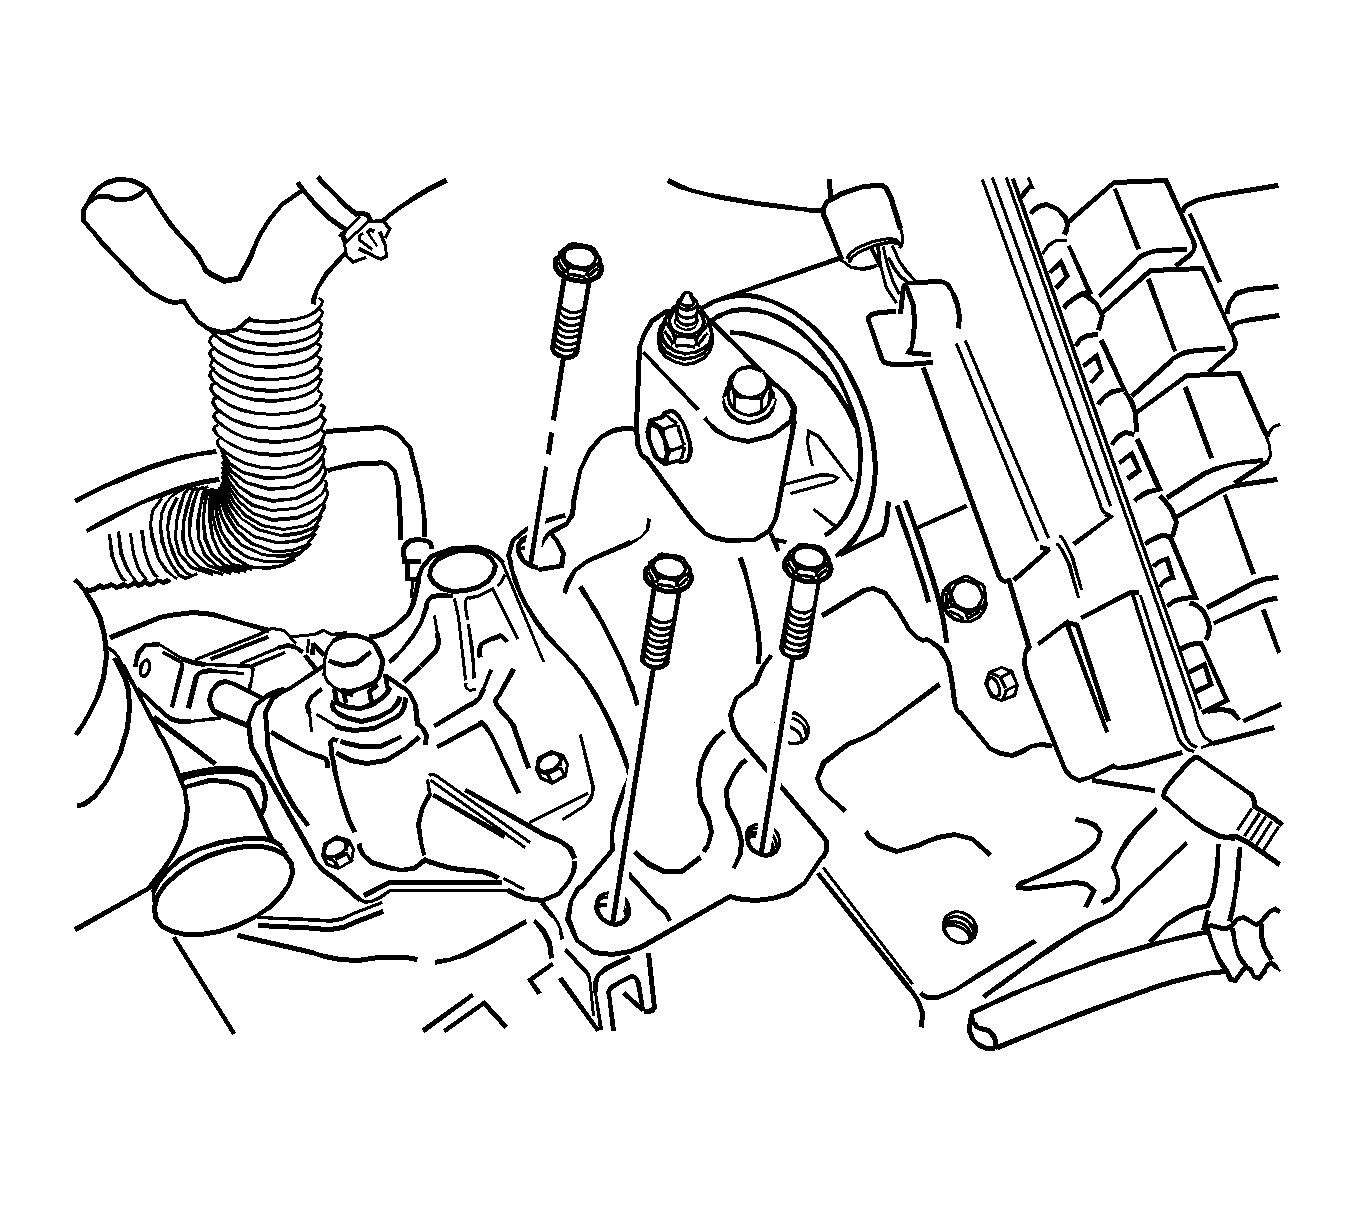
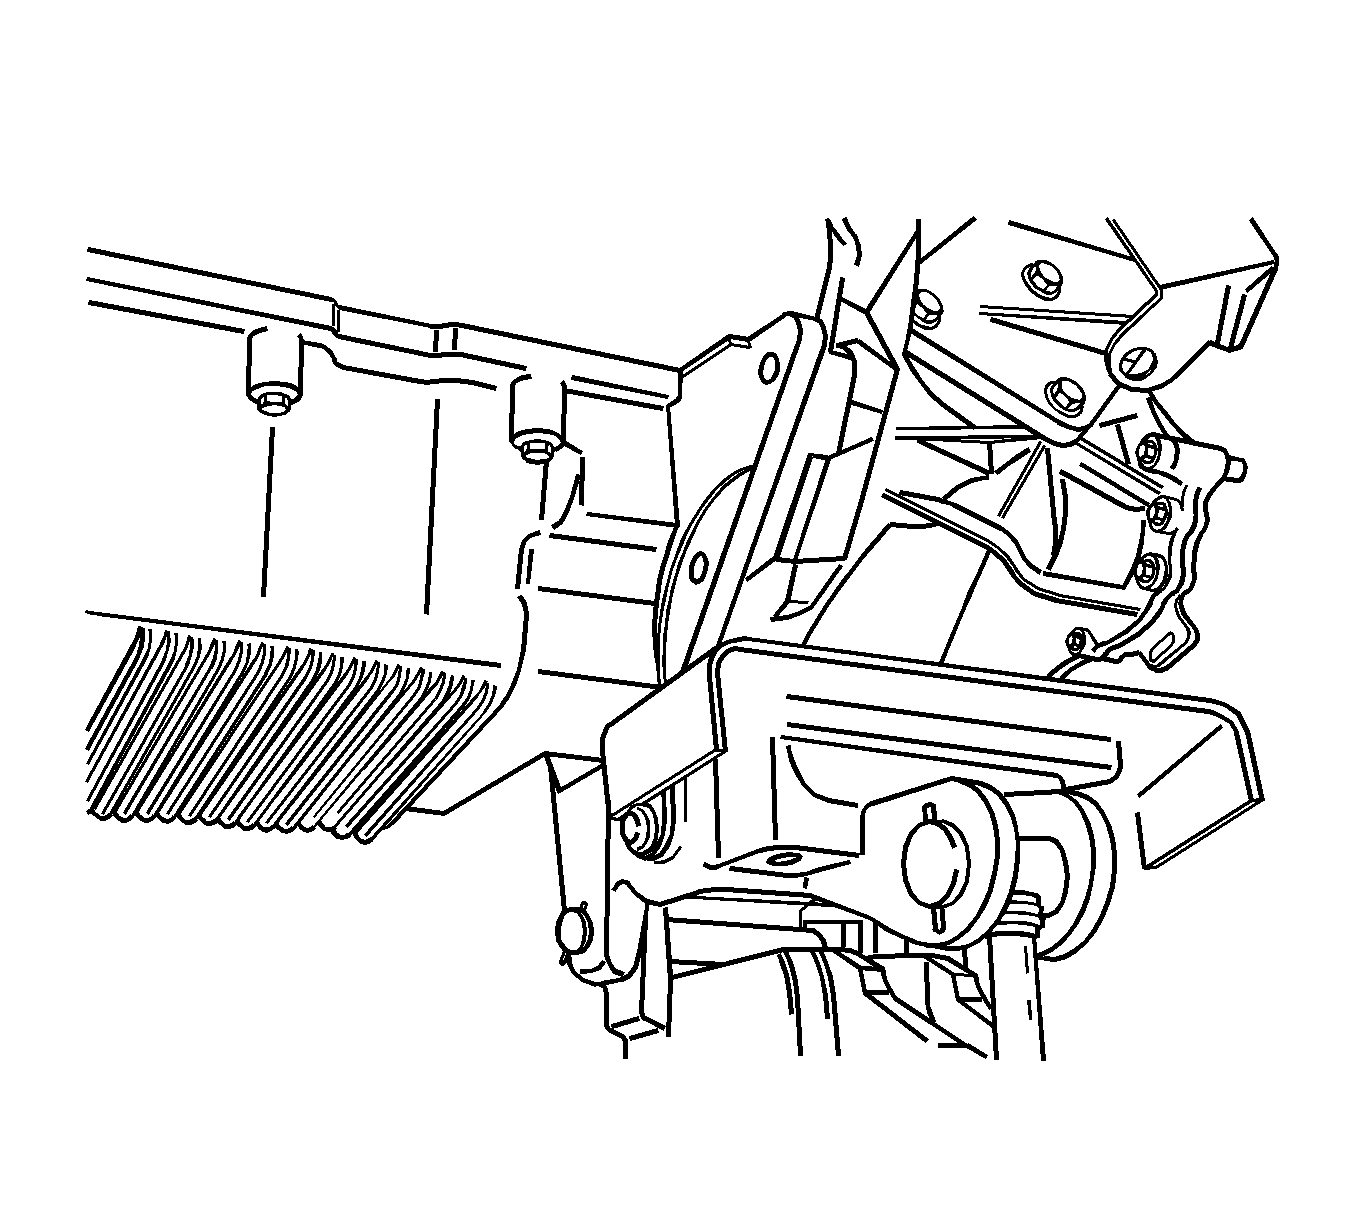
- Remove the 2 cage retaining bolts.
- Remove the 3 transaxle upper mounting bracket bolts.
- Remove the upper mounting bracket and cage.
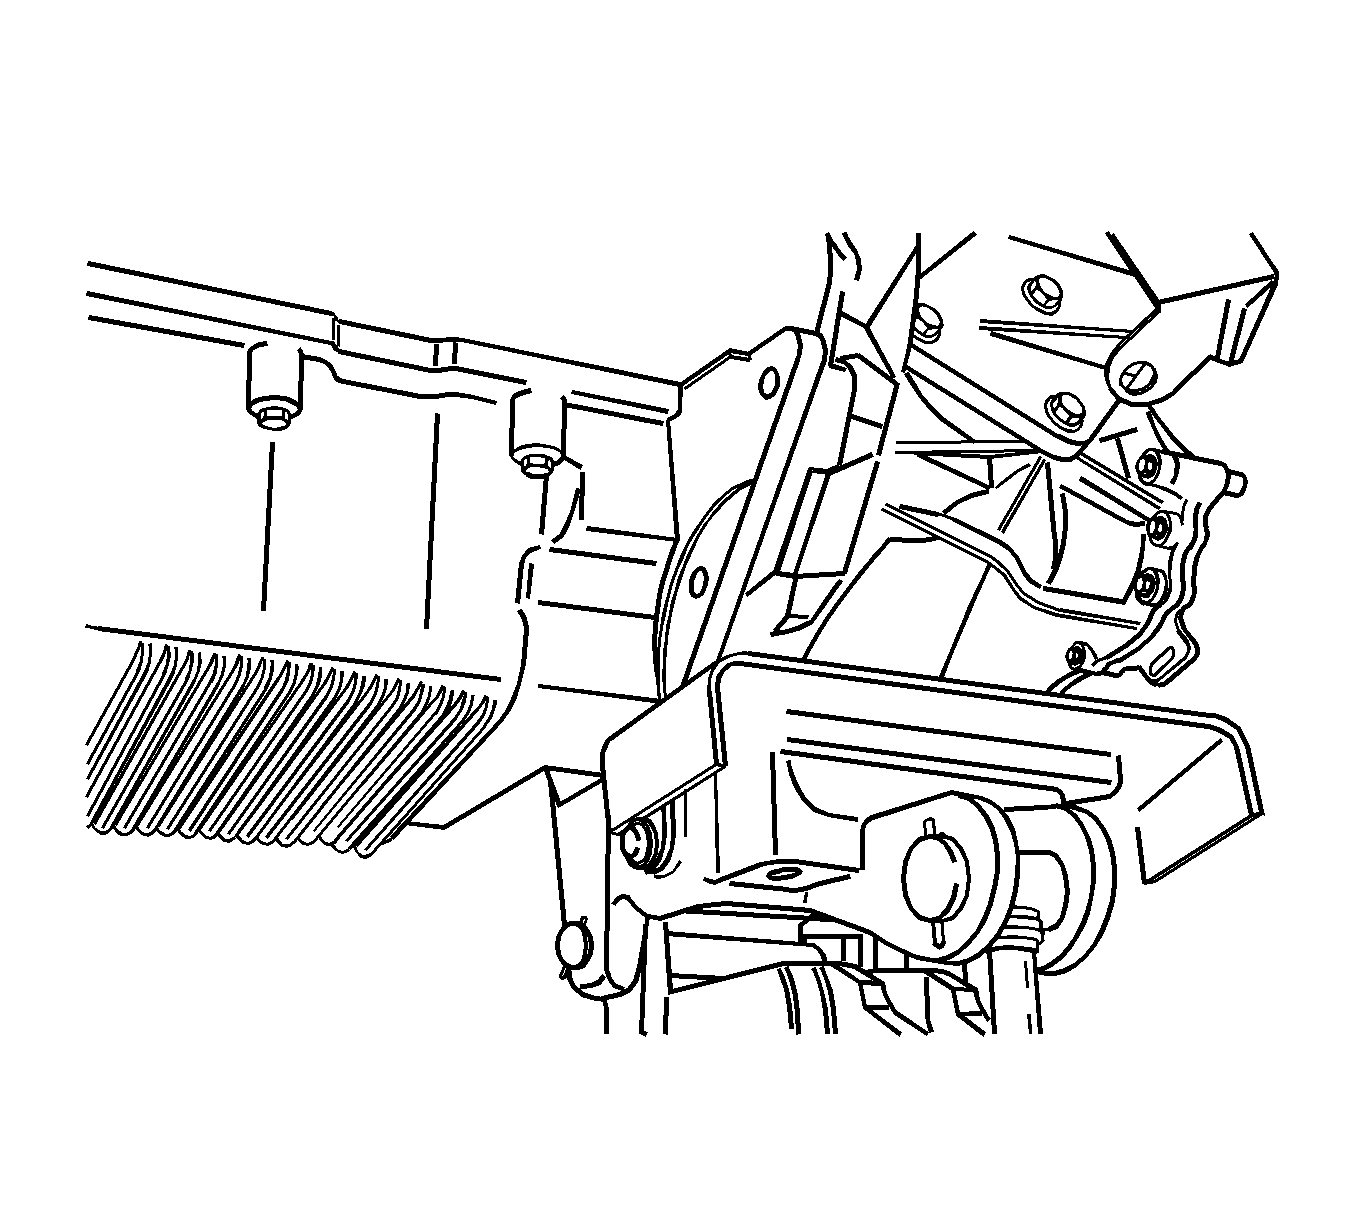
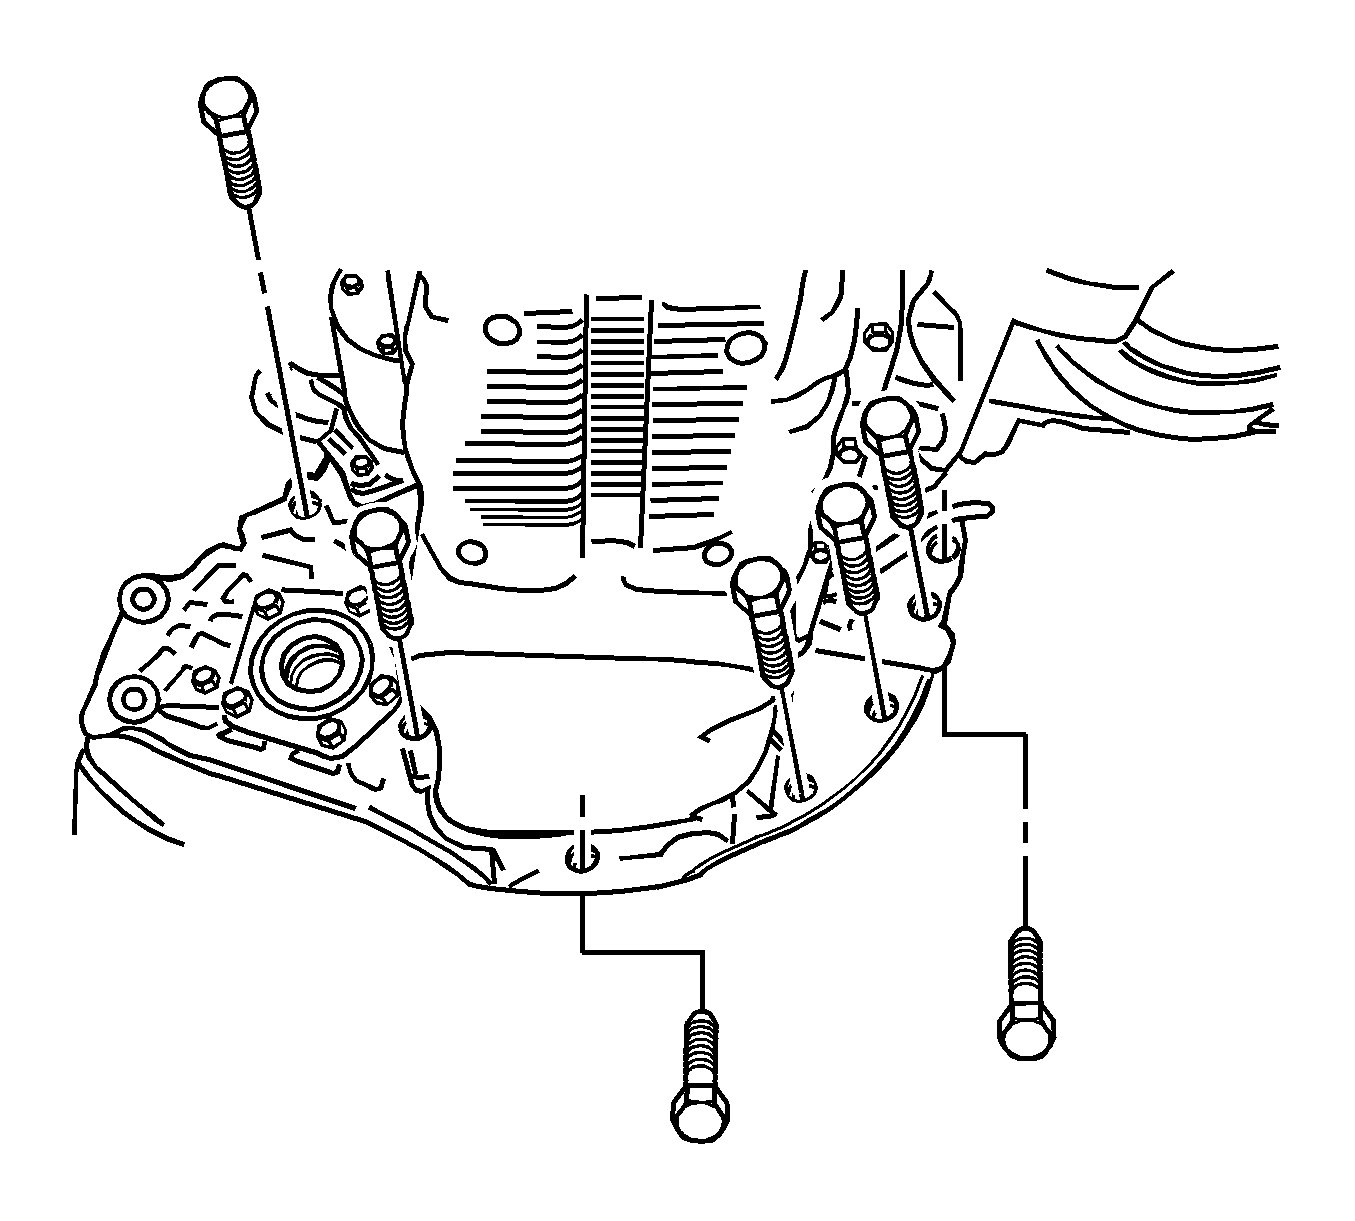
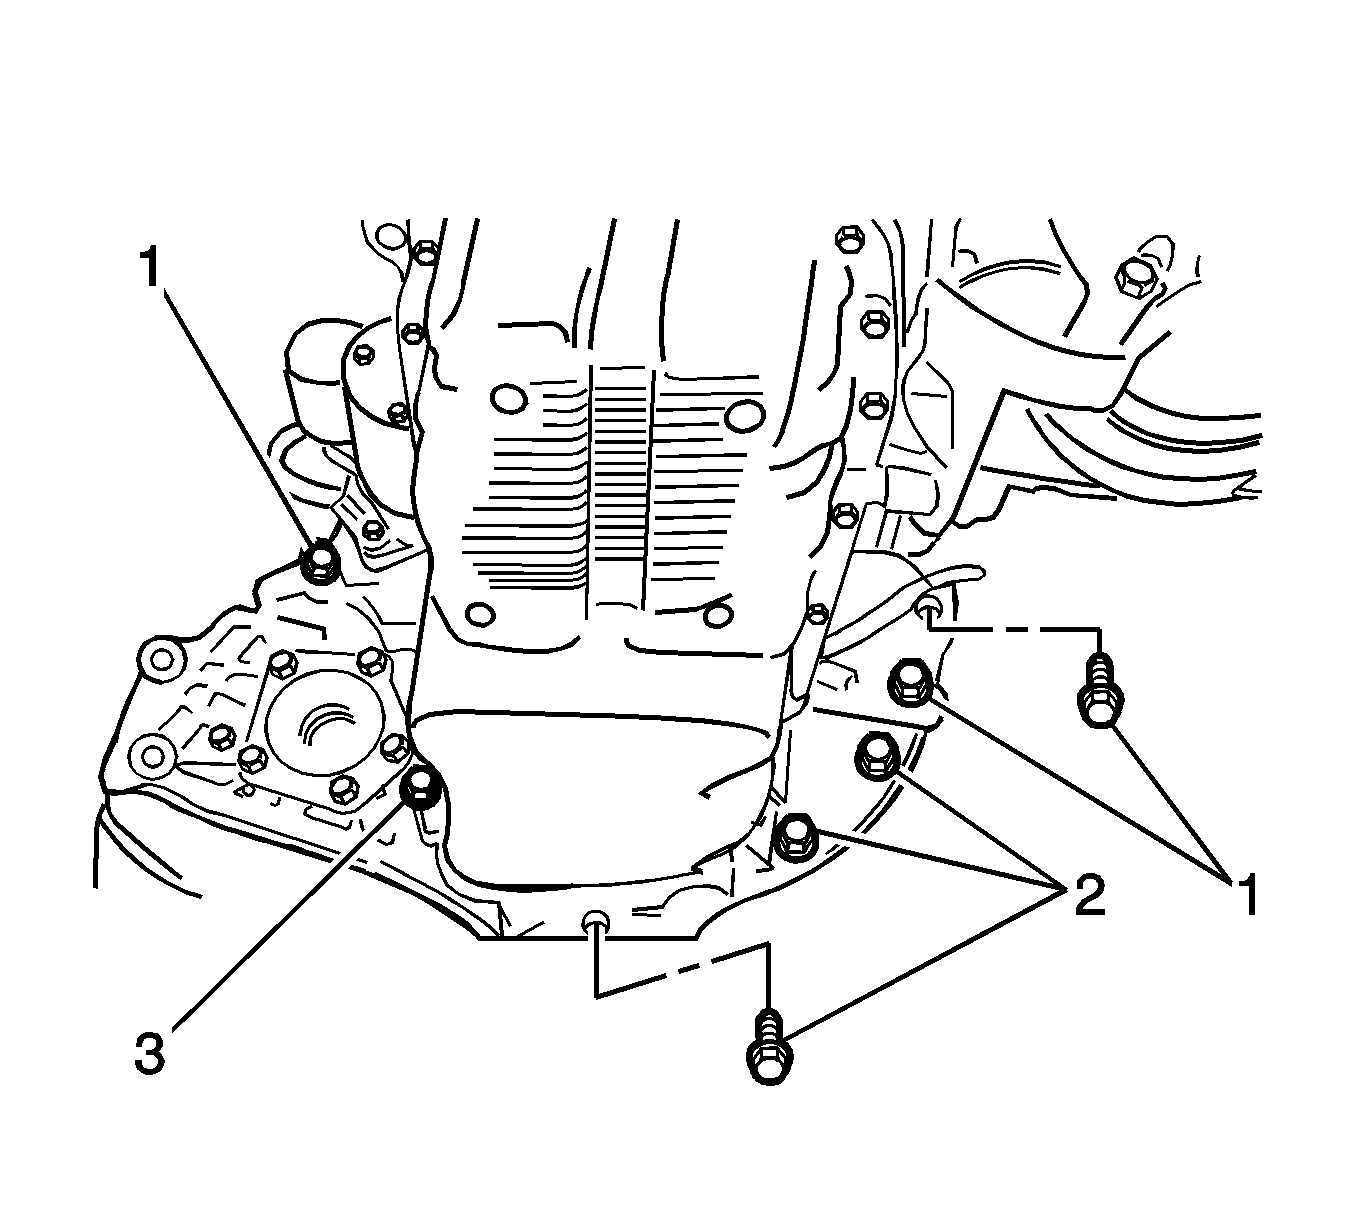
- Remove the 3 transaxle upper retaining bolts.
- Support the transaxle with a transaxle support jack.
- Remove the 7 transaxle lower retaining bolts.
- Remove the transaxle.
- Slide the transaxle sideways away from the engine block.
- Lower the transaxle.
Caution: Refer to Battery Disconnect Caution in the Preface section.

Important: Rest the transaxle only in an upright position
Installation Procedure
- Support the transaxle with a transaxle support jack.
- Install the transaxle by inserting the transaxle input shaft into the clutch disc and sliding the transaxle sideways into the engine block.
- Install the 7 transaxle lower retaining bolts.
- Install the three transaxle upper retaining bolts.
- Install the cage retaining bolt and cage.
- Install the three transaxle upper mounting bracket bolts and bracket.
- Install the 2 rear damping block retaining bolts.
- Install the rear damping block from the front cross member.
- Install the 3 rear mounting bracket bolts and the bracket.
- Install the damping block connection nut and bolt.
- Install the clutch release cylinder retaining bolts and the clutch release cylinder.
- Connect the speedometer speed sensor electrical connector.
- Connect the backup lamp switch electrical connector.
- Remove the J 28467-B
- Install the drive axle shaft. Refer to Front Drive Axle Inner Shaft Replacement
- Install the shift linkage assembly. Refer to Shift Control Linkage Replacement
- Install the battery and battery tray.
- Inspect the fluid level. Refer to Transmission Fluid Level Inspection
Notice: Refer to Fastener Notice in the Preface section.
Tighten
| • | Tighten the transaxle lower retaining bolts (1) to 73 N·m (54 lb ft). |
| • | Tighten the transaxle lower retaining bolts (2) to 31 N·m (23 lb ft). |
| • | Tighten the transaxle lower retaining bolt (3) to 21 N·m (15 lb ft). |
Tighten
Tighten the transaxle upper retaining bolts to 73 N·m (54 lb ft).
Tighten
Tighten the transaxle upper mounting bracket bolts to 60 N·m (44 lb ft).
Tighten
Tighten the rear damping block retaining bolts to 55 N·m (41 lb ft).

Tighten
Tighten the rear mounting bracket bolts to 80 N·m (59 lb ft).
Tighten
Tighten the damping block connection nut and bolt to 80 N·m (59 lb ft).
Tighten
Tighten the clutch release cylinder retaining bolts to 20 N·m (15 lb ft).
