For 1990-2009 cars only
Removal Procedure
- Disconnect the negative battery cable. Refer to Battery Negative Cable Disconnection and Connection.
- Remove the instrument panel carrier assembly. Refer to Instrument Panel Assembly Replacement.
- Drain the cooling system. Refer to Cooling System Draining and Filling.
- Recover the refrigerant. Refer to Refrigerant Recovery and Recharging.
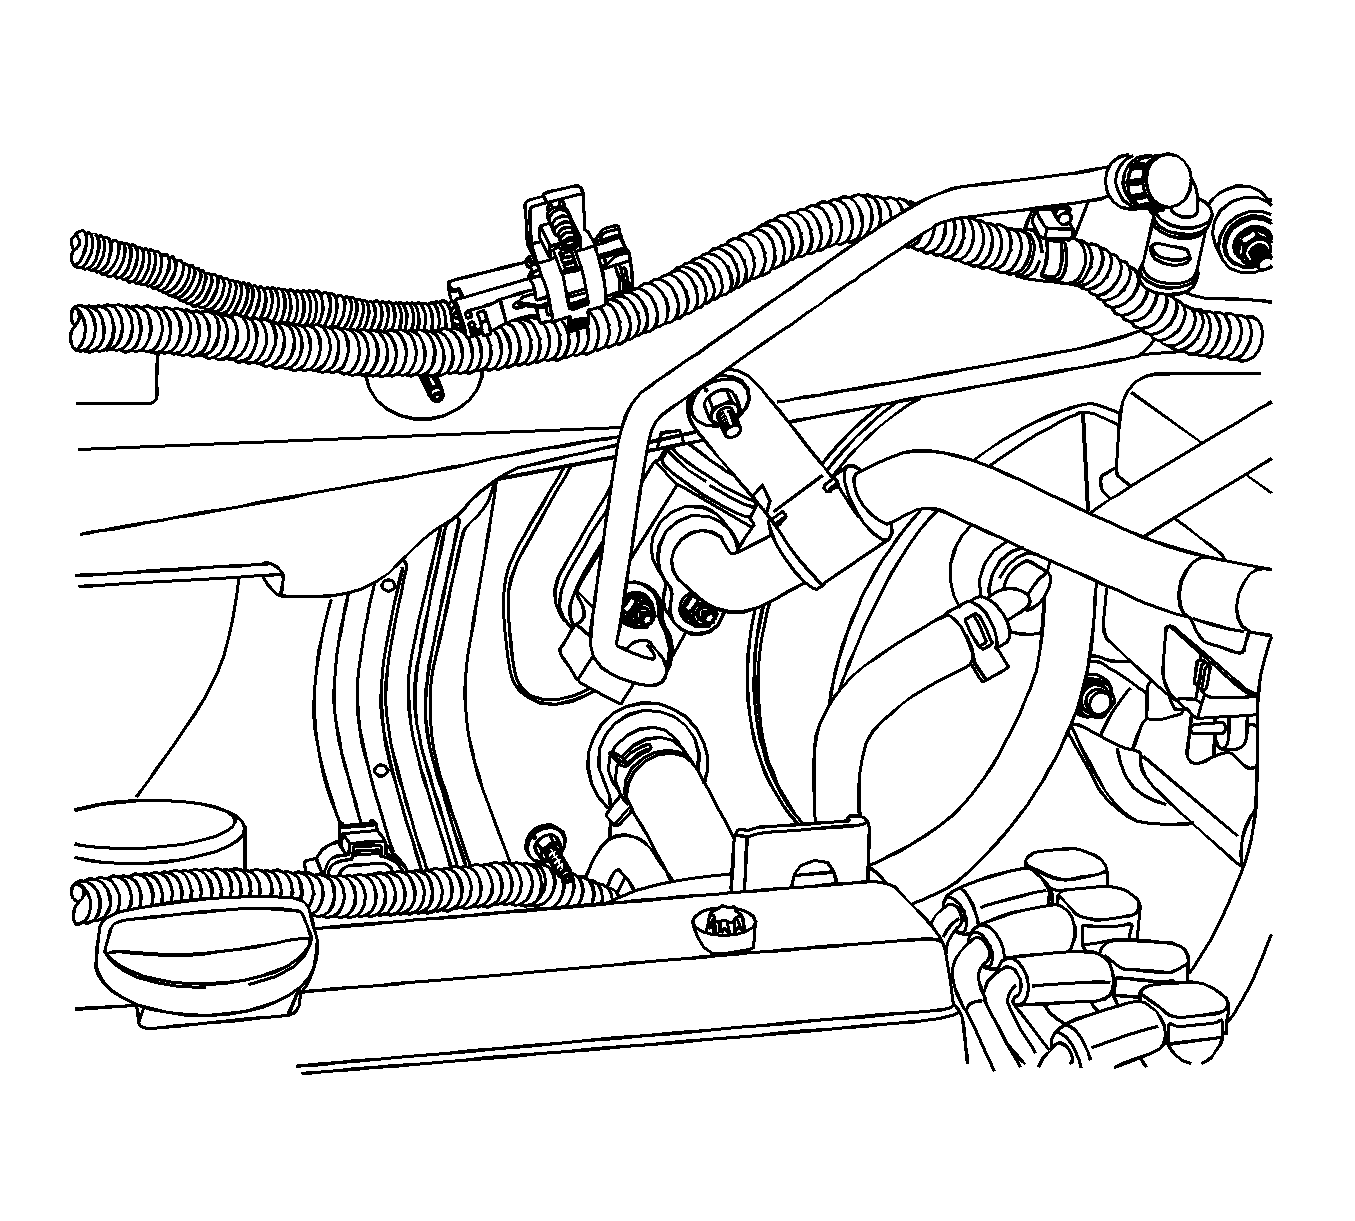
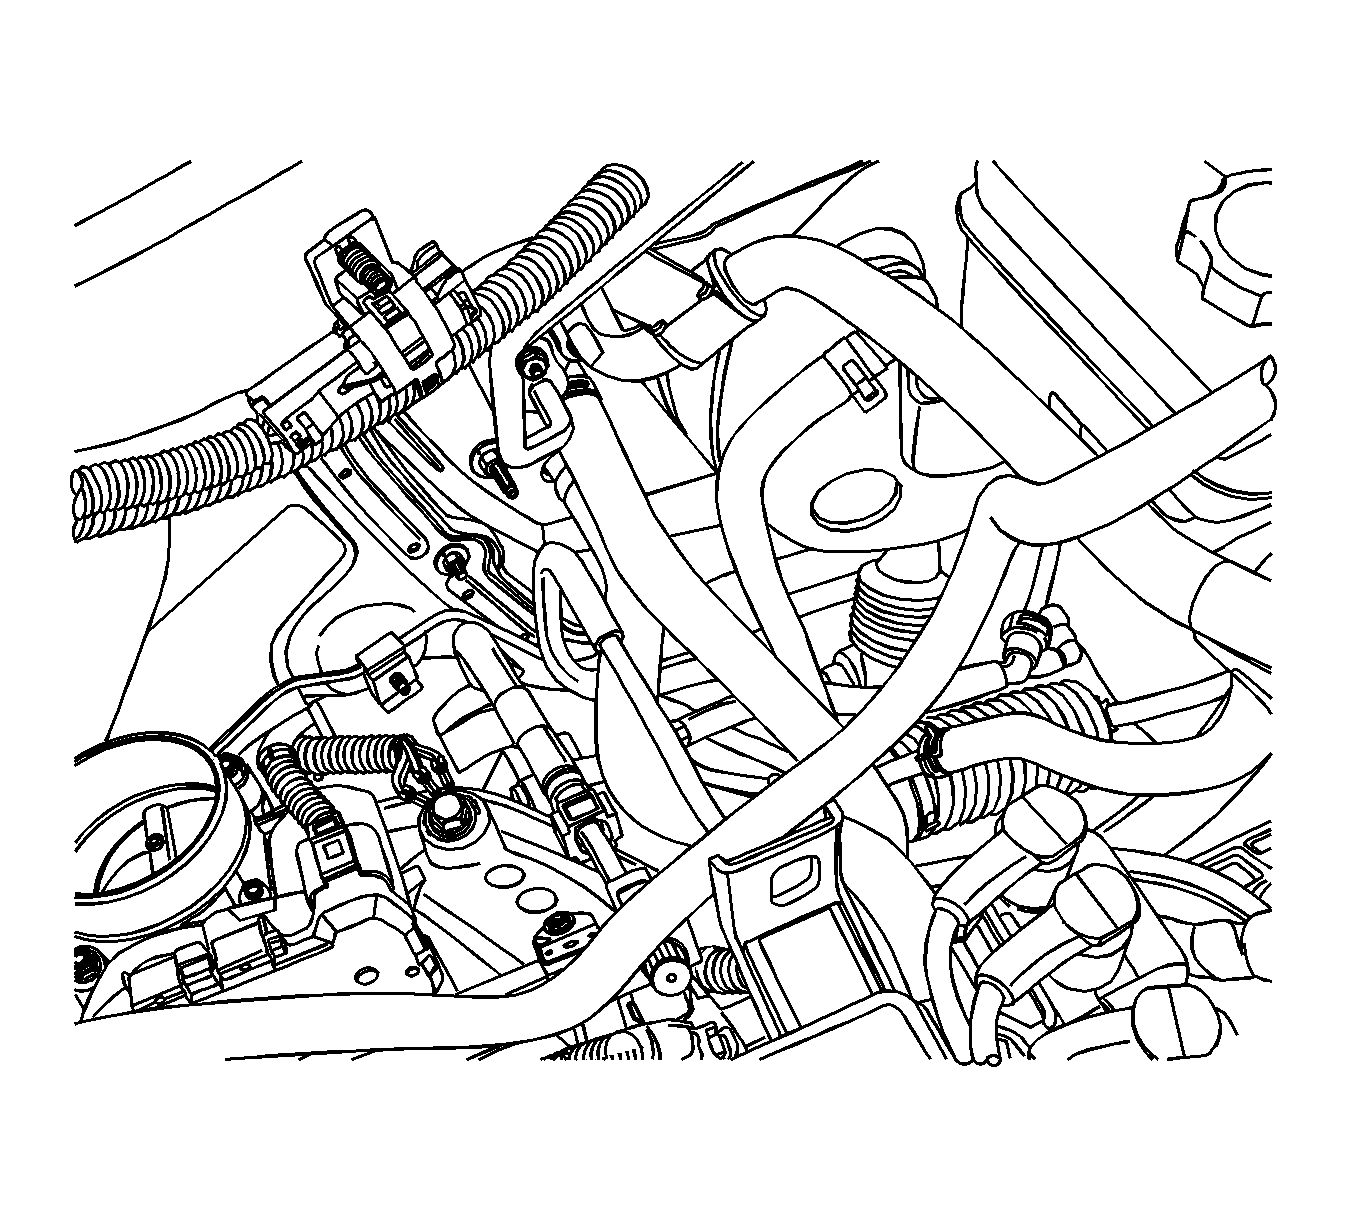
- Remove the liquid line and evaporator outlet hose nuts from the thermal expansion valve.
- Loosen the liquid line and evaporator outlet hose clip nuts from the vehicle.
- Remove the evaporator drain hose.
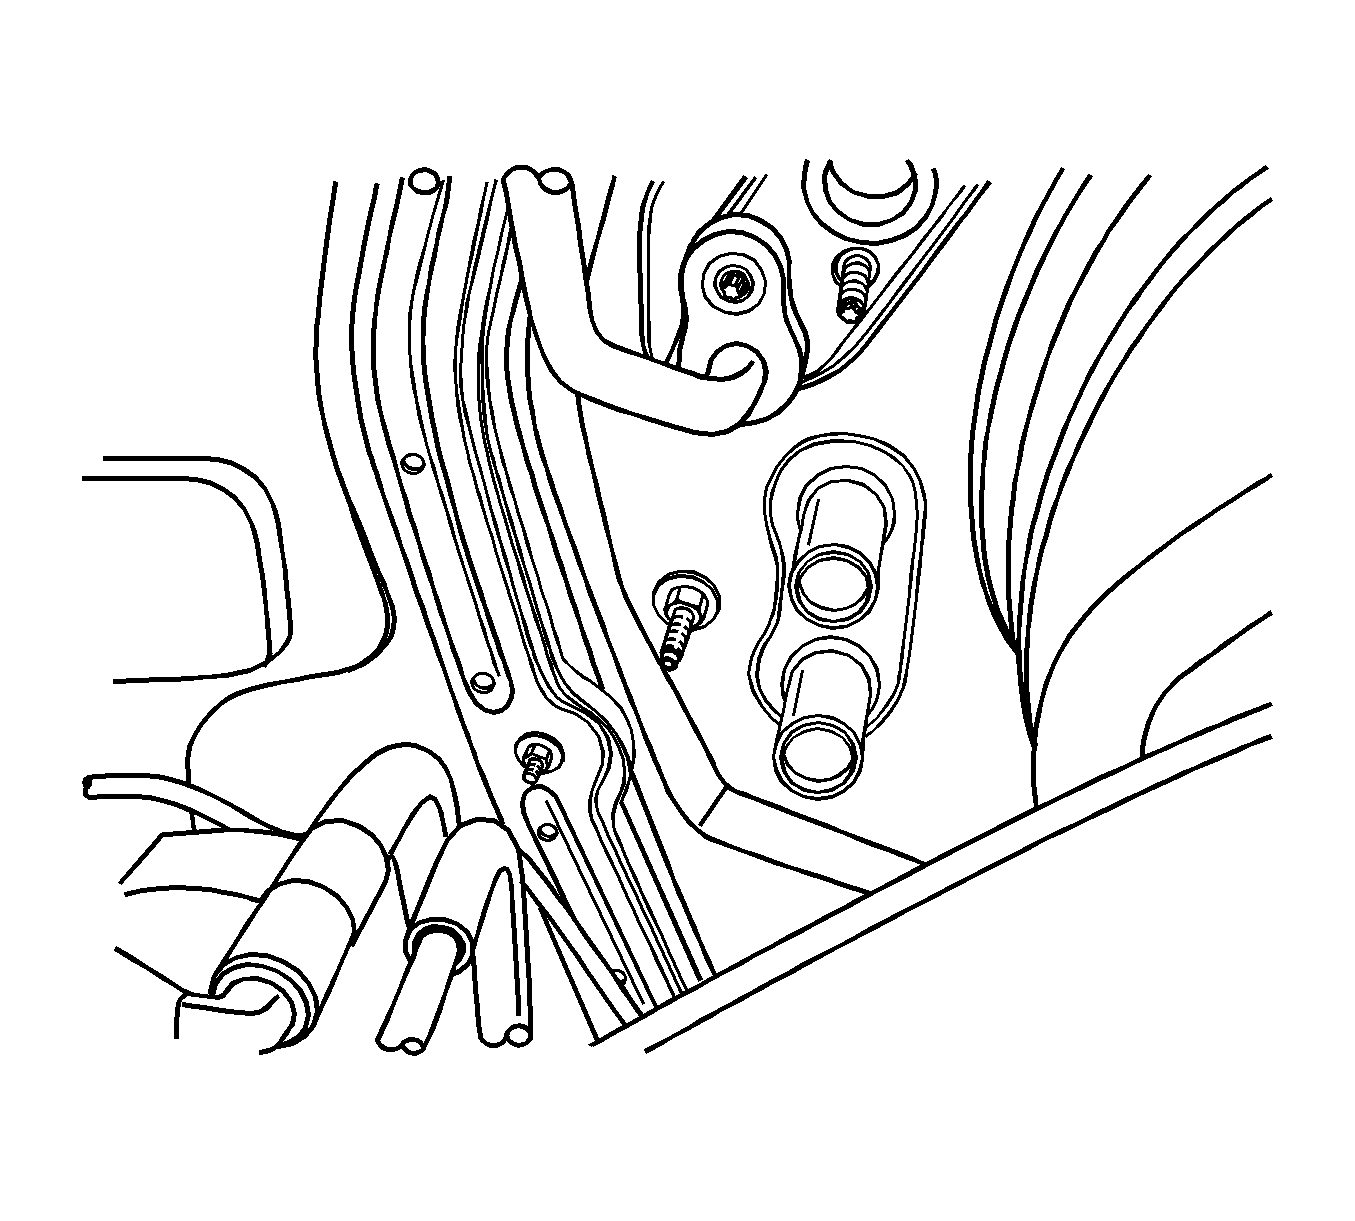
- Remove the heater hoses from the heater core.
- Remove the lower HVAC module nut located next to the heater core pipes.
- Have an assistant support the HVAC module from inside the vehicle.
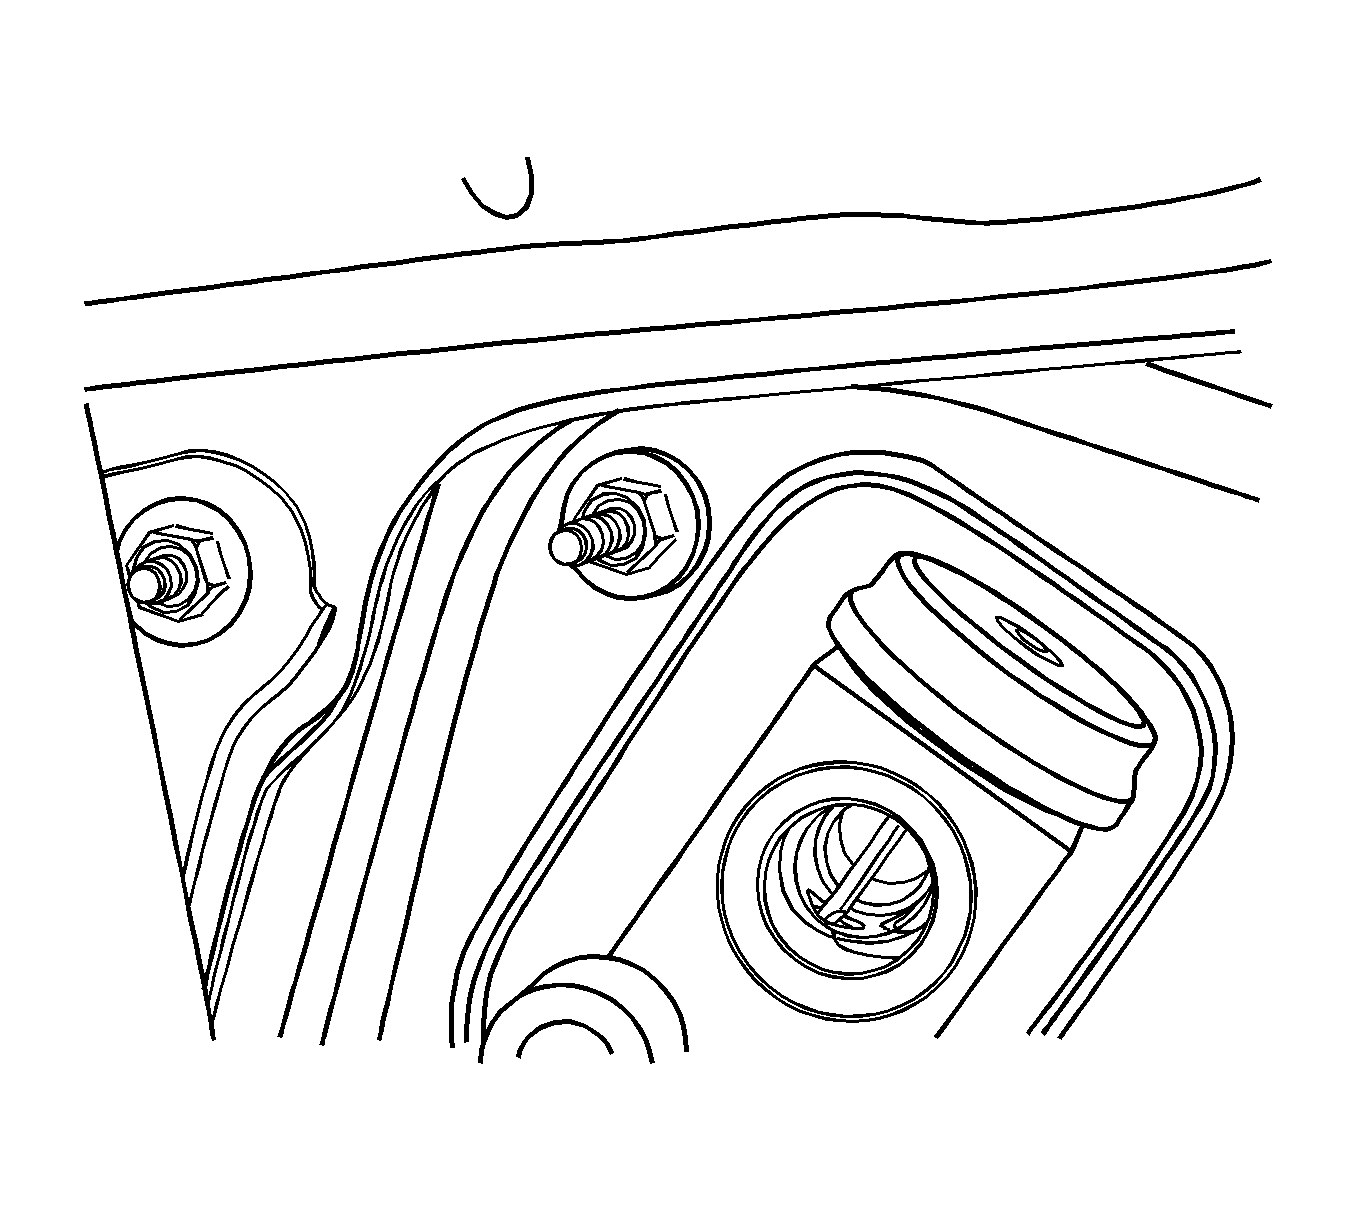
- Remove the upper HVAC module nut located next to the thermal expansion valve. The HVAC module will start to drop.
- Pull the HVAC module straight away from the cowl.
- Remove the HVAC module from the vehicle.


Installation Procedure
- Position the HVAC module in the vehicle.
- Slowly raise the HVAC module into position and hold it against the cowl while the nuts are installed and tightened from the engine side of the cowl.
- Align and install the HVAC module nut next to the thermal expansion valve.
- Install the HVAC module nut next to the heater core pipes.
- Install the heater hoses.
- Slide the heater hose clamps into position.
- Install the evaporator drain hose.
- Install the instrument panel carrier assembly. Refer to Instrument Panel Assembly Replacement.
- Install new seal washers on the liquid line and evaporator outlet hose.
- Install the liquid line and evaporator outlet hose to the thermal expansion valve.
- Install the liquid line and evaporator outlet hose nuts to the thermal expansion valve.
- Install the liquid line and evaporator outlet hose clip nuts to the vehicle.
- Fill the cooling system. Refer to Cooling System Draining and Filling.
- Connect the negative battery cable. Refer to Battery Negative Cable Disconnection and Connection.
- Recharge the A/C system. Refer to Refrigerant Recovery and Recharging.

Important: To avoid damaging the heater core tubes, make sure they do not contact the opening in the cowl.
Notice: Refer to Fastener Notice in the Preface section.
Tighten
Tighten the HVAC module nut to 8 N·m (71 lb in).

Tighten
Tighten the HVAC module nut to 8 N·m (71 lb in).


Tighten
Tighten the liquid line and evaporator outlet hose nuts to 16 N·m (12 lb ft).
Tighten
Tighten the liquid line and evaporator outlet hose clip nuts to 16 N·m (12 lb ft).
