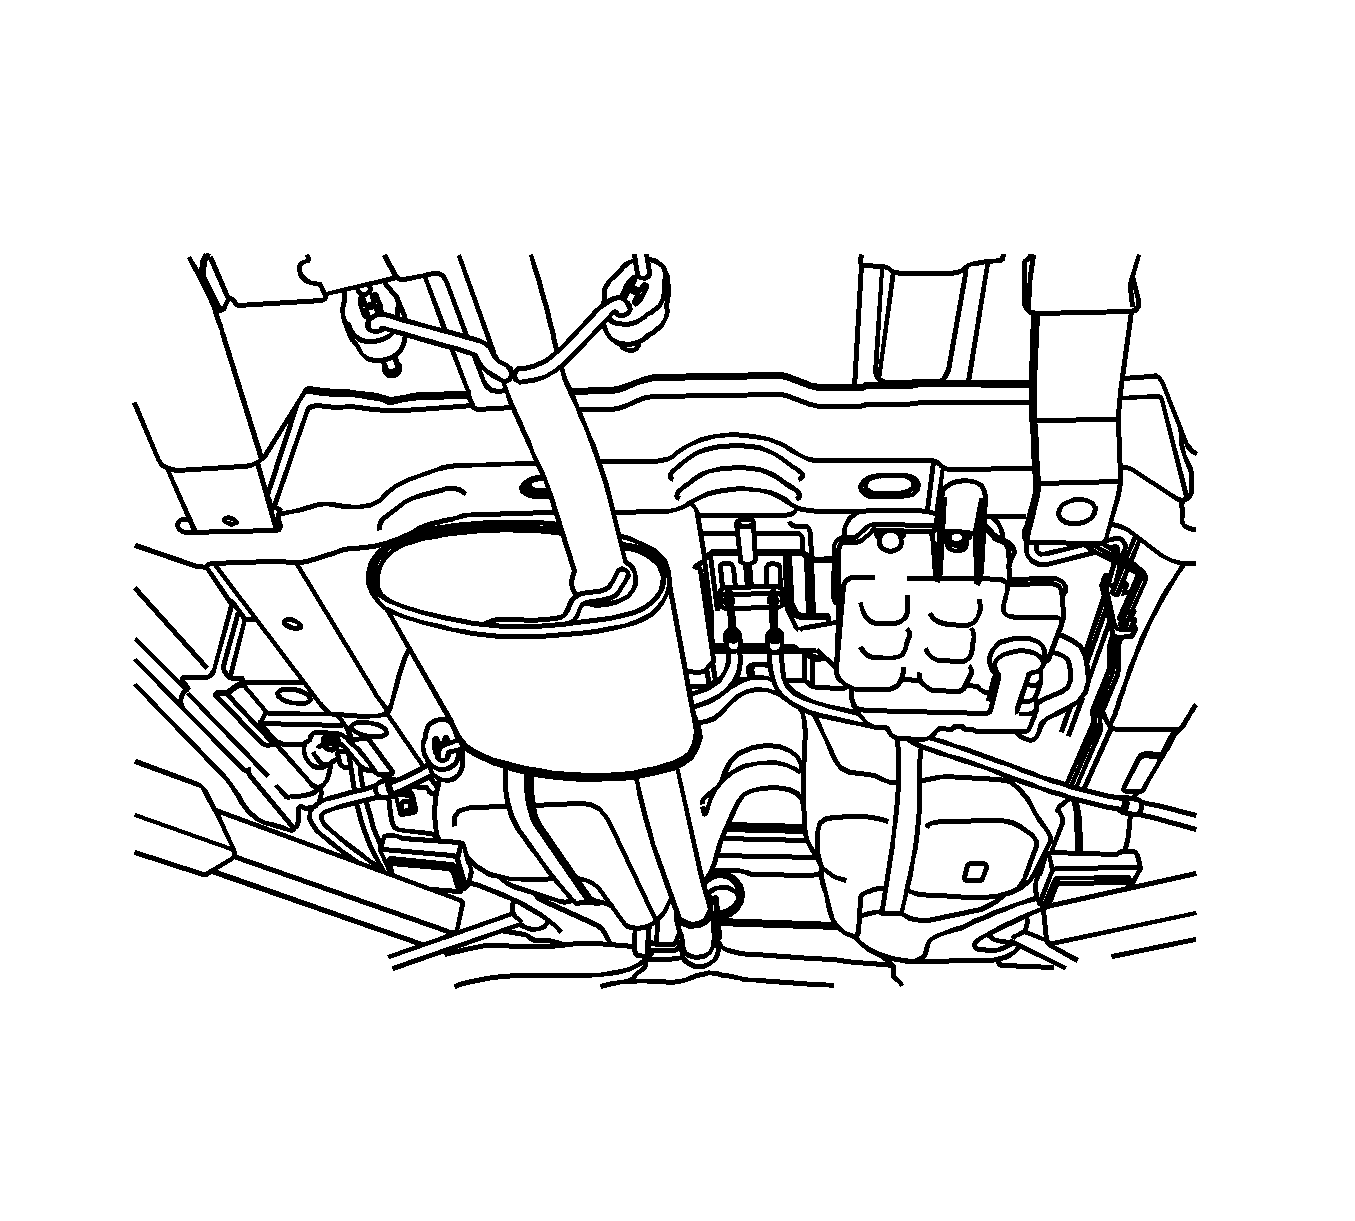
Removal Procedure
- Disconnect the negative battery cable.
- Drain the fuel tank. Ensure that the fuel level in the tank is less than 1/4 full. If necessary, drain the fuel tank to at least this level.
- Relieve the fuel system pressure. Refer to Fuel Pressure Relief.
- Raise and support the vehicle. Refer to Lifting and Jacking the Vehicle.
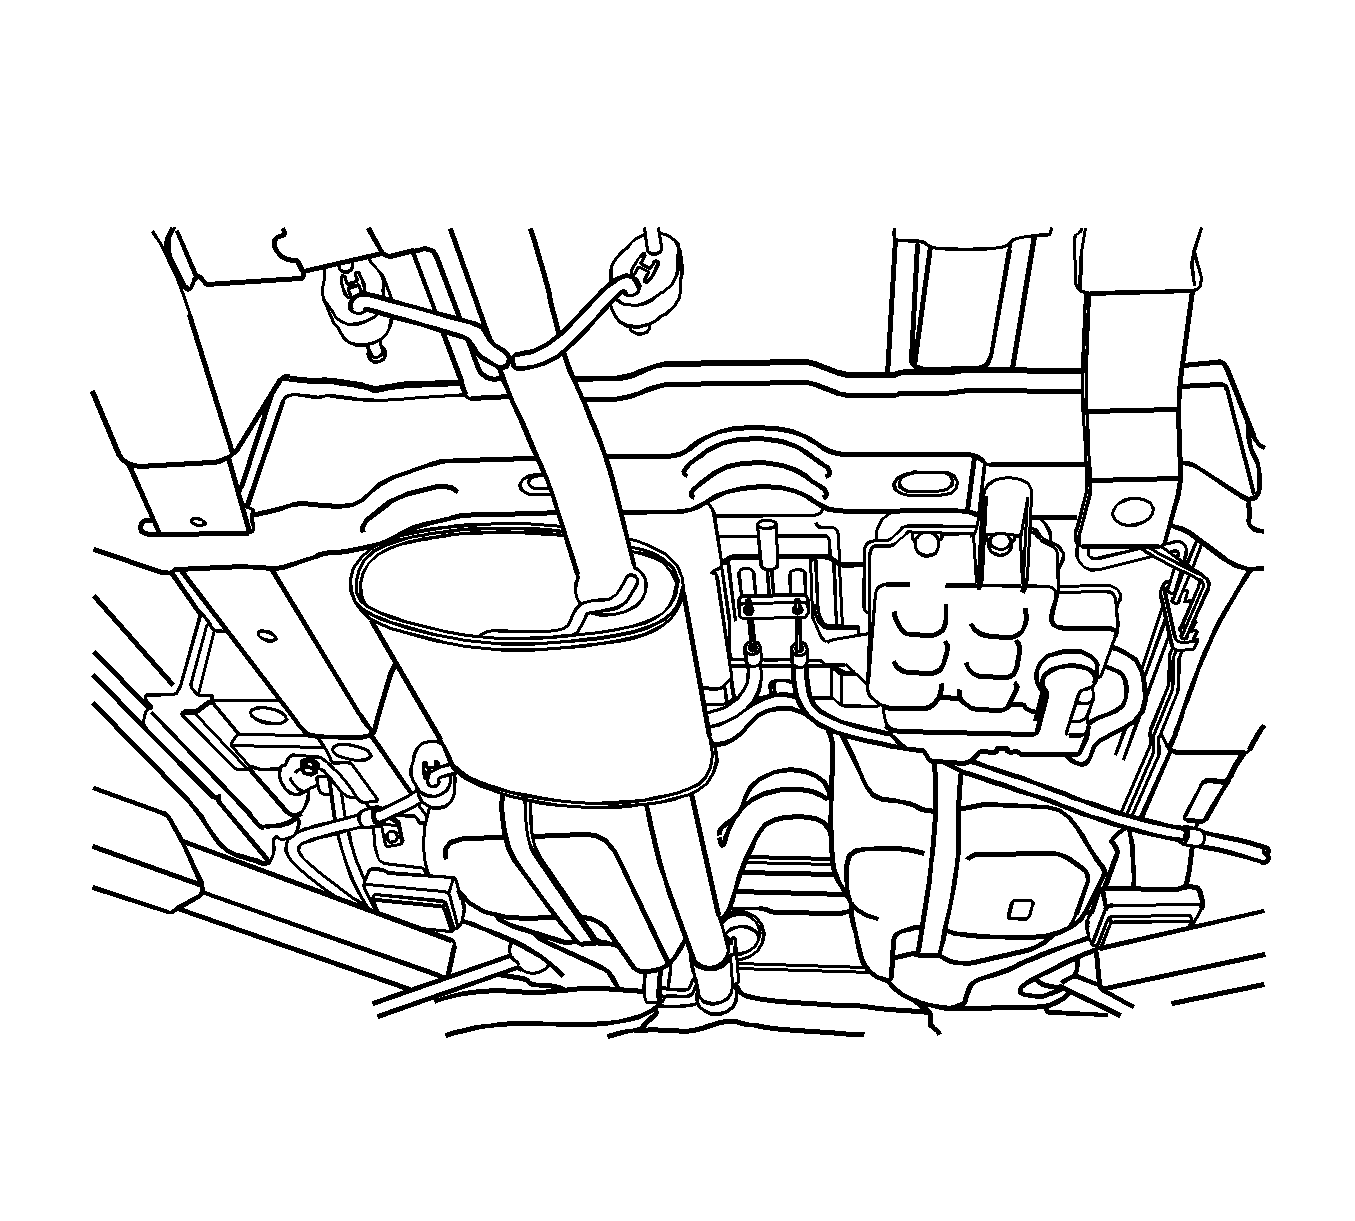
- Remove the resonator. Refer to Resonator Replacement.
- Disconnect the fuel pump connector at the right rear side of the fuel tank.
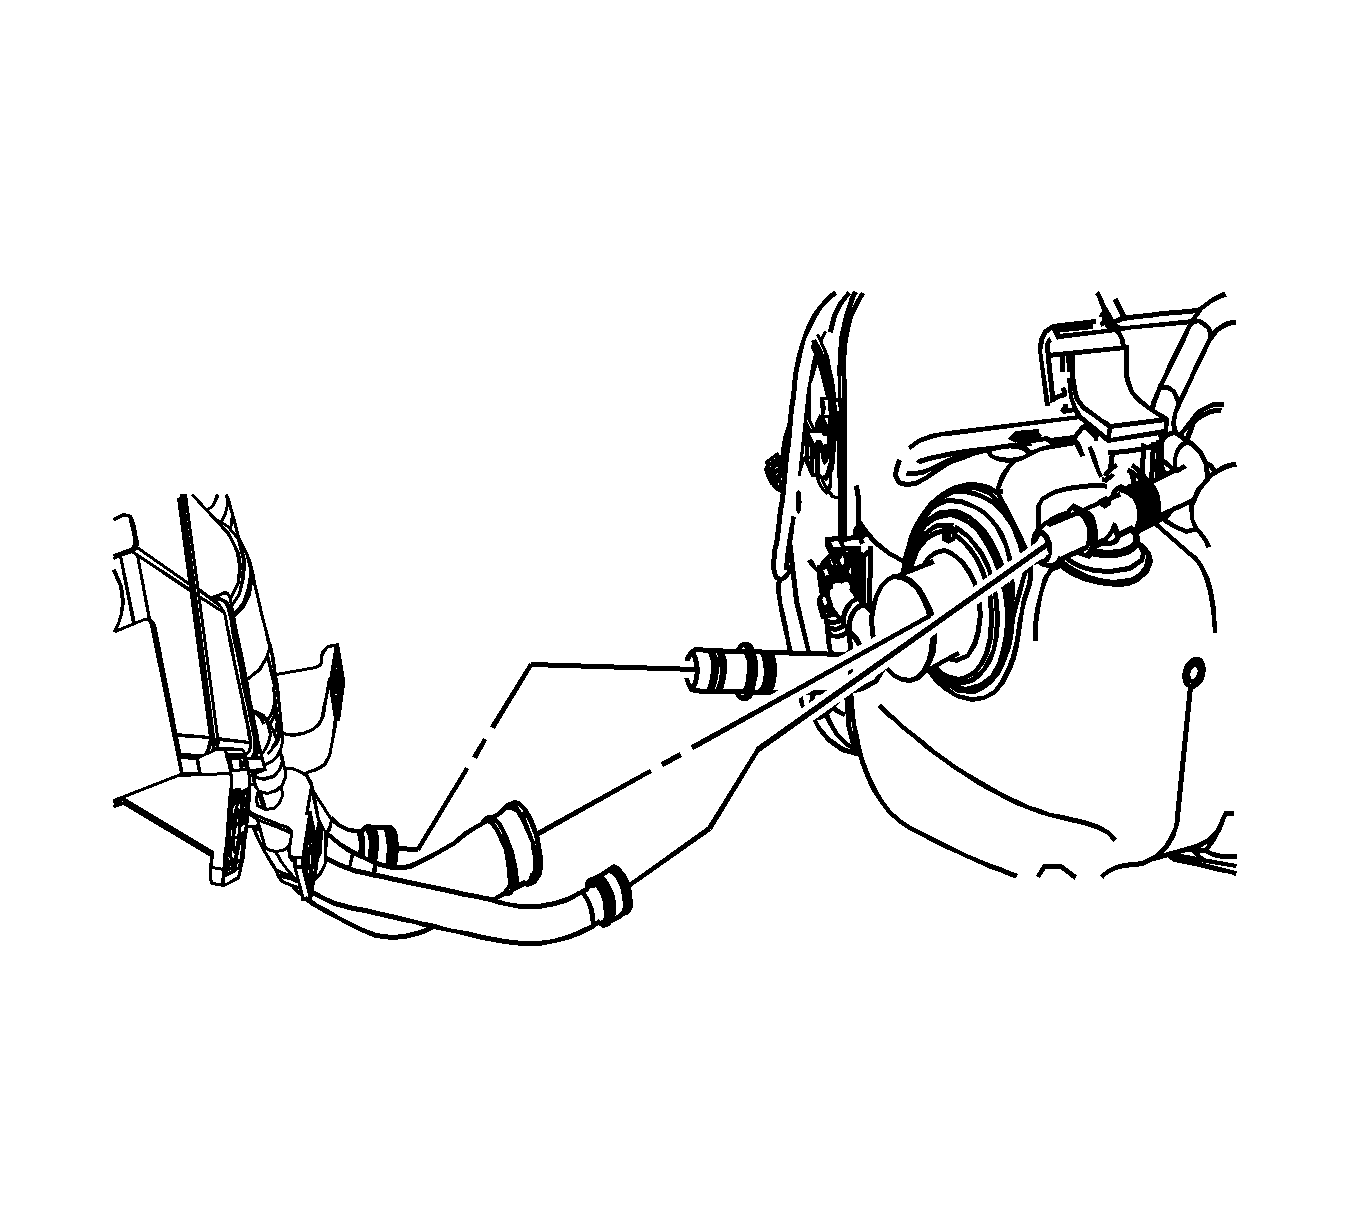
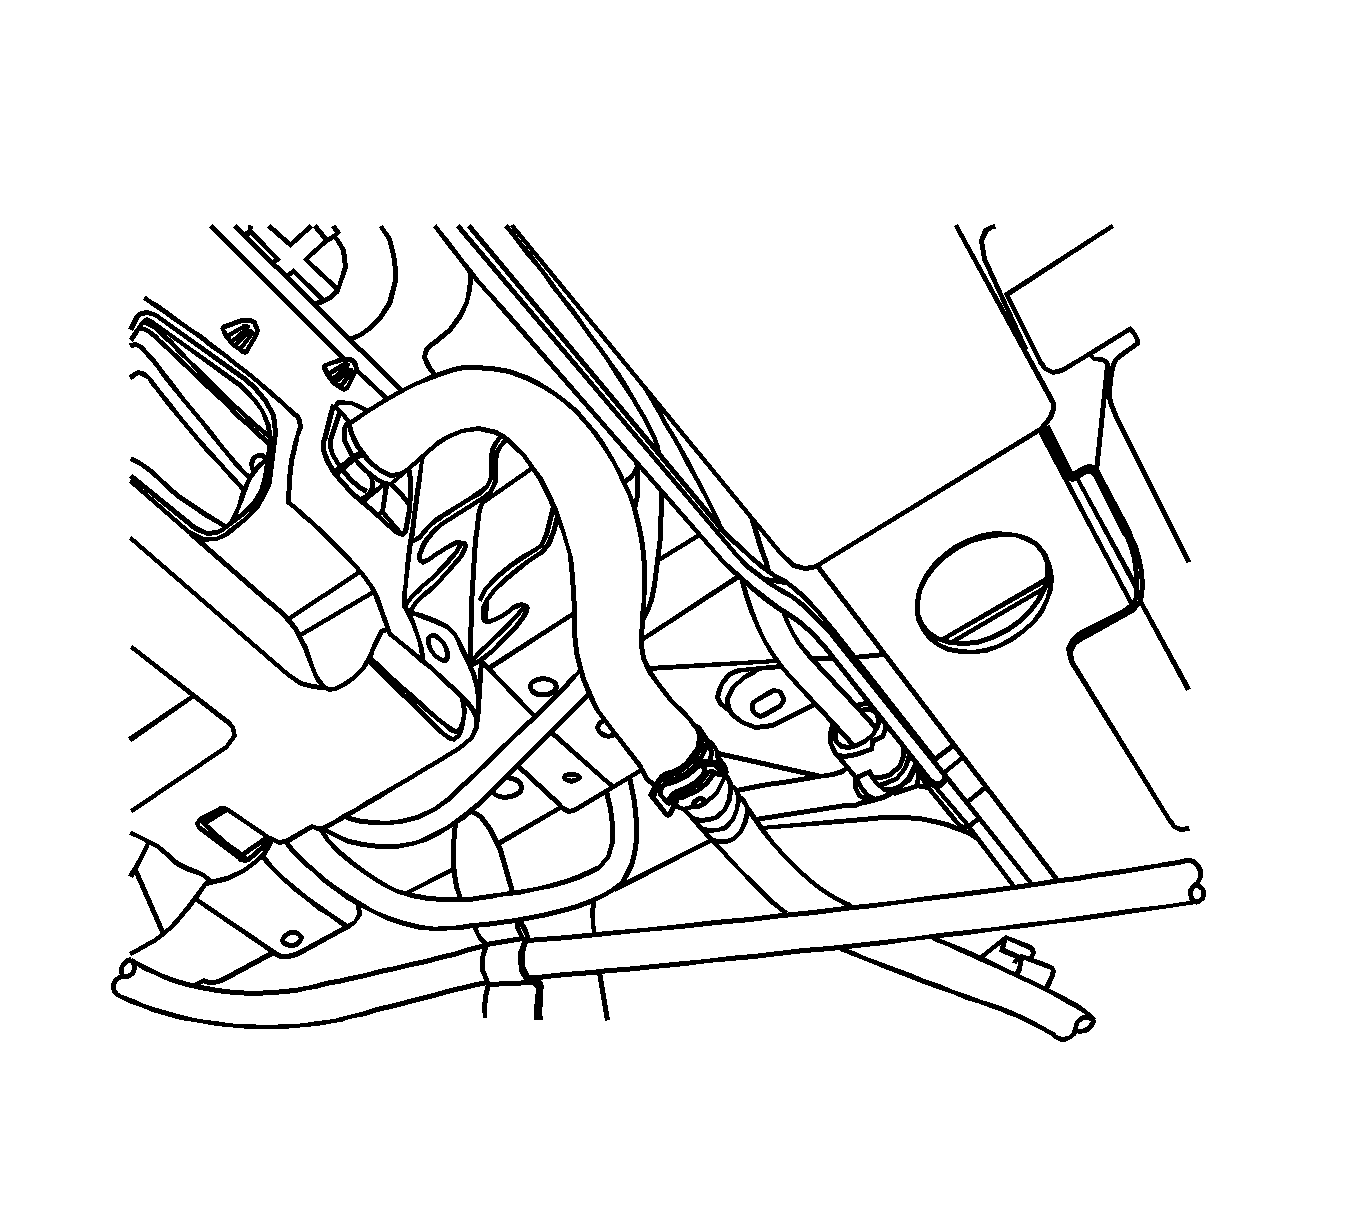
- Disconnect the fuel tank filler tube, evaporative emission (EVAP) vent hose and vapor hose from the fuel tank.
- Disconnect the fuel feed line near the right front side of the fuel tank.
- Disconnect the fuel vapor pipe from the EVAP emission canister.
- Support the fuel tank.
- Remove the parking brake cables support bracket bolts and move it away from the fuel tank.
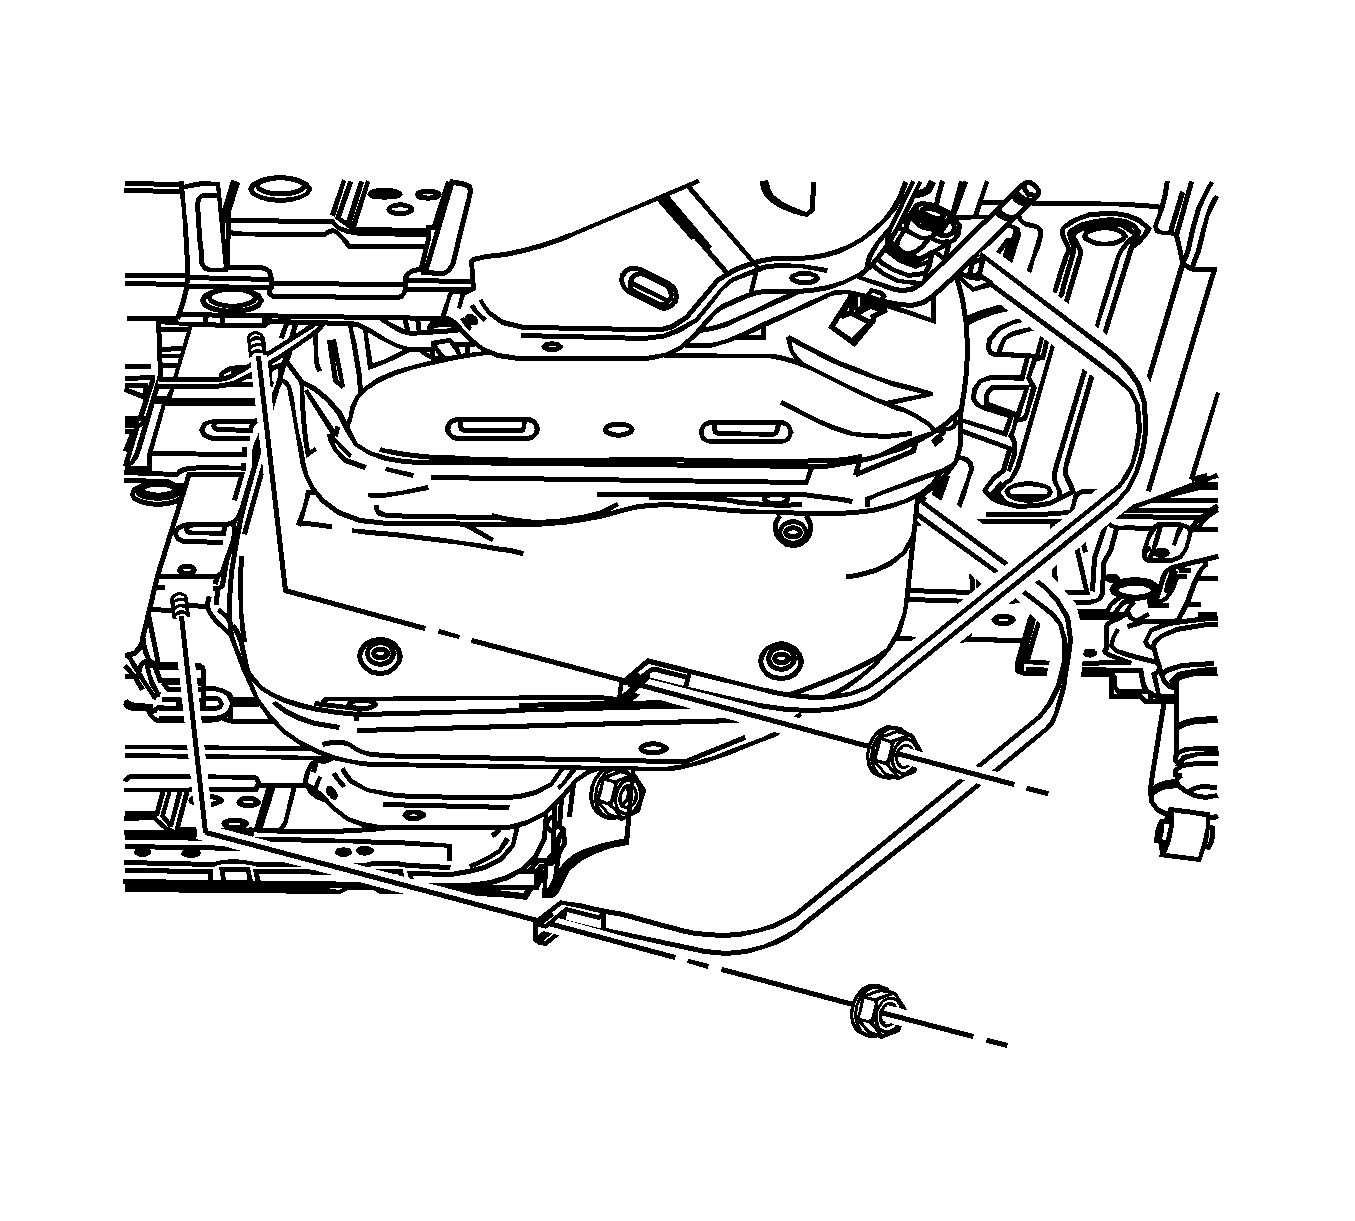
- Remove the fuel tank strap retaining nuts.
- Remove the fuel tank straps.
- Carefully lower the jack and move the front of the fuel pump downward while tilting the rear of the fuel pump upward.
- Remove the fuel tank.
Warning: Refer to Battery Disconnect Warning in the Preface section.
Warning: Gasoline or gasoline vapors are highly flammable. A fire could occur if an ignition source is present. Never drain or store gasoline or diesel fuel in an open container, due to the possibility of fire or explosion. Have a dry chemical (Class B) fire extinguisher nearby.
Warning: Remove the fuel tank cap and relieve the fuel system pressure before servicing the fuel system in order to reduce the risk of personal injury. After you relieve the fuel system pressure, a small amount of fuel may be released when servicing the fuel lines, the fuel injection pump, or the connections. In order to reduce the risk of personal injury, cover the fuel system components with a shop towel before disconnection. This will catch any fuel that may leak out. Place the towel in an approved container when the disconnection is complete.
Installation Procedure
- Install the fuel tank in the position previously removed.
- Install the fuel tank straps.
- Install the parking brake cables support bracket bolts.
- Connect the fuel vapor pipe to the EVAP emission canister.
- Connect the fuel feed line near the right front side of the fuel tank.
- Connect the fuel tank filler tube, EVAP vent hose and vapor hose to the fuel tank.
- Connect the fuel pump connector at the right rear side of the fuel tank.
- Install the parking brake cables support bracket.
- Install the resonator. Refer to Resonator Replacement.
- Fill the fuel tank.
- Connect the negative battery cable.
- Perform a leak check of the fuel tank and the fuel line connections.

Caution: Refer to Fastener Caution in the Preface section.
Tighten
Tighten the fuel tank strap retaining nuts to 20 N·m (15 lb ft).


