For 1990-2009 cars only
Removal Procedure
- Disconnect the negative battery cable. Refer to Battery Negative Cable Disconnection and Connection
- Recover the refrigerant. Refer to Refrigerant Recovery and Recharging
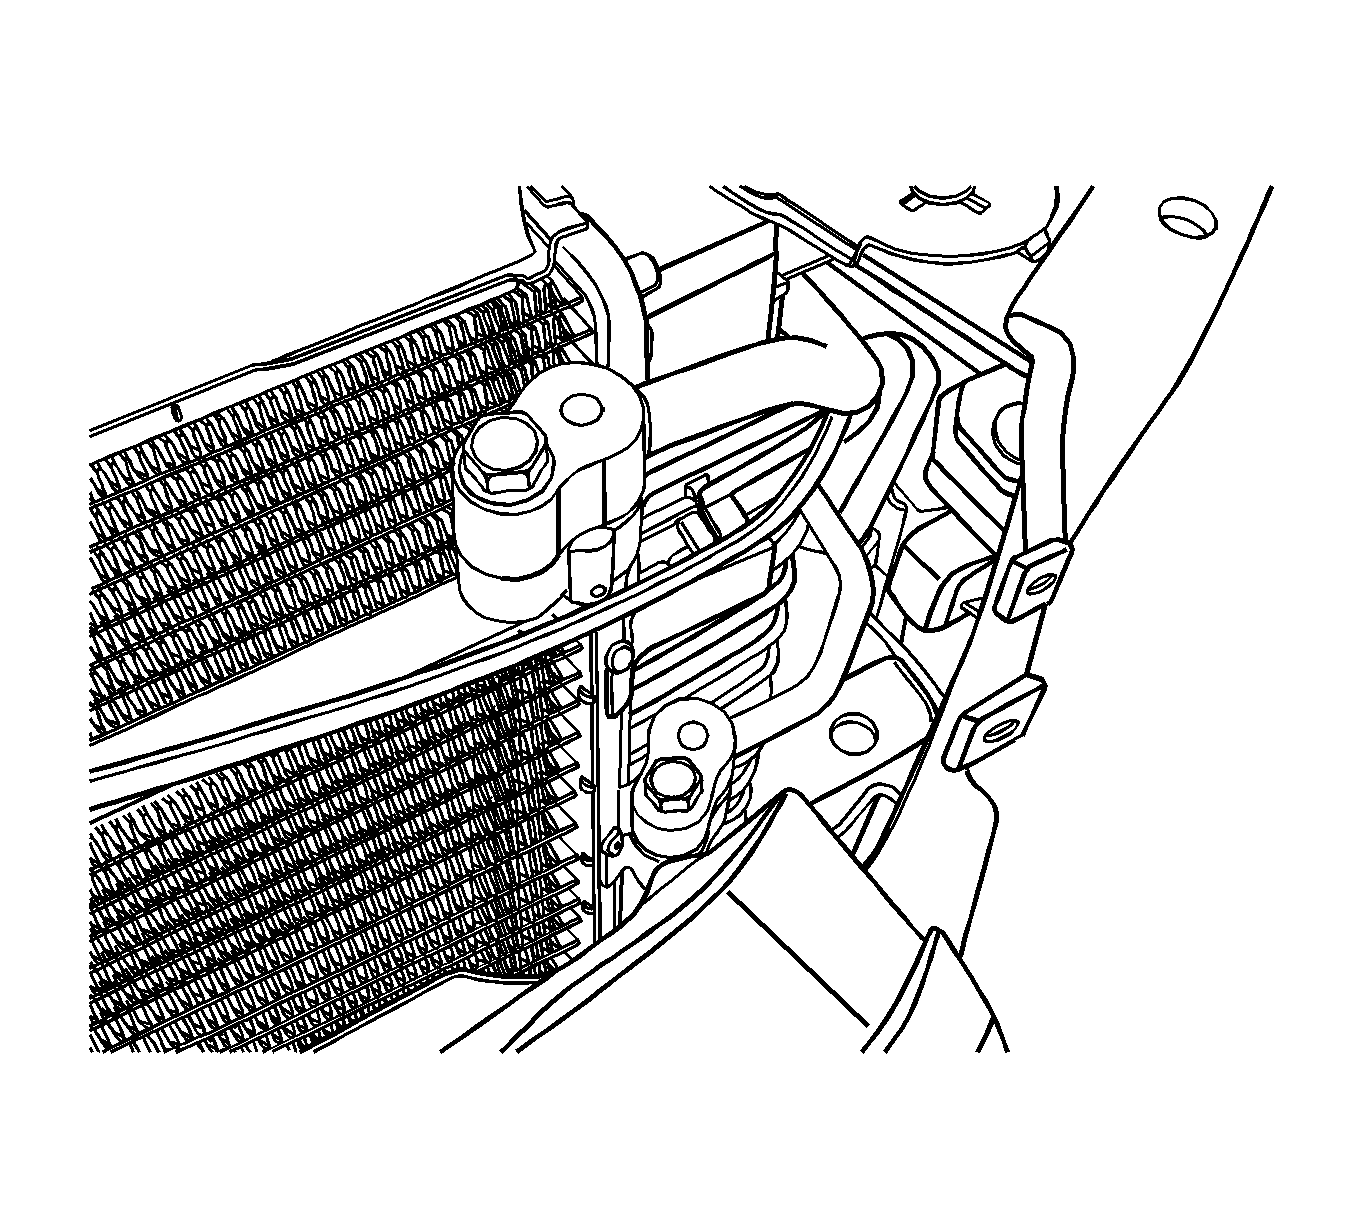
- Remove the liquid line bolt from the condenser.
- Remove the liquid line from the condenser.
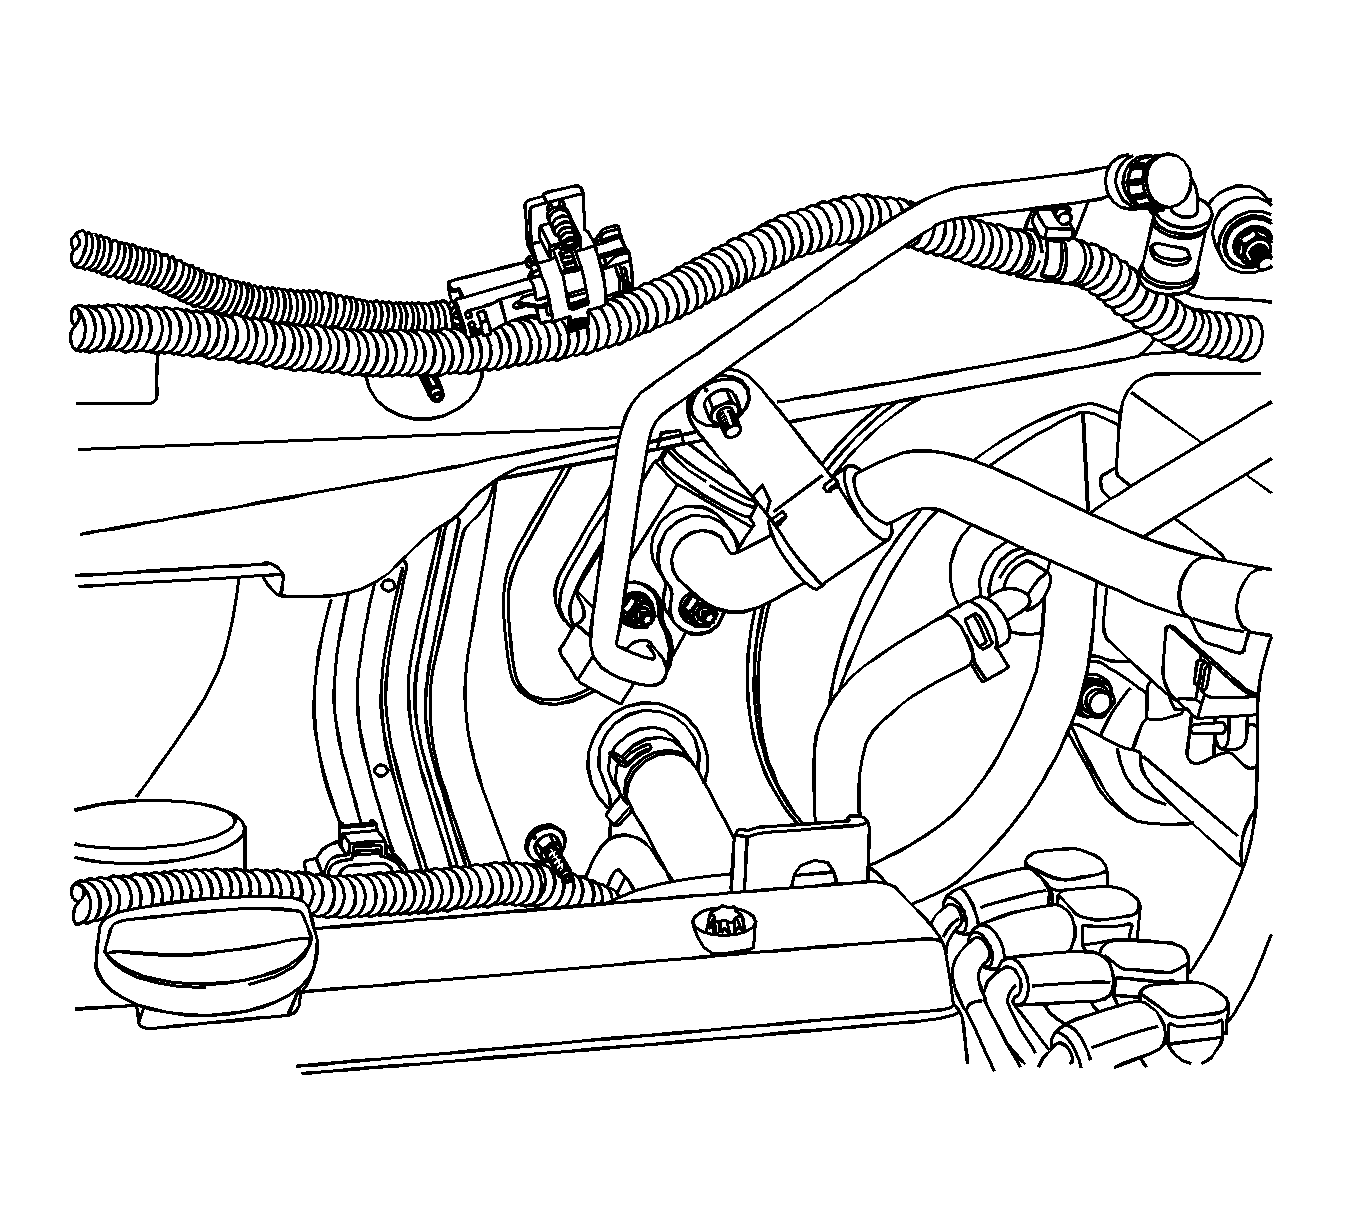
- Remove the liquid line nut from the thermal expansion valve.
- Remove the surge tank. Refer to Radiator Surge Tank Replacement
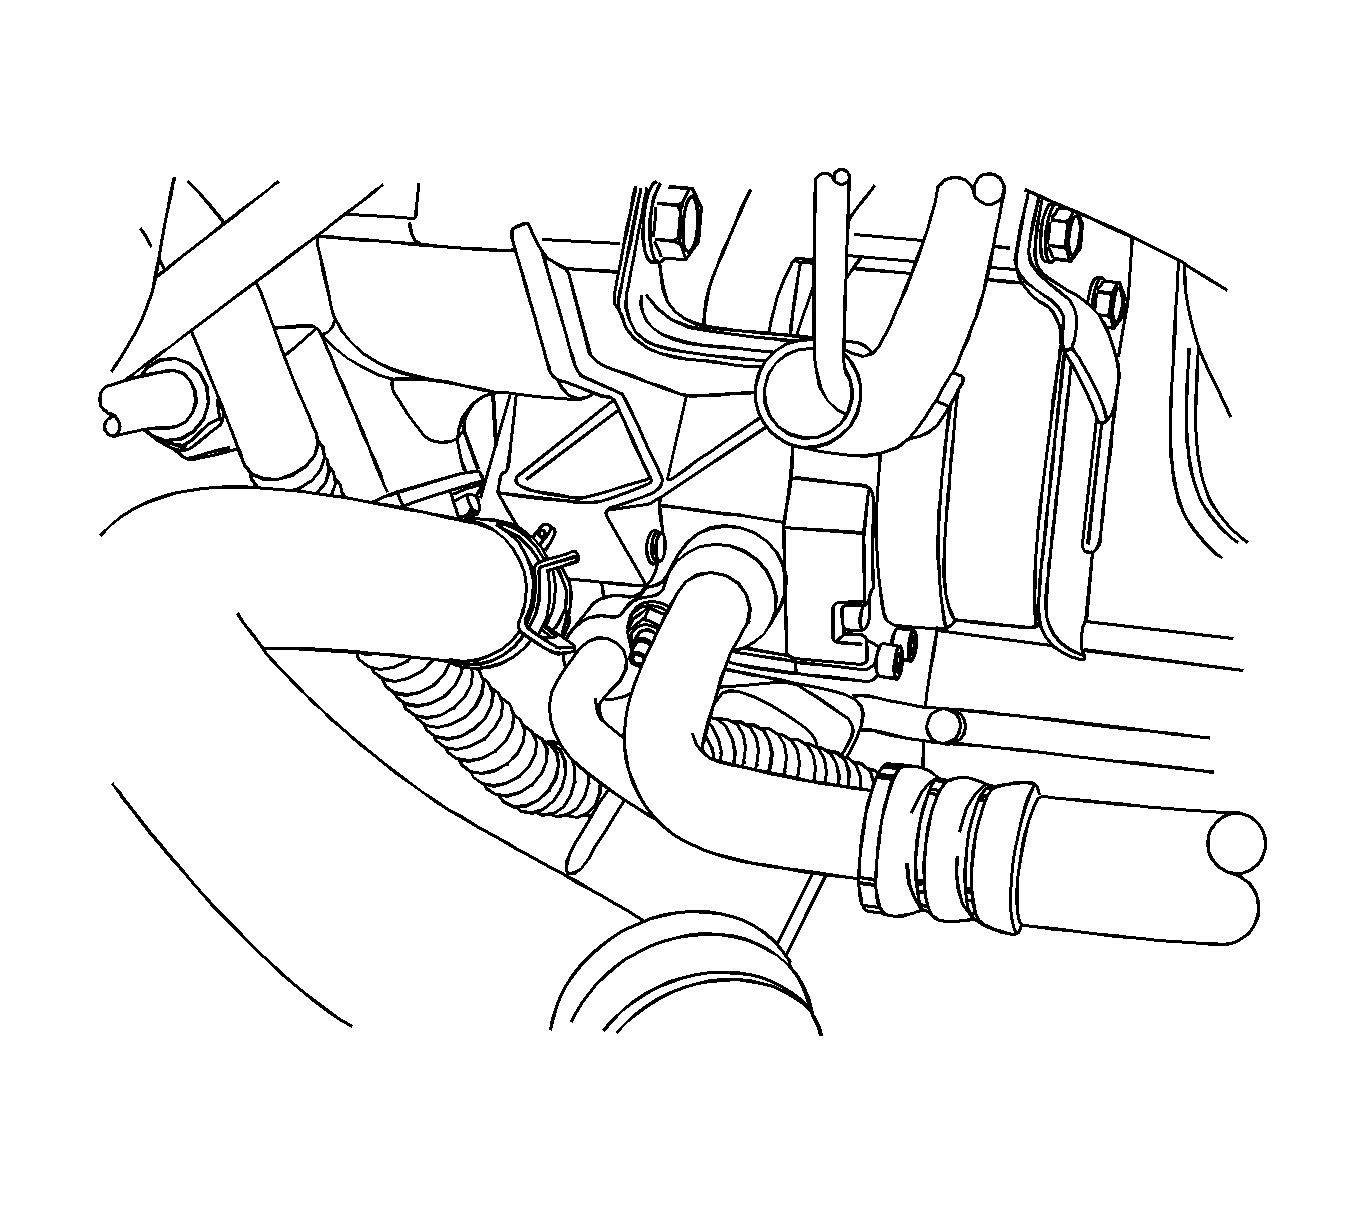
- Remove the ECM bracket mounting nuts.
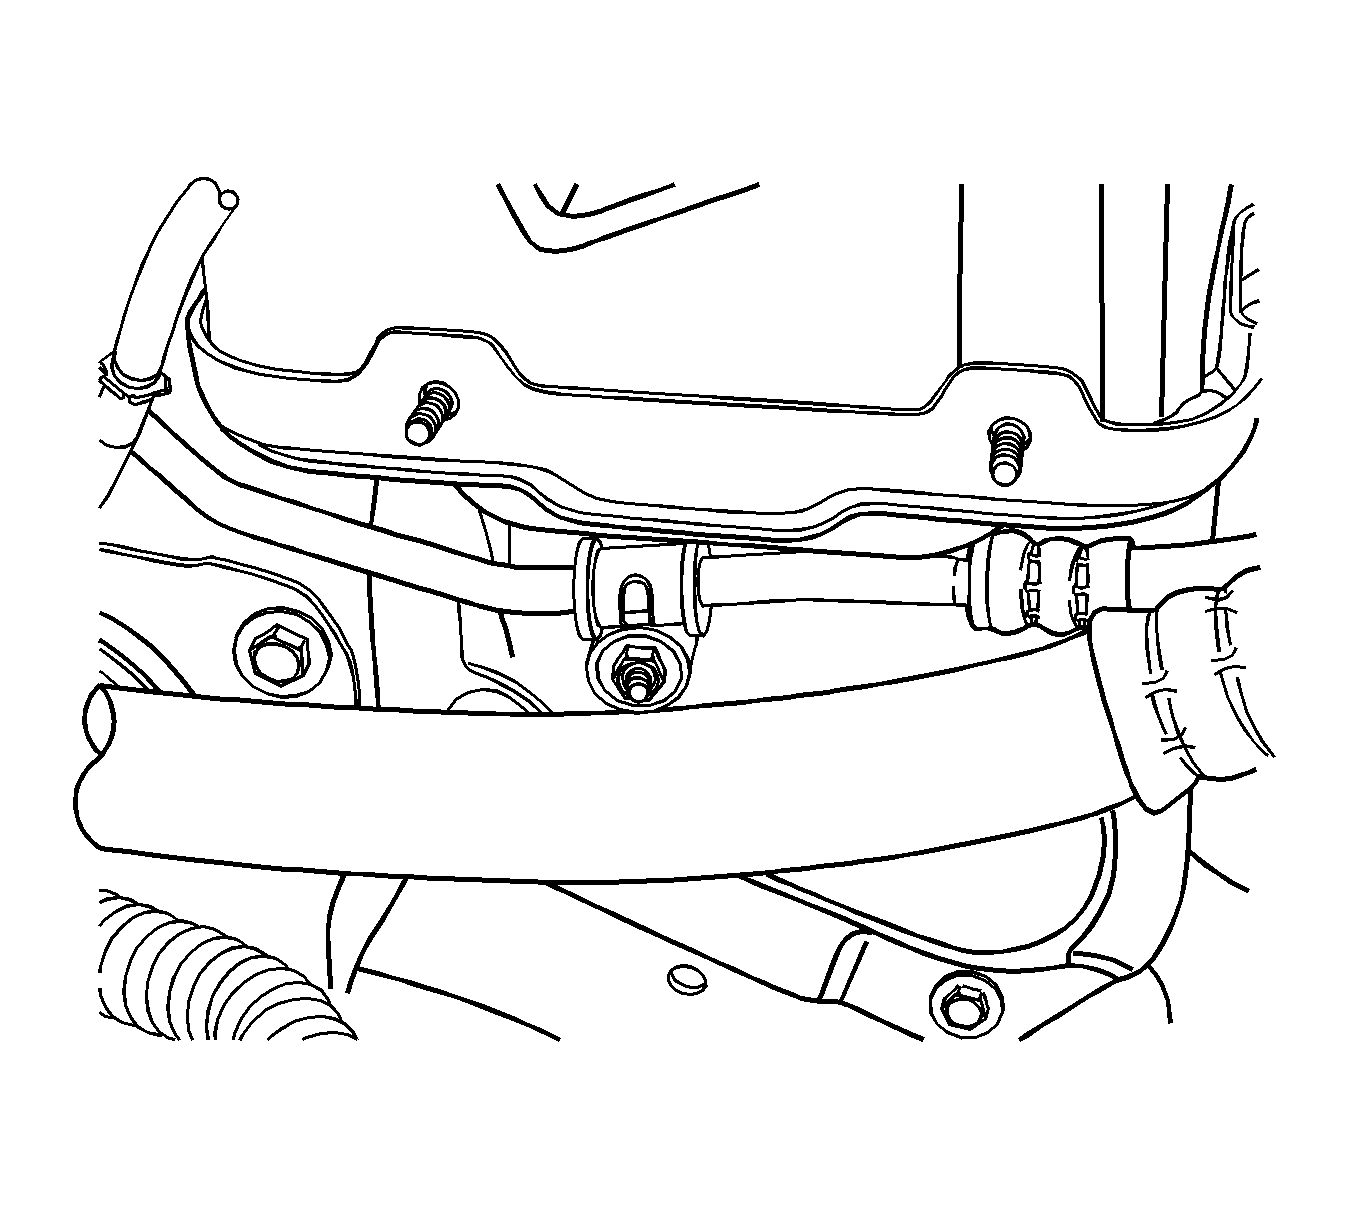
- Remove the liquid line nut from the vehicle.
- Remove the liquid line from the vehicle.
- Remove and discard the seal washers. Refer to Sealing Washer Replacement
Warning: Refer to Battery Disconnect Warning in the Preface section.


Installation Procedure
- Position the liquid line into the vehicle.
- Install the ECM bracket mounting nuts and tighten to 15 N·m (11 lb ft).
- Install new seal washer to the liquid line. Refer to Sealing Washer Replacement
- Install the liquid line to the condenser.
- Install the liquid line to condenser bolt and tighten to 14 N·m (10 lb ft).
- Install the liquid line to the thermal expansion valve.
- Install the liquid line to the thermal expansion valve nut and tighten to 16 N·m (12 lb ft).
- Install the liquid line clip nut to the vehicle.
- Install the surge tank. Refer to Radiator Surge Tank Replacement
- Connect the negative battery cable.
- Recharge the A/C system. Refer to Refrigerant Recovery and Recharging

Caution: Refer to Fastener Caution in the Preface section.


