For 1990-2009 cars only
Tools Required
J 8433 Two Jaw Puller
- Remove the drain plug (3) and drain the transmission fluid and discard washer.
- Remove the backup lamp switch (2) and washer (1) from the case.
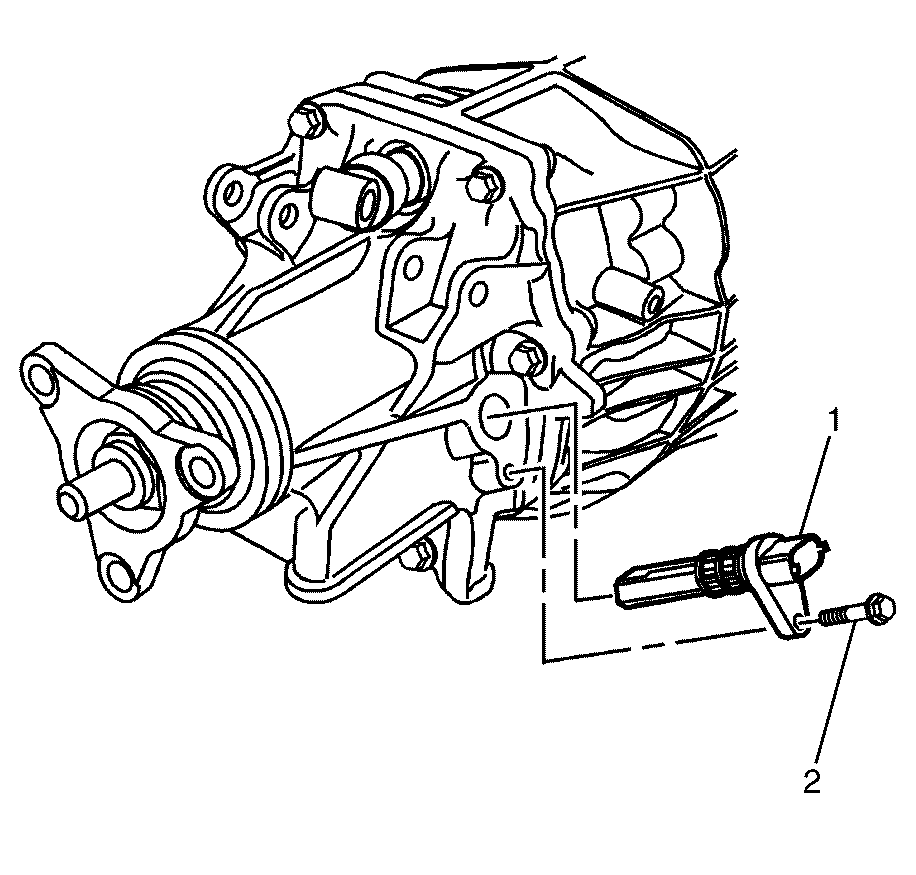
- Remove the output sensor (1) and bolt (2) from the rear extension housing.
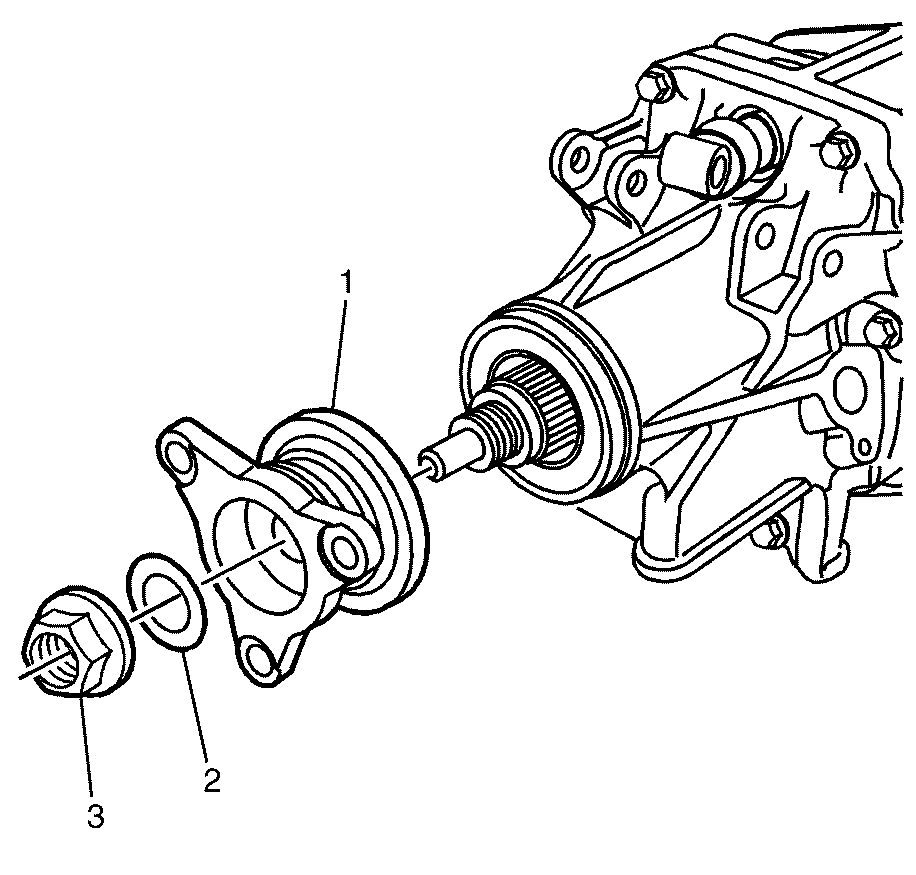
- Using a suitable tool, release the staking of the propshaft flange nut (3).
- Remove the thrust washer (2) from the propshaft flange assembly.
- Remove the propshaft flange nut (3) and propshaft flange assembly (1).
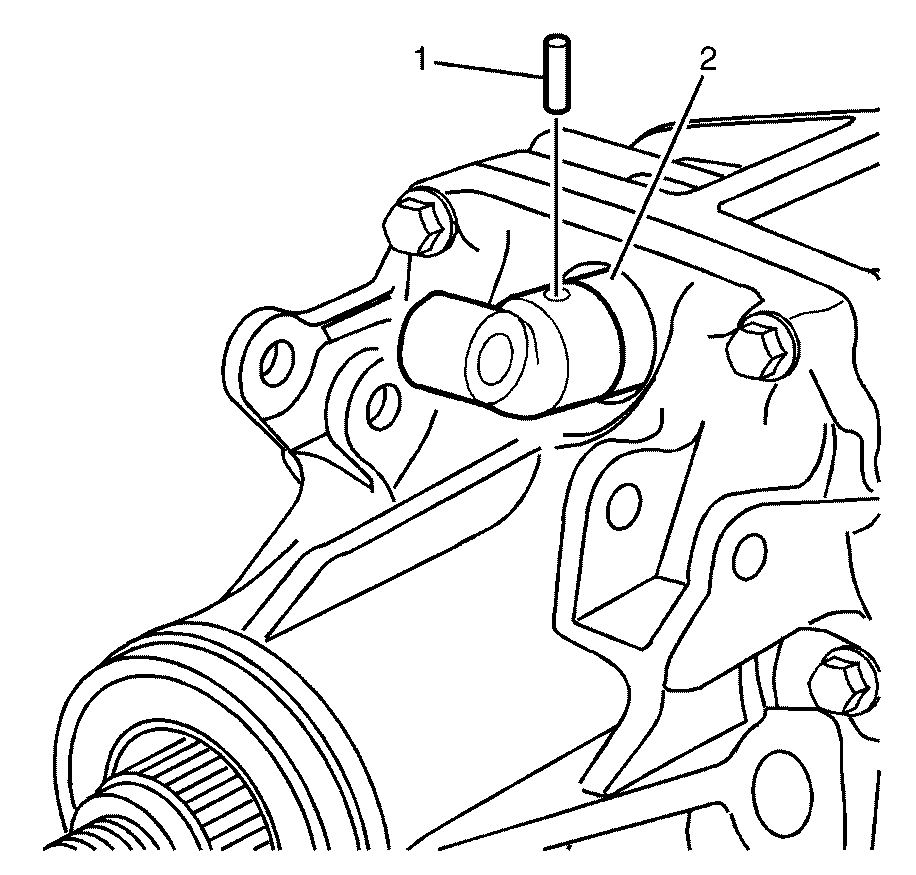
- To release the staking, insert a suitable tool into the gap between the select shift lever retainer (2) and the rod.
- Using a suitable tool, rotate the select shift lever retainer (2) forward.
- Using a suitable tool, remove the shift lever pin (1).
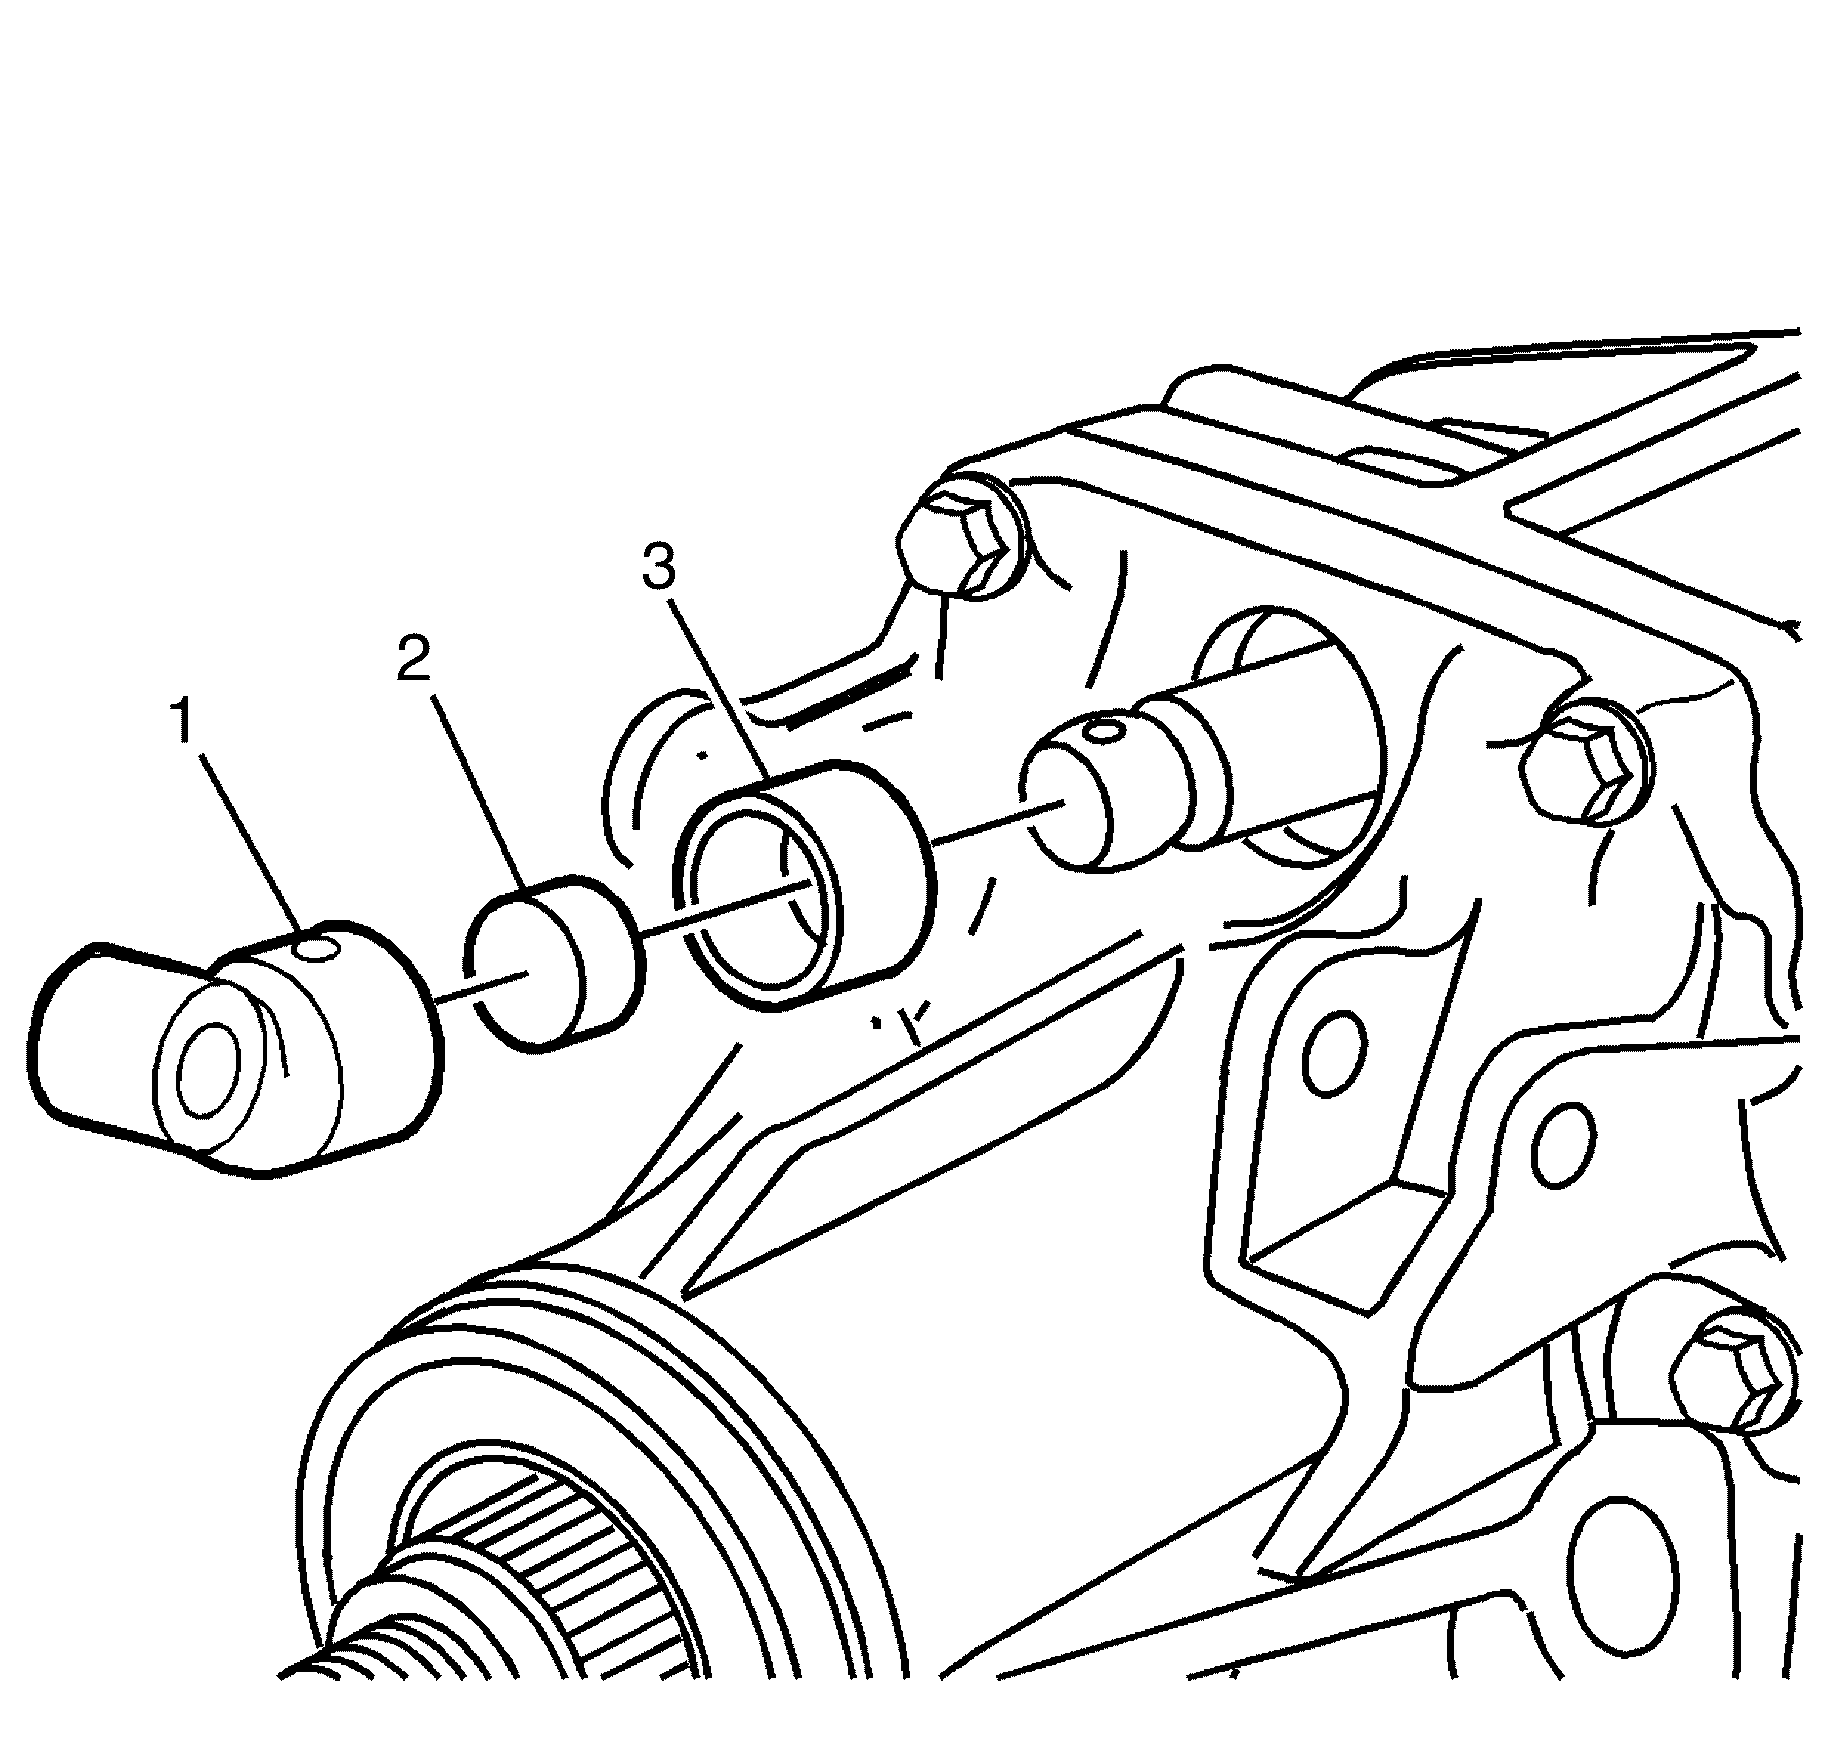
- Remove the shift lever rod universal joint (1), damper (2) and select shift lever retainer (3) from the end of the shift selector.
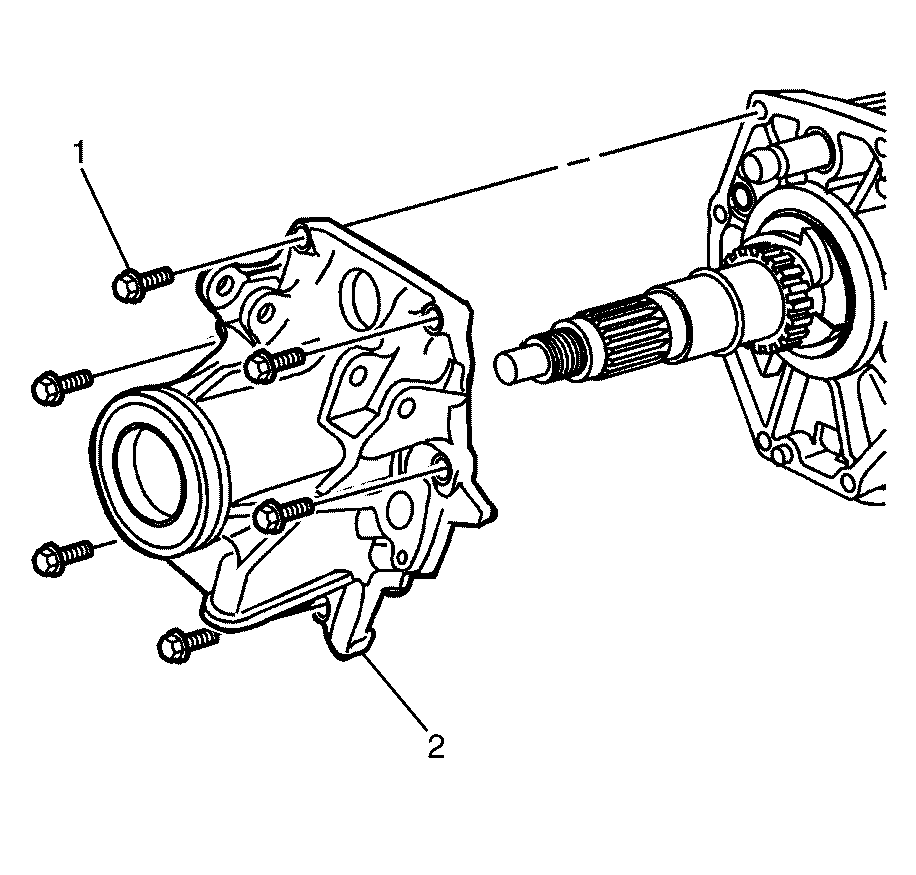
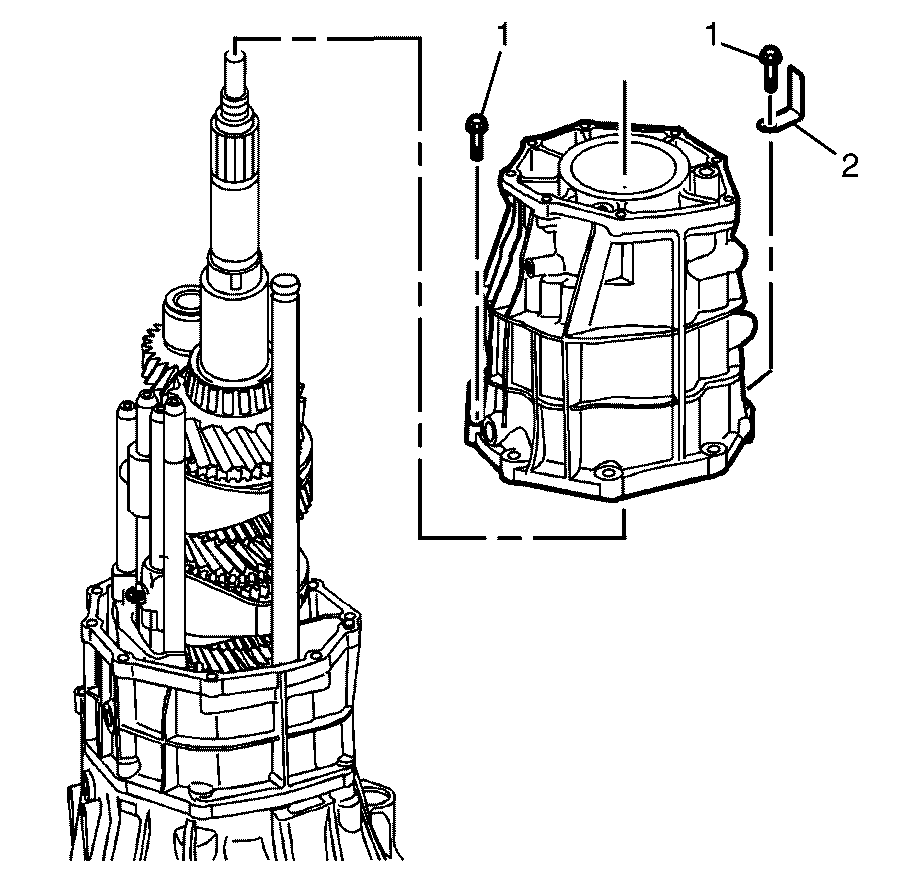
- Remove the transmission housing to extension housing retaining bolts (1).
- Remove the extension housing (2) from the transmission..
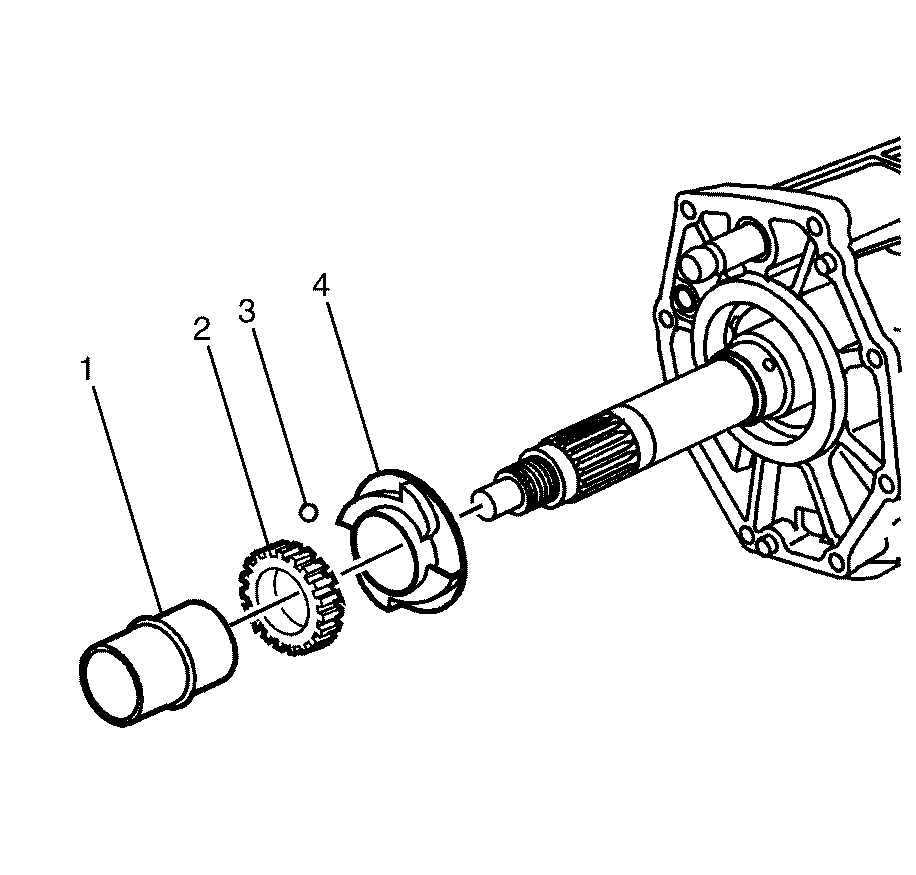
- Remove the rear output shaft rear bearing spacer (1) from the main shaft.
- Remove the vehicle speed sensor drive gear (2) from the main shaft.
- Remove the locking ball (3) from the main shaft.
- Remove the main shaft bearing oil slinger (4) from the main shaft.
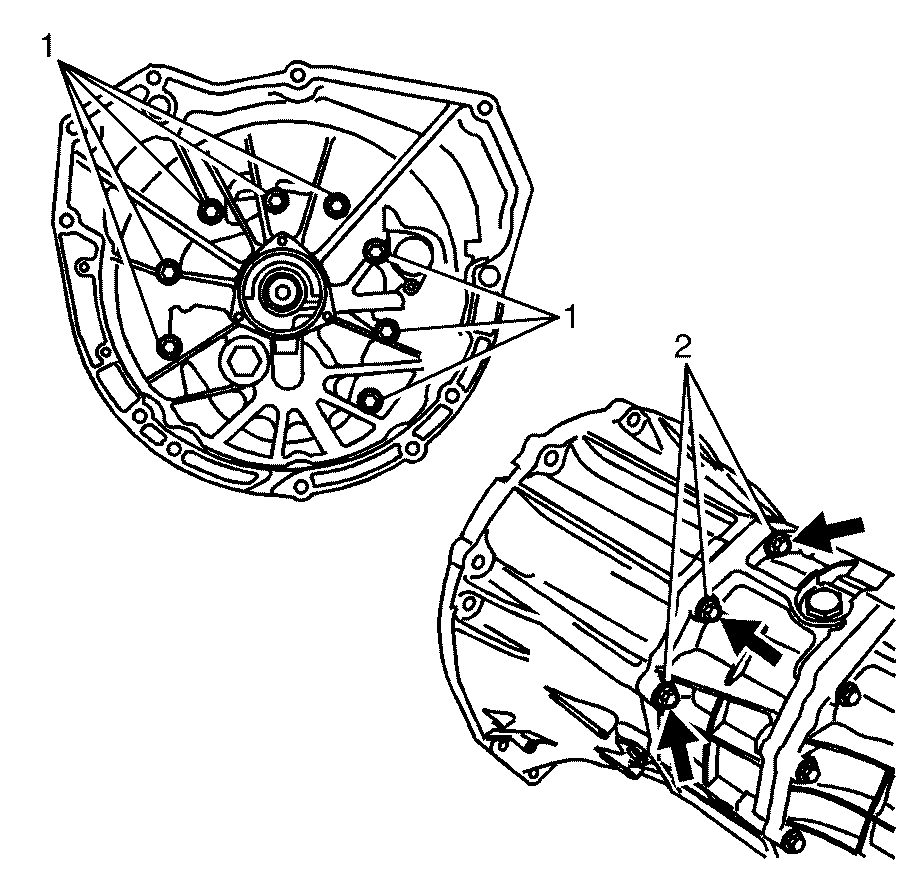
- Remove the transmission case to clutch housing inner retaining bolts (1).
- Remove the transmission case to clutch housing outer retaining bolts (2).
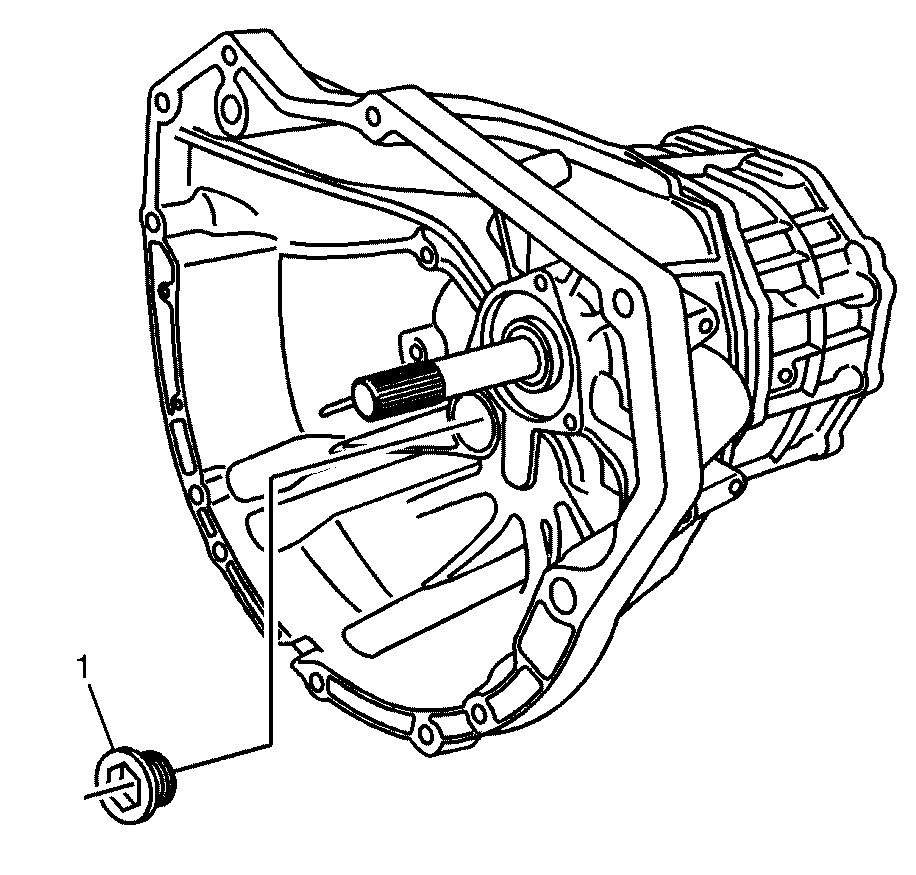
- Remove the clutch housing hole plug (1) from the clutch housing.
- Remove the following components from the rear case housing:
- Remove the intermediate case to rear case housing retaining bolts (1).
- Using a suitable tool, separate the rear case housing from the intermediate case housing.
- Remove the rear case housing.
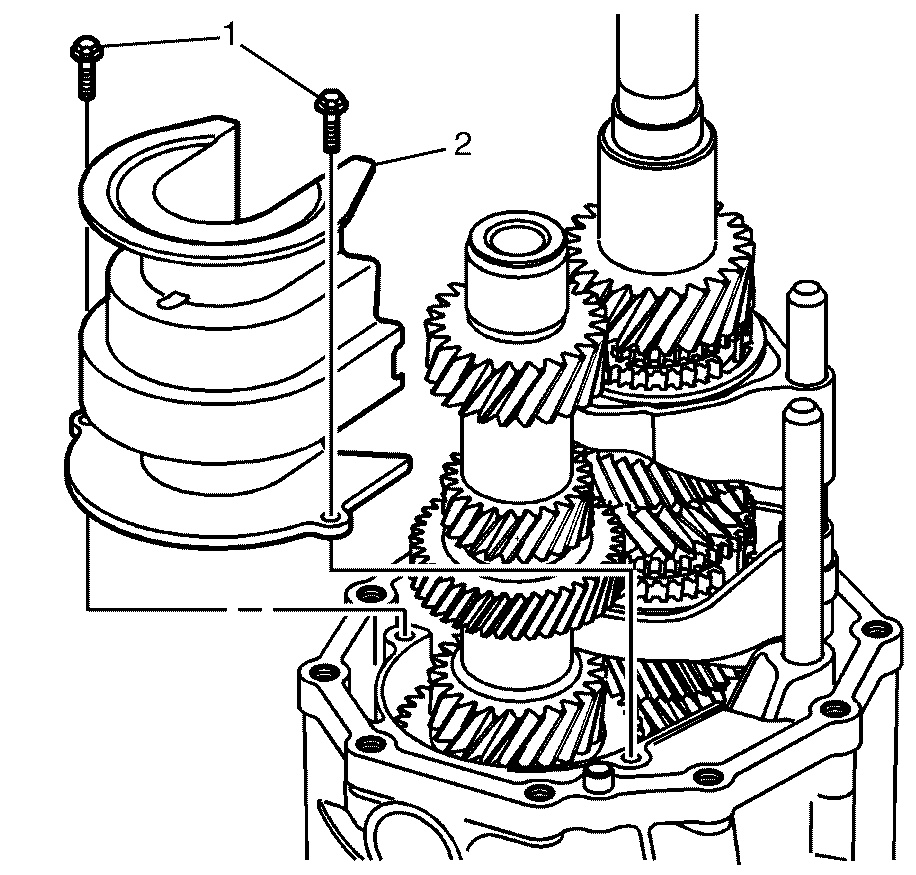
- Remove the oil trough to intermediate case housing retaining bolts (1).
- Remove the oil trough (2) from the intermediate case housing.
- Remove the oil trough pipe (1) from the intermediate case.
- Remove the reverse idler gear shaft to intermediate case retaining bolt (2).
- Remove the reverse idler gear shaft washer (3) from the retaining bolt and discard.
- Using a suitable tool, separate the intermediate case (1) from the front clutch housing (2).
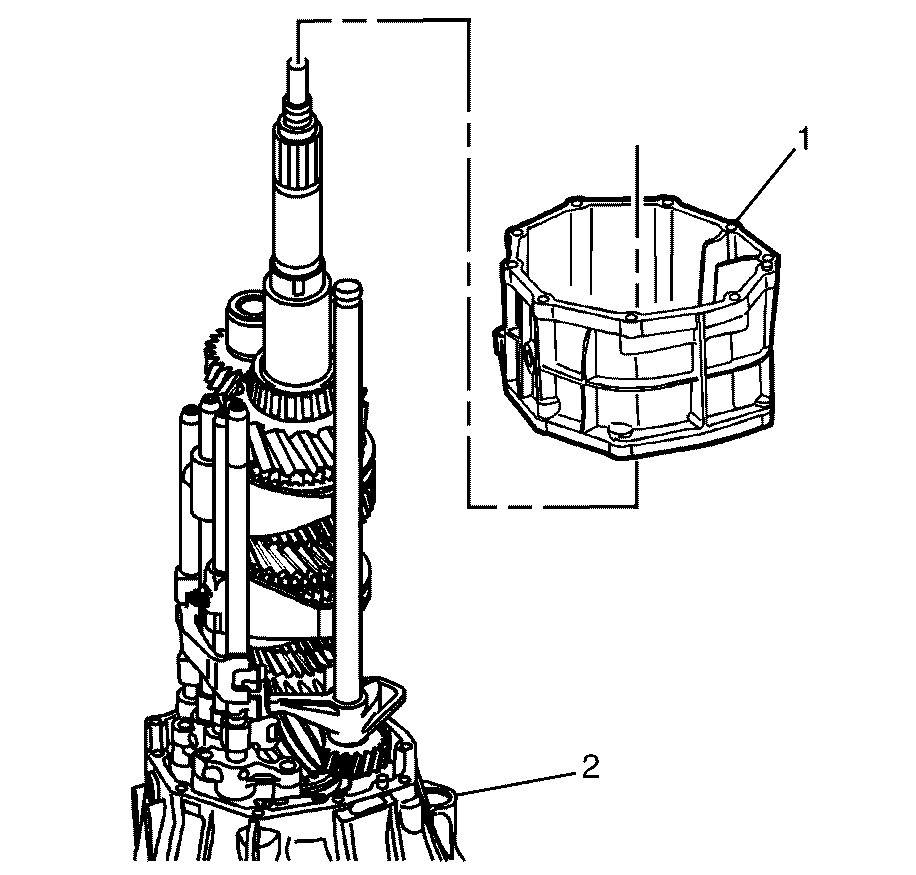
- Remove the intermediate case housing (1) from the clutch housing.
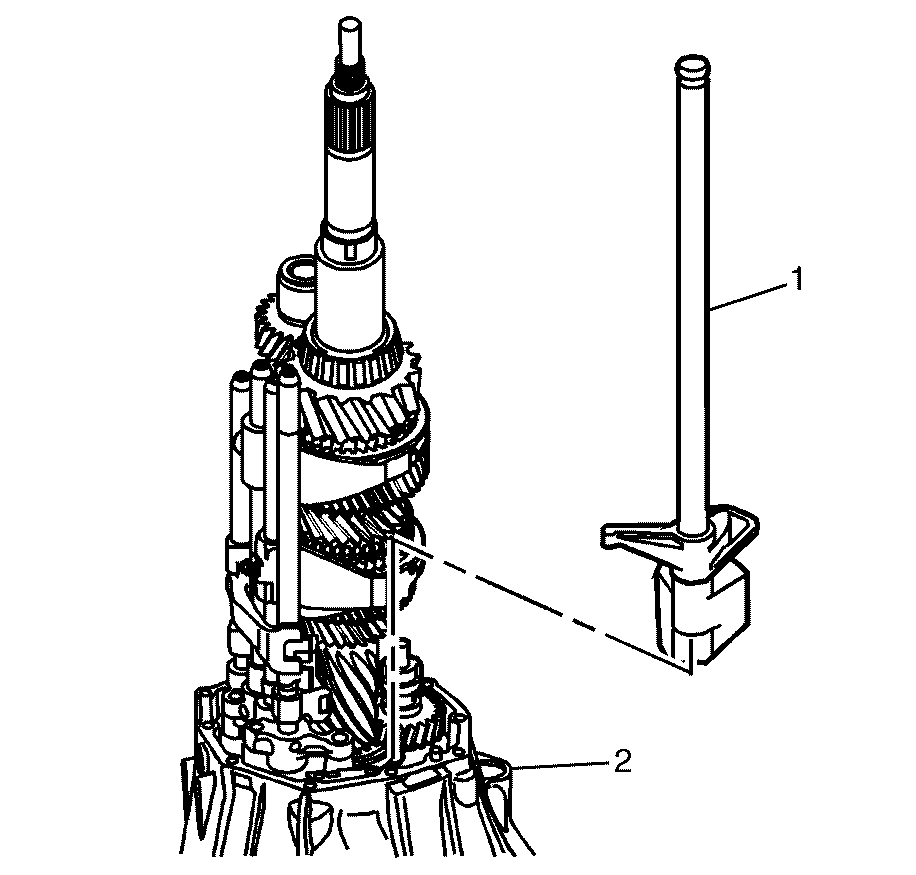
- Remove the shift shaft selector lever (1) from the clutch housing (2).
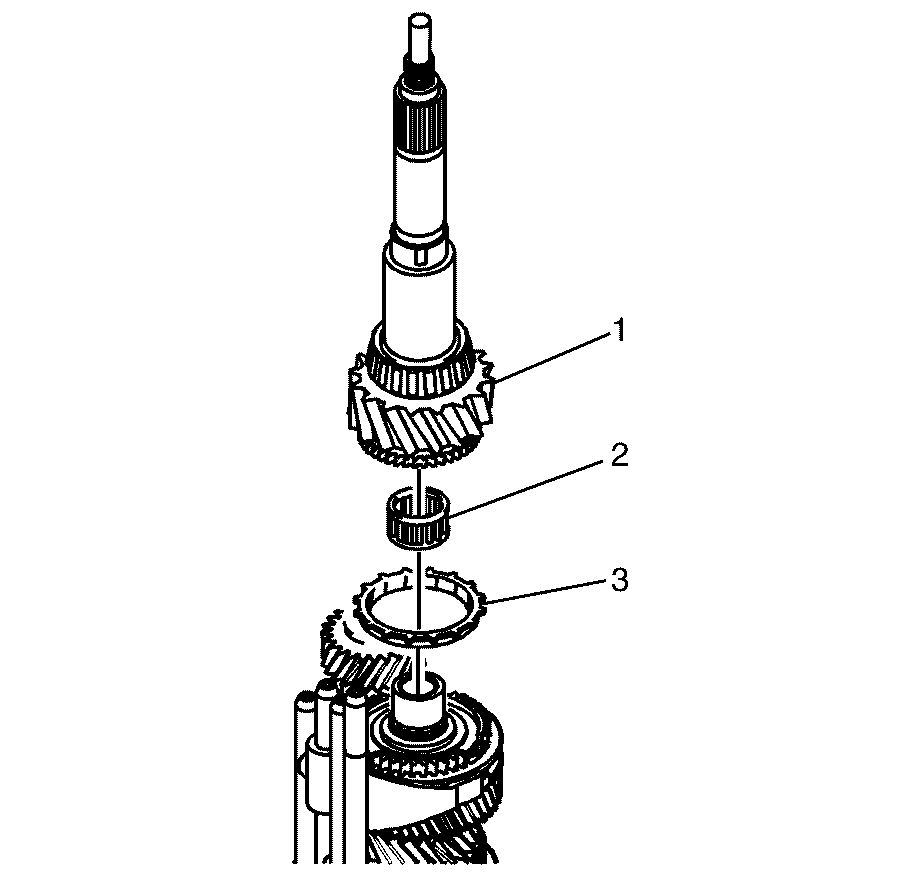
- Remove the rear output shaft (1), input shaft bearing (2) and blocking ring (3) from the 6th gear synchronizer assembly.
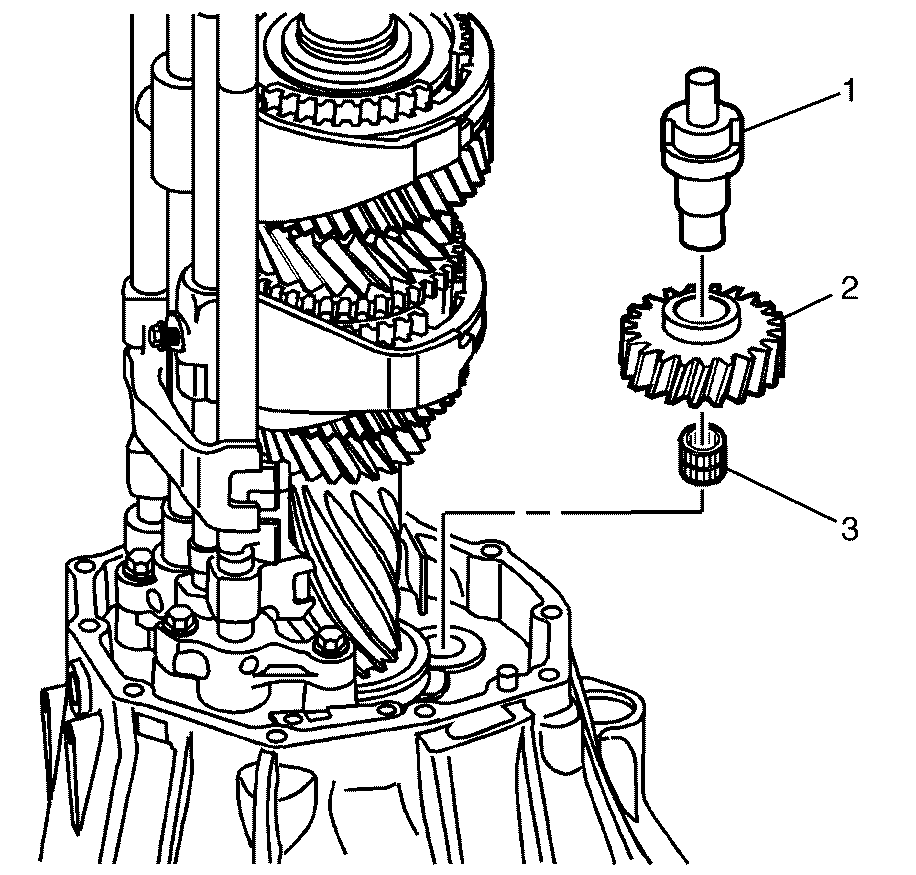
- Remove the reverse idler gear bearing (3), reverse idler gear (2) and the reverse idler gear shaft (1).
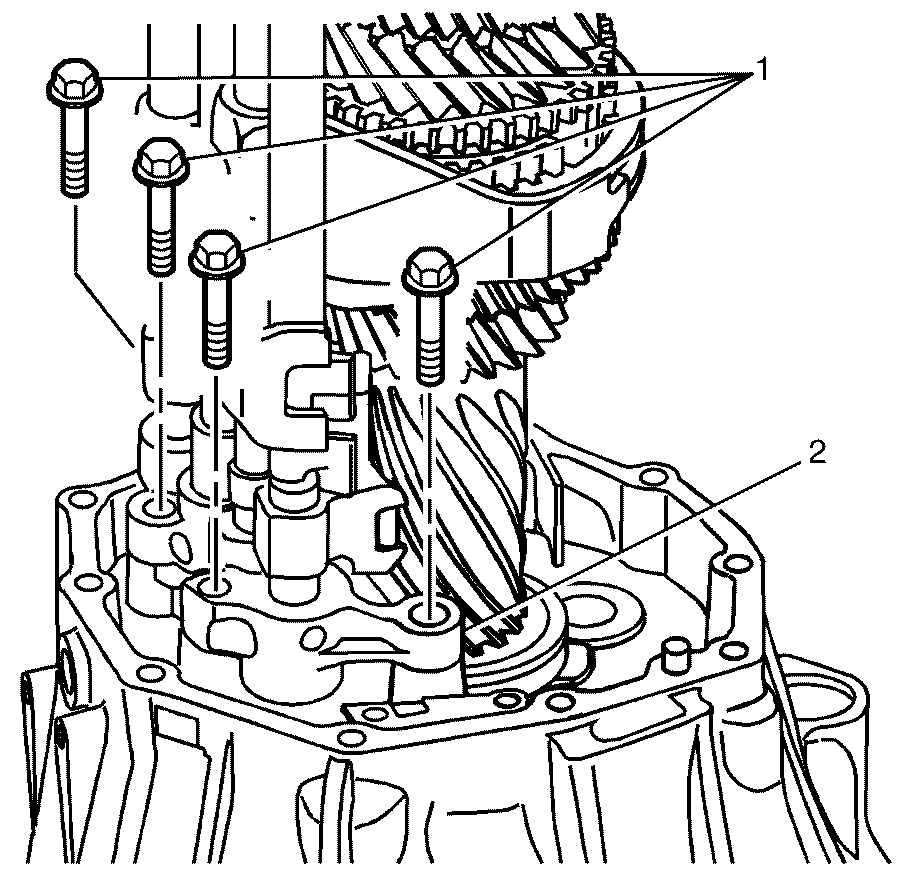
- Remove the shift counter lever bracket (2) to clutch housing retaining bolts (1).
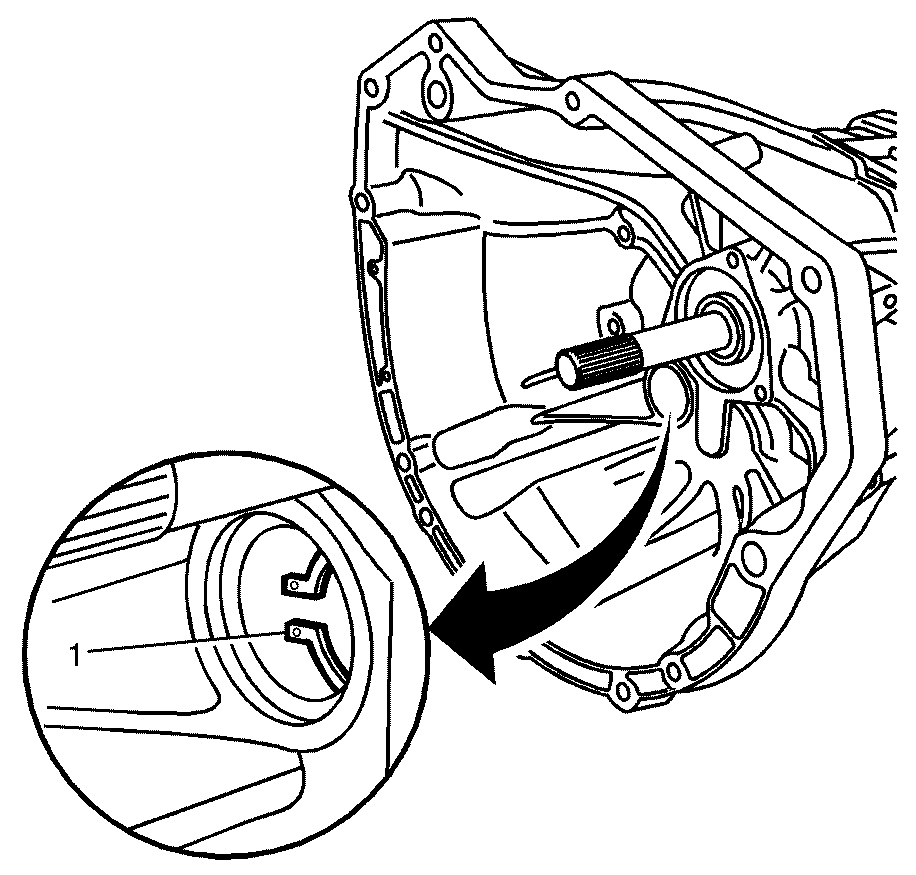
- Remove the front counter shaft bearing to clutch housing snap ring (1).
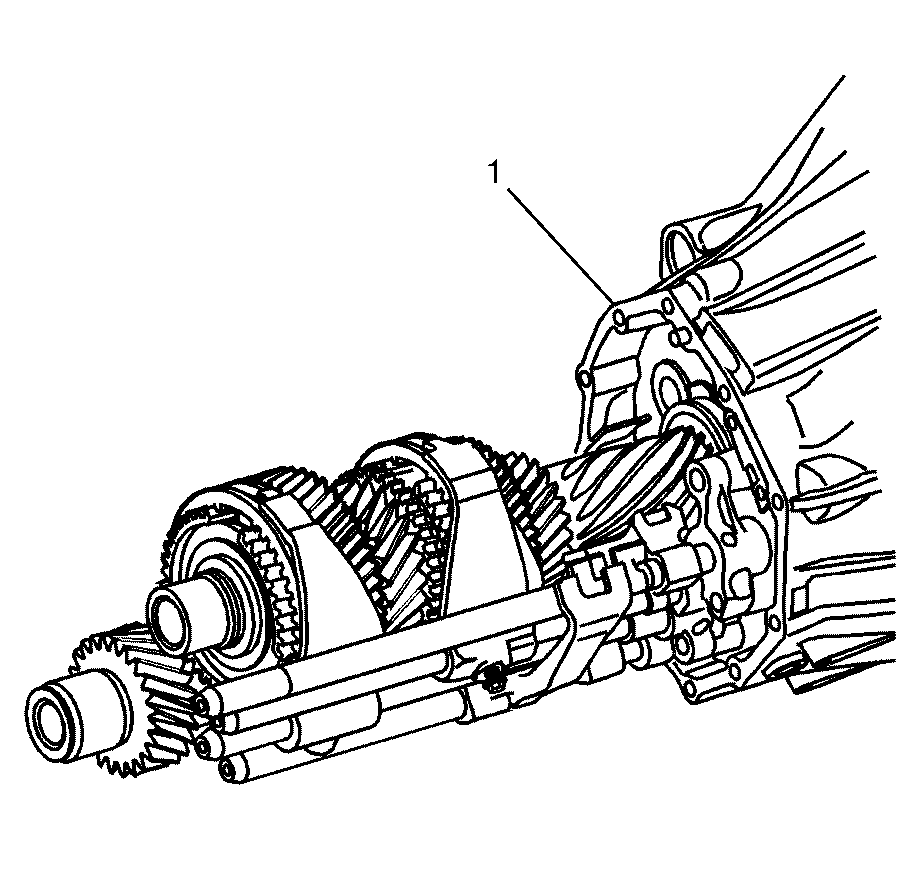
- Using a suitable tool, tap on transmission front case (1) in order to disengage the countershaft bearing's snap ring.
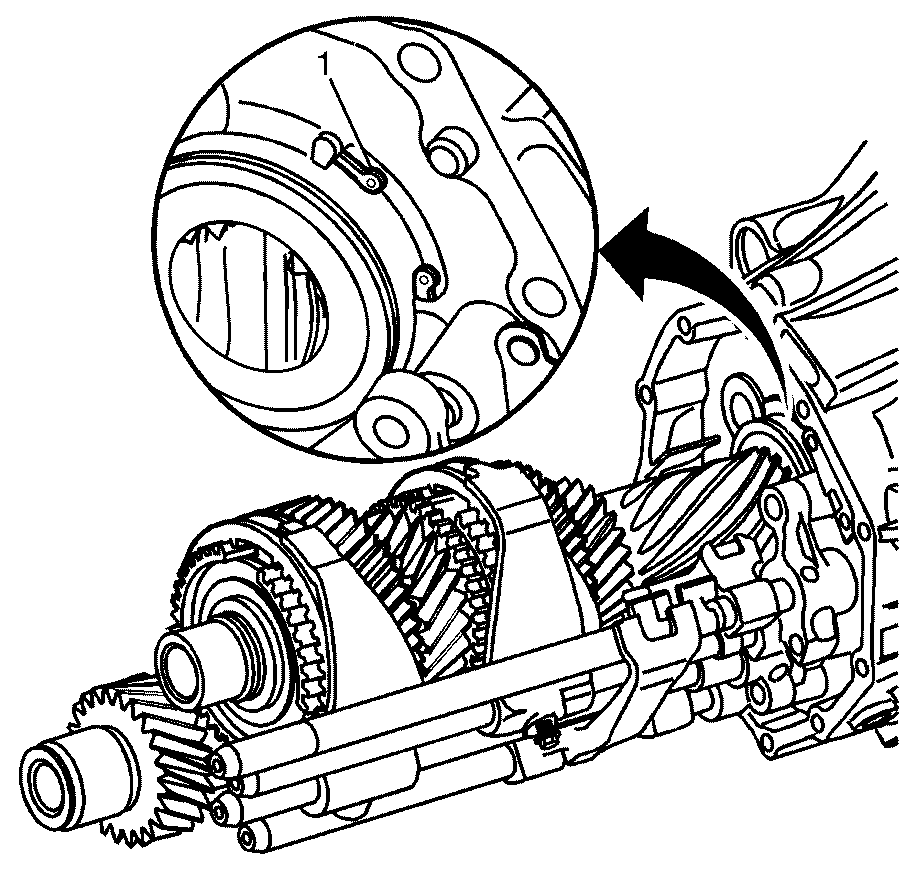
- Remove the rear input shaft bearing to clutch housing snap ring (1).
- Hold the countershaft. Using a suitable tool tap on the transmission front case (1) in order to disengage the snap ring. Separate the input shaft and countershaft from clutch housing.
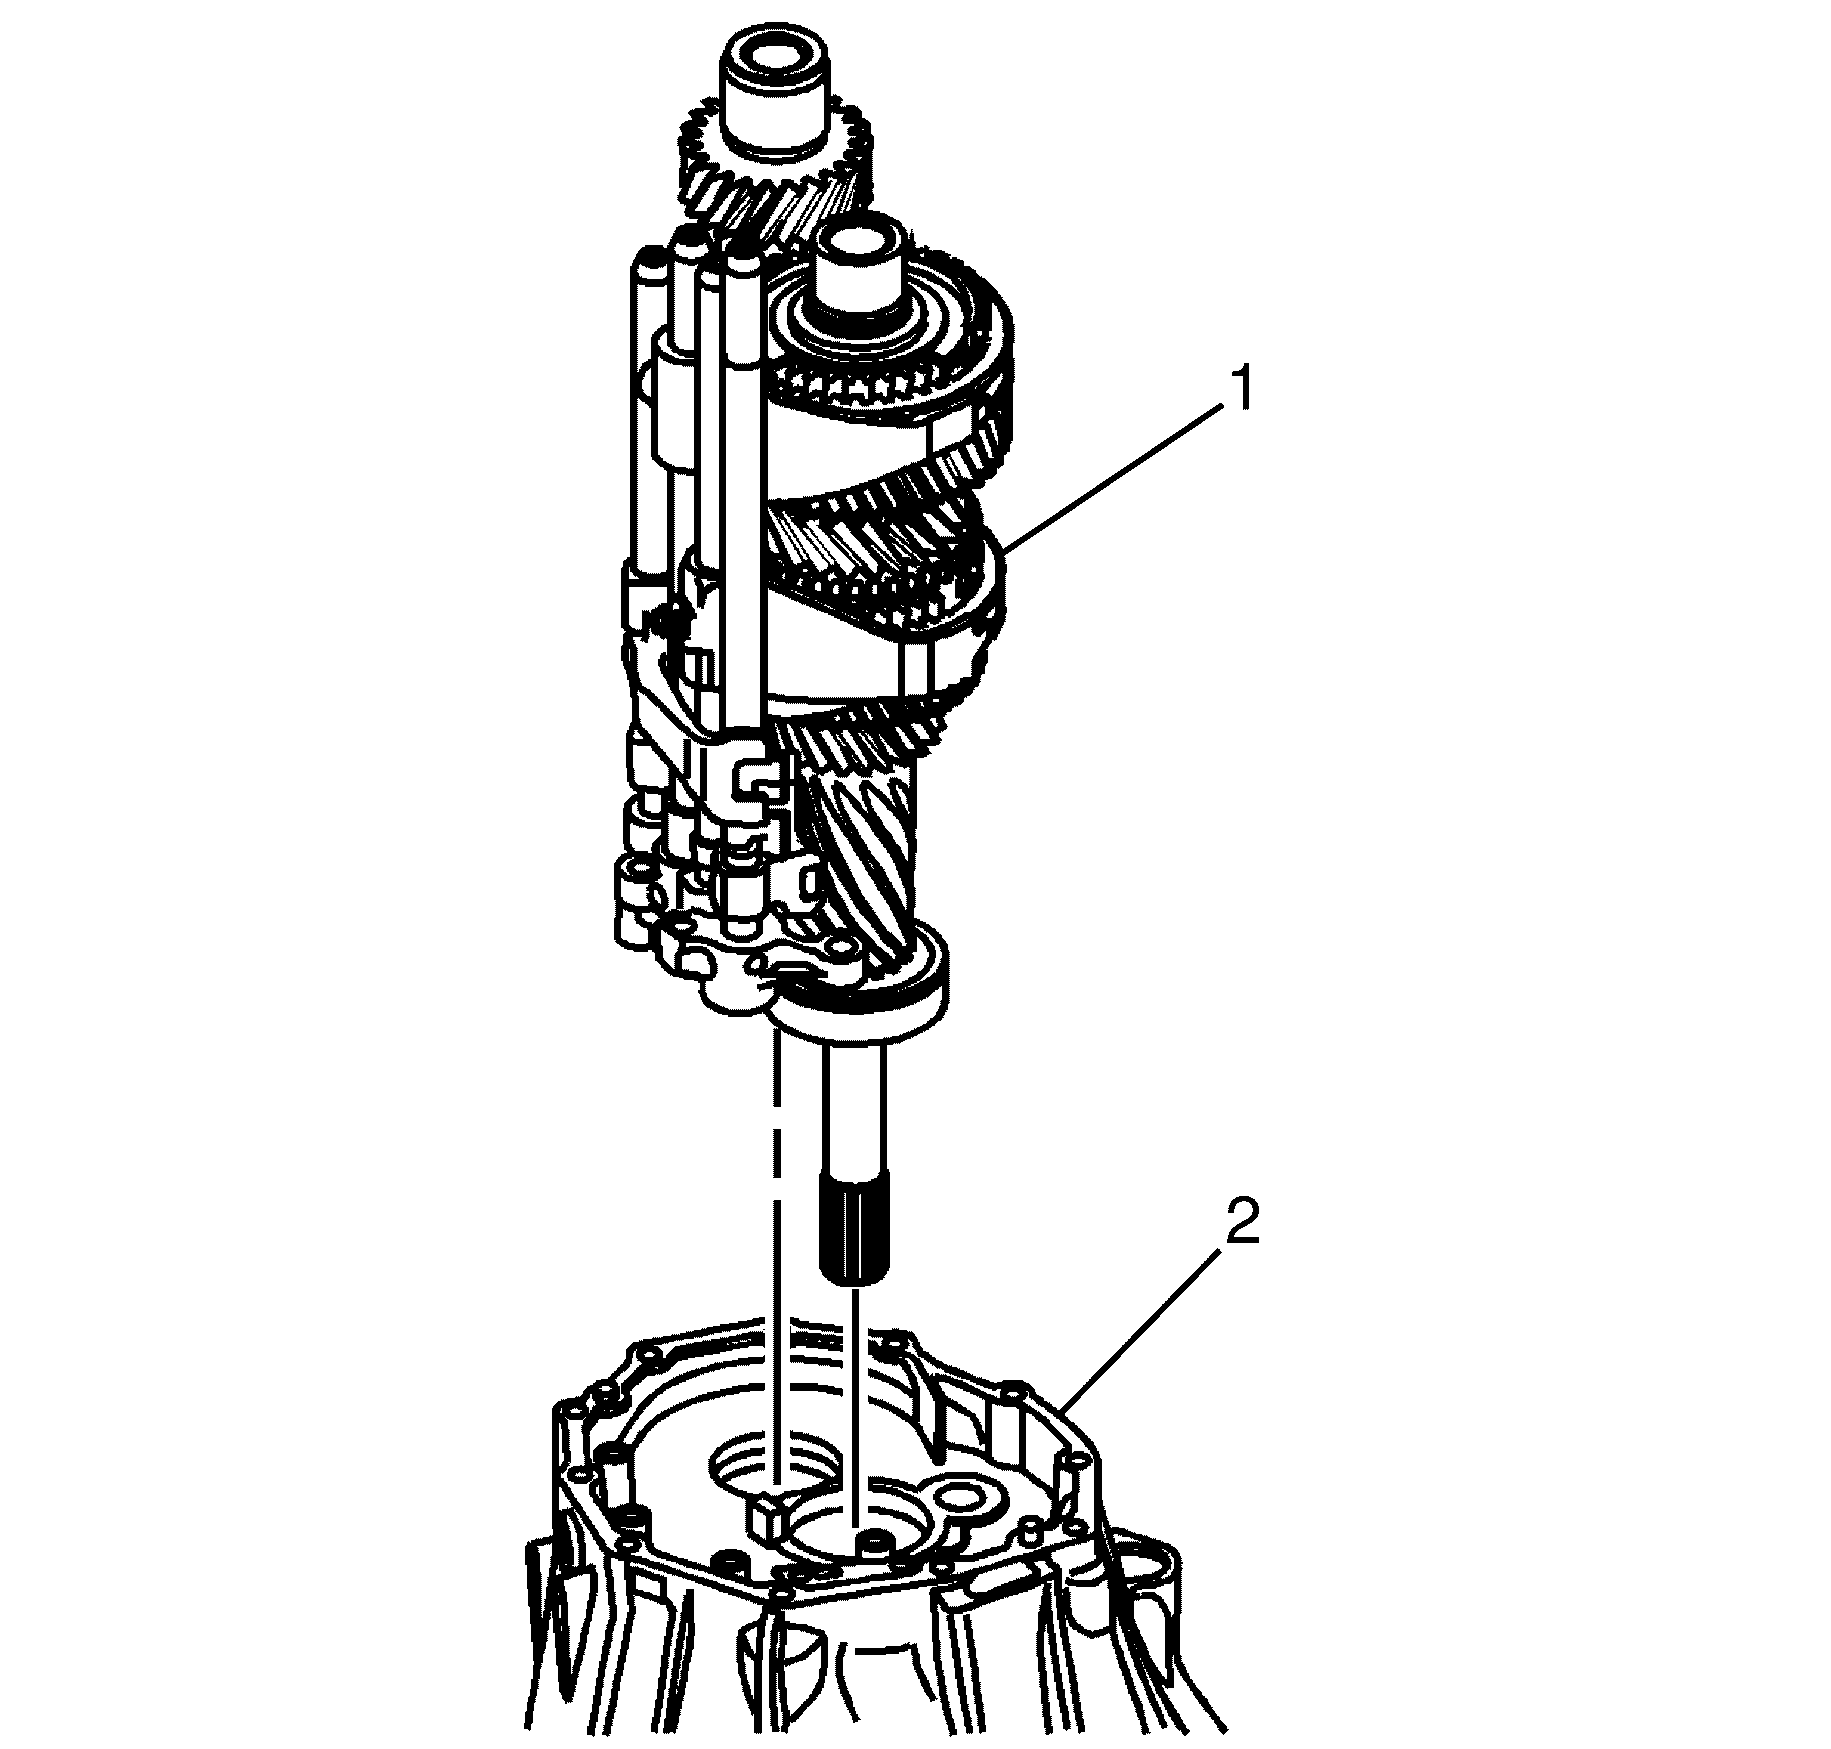
- Remove the input shaft (1), countershaft and shift rails as an assembly from the clutch housing (2).
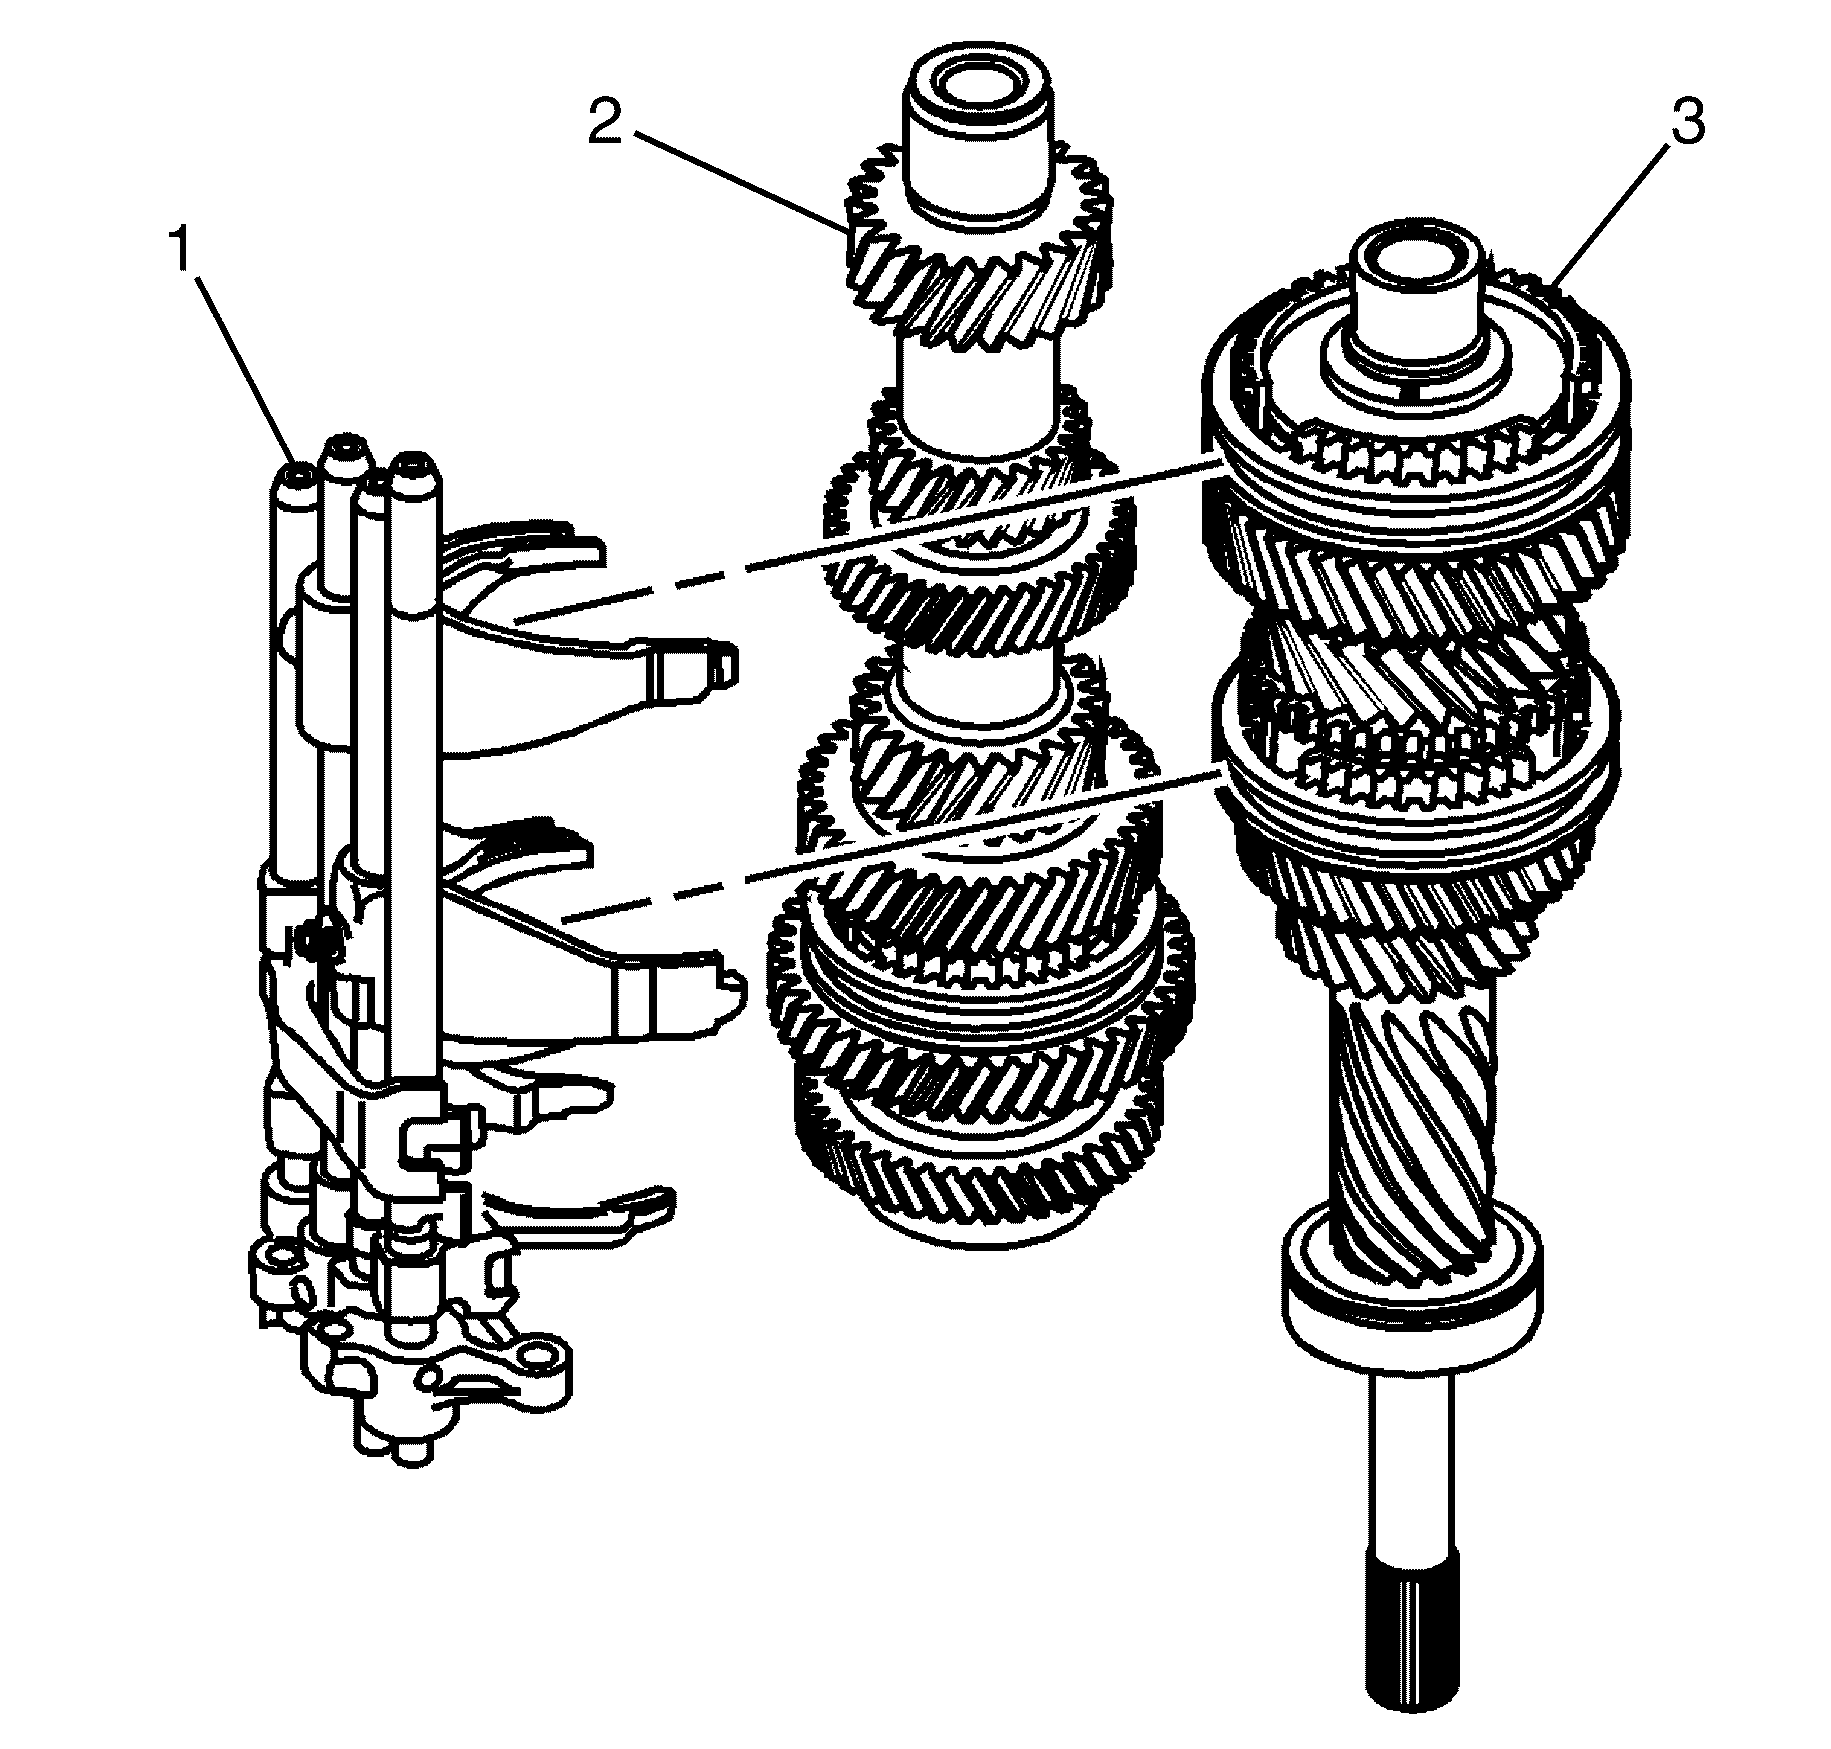
- Separate the shift rails (1), the input shaft (2) and countershaft (3).
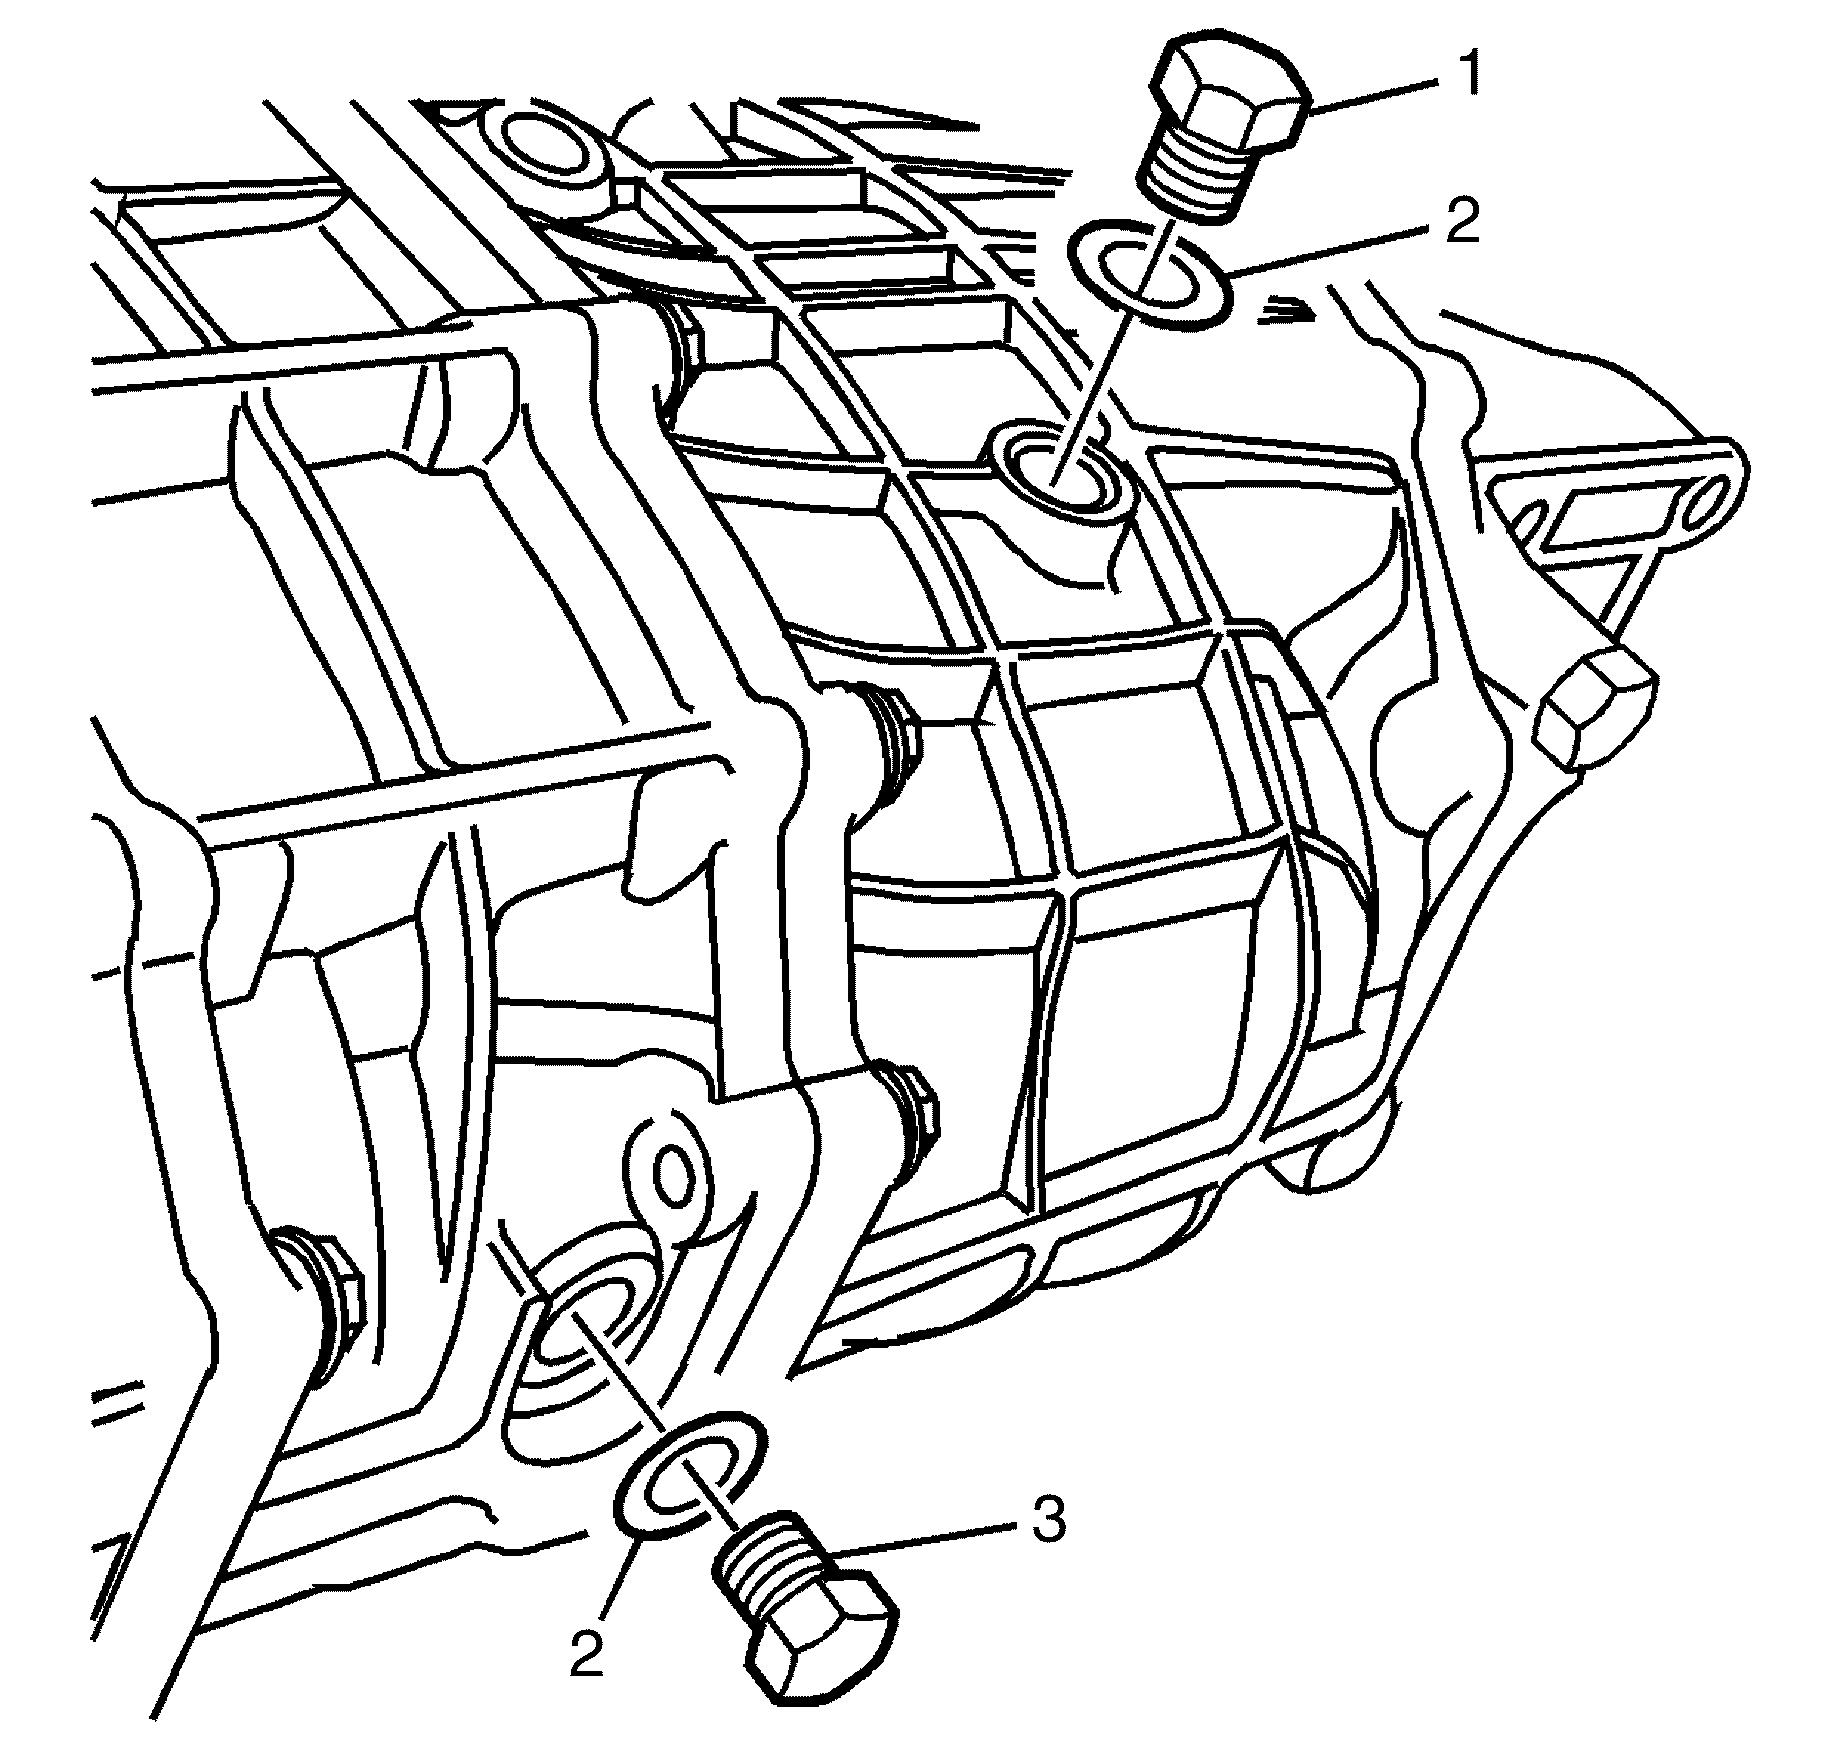
Discard the washer.
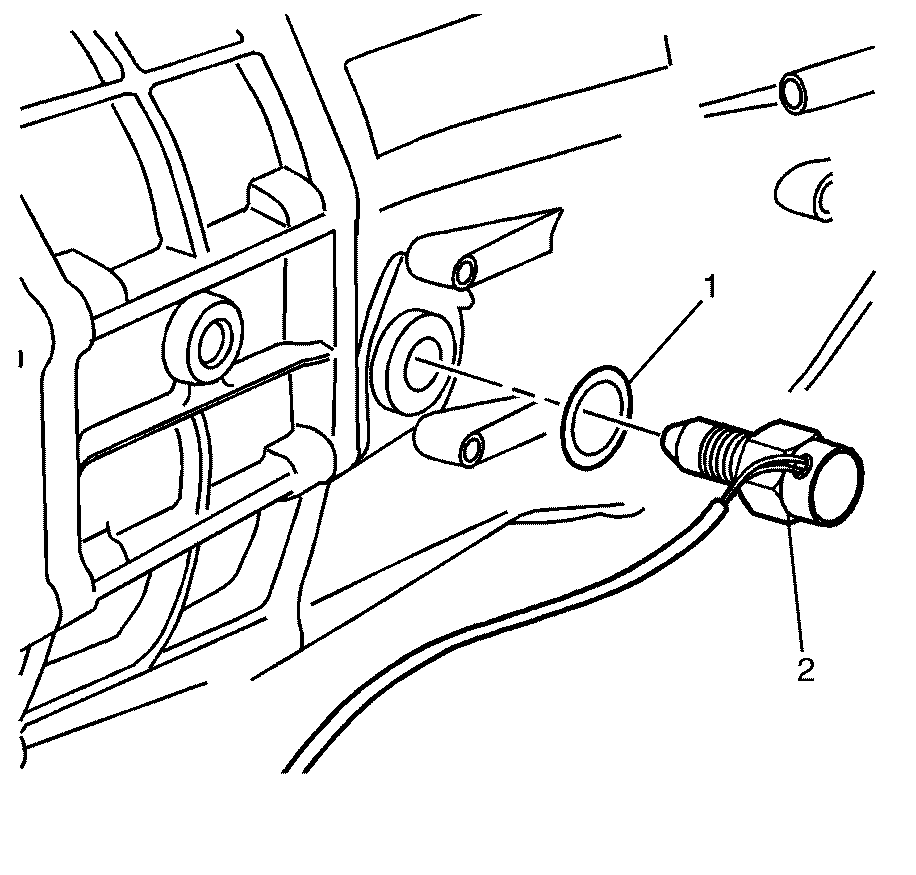
Discard the washer.
Notice: Refer to General Repair Instructions in the Preface section.
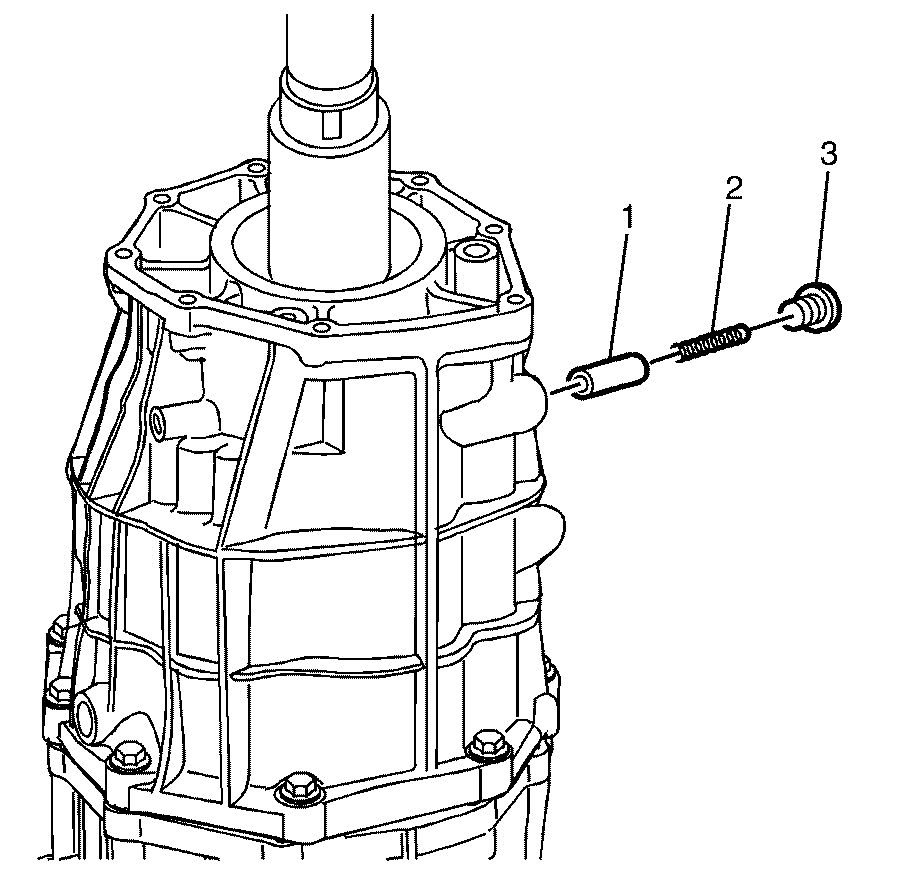
| • | the shift shaft detent plug (3) |
| • | the shift shaft detent spring (2) |
| • | the shift shaft detent pin (1) |
Notice: Refer to Machined Surface Damage Notice in the Preface section.
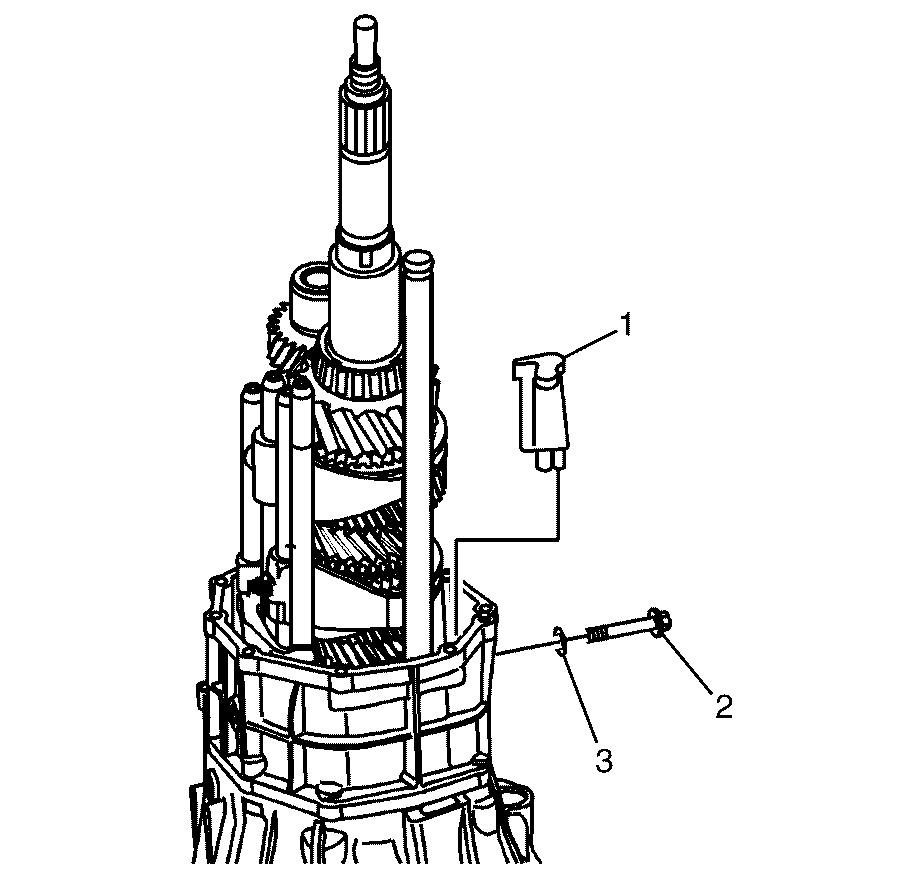
Discard the washer.
Notice: Refer to Machined Surface Damage Notice in the Preface section.
