For 1990-2009 cars only
Instrument Panel Trim Panel Replacement SWB RHD
Removal Procedure
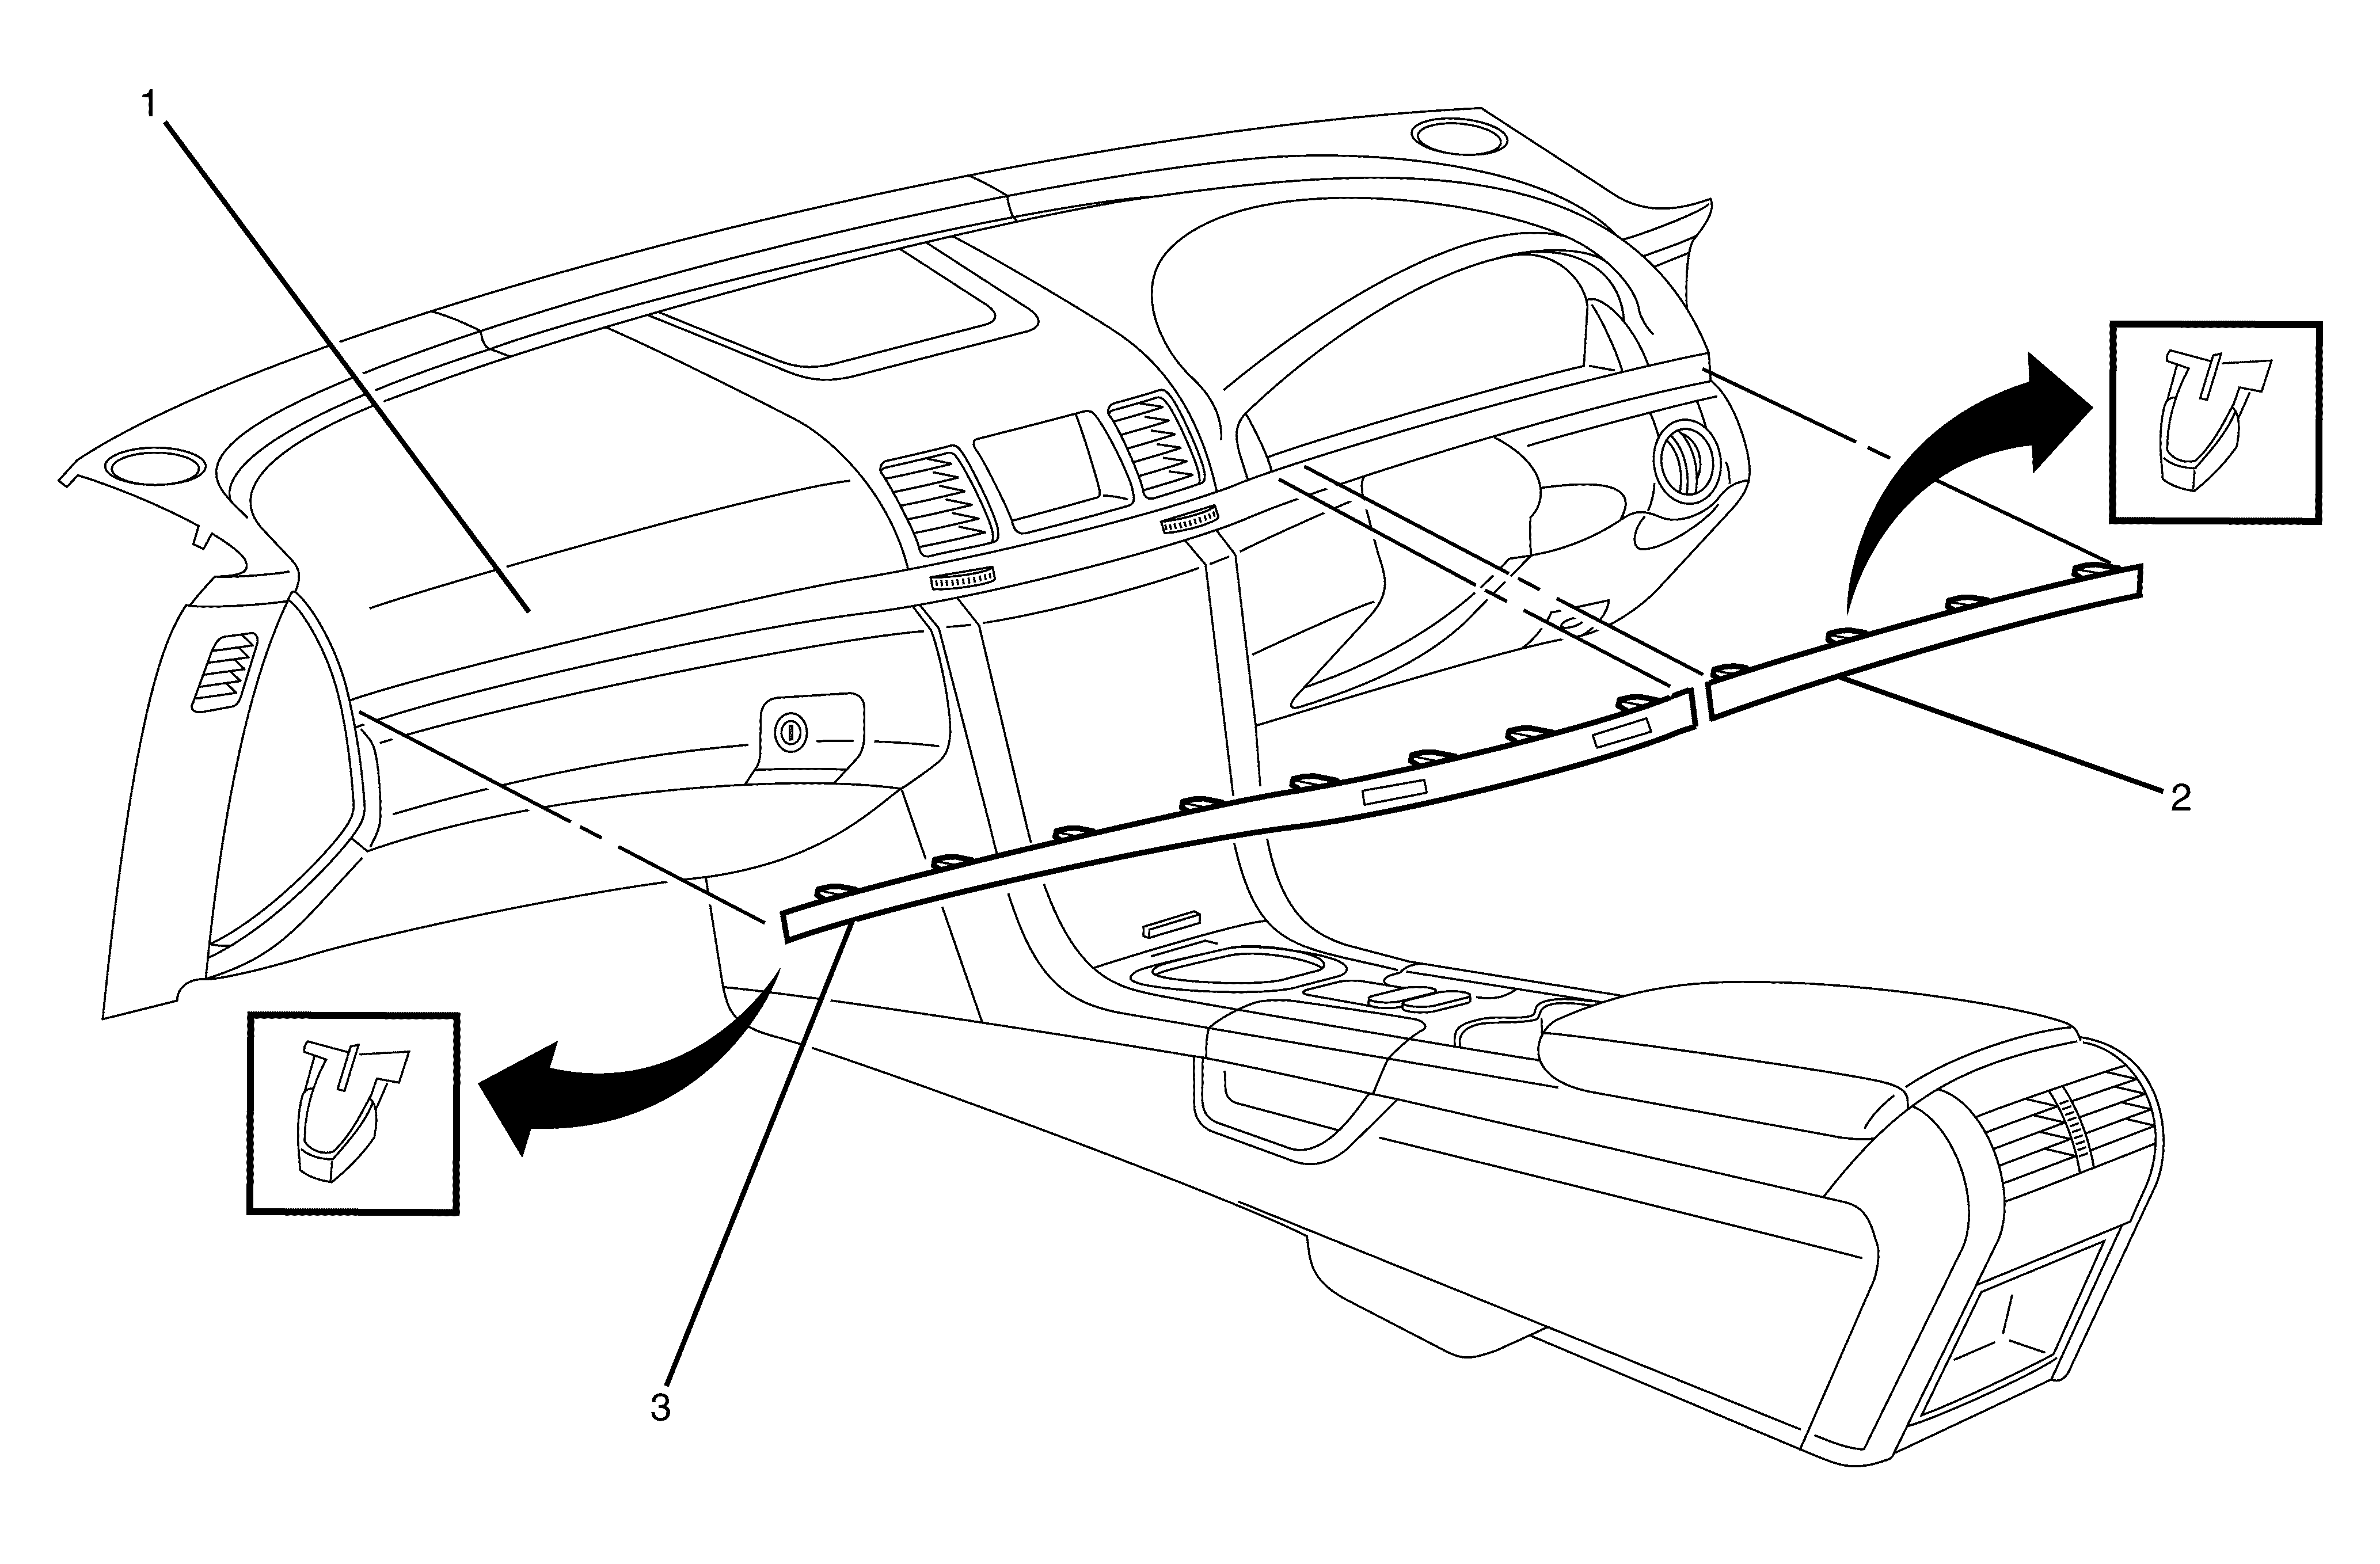
- Using a suitable tool disengage the right hand side trim panel (2) retaining clips and remove the trim panel (2) from the I/P pad (1).
- Using a suitable tool disengage the left hand side trim panel (3) retaining clips and remove the trim panel (3) from the I/P pad (1).

Installation Procedure
- Align the left hand trim panel (3) with the I/P pad (1).
- Install the trim panel (3) by firmly engaging the retaining clips.
- Align the right hand trim (2) panel with the I/P pad (1).
- Install the trim panel (2) by firmly engaging the retaining clips.

Removal Procedure - (SV6, SS and SSV)
- Using a suitable tool disengage the trim panel (1) retaining clips.
- Remove the trim panel (1) from the I/P pad.

Installation Procedure
- Align the trim panel (1) with the I/P pad.
- Install the trim panel (1) to the I/P pad by engaging the retaining clips.
- Ensure the trim panel (1) is flush with the I/P pad.

Instrument Panel Trim Panel Replacement SWB LHD
Removal Procedure
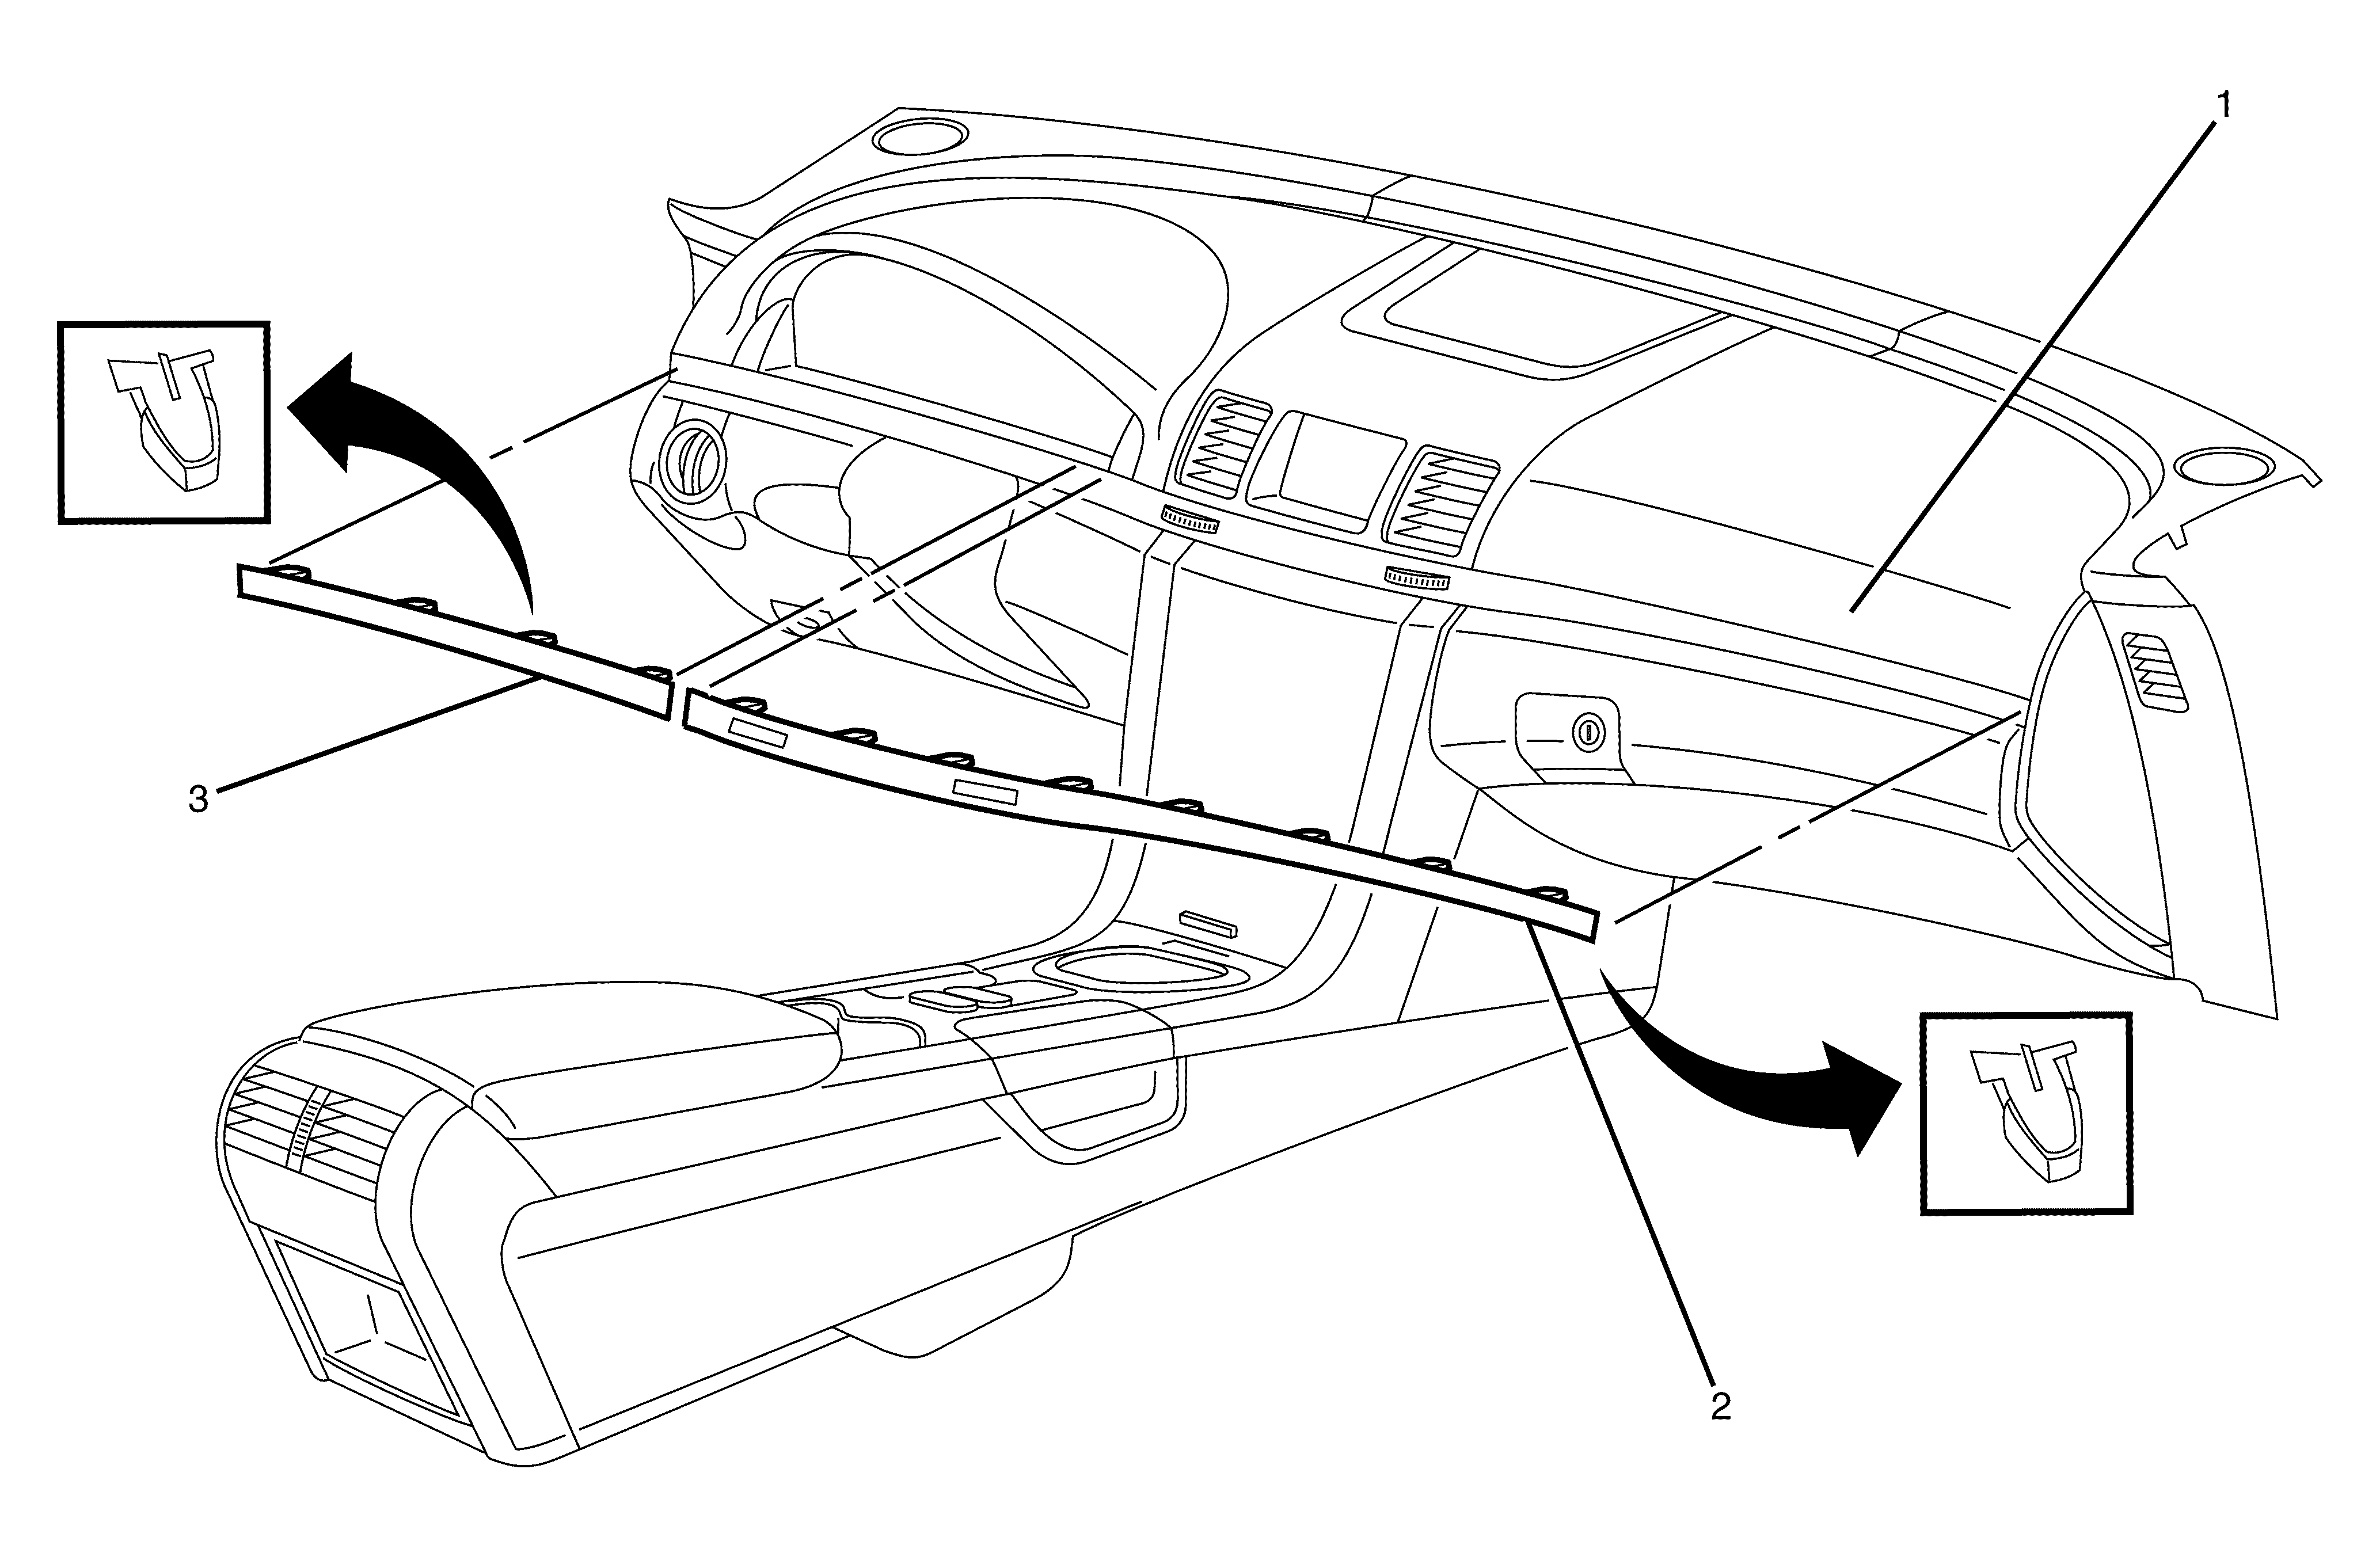
- Using a suitable tool disengage the right hand side trim panel (2) retaining clips and remove the trim panel from the I/P pad (1).
- Using a suitable tool disengage the left hand side trim panel (3) retaining clips and remove the trim panel from the I/P pad (1).

Installation Procedure
- Align the left hand trim panel (3) with the I/P pad (1).
- Install the left hand trim panel (3) by firmly engaging the retaining clips.
- Align the right hand trim (2) panel with the I/P pad (1).
- Install the trim panel (2) by firmly engaging the retaining clips.

Instrument Panel Trim Panel Replacement LWB RHD
Removal Procedure
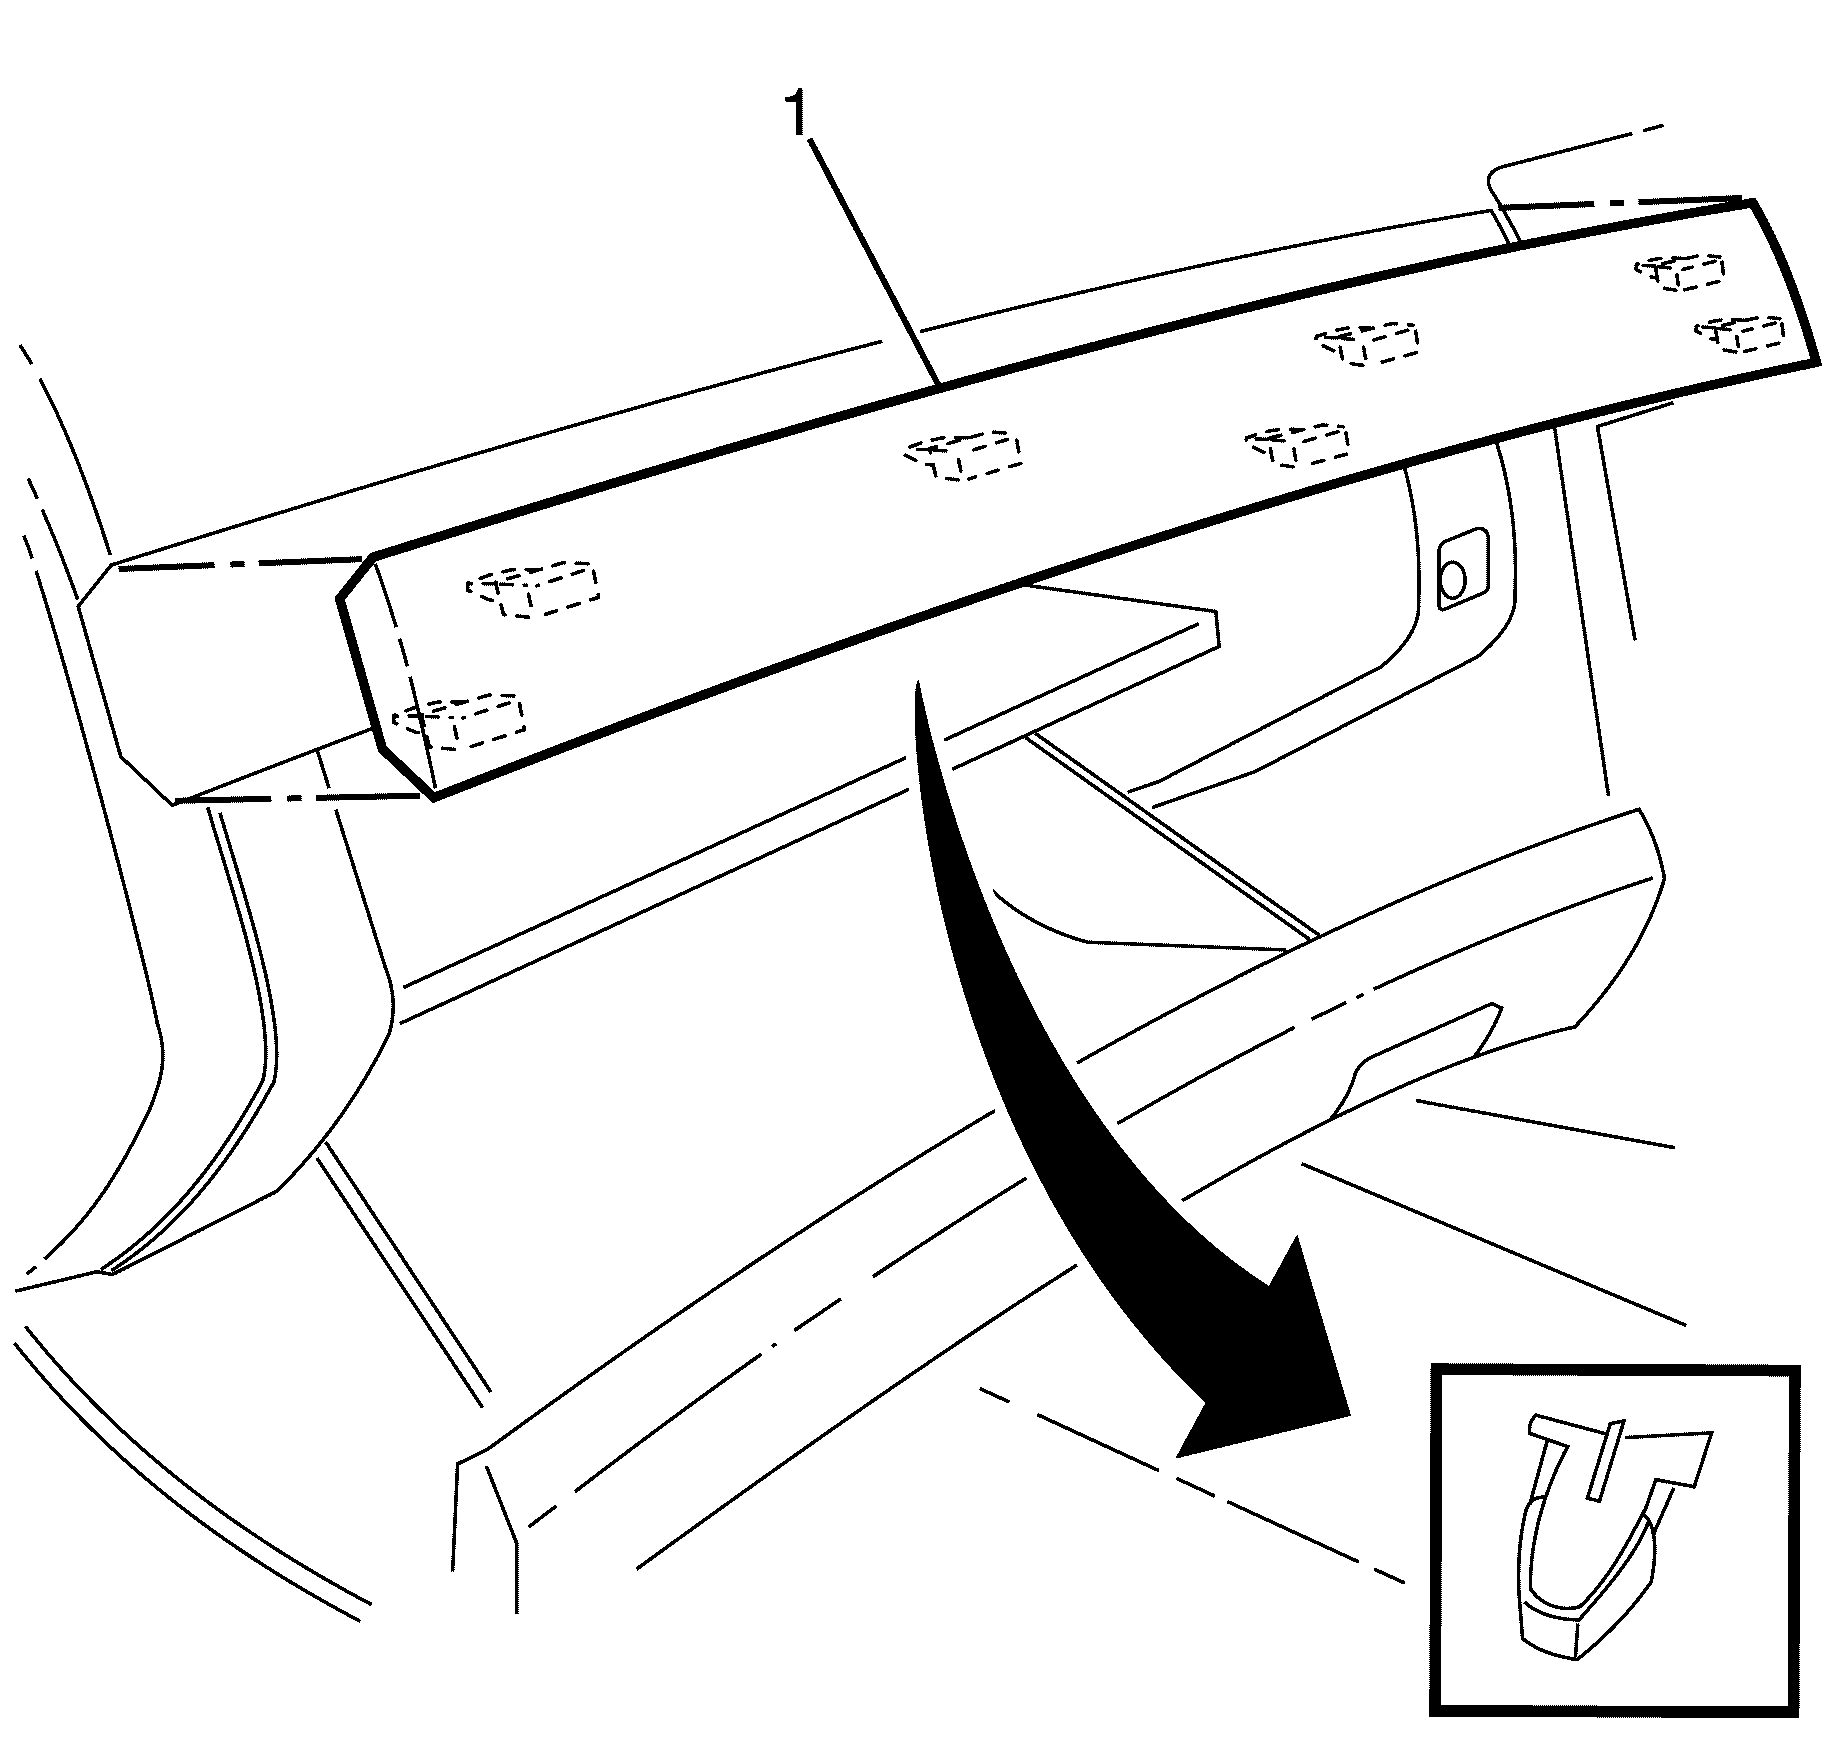
- Using a suitable tool disengage the trim panel (1) retaining clips.
- Remove the trim panel.
Notice: Refer to General Repair Instructions in the Preface section.

Installation Procedure
- Align the trim panel (1) with the I/P pad.
- Install the trim panel (1) to the I/P pad by engaging the retaining clips.
- Ensure the trim panel (1) is flush with the I/P pad.

